Making a DIY moss rug is a satisfying project that brings nature-inspired aesthetics into your home. Based on the personal account of making a latch-hook moss rug while stuck in a hotel, this guide will take you through the materials, tools, and methods necessary to complete this unique and charming rug. Whether you're a seasoned crafter or a beginner, you'll find this process both enjoyable and therapeutic. Here's how you can make a moss rug of your own, step by step.

What You'll Need to Get Started
Before starting, make sure you gather all the materials and tools required for the project:
Materials:
- Latch hook canvas (preferably three feet by five feet, but you can adjust to your desired size)
- Latch hook tool (available in various sizes; choose one that suits your canvas and yarn thickness)
- Yarn in various shades of green, brown, and other natural colors
- Scissors (make sure they're sharp enough to cut through yarn easily)
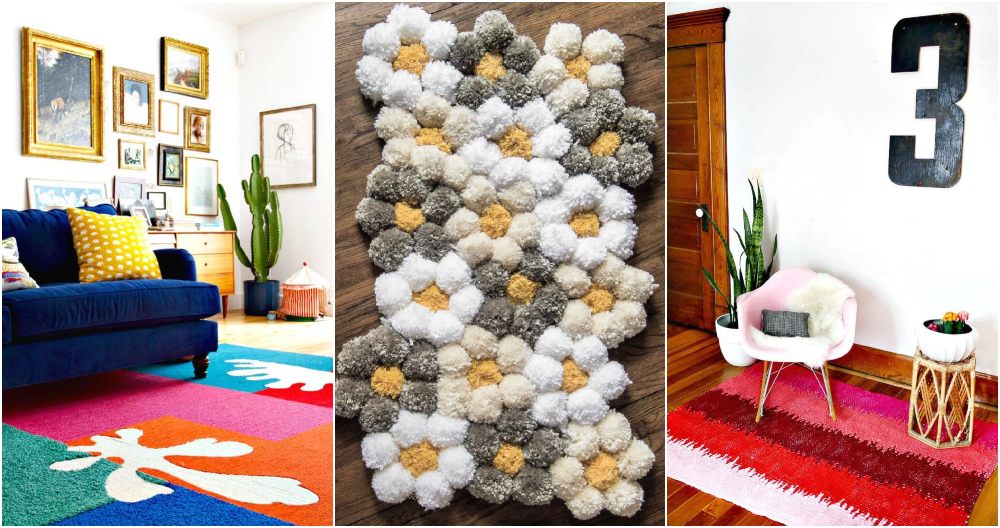
- Optional: Pom-pom makers for adding texture and dimension
Additional Supplies (if needed):
- Gloves: Protect your hands, especially if you're working with rough canvas
- Markers: For drawing an outline or design on the canvas before starting
- Felt and fabric adhesive: For backing the rug to prevent slipping
- Ruler or measuring tape: To ensure uniform yarn lengths
Step by Step Instructions
Learn how to make a DIY moss rug with step-by-step instructions. From design to display, master every stage of this unique crafting project.
Step 1: Choosing Your Rug Design
Before you start, decide on the overall look of your rug. Moss rugs are typically inspired by nature, so you can aim for an organic, textured feel. You don't have to plan out every detail, but it's helpful to have a rough idea of where you want clusters of different textures or colors to go. This design can be free-flowing, mimicking natural moss patterns, or more structured with defined shapes.
The creator of the latch-hook moss rug did not plan a strict design, opting for random clumps of different textures and colors. You can follow this method or sketch out a design to help guide your yarn placement.
Step 2: Preparing Your Canvas and Tools
Your latch hook canvas will likely come folded or rolled, and it may have creases that make it difficult to work with. To flatten it, you can either steam it or try a more hands-on approach, like stretching or weighing it down. If you're short on space, simply laying the canvas flat and pressing down with your hands or dancing on it (as one DIY enthusiast did!) can help ease the wrinkles.
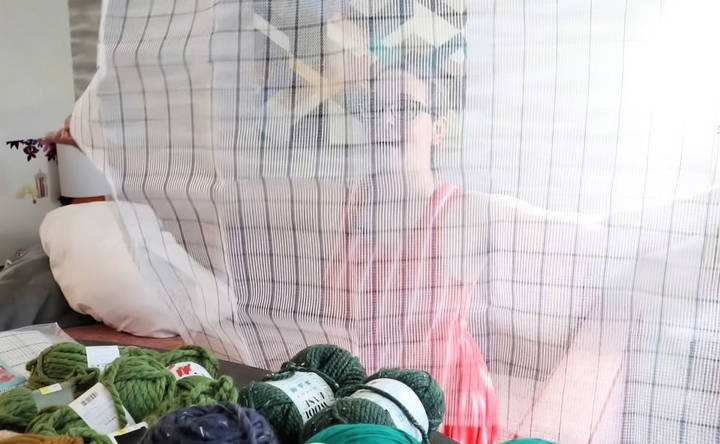
Once your canvas is smooth, choose a location to start your latch hooking. It's typically easier to start from one edge and work your way across, but make sure that your canvas isn't lying completely flat. Wrapping it around a pillow or other soft surface makes a slight curve, making it more comfortable to hook yarn through.
Step 3: Cutting Yarn to Length
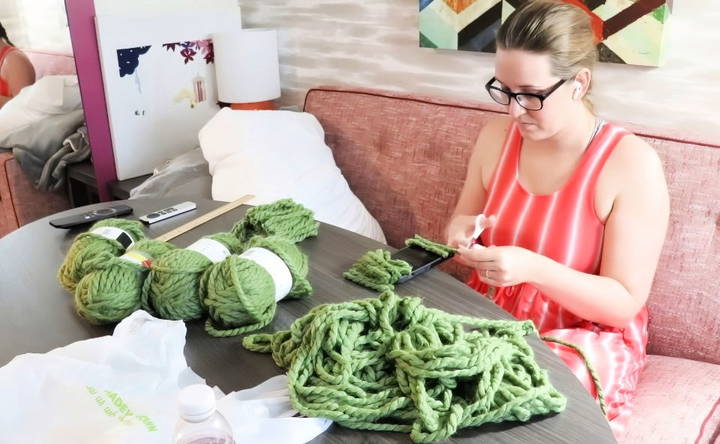
Decide on the length of yarn strips for your rug. A good method is to use household objects for measurement, like a remote control or ruler. Remember that each latch hook knot will make the yarn shorter once it's tied into the canvas. You can experiment with different lengths, but 2-3 inches per strip is a good starting point.
To save time, cut multiple pieces of yarn at once. The creator of the latch-hook rug cut yarn lengths based on the size of their remote control, adjusting as necessary for different sections of the rug.
Step 4: Latch Hooking the Yarn
Latch hooking is straightforward but requires patience. Follow these steps:
- Insert the latch hook tool through one square of the canvas.
- Fold a piece of yarn in half and loop the middle around the hook.
- Pull the hook and yarn back through the canvas, making a knot around the canvas threads.
- Continue this process, filling in sections of the canvas with different shades of yarn.
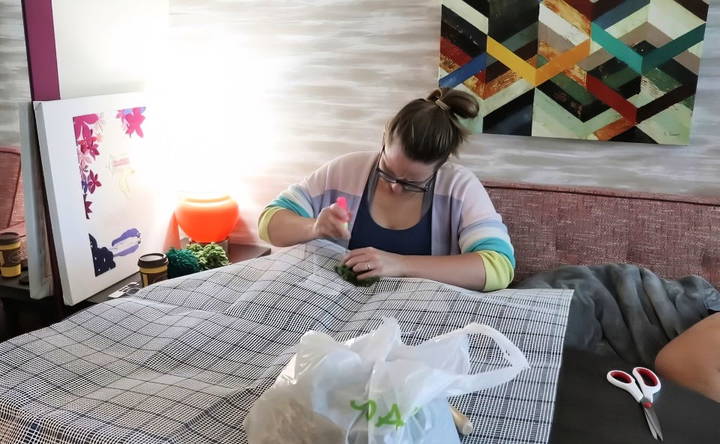
Latch hooking requires you to work slowly and carefully, especially if you're using yarn that's too thick for your canvas or hook. Adjust the yarn size if necessary by splitting it into strands or doubling it for a fuller look.
Step 5: Experimenting with Texture
One of the most enjoyable aspects of making a moss rug is making a variety of textures. You can mix latch-hooking techniques with other yarn crafts, such as pom-pom making. Adding pom-poms to your rug gives it a plush, three-dimensional feel, making certain sections stand out.
You can make pom-poms by wrapping yarn around your hand or using a pom-pom maker. After tying off the yarn and cutting the loops, you can secure the pom-pom onto the canvas by threading yarn through the back and tying it down.
Step 6: Finishing Touches and Trimming
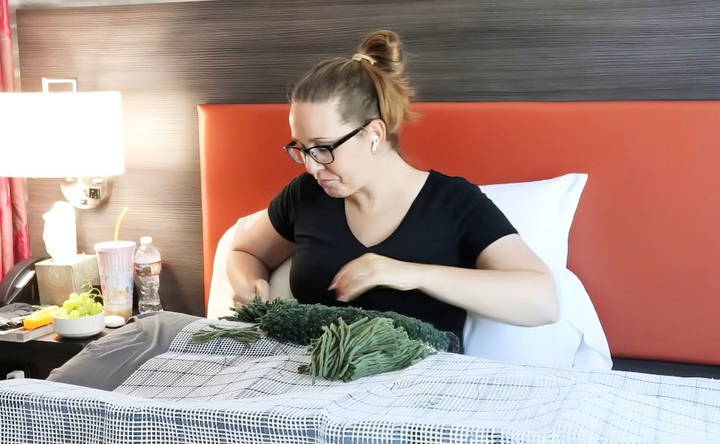
Once you've filled in all the desired areas of your canvas, it's time to trim the yarn to even out the surface. Trimming gives your rug a clean, polished look and helps you define areas with different textures. Be careful not to cut too close to the knots, especially if you're aiming for a plush, moss-like surface.
If you want to make the illusion of water or stones within your rug, trim these sections shorter than the surrounding areas. Keep in mind, though, that trimming too much may loosen the latch-hook knots, so cut conservatively.
Step 7: Backing the Rug
To complete your rug, you'll want to add a backing to secure the yarn and prevent the rug from slipping. Felt is a great option for backing, as it's soft and easy to work with. Use fabric adhesive to attach the felt to the back of the rug, ensuring that it covers the entire surface.
For added durability, you can whip-stitch the edges of the rug, securing the felt and canvas together. This step will help prevent fraying and give your rug a finished, professional look.
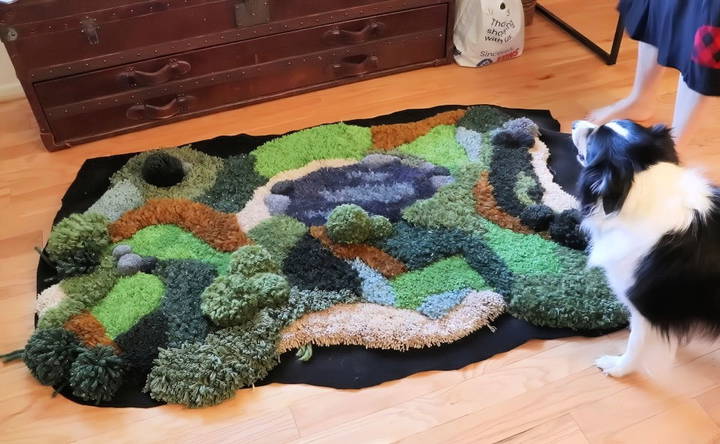
Step 8: Displaying and Caring for Your Moss Rug
Once your moss rug is complete, find a place in your home where it can shine. These rugs work well in entryways, bathrooms, or even as statement pieces in living rooms. They're durable but soft, making them great for high-traffic areas or cozy corners.
To care for your rug, gently shake it out to remove dirt or debris, and spot clean as necessary. Avoid machine washing, as the latch-hook knots could become undone.
Tips and Tricks for a Successful DIY Moss Rug
Here are some helpful tips and tricks learned from the experience of making a latch-hook moss rug:
- Yarn Selection: Choose yarns with different textures and thicknesses for a more dynamic rug. Some yarns may shed more easily than others, so test a small piece before using it extensively.
- Latch Hook Size Matters: Make sure your latch hook tool matches the size of the canvas and yarn. A hook that's too large can tear the canvas, while a hook that's too small will be difficult to work with.
- Wear Gloves: Protect your hands from the roughness of the canvas, especially at the beginning. Cycling gloves or other hand protection can prevent blisters and abrasions.
- Save Off-Cuts: The yarn you trim off during the process can be reused as stuffing for other projects, so don't throw it away!
- Be Patient: This project takes time, especially if you're working on a large canvas. It took about three weeks for the rug to be completed in this example, but the result is well worth the effort.
Conclusion: Why Make Your Own Moss Rug?
Making a DIY moss rug is not just about making a beautiful home accessory—it's about enjoying the creative process and making something unique with your hands. While the project requires patience, the end result is a soft, nature-inspired rug that you can be proud of. Whether you go the latch-hook route or experiment with tufting or pom-poms, this DIY project offers endless possibilities for personalization.
FAQs About DIY Moss Rug
Discover answers to all your queries about DIY moss rug, from materials and maintenance to crafting tips and benefits.
The time varies based on the size of the rug and your chosen method. In one case, making a latch-hook moss rug took about three weeks of daily work. Expect several days or even weeks for larger, more intricate rugs.
If you’re unable to find a latch hook kit in stores, check crafting websites or large retailers like Amazon. Alternatively, you can make pom-poms and attach them to the canvas, which creates a similar textured effect.
You can use most types of yarn, but be aware that softer yarns may shed or come apart easily. Test different textures and stick to durable options for longer-lasting results. If using thick yarn, separate it into strands for easier latch hooking.
This can happen if your hook is too large for the canvas holes. Try using a smaller latch hook or yarn, or switch to a canvas with larger holes. Be gentle when pulling the yarn through to avoid damaging the fabric.
The latch hook canvas can be abrasive, especially on your hands. Wearing cycling gloves or similar hand protection helps prevent blisters, particularly at the start when the canvas is still bare and rough.
If latch hooking feels too time-consuming, consider making pom-poms or using a tufting gun (if available). Both methods can make a moss-like texture and may be faster alternatives to latch hooking.
For a 3x5-foot rug, you may need around 21 skeins of yarn, depending on the thickness and texture you choose. Some skeins might remain unused if the texture or color doesn’t suit your final design.
Use felt or a similar fabric as backing material. Attach it to the rug with fabric adhesive for grip and secure the edges by whip-stitching through the canvas and felt. This keeps your rug stable and prevents it from fraying.
Keep the trimmed-off yarn pieces! These can be used as stuffing for future craft projects, so don't throw them away. They work great for small stuffed items or as padding for cushions.


