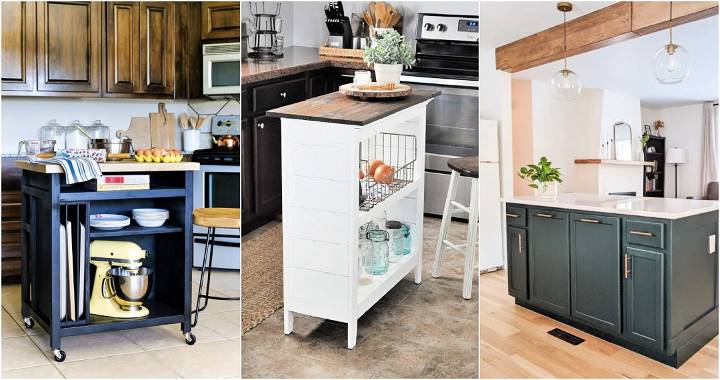
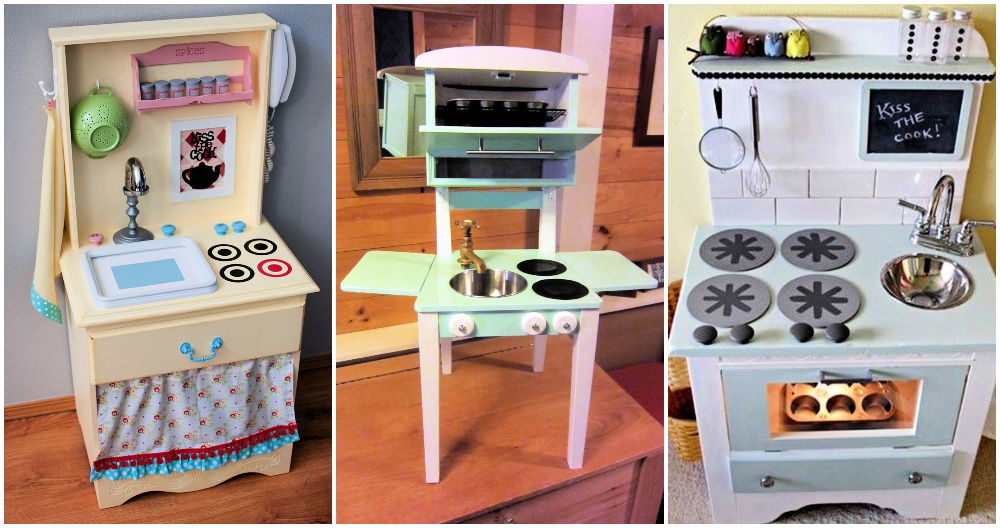
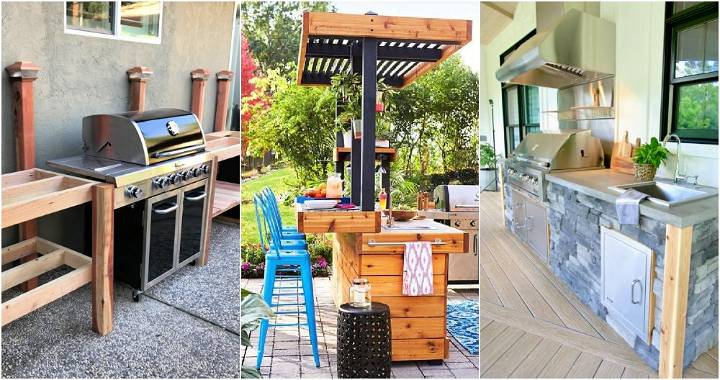
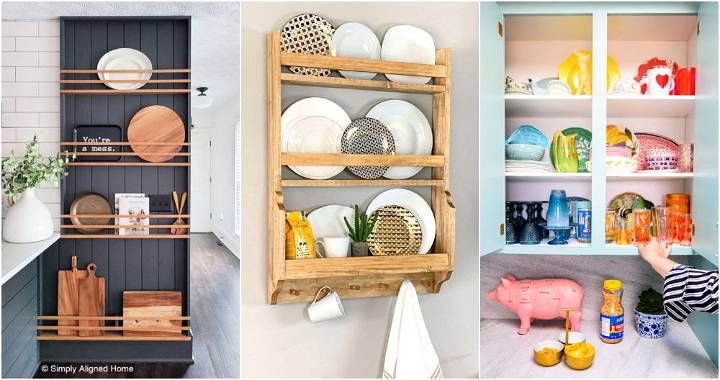
To start making a DIY mud kitchen, I began by gathering old wooden planks and kitchen utensils from around my house. It felt great to recycle things that were no longer in use. I found some tutorials online that were easy to follow, focusing on simple designs that didn't require a lot of tools or skills. It was my first big project, and I was eager to see how it would turn out.
Putting the kitchen together took some time and patience. I had to measure, cut, and assemble the wood carefully to make sure it was safe for kids to play with. Painting it was the most fun part for me. I chose bright colors to make it appealing to the kids. Once it was done, I couldn't wait to see their reactions. This project taught me a lot about building something from scratch, and seeing the joy it brought made every effort worth it.
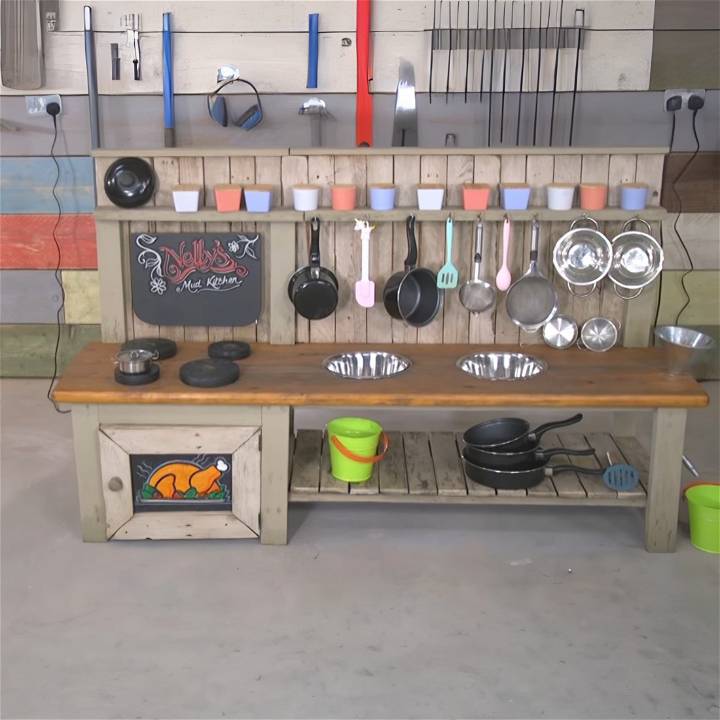
I hope sharing my experience helps you see that making a DIY mud kitchen can be a satisfying project. It's a creative way to make something fun and practical for children to enjoy outdoors. If I can do it, I believe you can too. Just start with the basics, and you'll be amazed at what you can build.
Benefits of a Mud Kitchen
A mud kitchen, also known as an outdoor kitchen or mud pie kitchen, is more than just a play area for children. It's a fun and educational tool that can help children develop a variety of skills and learn about the world around them. Here are some of the key benefits:
Encourages Outdoor Play
Mud kitchens are typically set up outdoors, which encourages children to spend more time outside. This not only helps them get fresh air and exercise, but also exposes them to different weather conditions and the changing seasons.
Promotes Sensory Exploration
Playing with mud and other natural materials in a mud kitchen provides a wealth of sensory experiences. Children can feel the texture of the mud, see the different shapes they can build, and even smell the earthy aroma of the mud.
Boosts Immune System
Some studies suggest that exposure to dirt and germs in early childhood can help boost a child's immune system. Mud kitchens provide a safe and controlled environment for children to get a little dirty.
Develops Social Skills
When children play together in a mud kitchen, they learn to cooperate, negotiate, and share. They also have the opportunity to engage in role play, which can help them understand different perspectives and develop empathy.
Teaches Basic Cooking Skills
While the “cooking” in a mud kitchen is all pretend, it can still help children develop basic cooking skills. They learn about measuring, mixing, and following a sequence of steps to build a “dish”.
The key to a successful mud kitchen is to let children explore and experiment on their own. It's about the process, not the end product. So, let them get messy, make mistakes, and most importantly, have fun!
Designing Your Mud Kitchen
Designing a mud kitchen is an exciting process that allows you to customize the play area to suit your child's interests and needs. Here are some factors to consider:
Consider the Child's Height
When designing your mud kitchen, it's important to consider the height of the children who will be using it. The work surface should be at a comfortable height for them to play. You might want to measure the height of your child's waist as a guide.
Plan for a Sink and Stovetop Area
A typical mud kitchen includes a sink and a stovetop area. The sink can be a simple basin where children can mix mud and water. The stovetop area can be a flat surface where children can “cook” their mud pies. You can use round objects like jar lids to build pretend burners.
Think About Storage
Children will need a place to store their pots, pans, and other kitchen utensils. Consider adding shelves under the work surface or hooks on the side of the kitchen.
Sketch a Simple Plan
Before you start building, sketch a simple plan of your mud kitchen. This doesn't have to be a professional blueprint. A simple drawing showing where the sink, stovetop, and storage areas will go can be very helpful.
The most important thing is that the mud kitchen is safe and fun for your child. So, let your creativity shine and design a mud kitchen that your child will love!
How to Build a Child's Mud Kitchen at Home
A mud kitchen encourages outdoor play for children, using recycled materials. Follow this guide to build one.
Materials and Tools Needed
Before starting, gather all necessary materials and tools:
- Recycled pallets for the frame, back-splash, and shelves
- Scaffolding boards for the work surface
- Assorted kitchen accessories (e.g., pots, pans, utensils)
- Basic woodworking tools (saw, drill, screws, sandpaper, etc.)
- Chalk paint and furniture wax for finishing touches
Step by Step Instructions
Learn how to build a child's mud kitchen with our step-by-step guide below:
Preparing the Frame
- Dismantle the pallets and sort the wood into slats and skids.
- Cut three pieces for the back legs (1 meter high) and three for the front legs (420 mm high). Also, prepare six braces (400 mm wide) to connect front and back legs.
- Sand down the pieces that will be visible or touched frequently to remove splinters and rough edges.
Assembling the Frame
- Assemble one side of the frame by connecting a back and front leg with two of the braces—one near the top for the work surface and another near the bottom for a shelf.
- Repeat the process for the other side of the frame and then use additional braces to join the two sides together, ensuring stability.
- Add more braces as needed for the cooker area and elsewhere for added stability and to provide mounting points for shelves and the back-splash.
Adding the Work Surface and Shelves
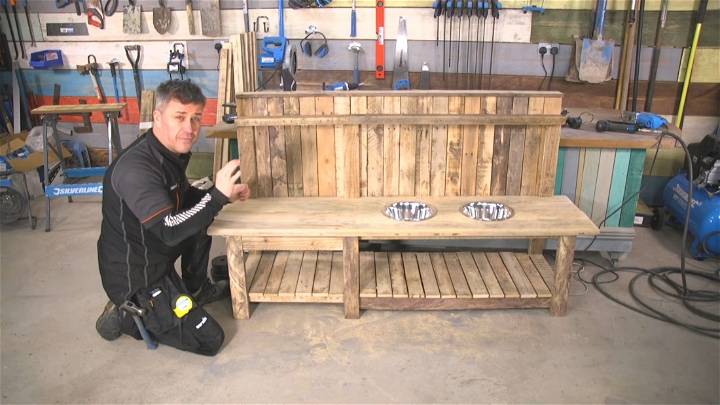
- Trim scaffolding boards to fit as work surfaces, ensuring a slight overhang on each side.
- For the kitchen sink, substitute with bowls. Trace the bowls on the work surface where you want them to go, and cut out these holes with a jigsaw.
- Sand the edges of the holes smoothly to prevent injuries.
- Install the work surface on top of the frame, securing it with screws and adhesive.
Building a Splashback and Shelf
- Cut additional pallet slats for the splashback and sand them down.
- Attach these slats vertically along the back of the kitchen, using glue and nails for secure attachment.
- For the upper shelf, use leftover materials to build a sturdy shelf above the backsplash.
Finishing Touches
- Paint the back-splash and shelf with chalk paint and apply furniture wax for a distressed look.
- Install kitchen accessories such as hooks for utensils and write on chalkboard sections if desired.
- Optionally, build a door for underneath storage by using plywood and attaching it with hinges.
Video Tutorial
For a step-by-step video tutorial on building your child's mud kitchen, watch this informative YouTube video by Silverline Tools.
It pairs particularly well with this written guide, offering a visual complement to the techniques discussed here in an accessible and straightforward manner.
Building a mud kitchen is not only a rewarding DIY project but also a wonderful gift for your child, fostering creativity and outdoor play. With a little effort and some basic materials, you can build a unique play area that will be cherished for years to come.
Budget-Friendly Options for Your Mud Kitchen
Building a mud kitchen doesn't have to be an expensive project. With a little creativity and resourcefulness, you can build a fun and engaging play area without breaking the bank. Here are some budget-friendly ideas:
Use Recycled Materials
One of the easiest ways to save money on your mud kitchen is to use recycled materials. Old furniture like cabinets, tables, and chairs can be repurposed into a mud kitchen. You can often find these items for free or at a low cost on online marketplaces or at local garage sales.
Visit Second-Hand Shops
Second-hand shops are a treasure trove of inexpensive items that can be used in a mud kitchen. Look for pots, pans, utensils, and other kitchen items. You might also find buckets, basins, and other containers that can be used as sinks.
Do It Yourself
Hiring a professional to build your mud kitchen can be expensive. If you're handy with tools, consider building the mud kitchen yourself. There are plenty of free plans and tutorials available online that can guide you through the process.
The mud kitchen allows kids to have fun exploring and making without the need for high costs. Let your creativity shine!
Safety Tips for Your Mud Kitchen
Ensuring the safety of your children while they play in their mud kitchen is paramount. Here are some safety tips to keep in mind:
Choose a Safe Location
Place your mud kitchen in a location where you can easily supervise your children. Avoid areas near roads or water bodies. Make sure the ground is level to prevent the kitchen from tipping over.
Use Safe Materials
When building your mud kitchen, use materials that are safe for children. Avoid using treated wood, which can contain harmful chemicals. Check for any sharp edges or splinters and sand them down.
Secure All Elements
Ensure that all elements of the mud kitchen, such as the sink or shelves, are securely attached. This will prevent them from falling over or collapsing while your children are playing.
Supervise Play
While a mud kitchen encourages independent play, it's important to supervise your children, especially if they are young. This will help prevent accidents and ensure they are playing safely.
Ensure safety in play areas by following these tips for a safe and fun mud kitchen for kids.
Mud Kitchen Accessories
Accessorizing your mud kitchen can make it more engaging and fun for your children. Here are some ideas:
Utensils and Cookware
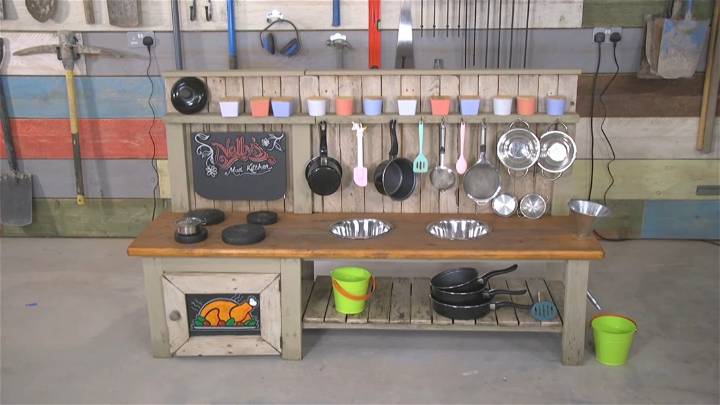
Equip your mud kitchen with a variety of utensils and cookware. Spoons, spatulas, pots, and pans are all great additions. You can often find these items at second-hand stores or garage sales.
Storage Solutions
Consider adding hooks and shelves to your mud kitchen. Hooks are great for hanging utensils, while shelves can be used to store pots, pans, and dishes. This not only keeps the kitchen organized but also adds an element of realism to the play experience.
Decorative Elements
Adding decorative elements can make your mud kitchen more appealing. Consider painting the kitchen in bright colors or adding a chalkboard for children to write down their “recipes”. You can also add curtains or a canopy for a touch of whimsy.
The goal is to build a space that encourages creativity and imaginative play. So, don't be afraid to think outside the box when accessorizing your mud kitchen.
FAQs About DIY Mud Kitchen
Get all your burning questions answered with our FAQs About DIY Mud Kitchen. Find tips, tricks, and inspiration for your own backyard project.
What is a Mud Kitchen?
A mud kitchen, also known as an outdoor kitchen, is a simple play area that allows children to play with mud and natural materials. It often includes a work surface, a sink, and storage for pots, pans, and utensils.
Why is a Mud Kitchen Beneficial for Children?
Mud kitchens offer numerous benefits for children. They encourage outdoor play, sensory exploration, and imaginative play. They can also help boost a child's immune system and develop social skills.
What Materials Do I Need to Build a Mud Kitchen?
You can build a mud kitchen using a variety of materials. Some common items include old furniture, wooden planks, pallets, sinks, and kitchen utensils. You'll also need some basic tools like a hammer, nails, and paint.
How Can I Design a Mud Kitchen?
When designing a mud kitchen, consider the height of the children who will be using it. Plan for a sink and stovetop area, and think about storage for utensils and cookware. Sketch a simple plan before you start building.
Can I Build a Mud Kitchen on a Budget?
Absolutely! Building a mud kitchen doesn't have to be expensive. You can use recycled materials, visit second-hand shops for utensils and cookware, and do the building yourself to save money.
How Can I Accessorize My Mud Kitchen?
There are many ways to accessorize a mud kitchen. You can add hooks for utensils, shelves for storage, and decorative elements like paint or a chalkboard. You can also build different zones for different types of play.
Where Can I Find Inspiration for My Mud Kitchen?
There are many resources available online where you can find inspiration for your mud kitchen. Look for blogs, Pinterest boards, and YouTube videos that feature DIY mud kitchen projects.
How Can I Ensure the Safety of My Mud Kitchen?
To ensure the safety of your mud kitchen, choose a safe location, use safe materials, secure all elements, and supervise your children while they play.
Can I Incorporate Educational Elements into My Mud Kitchen?
Yes, you can incorporate educational elements into your mud kitchen. For example, you could include a measuring cup for children to learn about volume, or add a weather station for them to observe changes in the weather.
What Should I Do If I Don't Have a Garden for a Mud Kitchen?
If you don't have a garden, you can still build a mini mud kitchen indoors using a large plastic container. Fill it with dirt and provide some kitchen utensils for your child to play with. Remember to put down a mat or some newspaper to catch any spills.
Conclusion:
In conclusion, making your own DIY mud kitchen can be a fun and rewarding project for both kids and adults. With simple materials and a bit of creativity, you can customize your outdoor play area and encourage imaginative play.


