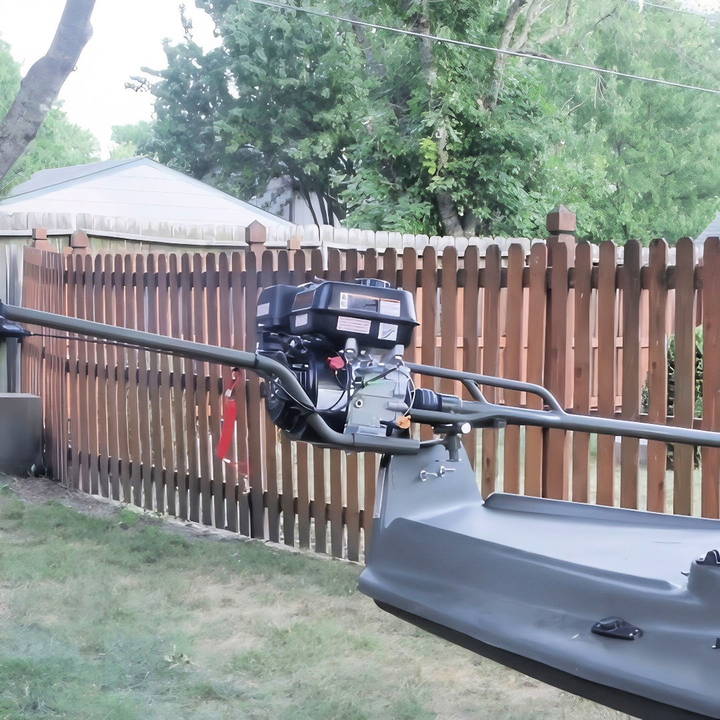
Building a DIY mud motor is a fulfilling project for those who enjoy hands-on work and want a practical motorized setup for shallow water boating. This guide provides instructions on building a mud motor with an accessible kit and a Harbor Freight 6.5-horsepower engine. This step-by-step tutorial will outline everything you need to get started, from unboxing to setting up and running your motor.
What You Need for Your DIY Mud Motor
Discover essential components and additional supplies for building your DIY mud motor. Get all you need to start your project today!
Key Components:
- Mud Motor Kit: This example uses a kit from PPF Mud Motors, specifically the PPF Wood Duck kit.
- Engine: A Harbor Freight 6.5 HP Predator engine works perfectly for this build.
- Tools: Essential tools include:
- Wrenches for bolts and nuts
- Vice grips for securing throttle components
- Blow torch for heat-shrink application
- Red Loctite for securing bolts
- Basic items like 2x4 wood for propping parts
Additional Supplies:
- Oil (half-quart required for this build)
- Gasoline for the fuel tank
- Grease for the drive shaft
Step by Step Instructions
Learn DIY mud motor assembly with step-by-step instructions, mounting guidance, troubleshooting tips, and maintenance for top performance.
Step 1: Unboxing the Kit
Once your kit arrives, begin by laying out all parts. The PPF Wood Duck kit includes:
- Handle
- Drive train components
- Accessories (including a hat and stickers)
- Various nuts, bolts, and screws
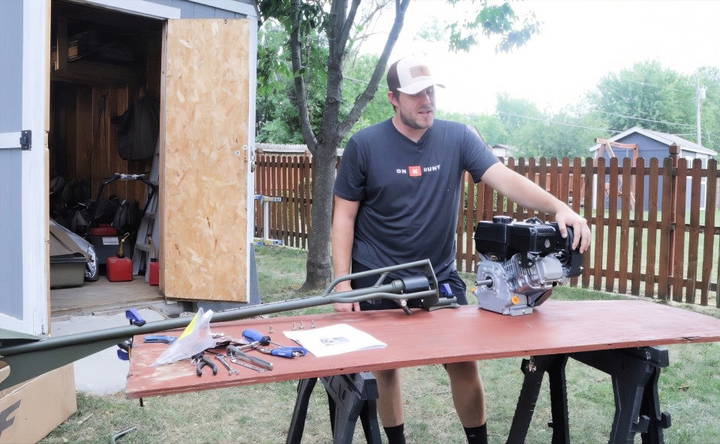
Having everything organized before starting assembly will streamline the process and help ensure nothing is overlooked.
Step 2: Mounting the Motor
Learn how to position and mount the motor effectively with our step-by-step guide. Ensure optimal performance and secure installation.
Positioning the Motor:
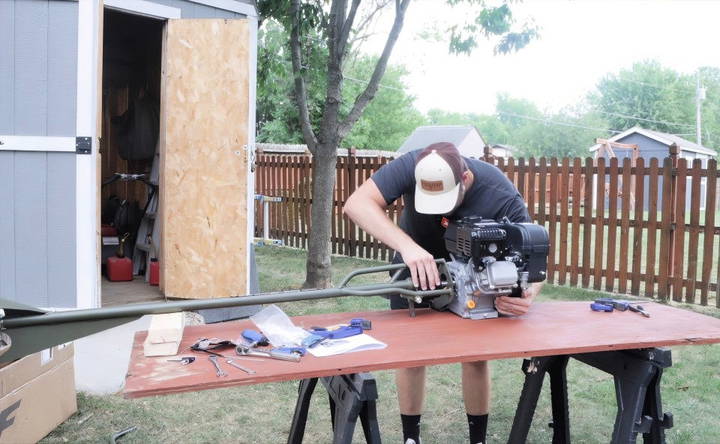
- Align the Key and Drive Shaft: The drive shaft must connect securely to the motor using a small key. This can be a tricky part, as both the key and shaft need to line up perfectly to slide into place.
- Using a couple of 2x4 pieces to prop up the motor can help align everything correctly.
- Bolt the Motor: Secure the motor to the tail by running four bolts through the provided holes. Make sure they're tightened securely.
- Once these bolts are in place, add a single bolt to mount the bottom of the motor to the kit assembly. Tighten it until it's snug to ensure stability.
Step 3: Applying Red Loctite for Security
Loctite is essential to prevent bolts from loosening due to vibration. This build uses red Loctite, which provides a permanent hold.
- Remove Set Screws: Unscrew two set screws from the assembly.
- Apply Loctite: Add a dab of red Loctite to each screw before reinserting them. This step keeps the screws tight and prevents unwanted loosening over time.
Step 4: Attaching the Handle and Throttle
Learn how to attach the handle and throttle with our step-by-step guide for handle assembly and throttle assembly.
Handle Assembly:
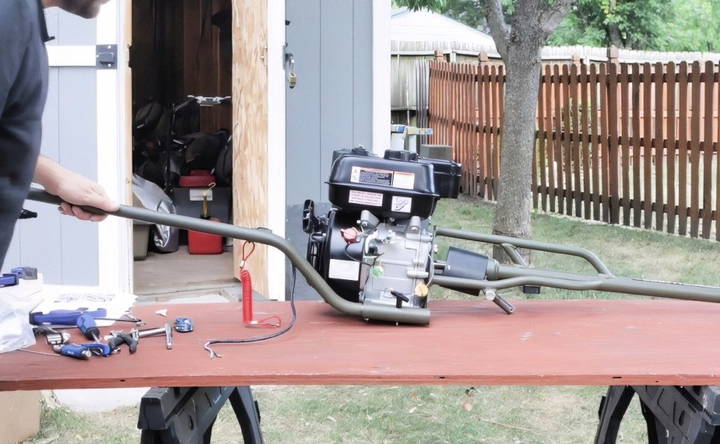
- Slide the Handle into Place: Insert the handle into the allocated slot on the motor assembly.
- Secure with T-Pin: Use a T-pin to lock the handle in place. This quick step ensures that your handle is secure and ready for action.
Throttle Assembly:
- Mount the Throttle Cable: The throttle cable connects to the motor and controls the throttle body. It's essential to keep this connection tight to avoid any “slop,” or excess play in the throttle.
- Tighten the Cable: Use vice grips to hold the throttle cable in place, ensuring it's securely fastened.
With the throttle cable tightened, give it a few tests to ensure it snaps back quickly, as a responsive throttle is essential for controlling the motor effectively.
Step 5: Greasing the Drive Shaft and Applying Heat Shrink
Proper lubrication is critical for the drive shaft's longevity and functionality.
- Apply Grease: Generously coat the drive shaft with grease, making sure to cover all contact areas.
- Apply Heat Shrink: Slide a piece of heat-shrink tubing over the greased shaft.
- Use a blow torch to carefully apply heat, causing the tubing to shrink and form a secure seal. Go slowly to avoid overheating and damaging the tubing.
The heat-shrink process can be delicate, so apply heat gradually to avoid melting or deforming the tubing.
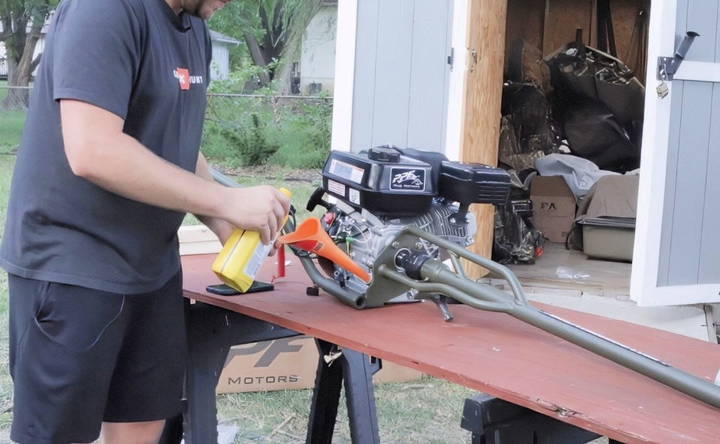
Step 6: Filling the Engine with Oil and Gas
- Oil: This build requires only half a quart of oil. Pour it carefully into the engine, checking levels to avoid overfilling.
- Gasoline: Fill the fuel tank with fresh gas to ensure optimal performance. Avoid using old or low-quality fuel, as it can affect the engine's start-up and efficiency.
Step 7: Starting Up the Motor
- Priming the Engine: Before starting, gently pull the starter rope a few times. This primes the engine by circulating oil and gas throughout the engine's components, preventing damage from a “dry start.”
- Initial Start: After a few priming pulls, pull the rope firmly to start the engine. If everything is set up correctly, the engine should start within one or two pulls.
- Adjust the Choke: Once the motor starts, adjust the choke to keep the engine running smoothly. After warming up, disengage the choke to allow the engine to idle normally.
Testing and Adjustments
After the initial startup, observe the engine's performance. You'll want to:
- Check for Smooth Operation: Ensure the engine idles and throttles up smoothly.
- Listen for Any Unusual Sounds: Knocking or irregular sounds could indicate loose components or an alignment issue.
- Inspect All Bolts and Connections: Recheck every bolt and set screw to confirm everything remains secure after the initial test.
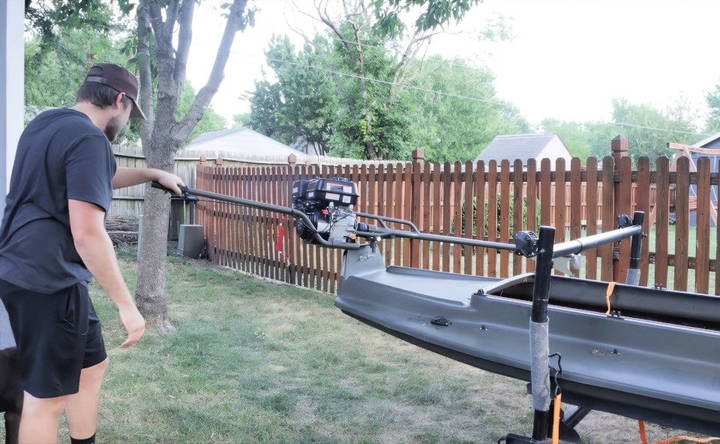
If everything runs well, the motor is ready for the water!
Maintenance Tips for Your DIY Mud Motor
Building the motor is only half the journey; maintaining it is key for longevity.
- Regular Greasing: Regularly apply grease to the drive shaft to reduce friction and prevent wear. A good rule of thumb is to grease the shaft before each boating season.
- Loctite Checks: Periodically check the bolts secured with Loctite. While Loctite prevents loosening, it's wise to verify tightness to avoid surprises on the water.
- Oil Changes: Changing the oil after every 20 hours of use can keep the engine running smoothly and prevent buildup or contamination that might harm the motor.
- Inspect Heat Shrink Tubing: The heat-shrink tubing around the drive shaft can wear out over time. Replace it as needed to maintain the seal and prevent dirt or moisture from compromising the drive shaft.
Troubleshooting Common Issues
Discover solutions to engine starting problems, throttle response issues, and operational vibrations or noise in this troubleshooting guide.
Engine Won't Start
- Check Fuel: Make sure the fuel tank has enough gas and that it's fresh.
- Inspect the Spark Plug: A dirty or worn-out spark plug can prevent the engine from starting. Clean or replace it if needed.
- Ensure Proper Oil Levels: Engines with low oil levels may fail to start as a protective measure.
Throttle Response Issues
- Tighten Throttle Cable: If the throttle response feels loose or unresponsive, recheck the cable's tightness.
- Inspect the Throttle Body: Make sure it's securely attached to the engine without any obstructions.
Vibration or Noise During Operation
- Recheck Bolts: Vibration can cause bolts to loosen over time. Regularly inspect and retighten as necessary.
- Examine Drive Shaft: Ensure it's properly greased and that the heat-shrink tubing is intact. Replace if necessary to prevent friction.
Final Thoughts: The Satisfaction of DIY Mud Motor Building
Building your own mud motor is an enjoyable project that enhances your boating experience, giving you reliable power for shallow water navigation. This guide should make the process straightforward, allowing you to avoid common pitfalls and complete the project successfully. With some attention to maintenance, your DIY mud motor can offer years of service, enabling you to navigate shallow waters and enjoy your water adventures to the fullest.
FAQs About DIY Mud Motor Assembly and Usage
Explore essential FAQs about DIY mud motor assembly and usage, covering building tips, maintenance, and troubleshooting for optimal performance.
The mud motor should be greased regularly, especially at the start of each boating season and after extended use. Look for the grease fitting near the skeg area, which is where grease should be applied. Proper greasing prevents wear and ensures smoother operation.
To remove bolts with red Loctite, apply heat to the surrounding area to soften the Loctite before unscrewing. This reduces the risk of stripping the bolt head. Heat guns or blow torches work well for this task, making it easier to remove set screws without damage.
Aside from greasing, regular oil changes are essential—aim for every 20 hours of use. Also, inspect the heat-shrink tubing on the drive shaft periodically, replacing it if it appears worn or damaged to maintain protection from dirt and water.
Yes, hearing protection is recommended. The muffler on the PPF Wood Duck kit is close to the operator's ears, making noticeable noise, especially at higher speeds. Protect your hearing by wearing earplugs or earmuffs.
First, check the fuel level and ensure it's fresh. Next, inspect the spark plug, as a dirty or worn plug can prevent starting. Finally, verify that oil levels are sufficient; some engines won’t start if oil levels are too low as a safety measure.
The throttle cable should be taut with minimal slack to ensure responsive control. Use vice grips to hold it securely while tightening the attachment points. A snug fit prevents “slop,” ensuring accurate throttle response while in use.
No, this motor does not require oil and gas to be mixed. The 6.5 HP Predator motor uses separate gasoline and oil, making maintenance easier and cleaner than two-stroke engines that require oil-gas mixing.
Pricing varies by kit and motor choice. The PPF Wood Duck kit typically costs around $400, while a compatible Harbor Freight Predator motor may cost approximately $150, depending on location and promotions.
Yes, this mud motor kit can be used on various small boats, such as jon boats and layout boats. Ensure your boat's transom is compatible with the mounting requirements of the mud motor for optimal stability and performance.
Always apply Loctite to key bolts to prevent loosening. Grease the drive shaft thoroughly, and wear hearing protection when operating. Additionally, keep hands and clothing clear of the propeller when running tests or adjustments.


