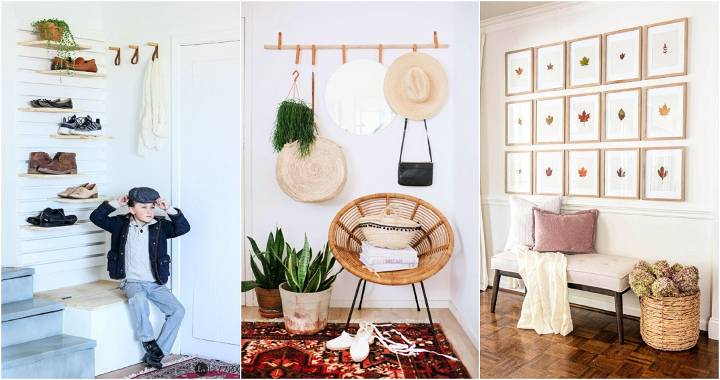
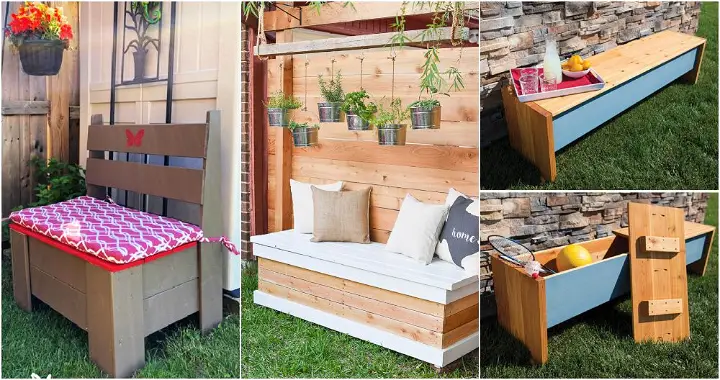
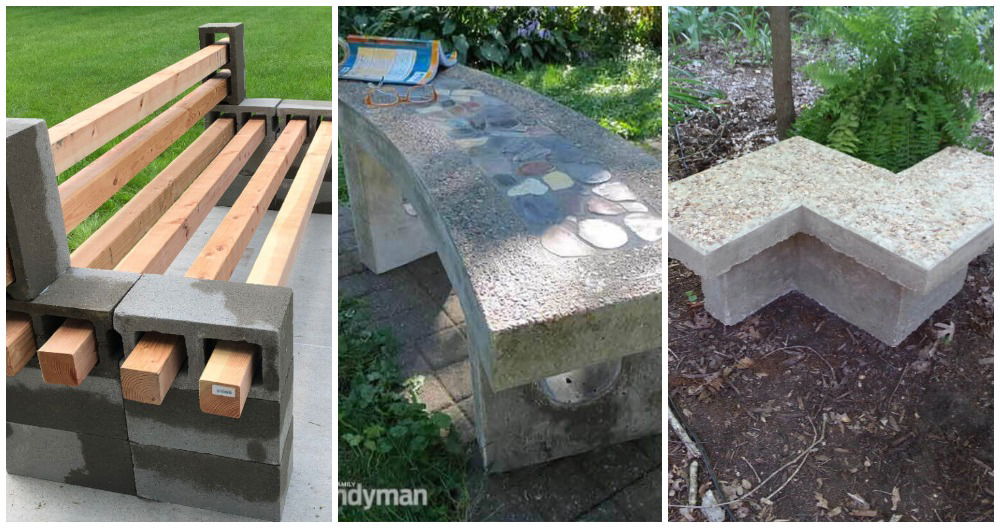
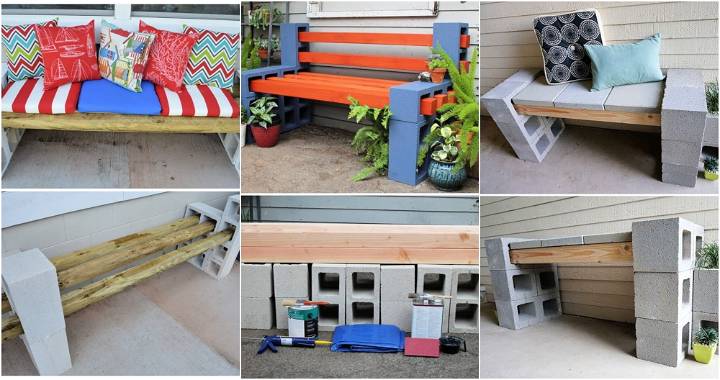
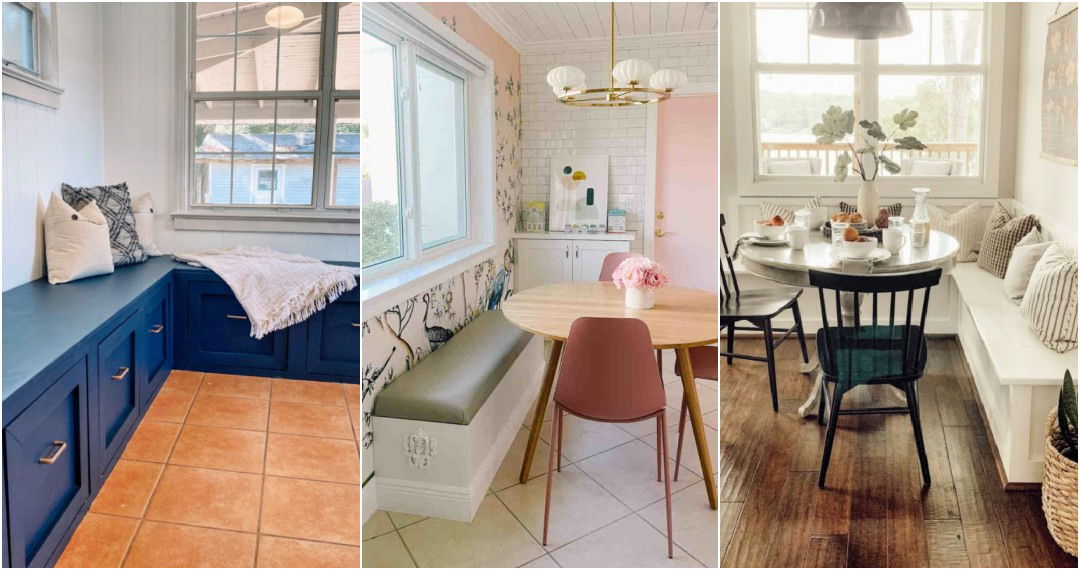
Building a DIY mudroom bench can be a fantastic project. One weekend, I decided to make a bench to enhance my entryway. It had always been cluttered, and I wanted to organize it better. After doing some research, I discovered that a bench with storage would be perfect. It aimed to keep shoes, bags, and other daily items neatly tucked away.
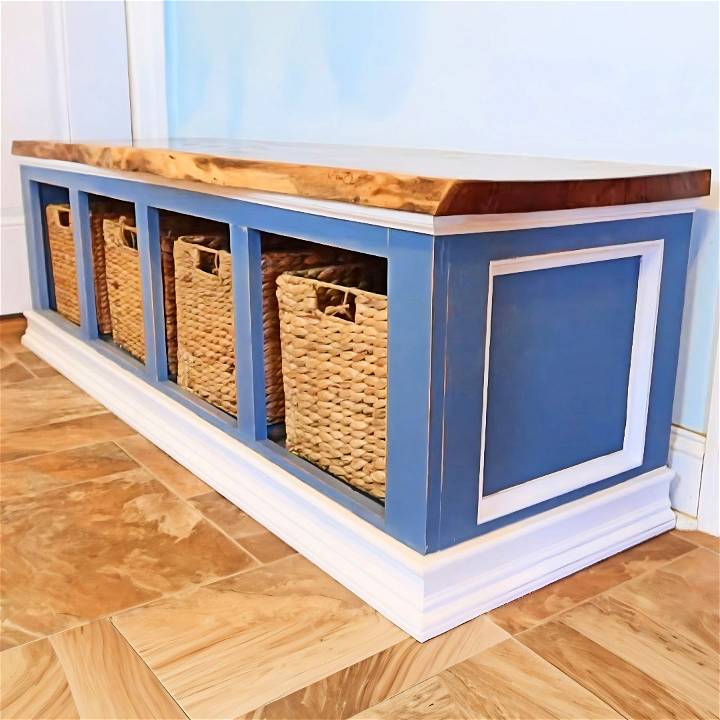
The process was surprisingly straightforward. I gathered some wood, screws, and basic tools. Following a step-by-step guide, I constructed a sturdy DIY mudroom bench with storage. Not only did it fit nicely in the space, but it also transformed the entryway. It became functional and inviting, making every entrance and exit much smoother.
I hope my experience can help you build your mudroom bench. Trust me, the effort is worth it. With simple tools and a bit of time, you can build something useful and long-lasting. Keep reading to find out more about how these steps can guide you through your project.
Materials and Tools Needed
Before we dive into the steps, let's talk about what materials and tools you'll need. It's crucial to have everything ready to streamline the process.
Materials
- Two 2x10s (or a live edge slab if you prefer a rustic look)
- Pocket hole screws (1* ¼ inch)
- Wood for the faceplate, side panels, bottom brace boards, bottom board, and top
- Baseboard and crown molding for detailing
- Paint or wood stain
Tools
- Kreg 720 Pro Pocket Hole Jig
- Adaptive Cutting System (or a reliable cutting table)
- Screwdriver or drill
- Measuring tape
- Clamps
- Miter saw
Why These Materials and Tools?
Choosing the right materials and tools is half the battle. The 2x10s, or a live edge slab, serves as the bench top, which is the focal point of the piece. Pocket hole screws will help secure the joints inconspicuously, giving the bench a clean finish. The Kreg 720 Pro and the Adaptive Cutting System are lifesavers for precise cuts and easy assembly. The other tools and materials will aid in the assembly, finishing, and detailing of the bench.
Step by Step Instructions
Learn how to build a DIY mudroom bench with our step-by-step instructions for a functional and stylish entryway.
Step 1: Cutting Your Materials
First, build a cut list based on your desired dimensions. Then, cut your materials accordingly. Precision is key here to ensure all pieces fit together seamlessly.
Step 2: Assembling the Faceplate
Lay out the cut pieces for the faceplate on a flat surface. Arrange the top rail inside the two legs, flush with the top. Install the 12-inch center boards and the bottom board, leaving an inch at the bottom. This will be covered by the base later.
Step 3: Preparing for Pocket Holes
With everything laid out, mark where you'll place your pocket holes. Each end of the center and bottom boards should have two pocket holes. This step is crucial for a strong assembly.
Step 4: Assemble
Now, use your pocket hole screws to assemble the faceplate. Ensure it's squared and aligned correctly before tightening the screws.
Step 5: Side Panels and Backer
Repeat the layout and pocket hole process for the side panels. For the backer, measure and cut a piece of wood that's slightly smaller than the assembled square—this facilitates easy assembly later.
Step 6: Attaching the Side Panels to the Faceplate
Use more pocket holes to attach the side panels to the faceplate. Precision here will pay off in the overall look and sturdiness of the bench.
Step 7: Bottom Brace Boards
These boards will support the bottom of the bench. Measure, cut, and fit them into place but don't fasten them yet.
Step 8: Preparing the Bench Top
Whether you chose a live edge slab or 2x10s, prepare your bench top by cutting it to size and finishing it with your chosen stain or sealant.
Step 9: Assembly
Fasten the bench top, then secure the bottom board and bottom brace boards, ensuring everything is square and tight.
Step 10: Finishing Touches
Add baseboards, crown molding, and paint or additional stain as desired to enhance the look of your bench. These details can elevate the simple construction into a piece that truly complements your space.
Customization Ideas for Your DIY Mudroom Bench
Building a mudroom bench that reflects your personal style and meets your storage needs can be both fun and rewarding. Here are some customization ideas to help you design a bench that's both functional and stylish:
Choose Your Style
- Classic: Opt for a traditional look with a white wooden bench, shaker-style panels, and brass hooks.
- Modern: Go for a sleek design with clean lines, a high-gloss finish, and minimalist hardware.
- Rustic: Use reclaimed wood for a warm, rustic feel, and add iron hooks for a touch of rugged charm.
- Farmhouse: Incorporate beadboard detailing and classic black metal hooks to achieve a cozy farmhouse aesthetic.
Select the Right Materials
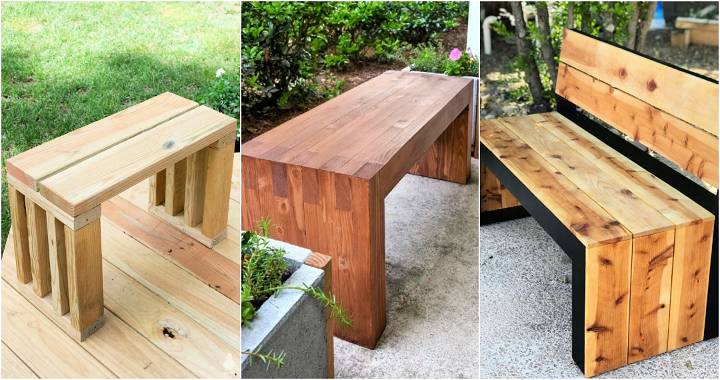
- Wood: Pine, oak, or cedar are great options for durability and appearance.
- Metal: Consider a metal frame for an industrial look and extra sturdiness.
- Composite: Use composite materials if you're looking for a low-maintenance and moisture-resistant option.
Add Functional Features
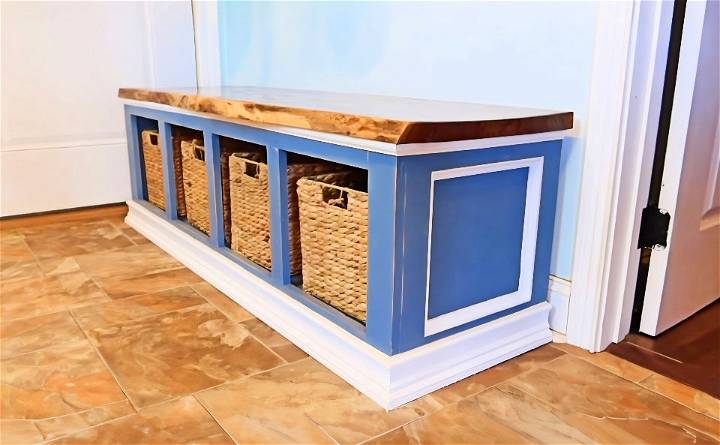
- Storage Baskets: Slide baskets under the bench for easy-to-access storage.
- Shoe Rack: Include a built-in shoe rack to keep footwear organized and off the floor.
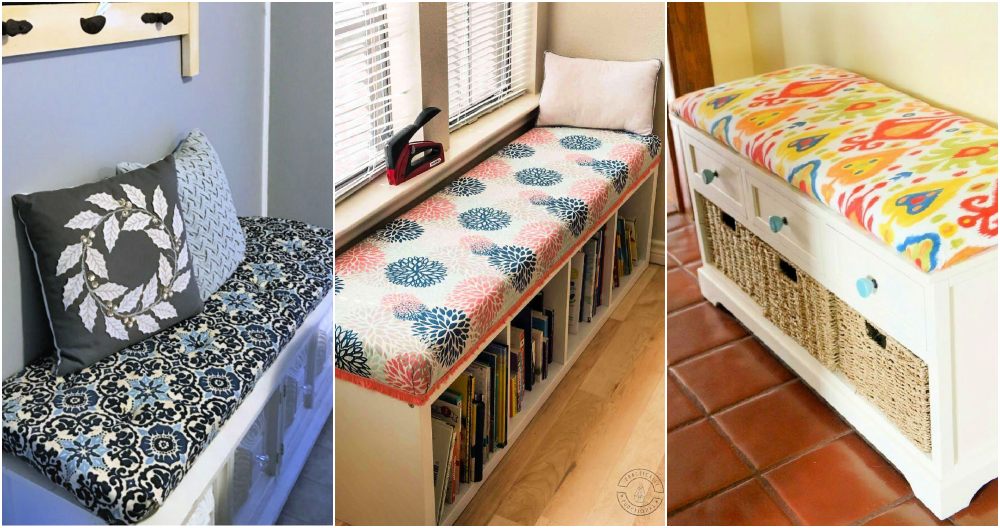
- Cushioned Seat: Add a cushioned top for comfortable seating while putting on shoes.
- Adjustable Shelves: Incorporate adjustable shelving to accommodate items of various sizes.
Personalize with Color
- Neutral Palette: Stick to whites, grays, or natural wood tones for a timeless look.
- Bold Accents: Paint the back panel or inside of cubbies in a bold color for a playful touch.
- Stain: Apply a wood stain to enhance the natural grain and add warmth to the space.
Accessorize
- Hooks: Choose hooks that match your style and provide ample hanging space.
- Labels: Use labels on baskets or cubbies to keep everyone's belongings organized.
- Decor: Place a vase of flowers or a framed photo on the bench to make it feel homey.
Personalize your DIY mudroom bench. Start with ideas, combine elements, and keep it practical yet creative. Make it simple and fun!
Troubleshooting Common Issues with DIY Mudroom Benches
When embarking on a DIY project like building a mudroom bench, it's common to encounter a few hiccups along the way. Here's a helpful guide to troubleshooting some of the most common issues you might face:
Unstable Bench
- Solution: Ensure all joints are properly secured. If the bench wobbles, check that all screws are tightened and that there's no unevenness in the legs. Adding corner braces can also increase stability.
Wood Splitting
- Solution: Prevent wood from splitting by pre-drilling holes, especially near the ends of the boards. Use the correct size drill bit and screws for the type of wood you're working with.
Paint or Stain Not Adhering
- Solution: For paint or stain to stick, the wood surface must be clean, dry, and sanded smoothly. Apply a primer designed for the type of surface you're working with before painting.
Misaligned Parts
- Solution: Measure twice and cut once. Use a square to ensure the angles are correct. If parts are already misaligned, disassemble and reassemble carefully, using clamps to hold pieces in place as you work.
Scratches and Dents
- Solution: Fill minor scratches and dents with wood filler, then sand the area until smooth. For deeper gouges, you may need to use a wood patch or replace the damaged board.
Sticky Drawers or Baskets
- Solution: Check for obstructions and ensure the drawer slides or basket tracks are clean. Apply a dry lubricant to the slides to improve movement.
Cushion Sliding Off
- Solution: Attach hook-and-loop tape to the bottom of the cushion and the top of the bench to keep it in place. Alternatively, add a lip to the edge of the bench to prevent the cushion from moving.
Anticipate common issues and know how to address them to tackle your DIY mudroom bench confidently. Patience and attention to detail are key.
FAQs About DIY Mudroom Bench
Get answers to frequently asked questions about DIY mudroom bench projects, including tips, materials, and step-by-step guides for your home.
A mudroom bench is a piece of furniture typically placed in the entryway of your home where you can sit down to remove shoes and store them along with other outdoor gear. It’s a practical addition to keep your home clean and organized, providing a designated spot to handle dirty footwear and outerwear.
Absolutely! One of the benefits of building your own mudroom bench is that you can tailor it to the exact dimensions of your space. Whether you have a small nook or a large mudroom, you can design a bench that fits perfectly.
The time it takes to build a mudroom bench can vary based on the complexity of the design and your skill level. Simple designs can be completed in a day, while more intricate ones might take a weekend or longer. It’s important to set aside enough time to ensure a quality build.
Yes, there are many plans available that are suitable for beginners. These plans often come with step-by-step instructions and require basic tools and materials. Look for plans labeled as “easy” or “for beginners” to ensure a smooth building process.
To maximize the functionality of your mudroom bench, consider adding built-in storage options. You can include drawers or cabinets underneath the seating area for items like hats, gloves, and scarves. Open shelving or cubbies are great for storing shoes and baskets for small items. Hooks or pegs above the bench can hold coats and bags. Remember, the key is to customize the storage to fit your family's needs and the items you use most often.
Conclusion:
By sharing this, I trust you'll find it beneficial and get started on your DIY mudroom bench. This will help you build an organized and welcoming entryway. Enjoy the process!


