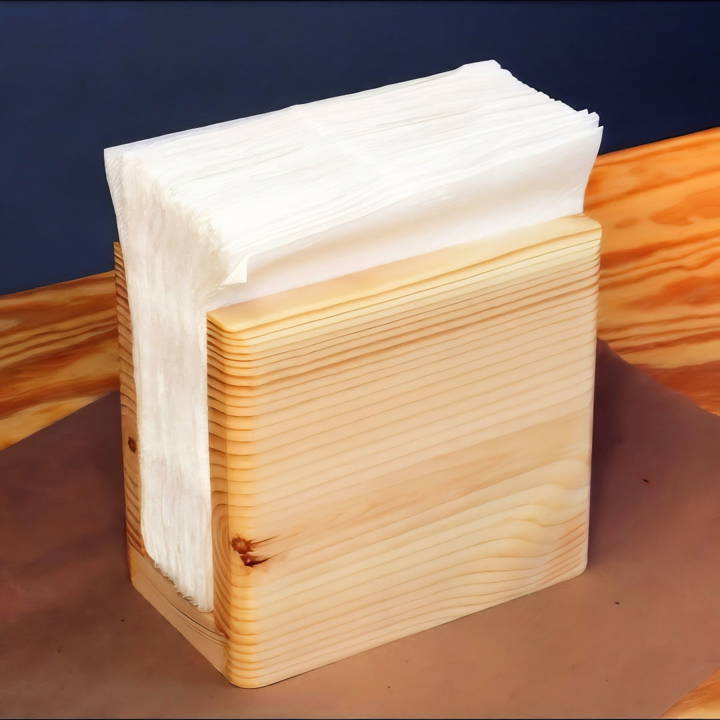
Building a DIY napkin holder is a simple and fun project. I remember needing one for a family barbecue and deciding to make it myself. I gathered some basic materials and followed a few easy steps. Within no time, I had a neat, functional napkin holder that added a personalized touch to our table setting. The process was incredibly satisfying and straightforward.
Having a napkin holder not only keeps napkins organized but also adds charm to the dining area. With just a little effort, anyone can make a unique piece. I'm excited to share this DIY project because it's so easy and rewarding. These steps will guide you to make your very own napkin holder quickly and efficiently. Trust me, you'll love the end result!
Starting this DIY napkin holder project is the first step towards adding a bit of creativity and functionality to your home. Follow the instructions below, and you'll build a napkin holder in no time. It's a wonderful way to get creative without needing extensive crafting skills.
Gathering Materials
Discover essential gathering materials and understand their significance. Optimize your projects with our comprehensive guide to must-have materials.
Materials Needed:
- Scrap wood: one 1x4 for the base and one 1x6 for the sides. I chose these sizes based on the leftover wood I had from previous projects, aiming for a finished napkin holder measuring six inches in length.
- Sandpaper (220 grit)
- Wood glue
- Lacquer for finishing
- Clamps
Why These Materials?
The selection of wood types plays a crucial role in the project's success. Using scrap wood not only saved costs but also provided an opportunity to repurpose leftover materials. Sandpaper ensured a smooth finish, essential for both aesthetics and safety. Wood glue and clamps were vital for assembling the pieces securely, and lacquer was selected for its ease of application and durability, giving the napkin holder a polished and protective finish.
Step by Step Instructions
Learn to make a DIY napkin holder with these easy, step-by-step instructions. From cutting wood to assembly and finishing touches, get started today!
Measuring and Cutting Your Wood
- Measuring: Begin by measuring the 1x4 piece at six inches for the base. Do the same for the 1x6 pieces, which will serve as the sides of the napkin holder.
- Cutting: Using a saw, carefully cut along the marked lines. Accuracy is key here; ensure the cuts are straight to avoid complications during assembly.
Rounding Edges
- Routing: I opted to round the edges of my pieces with a router and a 3/8 inch round-over bit, except for the base's bottom edge. This not only added an elegant touch but also removed any sharp edges.
Building the Base
- Adjustment: The original width of the base was too broad for my liking, risking an excessively spacious holder. I reduced its width to 2 and 3/4 inches to make a snug fit for the napkins.
- Rabbit Joints: I didn't have a dado blade, so I creatively used multiple passes with the table saw to achieve rabbit joints. This step required patience and precision, as accuracy in the joints ensured a neat and sturdy assembly.
Sanding
- Preparation: Before assembly, I sanded down every piece with 220-grit sandpaper, aiming for a smooth surface. It's much easier to sand the pieces before they are glued together.
Assembly
- Gluing: Applying wood glue to the joints, I carefully fitted the pieces together. Wood glue can be stubborn, but with some effort, it willingly complied.
- Clamping: Once glued, I secured the assembly with clamps to ensure a tight bond while the glue dried. Watching the piece come together was satisfying.
Finishing Touches
- Lacquering: After the glue dried and the clamps were removed, I applied lacquer to the napkin holder. It brought out the wood's natural beauty while providing a protective layer.
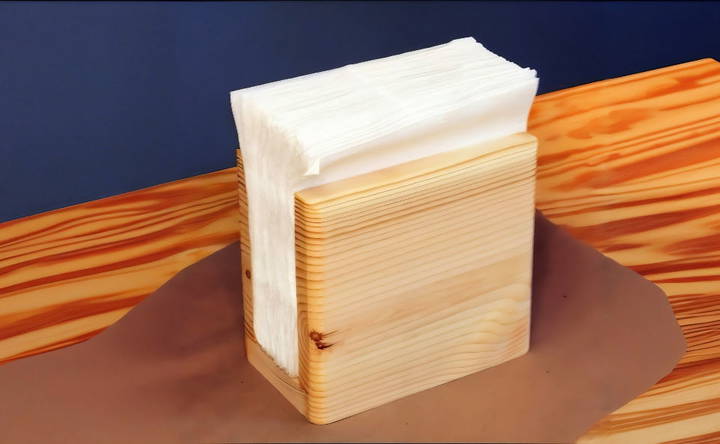
- The Reveal: With the lacquer dry, the napkin holder was complete. It was a simple design but elegant and functional. Holding it, I felt a surge of pride. My first woodworking project was a success.
Design Customization Ideas
Designing a DIY napkin holder lets your creativity shine. For special occasions or personalizing your table, here are some ideas to inspire you:
- Choose Your Theme: Start by deciding on a theme that reflects your personal style or the occasion. It could be as simple as a color scheme or as elaborate as a holiday motif. For example, a beach theme could include elements like shells and sand, while a Christmas theme might feature red and green colors with snowflake cutouts.
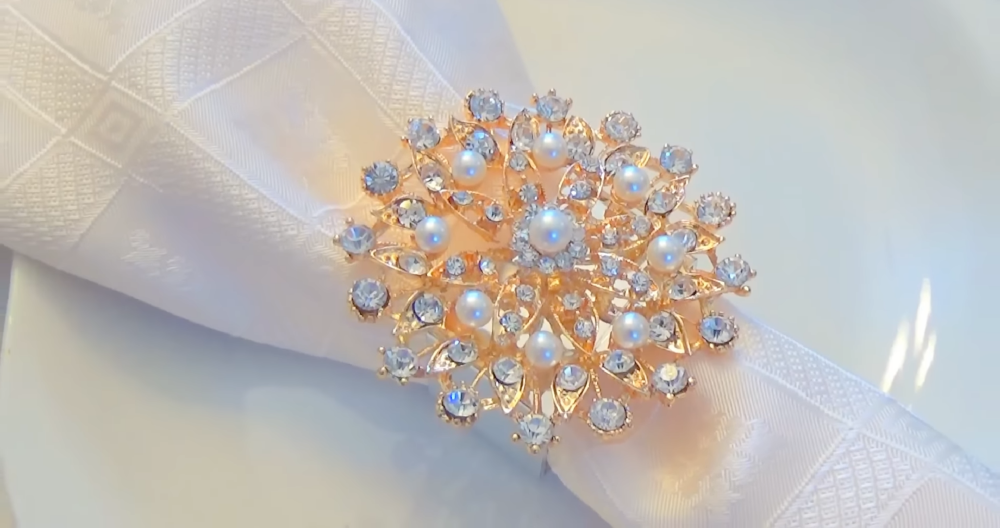
- Play with Materials: The choice of material can transform the look and feel of your napkin holder. Consider using wood for a rustic touch, metal for a sleek look, or cardstock for a fun and colorful option. You can even mix materials, like combining burlap with lace, for a shabby chic effect.
- Add Personalization: Make your napkin holder truly unique by adding personalized elements. This could be as simple as monogramming initials or as detailed as building custom shapes that represent something meaningful to you.
- Incorporate Texture: Texture adds depth and interest to any design. Think about including elements like jute twine for a natural look or glitter cardstock for a bit of sparkle. Even the way you fold or layer materials can add texture to your design.
- Consider Functionality: While aesthetics are important, don't forget about functionality. Ensure your napkin holder is sturdy and the right size for your napkins. If you're hosting an outdoor event, you might want to design a holder that keeps napkins from blowing away.
- Eco-Friendly Options: In line with current trends, consider eco-friendly materials that are either biodegradable or recyclable. This not only helps the environment but also resonates well with guests who value sustainability.
Incorporate these design ideas to craft a functional and conversation-worthy napkin holder.
Difficulty Level and Time Estimates
Building a DIY napkin holder can be a fun and rewarding project. To help you plan, here's a breakdown of the difficulty level and time estimates:
Difficulty Level:
This project is easy to moderate. It's suitable for beginners who have basic crafting skills, as well as for those with more experience looking for a quick and enjoyable task.
Time Estimates:
- Preparation: Gathering your materials and setting up your workspace should take about 15 minutes. Use this time to ensure you have everything you need within reach.
- Crafting: The actual making of the napkin holder will vary depending on the complexity of your design. For a simple holder, expect to spend about 30 to 45 minutes. If you're adding intricate details or customizations, it may take up to 1 to 2 hours.
- Finishing Touches: Allow an additional 10 to 15 minutes for any final adjustments, such as painting or adding decorative elements.
Total Time:
On average, you should allocate about 1 to 3 hours to complete your DIY napkin holder from start to finish.
These are just estimates. Take your time to enjoy the crafting process, and don't rush. The joy is in building something unique with your own hands.
Maintenance and Care Tips
Taking care of your DIY napkin holder is essential to ensure it remains a beautiful and functional part of your table setting for years to come. Here are some straightforward tips to maintain and care for your napkin holder:
- Regular Cleaning: Keep your napkin holder clean by wiping it with a damp cloth. If it's made of wood or metal, avoid using too much water, which could damage the material.
- Avoid Harsh Chemicals: Steer clear of harsh cleaning agents, especially if your napkin holder has a painted or varnished surface. Gentle soap and water are usually sufficient.
- Dusting Off: Dust can accumulate in nooks and crannies. Use a soft brush or cloth to dust your napkin holder regularly to keep it looking fresh.
- Immediate Spill Response: If something spills on your napkin holder, clean it up immediately to prevent staining, especially if the material is porous.
- Proper Storage: When not in use, store your napkin holder in a dry place to prevent moisture damage or warping.
- Regular Inspections: Check for any loose parts or damage periodically. If you find any, repair them promptly to prevent further deterioration.
- Sunlight Protection: If your napkin holder is made of material that can fade, such as fabric or dyed wood, keep it out of direct sunlight.
By following these simple care tips, you'll keep your DIY napkin holder in top condition, making it a lasting addition to your dining experience.
FAQs About DIY Napkin Holder
Discover answers to popular questions about DIY napkin holders, including materials, steps, and styling tips to make your own unique design.
Absolutely! You can use recycled materials like cardboard, old clothespins, or even popsicle sticks to make a napkin holder. These materials can be cut, painted, and glued to make a functional and environmentally friendly napkin holder.
Customization can be done by painting your napkin holder in colors that match your decor, adding patterns or designs, or attaching decorative elements. You can also experiment with different shapes and sizes to fit your personal style or the amount of space you have available.
Basic tools like a saw (if working with wood), scissors (for cutting materials like cardboard), a paintbrush, and a glue gun are usually sufficient for most DIY napkin holder projects. If you’re working with wood, you might also need a drill or screwdriver for assembly.
Yes, there are many simple designs that are perfect for beginners. For instance, a basic napkin holder can be made by bending a piece of wire into a loop or using a small box as a base and decorating it to your taste. These projects require minimal tools and materials but still allow for creativity and personalization.
To ensure durability, choose sturdy materials like wood or metal if possible. If you're using cardboard or other recycled materials, consider reinforcing them with multiple layers or a frame. Applying a sealant or a protective layer of Mod Podge can also help protect your napkin holder from wear and tear. Additionally, make sure all joints and connections are securely glued or fastened to prevent the holder from coming apart with regular use.
Final Thoughts
Wrapping up, making your own DIY napkin holder is a quick and satisfying project. In just a few minutes, you can make a practical and stylish piece for your table setting. Remember, making a DIY napkin holder not only saves money but also allows for personalized designs that match your decor perfectly. Share your creations with friends and family, inspiring them to make their own!


