Healthy, well-moisturized hair is essential for maintaining strength, reducing breakage, and promoting natural growth. Many people with natural or curly hair struggle with retaining moisture, which can make hair feel dry and brittle. A solution? A rich, creamy DIY natural hair moisturizer made from natural ingredients that penetrate and seal moisture, leaving hair softer, stronger, and more resilient.
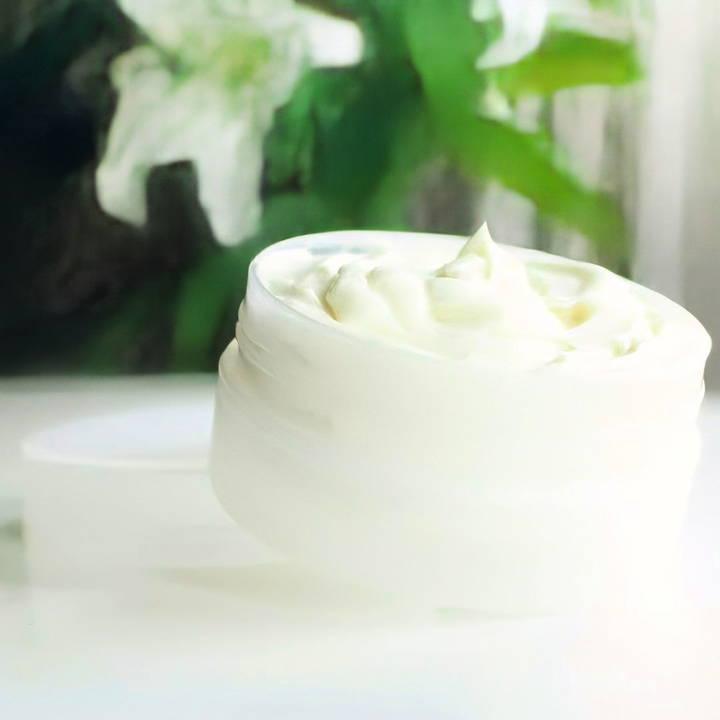
This guide will show you how to make a DIY hair cream with avocado butter, oats, olive oil, and other hair-nourishing ingredients. Perfect for all hair types, this cream especially benefits those with curly, coily, or dry hair.
Why Make a DIY Hair Moisturizer?
Making your own hair moisturizer allows you to control the ingredients and ensure that only nutrient-rich, hydrating components make their way into your hair care routine. Many store-bought hair products can be heavy, greasy, or filled with ingredients that coat the hair without truly hydrating it. This homemade hair cream, with ingredients like avocado butter and colloidal oats, not only moisturizes but also nourishes each strand, helping to promote hair growth and maintain elasticity.
Benefits of DIY Hair Cream:
- Tailored to Your Hair's Needs: Customize ingredients based on what works best for your hair type.
- Natural Ingredients: Avoid synthetic additives and fragrances that can irritate the scalp.
- Cost-Effective: Make a salon-quality product at a fraction of the cost.
Essential Ingredients and Their Benefits
- Avocado Butter: Made from the flesh of ripe avocados, this butter is rich, creamy, and melts on contact. It effortlessly penetrates the hair shaft, providing deep hydration. Avocado butter helps seal moisture, preventing breakage and split ends. Unlike shea butter, it's lightweight, making it suitable even for layering with other products.
- Colloidal Oats: Ground oats that add a hydrating boost to the cream. They attract moisture to the hair, which is crucial for keeping natural hair types supple and flexible.
- Olive Oil, Coconut Oil, and Jojoba Oil: Each oil has unique properties: olive oil strengthens, coconut oil deeply penetrates, and jojoba oil mimics the natural oils in the scalp, balancing moisture. These oils collectively enhance the moisturizing effects of the cream.
- Glycerin: A humectant that draws moisture from the environment into the hair, making it ideal for dry climates. Glycerin helps maintain moisture levels throughout the day.
- Emulsifying Wax: Helps combine oil and water phases, making a stable cream. This keeps the product from separating, ensuring a smooth consistency.
- Vitamin E Oil: An antioxidant that protects the cream from becoming rancid and promotes scalp health, which can improve hair growth.
- Essential Oils (Optional): Add a pleasant fragrance. Use essential oils like lavender, rosemary, or tea tree oil to customize the scent, but keep it minimal as a little goes a long way.
Step by Step Instructions
Learn how to make a DIY hair moisturizer with our simple, step-by-step instructions for nourished and hydrated hair naturally.
Ingredients
- 183 ml distilled water
- 12 ml glycerin
- 2 g colloidal oats
- 25 g avocado butter
- 5 ml olive oil
- 5 ml coconut oil
- 5 ml jojoba oil
- 13 g emulsifying wax
- 1 g Vitamin E oil
- 1 g essential oil (optional, for fragrance)
- 2-4% preservative (amount depends on the preservative you choose, such as Leucidal Liquid SF)
Equipment
- Heat-safe glass bowls
- Whisk or immersion blender
- Measuring spoons and cups
- Container for finished product
Step 1: Prepare Your Ingredients
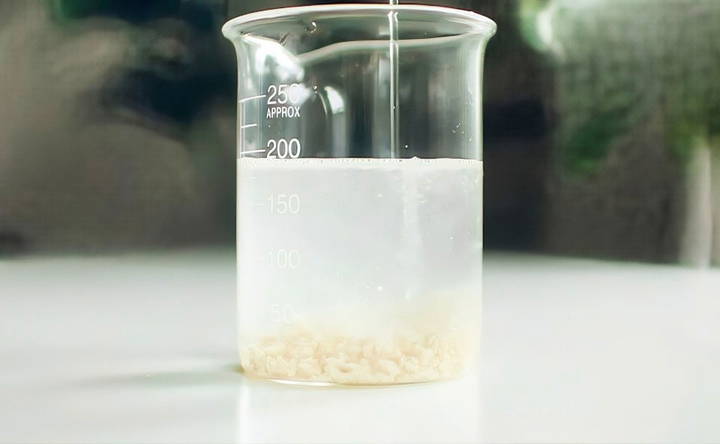
- Measure out the Water Phase: Combine distilled water, glycerin, and colloidal oats in a heat-safe glass bowl. Colloidal oats add a significant hydration boost, but regular oats can be substituted if finely ground.
- Measure out the Oil Phase: In another bowl, measure the avocado butter, olive oil, coconut oil, jojoba oil, and emulsifying wax.
Step 2: Heat and Melt
- Use a Double Boiler: Place both the water and oil phases in separate bowls in a double boiler setup to heat gently.
- Melt Until Combined: Allow the ingredients to melt completely and heat to around 70°C. This temperature helps emulsifying wax and avocado butter combine seamlessly without compromising the beneficial properties of each ingredient.
Step 3: Combine the Phases
- Slowly Pour the Water Phase into the Oil Phase: Once both are melted and at the same temperature, pour the water phase into the oil phase while stirring.
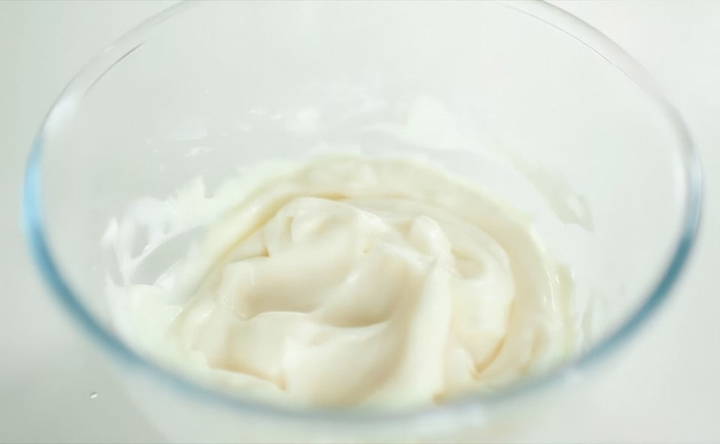
- Blend to Form an Emulsion: Use an immersion blender or whisk to combine. This helps the mixture turn creamy and ensures the ingredients won't separate over time.
Step 4: Cool and Add Preservatives
- Let the Mixture Cool: Continue stirring until the mixture cools down to around 45°C.
- Add Vitamin E, Preservative, and Essential Oil: Once cooled, add Vitamin E oil as an antioxidant, a preservative to extend shelf life, and essential oils if desired. Blend well to ensure everything is fully incorporated.
Step 5: Transfer and Store
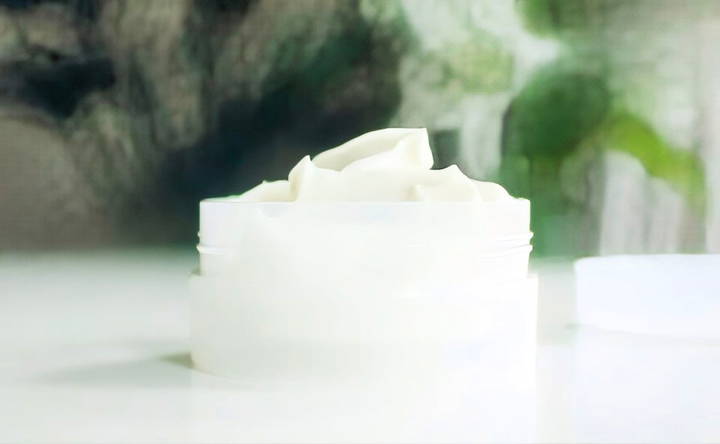
- Pour into Containers: Transfer your completed hair cream into a clean container. A large jar is ideal for home use, and a small travel bottle ensures you can take it on the go.
- Label and Store: Properly label the container with the date. Since this cream contains water, the preservative will help it last up to six months in a cool, dry place.
How to Use the DIY Hair Cream
Learn how to use DIY hair cream for nourished, glossy hair. Step-by-step guide to maximize shine and hydration effortlessly.
Daily Moisturizer
- Apply to Damp Hair: After washing or spritzing your hair, apply a small amount of the cream to your hair, focusing on the ends where moisture is often lost.
- Use Sparingly: A little goes a long way, especially with lightweight yet moisturizing ingredients like avocado butter.
For Protective Styles
- Twist Outs and Braid Outs: Apply the cream before twisting or braiding your hair. This cream helps retain moisture and adds definition, making it ideal for protective styles.
As an Overnight Treatment
- For Fine or Light Hair: Apply generously, then cover with a shower cap before bed. Wash out in the morning for deeply conditioned, refreshed hair.
Customizing the Recipe
One of the best aspects of DIY hair care is flexibility. Here are a few ideas to modify the recipe:
- Oil Substitutions: If you don't have olive, coconut, or jojoba oil, feel free to substitute with argan, sweet almond, or grapeseed oil. Each oil has its own benefits, so experiment to find what works best for you.
- Thicker Consistency: Increase the amount of avocado butter or add a small amount of shea butter for a denser, richer cream.
- Scalp Concerns: Add tea tree or peppermint oil for a soothing effect on dry, itchy scalp. Essential oils like rosemary and lavender can also stimulate blood circulation, potentially enhancing hair growth.
- Humidity Adjustments: If you live in a humid area, you might want to reduce the glycerin slightly, as it can pull in excess moisture and make hair feel frizzy.
Tips for Best Results
- Avoid Product Build-Up: Use sparingly to prevent buildup, which can weigh hair down over time. If buildup occurs, clarify with a gentle cleansing shampoo.
- Store Properly: Keep the cream in a cool, dry place to extend its shelf life. Avoid direct sunlight or heat, which can break down the natural oils.
- Patch Test: Always patch-test new ingredients on a small section of skin to ensure no allergic reactions occur.
Conclusion:
Making your own DIY hair moisturizer is a fulfilling way to care for your hair. This natural, avocado-based hair cream locks in moisture, strengthens each strand, and enhances overall hair health. Tailor the recipe to suit your preferences, and enjoy the peace of mind knowing you're nourishing your hair with only the best ingredients. Whether for daily use or as an intensive treatment, this DIY moisturizer can be a game-changer in your hair care routine.
By investing a bit of time and effort into crafting this cream, you're taking a significant step towards healthy, hydrated hair—without breaking the bank or compromising on quality. Give it a try and see the difference for yourself!
FAQs About DIY Hair Moisturizer
Explore common questions about DIY hair moisturizer. Enhance hair health naturally with these expert tips and easy recipes.
Yes, the ingredients are gentle and should not affect color-treated hair. However, if you have specific color treatments, consult with your stylist to ensure compatibility.
It depends on your hair type. People with dry or curly hair may benefit from daily use, while those with finer hair might prefer weekly treatments or overnight applications.
Both butters have their benefits, but avocado butter is lighter and absorbs better for hair types prone to dryness and breakage without weighing down the strands.
Yes, you can use alternatives like mango butter or murumuru butter. These are also soft, lightweight butters that won’t weigh down the hair, unlike heavier options like shea butter.
Yes, it can be used on children’s hair. However, perform a patch test first to ensure no sensitivities. Essential oils should be minimized or omitted for young children to avoid potential irritation.
Yes, this DIY hair cream is designed to be a leave-in moisturizer. It seals in moisture effectively, making it ideal for maintaining hydration throughout the day.
With a proper preservative, this cream should last around six months at room temperature. Ensure containers and utensils are sterile to prevent contamination.
Yes, this cream works for low-porosity hair, though it may benefit from application on damp hair to help lift the cuticle and allow the product to penetrate more effectively.
If mold develops, it could indicate an insufficient preservative amount or improper storage (e.g., exposure to humidity in bathrooms). Consider adjusting the preservative quantity based on the type you use and ensure it is stored in a cool, dry place.
Yes, but it's recommended to finely grind the oats into a powder to avoid grainy texture. Colloidal oats dissolve more smoothly, but finely milled oats can be a workable substitute.
Glycerin helps draw moisture to the hair, but if you prefer, you can replace it with another humectant like honey or skip it entirely, though this may affect hydration.
You can use a variety of emulsifying waxes. The important factor is choosing a reliable wax that keeps the water and oil phases stable. Emulsifying wax NF is common, but BTMS-50 is also an effective option.
Yes, extracts can be added, but introduce them during the cool-down phase to preserve their properties. Be mindful of their concentration to avoid any irritation, especially with potent extracts.


