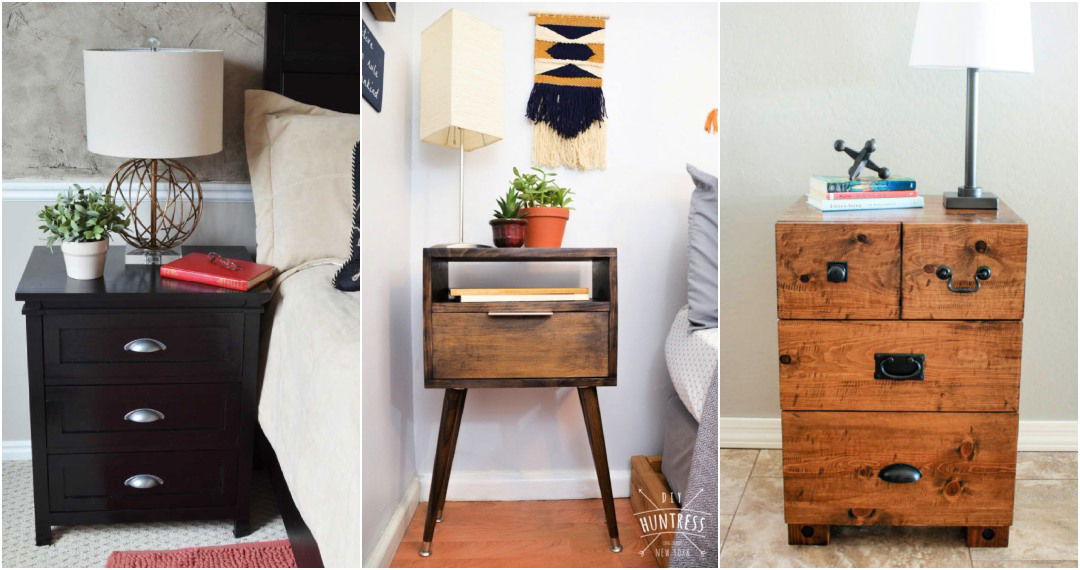
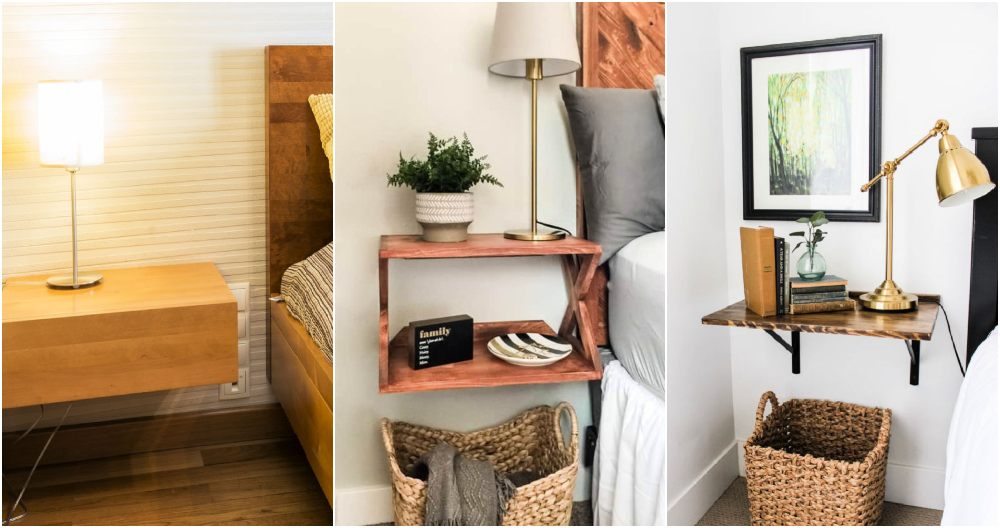
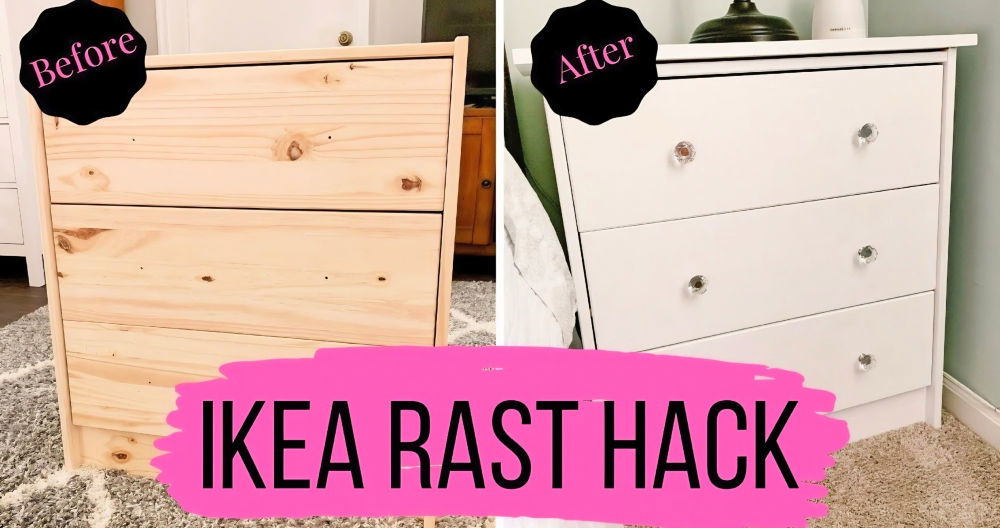
Starting a project can feel overwhelming, but building a nightstand is a great way to learn DIY skills. I remember the first time I decided to make my own DIY nightstand. I had no idea where to start, but free plans saved me a lot of stress. They provided step-by-step instructions and clear measurements. I found myself excited and ready to build.
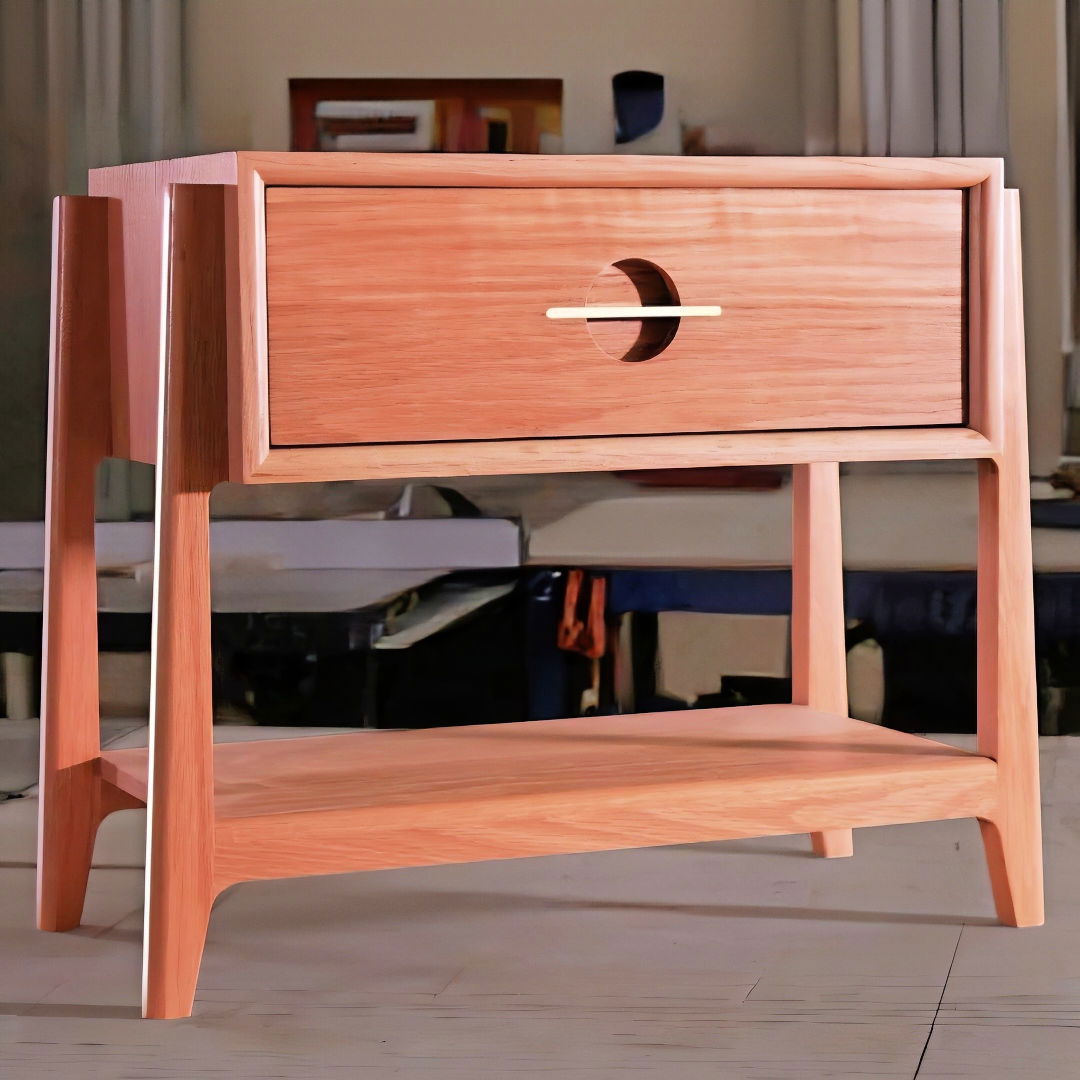
The tutorial was incredibly helpful. With basic tools and materials, I followed each step carefully. The feeling of watching my work take shape was fulfilling. Building my own nightstand not only improved my skills but also gave me a piece of furniture I was proud of.
I'm here to tell you that with simple DIY nightstand plans, you can do it, too.
Materials and Their Purpose
- White Oak Lumber: Selected for its durability and the aesthetic it shares with our existing bed frame.
- Four Quarter Lumber: Essential for constructing a sturdy box that houses the drawer, offering a blend of strength and elegance.
- MDF Templates: Indispensable for ensuring precise cuts, especially for the legs and intricate parts requiring high accuracy.
- Brass Bar: Chosen as the drawer pull for a sleek, modern touch that complements the white oak's natural beauty.
- Wood Glue, Dominoes, and Screws: The glue provides the primary holding strength, with dominoes and screws to reinforce joints and ensure longevity.
- Router and Router Bits: Key tools for shaping edges and making detailed recesses, making the nightstand visually appealing and tactilely engaging.
Understanding Your Tools
Before we delve into the build, it's crucial to familiarize yourself with the major tools. A reliable table saw, a wood router, and, if available, a Festool Domino joiner stand out as the heroes of this project. Alternative methods are highlighted for those without access to specific tools, ensuring this project is within reach for every aspiring woodworker.
Step by Step Instructions
Build your own DIY nightstand with our easy step-by-step guide. Perfect for beginners and adds a personal touch to your bedroom decor.
Step 1: Breaking Down Lumber for the Drawer Box
First up, we tackle making the small box that will house the drawer. The key here is precision in cutting the lumber to ensure seamless miter joints. Marking and organizing your cuts meticulously sets the foundation for the entire project. A continuous grain wrap accentuates the box's aesthetic appeal, making each step count twice as much.
Step 2: Assembling the Box
Using miter joints at the corner of the box not only tests your accuracy but significantly enhances the final look. Wood glue reinforced with dominoes (or dowels/biscuits if you prefer) holds everything together. Remember, a dry fit before the final glue-up can save you from many headaches, ensuring everything aligns perfectly.
Step 3: Crafting the Legs/Base Assembly
The nightstand's appeal isn't just in the storage it offers but also its stance. Crafting the legs requires patience and attention to detail. Using MDF templates simplifies replicating the desired shape and ensures uniformity. The integration of legs to the drawer box involves precise drilling and screws for a sturdy build.
Step 4: The Drawer and Drawer Front
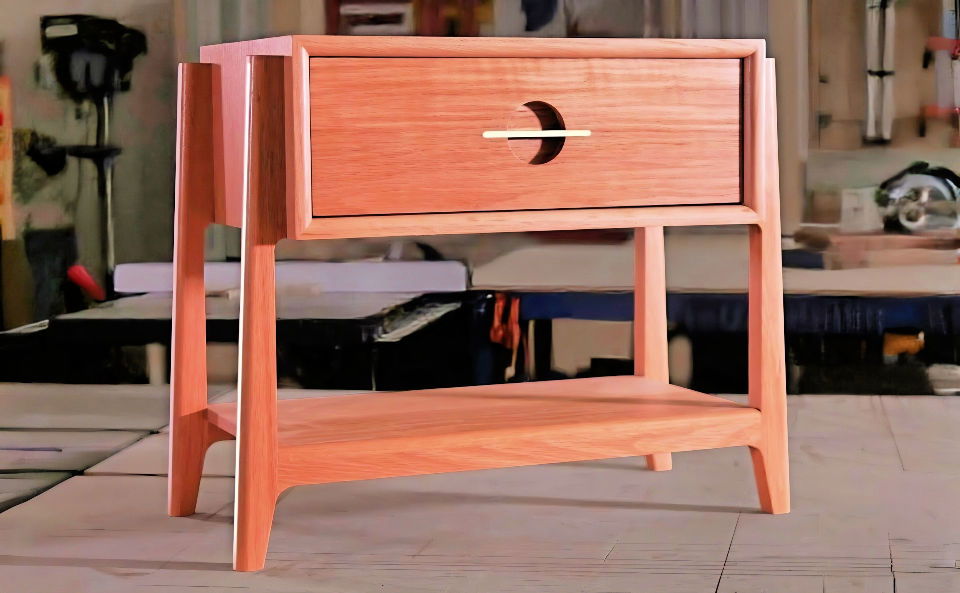
The drawer itself underscores the importance of accurate measurements and cuts. Rabbets on the drawer sides provide a clean look and durable construction. Incorporating a unique drawer front featuring a circular recess with a brass bar not only elevates the design but also provides a satisfying DIY challenge.
Finishing Touches
Choosing the right finish is paramount. A clear finish that highlights the oak's natural grain makes for a visually enthralling piece. Sanding, applying the finish, and final assembly bring every painstakingly crafted element together, culminating in a product that resonates with expertise and craftsmanship.
Design Customization Ideas
When making your DIY nightstand, the design is just as important as the build itself. It's the part where you can inject your personality and match the nightstand to your room's decor. Here are some ideas to help you customize your design:
- Choose Your Style Start by deciding on the style that best suits your space. Whether it's modern, rustic, industrial, or minimalist, your choice will guide the rest of your design decisions.
- Selecting Materials The materials you choose can greatly affect the look and feel of your nightstand. Consider using reclaimed wood for a rustic touch or metal and glass for a modern look. For a budget-friendly option, repurposed items like old drawers or crates can be transformed into unique nightstands.
- Color and Finish Color can make a big statement. You might paint your nightstand in a bold color to make it a focal point or choose a subtle hue that complements your bedroom palette. Don't forget about the finish – matte, glossy, or satin can each give a different vibe.
- Hardware Selection The knobs and pulls are the jewelry of your nightstand. They can be sleek and simple or ornate and bold. Changing the hardware is an easy way to update the look.
- Functional Features Think about what you need from your nightstand. Do you want a drawer for storage, a shelf for books, or a hidden compartment for personal items? Design your nightstand to meet these needs.
- Personal Touches Finally, add some personal touches. This could be a stencil design, a piece of art, or even a built-in charging station for your devices. These details will make your nightstand uniquely yours.
For a successful DIY project, make it personal and functional. Use these ideas to build a practical, stylish nightstand.
Advanced Techniques
For those who are ready to take their DIY nightstand project to the next level, incorporating advanced techniques can add both functionality and aesthetic appeal. Here are some sophisticated methods to consider:
- Dovetail Joints Instead of simple screws or nails, try using dovetail joints for the drawers. This classic carpentry technique not only strengthens the construction but also adds a touch of craftsmanship.
- Integrated Lighting: Add built-in lighting to your nightstand. LED strips or small lamps can be installed under shelves or inside drawers to provide soft, ambient light or practical task lighting.
- Wireless Charging Pad: Incorporate modern technology by installing a wireless charging pad on the top surface. This convenient feature allows you to charge your phone simply by placing it on the nightstand.
- Adjustable Shelves Build adjustable shelves within the nightstand. Using shelf pins or tracks, you can make the shelf height customizable to fit different items.
- Secret Compartments For added security, design a secret compartment or hidden drawer. This can be a fun and clever way to store valuable items out of sight.
- Soft-Close Mechanisms Install soft-close hinges and drawer slides for a luxurious feel and to prevent slamming. This feature adds a high-end touch to your furniture.
- Eco-Friendly Finishes Use eco-friendly finishes like water-based stains and paints. They are better for the environment and safer for indoor air quality.
- Decorative Inlays: For a decorative touch, consider adding inlays using contrasting wood or materials like metal or glass. This can build intricate patterns or designs on the surface of your nightstand.
Use these advanced techniques to challenge your DIY skills and build a standout nightstand. Research and plan each step for a successful project.
Troubleshooting Common Issues
When embarking on a DIY nightstand project, you might encounter a few hiccups along the way. Here's a guide to troubleshooting common issues, ensuring your project stays on track:
- Wobbly Structure: If your nightstand isn't stable, check all joints and connections. Tighten any loose screws and ensure that all parts are properly aligned. For extra stability, consider adding corner brackets.
- Drawer Doesn't Slide Smoothly Drawers that stick can be frustrating. Apply a thin layer of lubricant, such as beeswax or soap, to the runners. If the problem persists, check for misalignment and adjust the drawer slides accordingly.
- Uneven Finish An uneven finish can detract from your nightstand's appearance. Sand the surface with fine-grit sandpaper before applying any paint or stain. Always move in the direction of the wood grain for the best results.
- Scratches and Dents: For minor scratches, use a wood filler or a touch-up marker that matches the color of your nightstand. For deeper dents, steam can help raise the wood fibers. Cover the dent with a damp cloth and apply a hot iron for a few seconds.
- Loose Knobs or Handles Tighten any loose hardware with a screwdriver. If the screw holes have become enlarged, fill them with wood filler, let it dry, and then reattach the hardware.
- Misaligned Components If parts of your nightstand don't line up, loosen the screws, adjust the components to align properly, and then re-tighten. Using a square tool can help ensure right angles.
- Sticky Stain or Paint: Ensure the room has good ventilation to help the finish dry properly. If the stain or paint remains tacky, it may need more time to cure, or you may need to remove the finish and apply a thinner coat.
By promptly and effectively addressing these issues, your DIY project will smoothly progress to a beautiful and functional nightstand.
FAQs About DIY Nightstand
Find answers to common questions about DIY nightstand projects. Learn materials, tools, steps, and tips for your perfect nightstand.
Customization can be done by choosing the type of wood, the finish (paint, stain, or natural), and adding personal touches like unique drawer pulls or decorative elements. You can also adjust the dimensions to fit your space or add features like a shelf or a drawer based on your storage needs.
Yes, there are many beginner-friendly DIY nightstand plans available that provide step-by-step instructions. Look for plans that require minimal tools and have simple construction methods. Some plans are specifically designed for beginners and include detailed instructions and diagrams.
To ensure sturdiness, use quality materials and joinery techniques. Wood glue combined with screws or dowels can provide strong joints. Make sure all parts are cut accurately and square. Sanding the pieces before assembly and allowing proper drying time for glue and finishes will also contribute to the nightstand’s durability.
Yes, you can still build a nightstand even if you don’t have a lot of tools. Look for DIY plans that are designed for limited tool use. These plans will often utilize pre-cut lumber sizes available at hardware stores and simple assembly methods like using dowels or brackets instead of complex joinery.
To make your DIY nightstand eco-friendly, consider using sustainable or reclaimed materials such as bamboo, recycled wood, or repurposed items. Choose non-toxic finishes and adhesives to minimize environmental impact. Additionally, designing for durability and timelessness can ensure your nightstand doesn't contribute to fast furniture waste.
Final Thoughts
Wrapping up, making your very own DIY nightstand with these free plans can be both rewarding and practical. By following the step-by-step guide on how to build a nightstand, you will gain confidence in your DIY skills and have a beautiful piece of furniture to show for it. Enjoy the process, and happy building!


