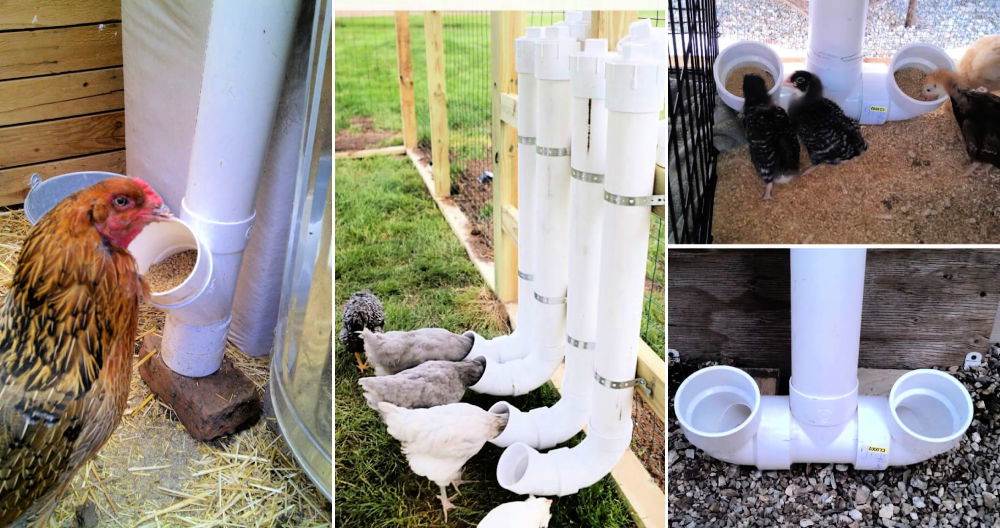
One sunny morning, I decided to tackle a problem with my chickens. They were wasting too much feed. The chickens would scatter grains everywhere, leading to a mess and wasted food. I knew I needed a solution. That's when I thought, "Why not make a DIY no-waste chicken feeder?" It could save both food and money.
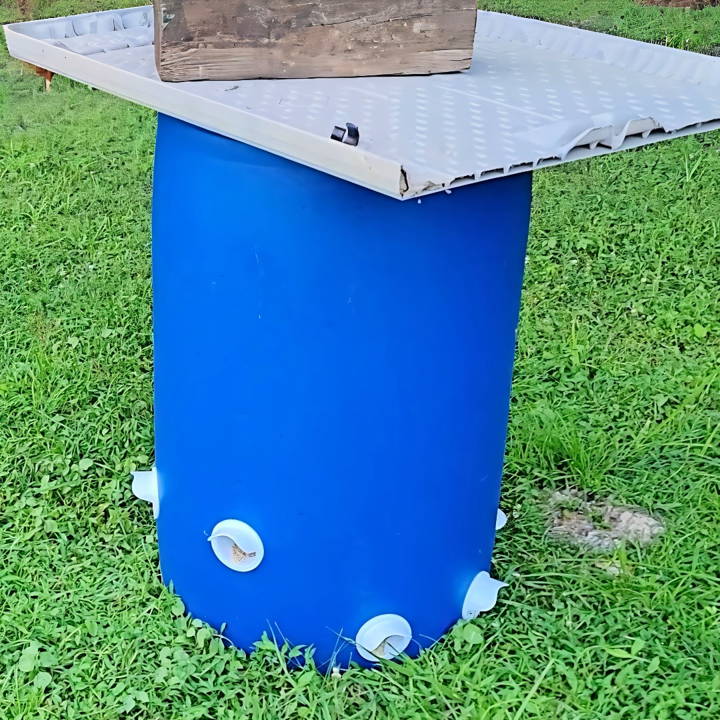
For this project, I used simple and cheap materials. With a bit of patience, I made a feeder that worked great. The chickens couldn't scatter the feed anymore, and I saw the benefits right away. If you're dealing with a similar issue, these steps will help you make your very own feeder at home.
Why No Waste Feeders?
No waste feeders are essential for several reasons. Firstly, they help reduce the amount of uneaten feed that ends up on the ground, which can attract pests and lead to the spread of disease. Secondly, by preserving feed, these systems promote better feed conversion rates, meaning your chickens need less feed to grow and produce eggs. Lastly, no waste feeders are better for the planet. Less wasted feed means less resource consumption and less environmental impact.
How Do They Work?
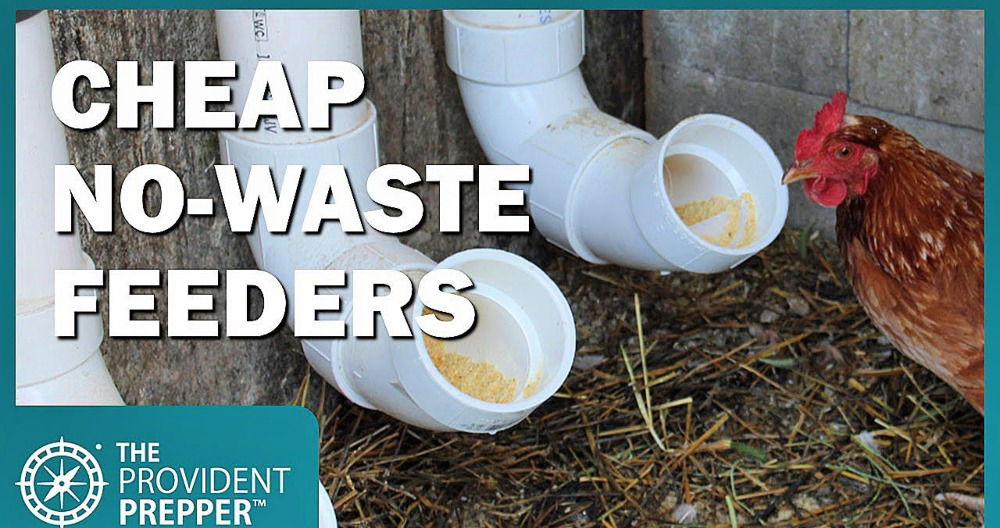
No waste feeding systems typically involve feeders that are designed to allow chickens to access their food without spilling it. These feeders often have features like protective barriers or grids that prevent chickens from scratching out the feed. The feeders are also constructed to be at the right height and size for the birds, ensuring they can eat comfortably without tossing feed aside.
The Benefits
The benefits of using a no-waste chicken feeder are clear:
- Cost-Effective: By reducing feed waste, you'll save money on feed costs in the long run.
- Healthier Flock: A cleaner coop means a healthier flock, as there's less chance for disease to spread.
- Environmental Impact: Less waste translates to a smaller carbon footprint, aligning with eco-friendly practices.
Making the Switch
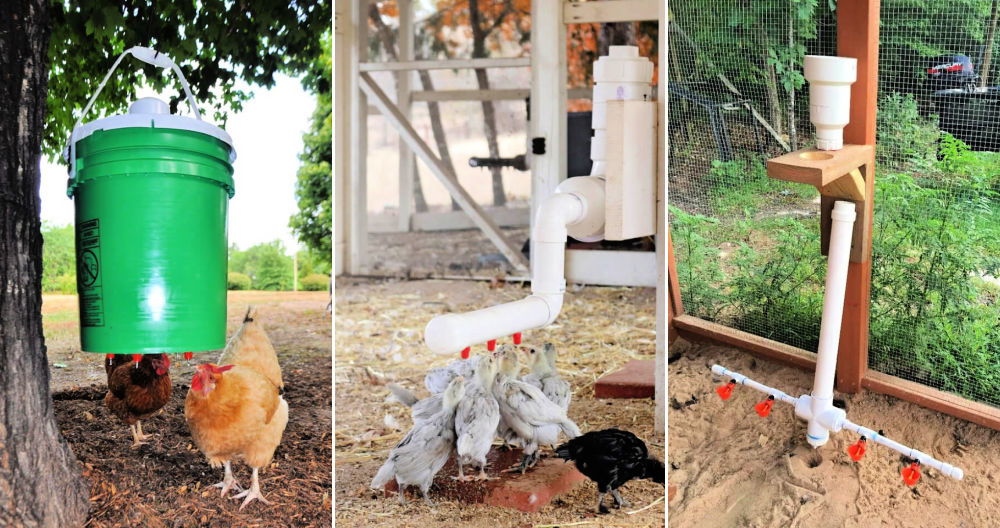
Transitioning to a no waste feeding system is straightforward. You can either purchase a pre-made no waste feeder or build one yourself using readily available materials. The key is to ensure that the feeder suits the size and behavior of your chickens, preventing them from wasting feed while also making it easy for them to eat.
Understand the value of no-waste feeding systems to benefit your poultry farm and the environment. Adopt these methods for efficiency, cost savings, and sustainability in chicken farming.
Materials Needed and Their Purpose
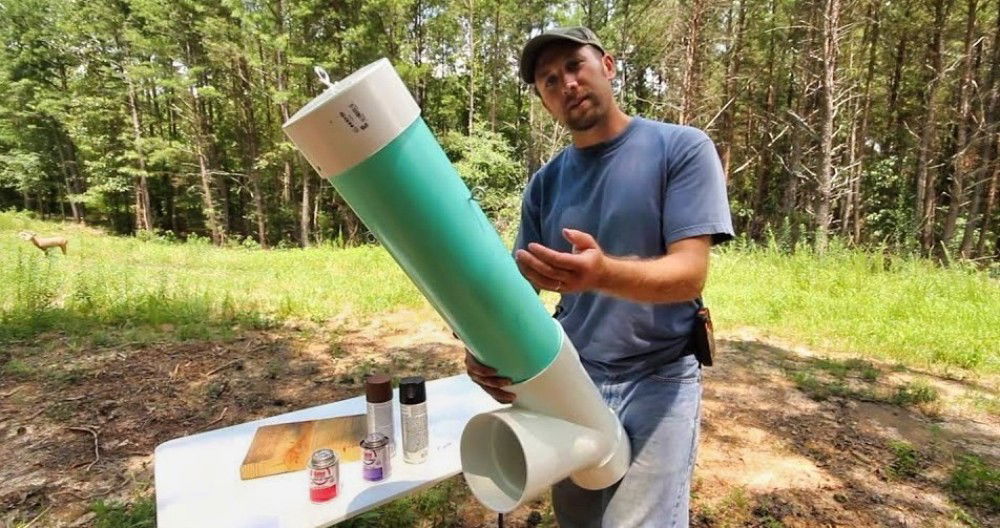
- 55-gallon drum: This will serve as the main container for the feed, capable of holding between 250-300 pounds of feed. I chose a 55-gallon drum for its ample storage, ensuring my chickens have a constant supply of food.
- No-waste feeder ports (12-pack from Amazon): These ports allow the chickens to access the feed without spilling it around. Each port comes with a cap to prevent mice access, and a securing ring.
- Drill with a hole saw attachment: Needed to drill precise holes in the drum to fit the feeder ports. Luckily, the ports I ordered came with the correct size drill bit.
- Circular saw: For cutting the top off the drum to allow easy filling and access for installation.
- Marker: To mark where the ports will be installed on the drum.
- Gaskets (included with the ports): These help prevent water ingress, ensuring the feed remains dry.
- Cinder blocks (optional): To elevate the feeder for easier access by the chickens.
Step by Step Instructions
Learn how to make a DIY, no-waste chicken feeder with our step-by-step instructions. Save feed and keep your flock happy!
Preparing the Drum
I started by laying the drum on its side and using a circular saw to cut the top off. Safety first – I made sure to hold the guard up and gently walked the saw through the drum. Given the potential mess, it's wise to do this in an area where cleanup is easy. With the top off, the drum needed a good rinse to ensure it was clean for the feed.
Drilling and Installing Feeder Ports
Next, I marked the drum for where I wanted each port using a marker. I aimed for a mix of heights to accommodate chickens of different sizes. With my marks made, I grabbed the included hole saw attachment and drilled holes around the drum. Inserting each port was straightforward. The gasket provided ensured a snug, water-resistant fit.
Adding the Feed
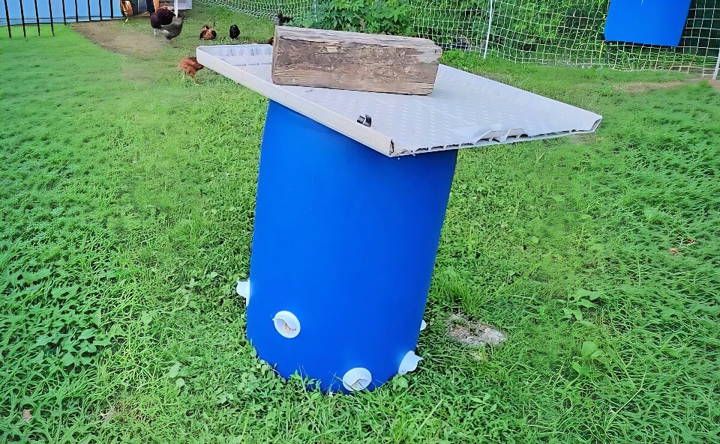
With all ports installed, I filled the drum with chicken feed – it comfortably took six 50-pound bags. To protect the feed from the elements, I placed a makeshift lid on top of the drum, weighing it down with a brick to deter any curious raccoons.
Adjusting for the Flock
Initially, I noticed my smaller chickens had a bit of trouble reaching the ports. A quick fix for this was placing the feeder on cinder blocks to raise it to a more accessible height. For the higher ports, I placed bricks and stones nearby so the littler ones could step up to reach.
Customization Ideas
When it comes to making a no waste chicken feeder, one size does not fit all. Customization is key to ensuring that your feeder not only minimizes waste but also meets the specific needs of your flock and coop. Here are some ideas to inspire you to tailor your no waste feeder for optimal results.
Adjustable Feeder Ports
Consider installing adjustable feeder ports that can be modified according to the size of your chickens. This ensures that whether you have bantams or large breeds, each bird can access feed comfortably without spilling.
Color Coding for Different Feeds
If you provide a variety of feeds, use color coding to differentiate them. This can help you keep track of feed types and make it easier for you to monitor consumption.
Weather-Proofing for Outdoor Use
For those keeping chickens in areas with unpredictable weather, weather-proofing your feeder is essential. Add covers or shields to protect the feed from rain or snow, ensuring that your chickens always have dry feed available.
Mobility for Easy Relocation
Adding wheels or a mobile base to your feeder can be a game-changer, especially if you need to move it around frequently. This feature is particularly useful for rotational grazing systems.
Feed Level Indicators
Incorporate a transparent section or a simple mechanism to indicate the feed level. This will help you know when it's time to refill without having to open the feeder and potentially spill feed.
Ease of Cleaning
Design your feeder with cleaning in mind. Removable parts and wide openings can make it much easier to maintain hygiene and ensure the health of your flock.
Decoration to Match Your Coop
Lastly, don't forget that functionality can meet aesthetics. Paint your feeder or add designs to match the style of your coop, making it not just a practical piece but also a decorative one.
Use these ideas to make an efficient, cost-effective chicken feeder that fits your needs. The goal: reduce waste and make feeding hassle-free for you and your chickens.
Troubleshooting Common Issues
When you've put in the effort to build a no-waste chicken feeder, you want it to work flawlessly. However, sometimes, you might encounter issues that need fixing. Here's a guide to troubleshooting common problems, ensuring your feeder continues to serve your flock efficiently.
Feed Not Flowing Properly
If the feed isn't flowing as it should, check for blockages in the feeder ports. Make sure the feed is the correct size for the ports and that there's no compacted or moist feed stuck inside.
Solution:
- Clear any blockages gently with a tool that fits the port.
- Consider using feed with a consistent pellet size to prevent future clogs.
Chickens Spilling Feed
Sometimes, chickens may still manage to flick feed out of the feeder.
Solution:
- Adjust the height of the feeder so that it's level with the back of the chickens' necks.
- Add a lip or edge to the feeder ports to catch stray feed.
Feed Getting Wet
Outdoor feeders can be susceptible to rain, leading to wet and spoiled feed.
Solution:
- Install a cover or roof over the feeder to shield it from the elements.
- Ensure the feeder is placed in a well-sheltered area of the coop.
Pests Accessing the Feeder
Rodents and birds can be attracted to the feed and may find ways to access it.
Solution:
- Secure the feeder with a weight-sensitive platform that closes the ports when heavier pests try to feed.
- Use a feeder with a lid that only opens when a chicken pecks at a specific spot.
Feed Going Stale
Feed left in the feeder for too long can go stale, and chickens may refuse to eat it.
Solution:
- Regularly check and refresh the feed to ensure it's fresh.
- Don't overfill the feeder; only add what your chickens can consume in a few days.
Difficulty in Cleaning
A feeder that's hard to clean can discourage regular maintenance.
Solution:
- Design your feeder with removable parts for easy cleaning.
- Use materials that are easy to wipe down and don't absorb moisture.
Fixing these common issues keeps your no-waste chicken feeder efficient and practical. A maintained feeder means happier chickens and a cleaner coop.
FAQs About DIY No Waste Chicken Feeder
Discover answers to common questions about DIY no-waste chicken feeders. These effective and eco-friendly solutions save feed and reduce mess.
A DIY no waste chicken feeder is a homemade device that allows your chickens to access their feed without scattering it everywhere. This type of feeder is designed to reduce feed waste, which saves money and keeps the coop cleaner. It's especially useful for medium to large flocks where feed costs can add up quickly.
These feeders typically have a mechanism that restricts the amount of feed that chickens can pull out at once. They are designed so that chickens can't scratch the feed out with their feet, preventing waste. Some feeders use gravity to supply a steady but controlled flow of feed, ensuring chickens have access to food all day without the mess.
Yes, here are a few:
Make sure the feeder is at the right height so chickens can eat comfortably without tossing feed out.
Regularly check and adjust the flow of feed to prevent blockages or over-dispensing.
Place the feeder in a dry, sheltered area to prevent feed from getting wet and moldy.
The size and shape of the feed can affect how well it flows through your feeder. To accommodate different types of feed, you can adjust the size of the holes or the feeding ports. For pellet feed, larger holes may be necessary, while for crumble or mash, smaller holes can prevent spillage. Some DIY feeders come with adjustable ports to control the flow of feed, ensuring that your chickens get the right amount without wasting any.
One common mistake is not securing the feeder properly, which can lead to it tipping over and spilling feed. Ensure that your feeder is stable and, if possible, attach it to a wall or a secure post. Another mistake is making the feeding holes too large, which can allow chickens to scatter feed with their beaks. Lastly, placing the feeder in an area where it can get wet will spoil the feed, so always position it in a dry, sheltered spot.
Conclusion
Wrapping up, making a DIY no waste chicken feeder not only reduces feed waste but also ensures a cleaner coop. Using simple materials, you can save money and contribute to a sustainable environment.


