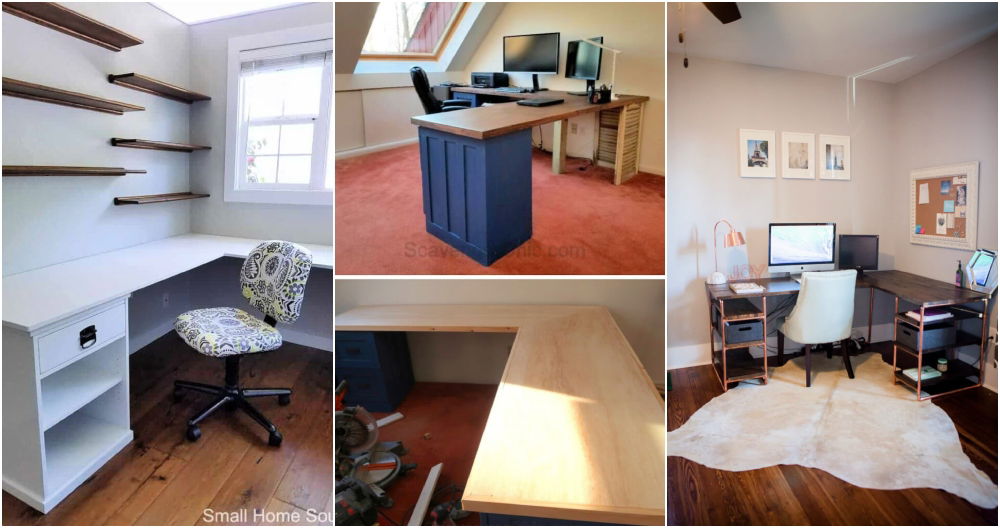
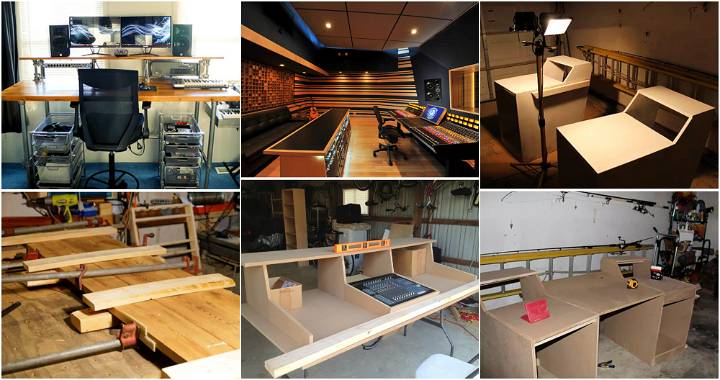
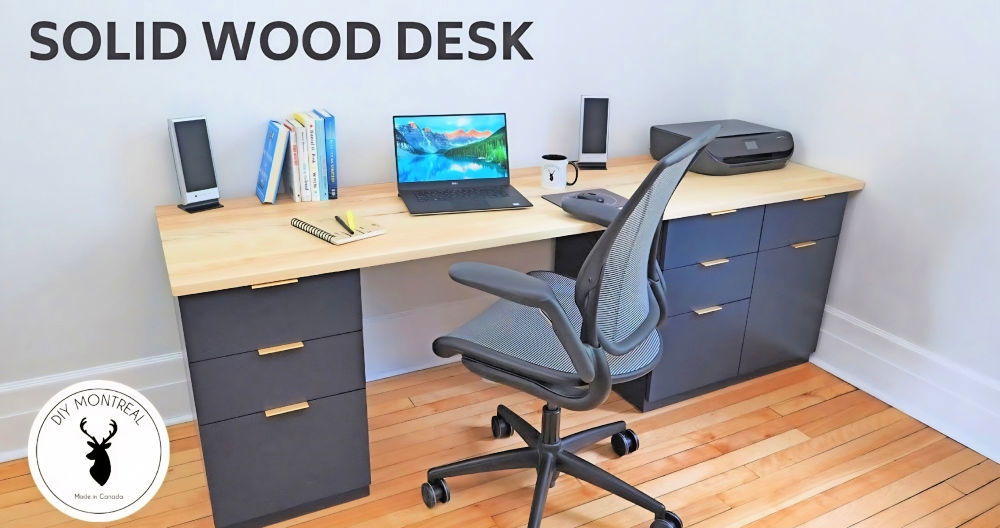
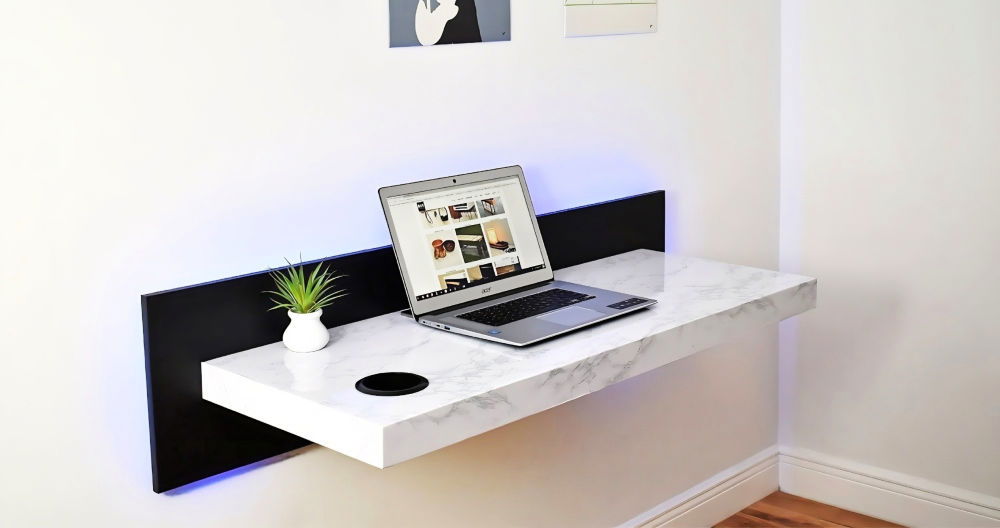
Making your ideal workspace can be both rewarding and practical with a DIY office desk. Building your own desk lets you customize it to fit your needs and style preferences. You can choose the right materials and dimensions that suit your home office. This project can range from simple designs to moderately challenging ones, making it a fun and productive task.
A DIY home office desk not only saves money but also offers a sense of accomplishment. You'll have a tailored workspace that boosts your productivity and comfort. You can also incorporate storage options, ensuring everything you need is within reach. This guide will walk you through the process, from gathering materials to the final touch, making it easy to follow.
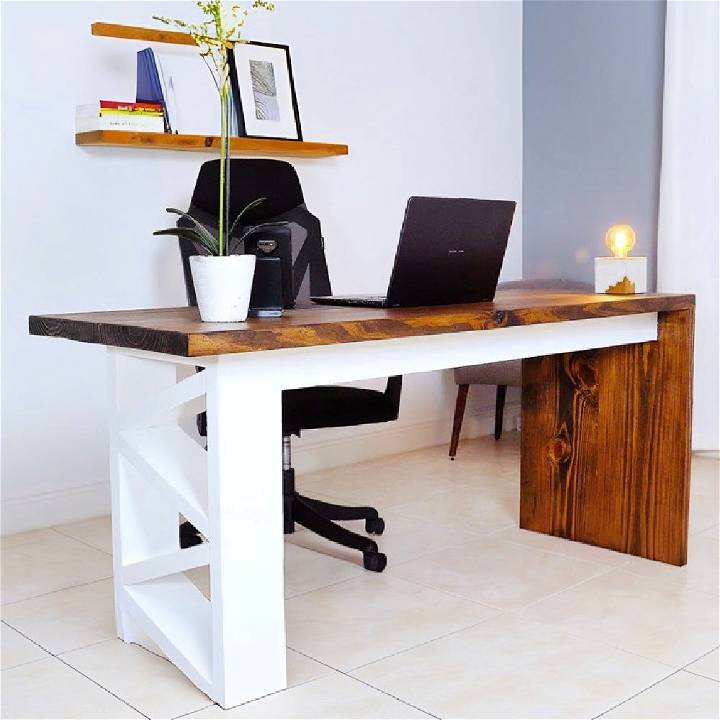
Build your ultimate workspace with our DIY office desk guide. Easy, budget-friendly steps for a modern, functional office desk you'll love.
Materials Needed and Why
For this project, you'll need:
- Two 2x12 by 8-foot lumber: They serve as the main structure for the desk, providing a solid and stable surface.
- Two 2x6 by 8-foot lumber: These are used for additional support and structure of the desk.
- One 2x4 lumber: Essential for the legs and frame, ensuring the desk has a sturdy foundation.
- Half-inch dowels: They connect the pieces together, creating a strong bond.
- Pocket hole screws: Ideal for making the joints between the legs and desk surface secure.
These materials were chosen for their affordability and the structural integrity they provide, ensuring the desk would be both cost-effective and durable.
Step by Step Instructions
Build your perfect DIY office desk with step-by-step instructions. Learn how to prepare wood, assemble the desk, build legs, add support, and more!
Preparing the Wood
First, measure and cut the 2x12 and 2x6 lumber to the desired length of the desk. I opted for a length that fit my space perfectly while allowing enough room for my computer, books, and a lamp.
Assembling the Desk Top
Using the dowel jig, I drilled holes and inserted dowels to join the two pieces of 2x12 lumber together. This step required precision, but the outcome was a seamless and strong surface for the top of the desk.
Building the Legs
Cut the 2x4 lumber into four equal pieces for the legs. Using pocket hole screws, I attached these to the underside of the desk top at each corner, ensuring they were straight and evenly spaced.
Adding Support
The two 2x6 lumber were cut and attached between the legs for additional support. This not only provided stability but also added to the aesthetic appeal of the desk.
Finishing Touches
Sanding was crucial. It turned the rough lumber into a smooth, appealing surface ready for painting or staining. I chose to stain mine for a natural look, which highlighted the wood's grain. Lastly, assembling all components tightly and securing them with clamps ensured everything was perfectly aligned.
Overcoming Challenges
One major hiccup was the glue from the dowels seeping out and staining the wood surface, which became visible after applying the stain. I had to sand down the entire top again, which was time-consuming but a valuable lesson in ensuring cleanliness before finishing.
Enhancements
To add a personal touch and more functionality, I installed a simple shelf underneath the desk and added cable management clips at the back. These small additions made a significant difference in the desk's usability and aesthetics.
Building a DIY desk for under $50 is doable with some effort and creativity. Customize it to fit your needs, maybe add shelves or paint it to match your space. The DIY process is as rewarding as the result, showcasing your ability to create something meaningful.
Customization Ideas for Your DIY Office Desk
When it comes to creating a DIY office desk, customization is key. It’s not just about building a piece of furniture; it’s about crafting a workspace that inspires productivity and reflects your personal style. Here are some ideas to make your desk uniquely yours:
- Choose Your Color Palette: Start by selecting colors that you love. Whether it’s a classic wood stain, a bright pop of color, or a sleek black finish, the color of your desk sets the tone for your workspace.
- Add a Personal Touch: Incorporate elements that are uniquely you. This could be a hand-painted design, your initials carved into a corner, or a collage of your favorite images under a glass top.
- Tech-Friendly Features: In our digital age, having a tech-ready desk is essential. Consider adding built-in USB ports for easy charging of devices or a wireless charging pad embedded into the desktop.
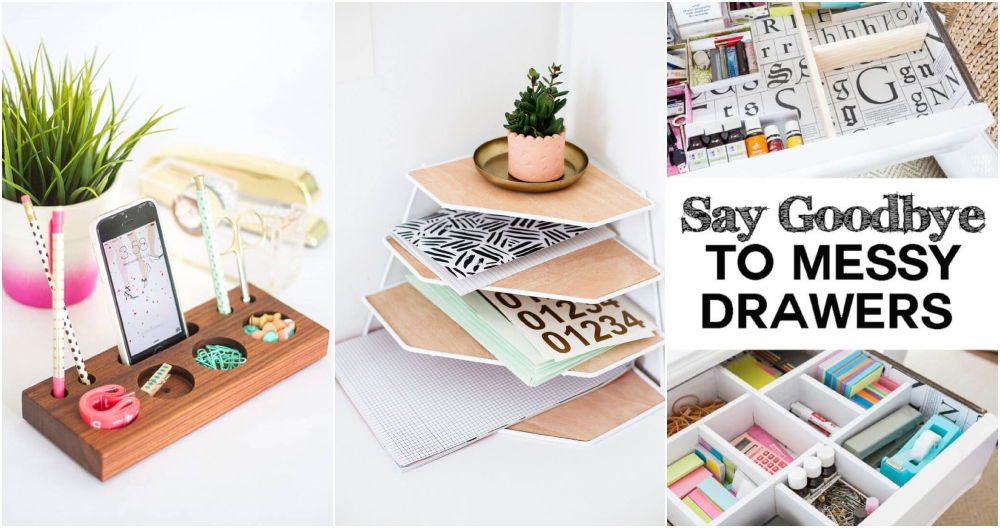
- Organize in Style: Custom drawer organizers can keep your supplies tidy. Opt for adjustable dividers or create compartments tailored to the items you use most.
- Comfort at Your Fingertips: Attach a keyboard tray under the desk to save space and maintain an ergonomic posture. Add a soft wrist rest to prevent strain during long hours of typing.
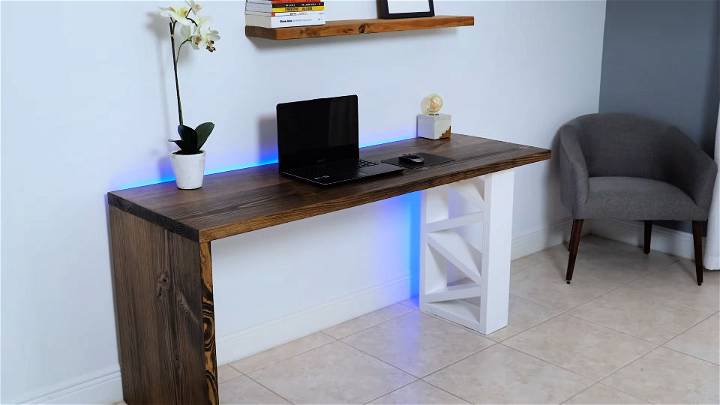
- Light It Up: Good lighting is crucial. Install LED strips under shelves or around the desk’s edge for a modern look that also provides functional task lighting.
- Stay Tangle-Free: Cable management is a must. Designate a space to hide power strips and cords, like a small compartment at the back of the desk or clips underneath to keep cables organized.
- Elevate Your Screen: A built-in monitor stand or riser can help you maintain eye level with your screen, reducing neck strain and freeing up valuable desk space.
- Make It Mobile: If you like to change your scenery, add casters to the legs of your desk. Just lock them in place when you’ve found your perfect spot.
- Sound Solutions: For music lovers, consider spaces for speakers or even build them into the desk itself. Ensure there’s proper ventilation if you’re enclosing electronic components.
By incorporating these customization ideas, you’ll create a desk that’s not only functional but also a joy to use every day.
Space Optimization for Your DIY Office Desk
Creating a DIY office desk that fits perfectly into your space, especially if it’s limited, requires smart planning and a bit of creativity. Here’s how you can optimize space for your DIY desk:
- Measure Twice, Build Once: Before you start, measure your available space. Consider not just the floor area but also vertical space for shelves and storage.
- Think Vertical: Use wall space for shelves or hanging organizers. This keeps your desk surface clear and your items within easy reach.
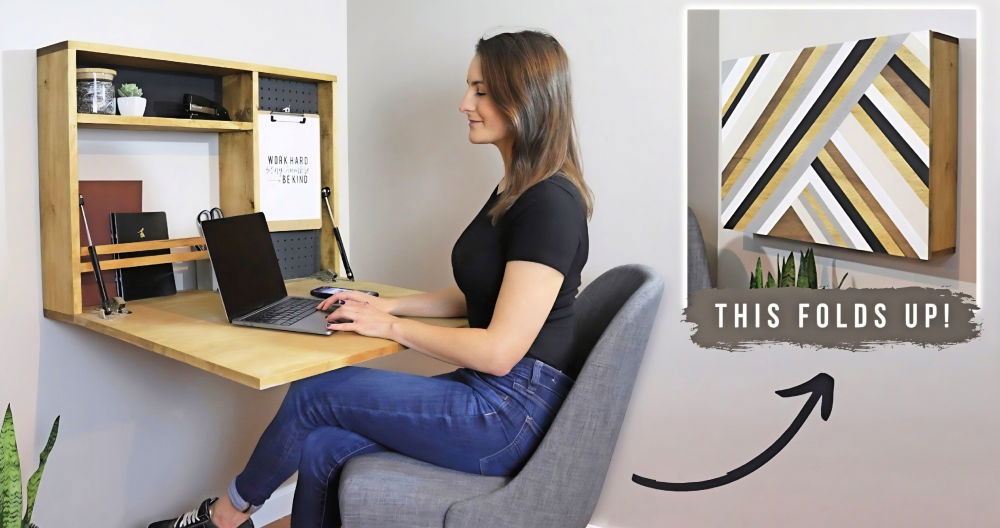
- Fold-Down Desks: If you’re really tight on space, a fold-down desk that attaches to the wall can be folded away when not in use.
- Corner Desks: A corner desk design can maximize unused space in a room. It also offers more surface area than a straight desk of the same size.
- Multi-Purpose Furniture: Consider a desk that can also serve as a dining table or a console. This is perfect for studio apartments or multipurpose rooms.
- Hidden Storage: Use the space under the desk for drawers or cabinets. This keeps your work materials out of sight when not in use.
- Cable Management: Keep cables organized and out of the way with clips, channels, or a built-in cable management system.
- Floating Desks: A floating desk, secured to the wall without legs, can make a room feel more spacious and modern.
- Slim Design: Choose or build a desk with a slim profile to reduce visual clutter. This can make a small room feel larger.
- Light Colors: Light-colored materials can make a space feel more open and airy, which is especially helpful in smaller rooms.
By following these space optimization tips, you’ll be able to create a functional and stylish DIY office desk that fits your space and your needs.
Advanced Techniques for Your DIY Office Desk
When you’re ready to take your DIY office desk to the next level, advanced techniques can add both functionality and aesthetic appeal. Here are some sophisticated methods to consider:
- Dovetail Joints: For drawers or joinery, mastering the dovetail joint can significantly increase the strength and durability of your desk. It’s a classic woodworking technique that, while complex, adds a touch of craftsmanship.
- Epoxy Resin Inlays: Epoxy resin can be used to fill in designs carved into the wood, or to create a unique tabletop with embedded objects or colored patterns. It’s a modern technique that can turn your desk into a statement piece.
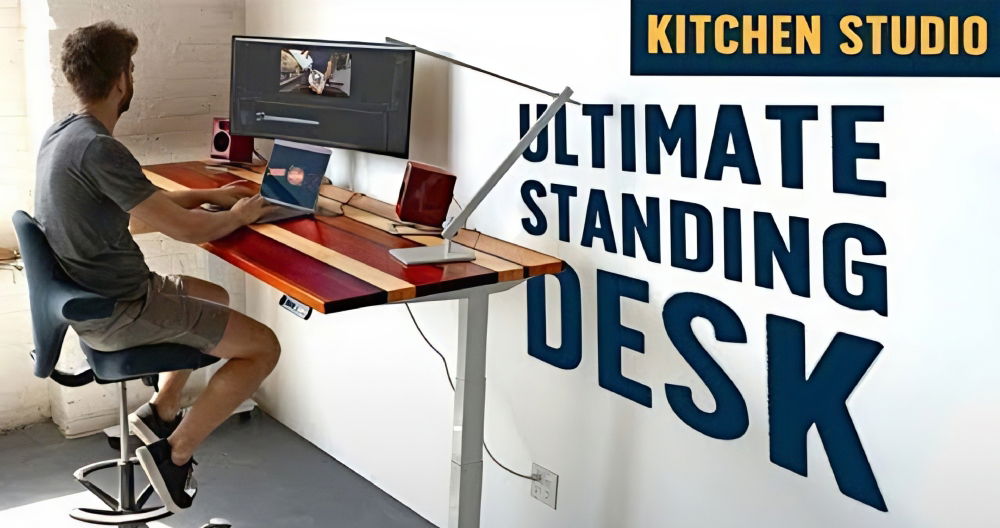
- Motorized Standing Desk Conversion: If you’re comfortable with electronics, adding a motorized mechanism can transform your desk into an adjustable standing desk. This adds ergonomic value and can be a great selling point.
- Integrated Wireless Charging: For a tech-savvy touch, embed a wireless charging pad directly into the desktop. This requires some electrical knowledge but is highly convenient for keeping devices charged.
- Soft-Close Slides: Upgrade your drawers with soft-close slides to prevent slamming. They provide a smooth, quiet operation that adds a high-end feel to your desk.
- Custom LED Lighting: Install custom LED lighting strips with color-changing options and smart controls. This can enhance the ambiance of your workspace and even improve productivity.
- Acoustic Panels: If you’re into audio work or just want a quieter space, consider adding acoustic panels to the underside of your desk or as a desk-mounted partition. This can help dampen sound and reduce echo.
- Advanced Finishing Techniques: Beyond basic staining or painting, try techniques like shou sugi ban (charred wood) for a dramatic effect or French polishing for a high-gloss finish that showcases the wood’s natural beauty.
Using these advanced techniques, your DIY office desk will be more functional and display your skills.
Maintenance and Care for Your DIY Office Desk
Taking care of your DIY office desk is crucial to ensure it remains a sturdy and attractive workspace for years to come. Here’s how to maintain and protect your desk:
- Regular Cleaning: Dust your desk weekly with a soft, dry cloth. For deeper cleans, use a damp cloth with mild soap, but avoid harsh chemicals that can damage the finish.
- Protect the Surface: Use coasters for drinks, and place a mat under your computer and accessories to prevent scratches. Consider a glass top for extra protection.
- Manage Spills: Clean spills immediately to prevent stains. If your desk is wood, blot the spill and dry the area thoroughly to avoid warping.
- Avoid Direct Sunlight: Keep your desk out of direct sunlight to prevent fading or cracking. Use blinds or curtains to filter light during peak hours.
- Maintain Hardware: Tighten screws and hinges every few months to ensure everything stays secure. Replace any worn-out hardware to keep drawers and doors functioning smoothly.
- Condition Wood: If your desk is made of wood, treat it with a wood conditioner or oil annually to nourish the material and keep it from drying out.
- Monitor Humidity: Too much humidity can cause wood to swell, while too little can lead to cracking. Use a humidifier or dehumidifier to maintain a stable environment.
- Cable Care: Organize cables regularly to prevent tangling and wear. Use cable ties or clips to keep them neat and out of the way.
- Refresh the Finish: Over time, your desk may show signs of wear. Sand down rough spots and apply a new coat of paint or sealant to refresh its look.
- Personal Inspections: Periodically check for signs of wear or damage. Addressing small issues early can prevent bigger problems down the line.
By following these simple maintenance and care tips, you’ll keep your DIY office desk looking great and functioning well.
FAQs About DIY Office Desk
Find answers to common faqs about DIY office desks. Learn tips, materials, and step-by-step guides for creating your own workspace.
The standard dimensions for a DIY office desk are at least 30 inches in width and 18 inches in depth. However, the size can be adjusted to fit your specific space and needs. When planning your desk, consider the height of your chair and the desired height of the desk to ensure comfort.
Absolutely! Look for furniture with a sturdy base that can be transformed into a desk. Consider the condition of the drawers and the desktop. If you’re repurposing a wooden piece, check for dovetailed drawers and ensure the drawers slide easily.
Consider adding built-in shelves, drawers, or compartments to your desk design. You can also use desk organizers or create custom storage solutions like a monitor stand or cable management system to keep your workspace tidy.
Yes, here are a few tips:
Use quality materials and ensure all joints are securely fastened.
If you’re not experienced with woodworking, consider using a desk plan or blueprint.
Test the stability of the desk before using it, and make adjustments if necessary.
Regular maintenance, such as tightening screws and checking for wear, will help prolong the life of your desk.
To ensure your DIY office desk is ergonomic, follow these guidelines:
The desk height should allow you to type on a keyboard with your arms parallel to the floor and your elbows at a 90-degree angle.
The monitor should be at eye level to prevent neck strain. If necessary, use a stand or books to raise the monitor.
There should be enough legroom under the desk to sit comfortably and change positions.
Consider a desk design that allows for both sitting and standing to encourage movement throughout the day.
Conclusion
In conclusion, building a DIY office desk is a fulfilling project that allows you to design your perfect workspace. Building a DIY home office desk can be simple and rewarding, giving you a customized space tailored to your needs. With a little effort, you can enhance your productivity and style in your home office. Start your project today and enjoy the benefits of a personalized desk that fits your lifestyle.


