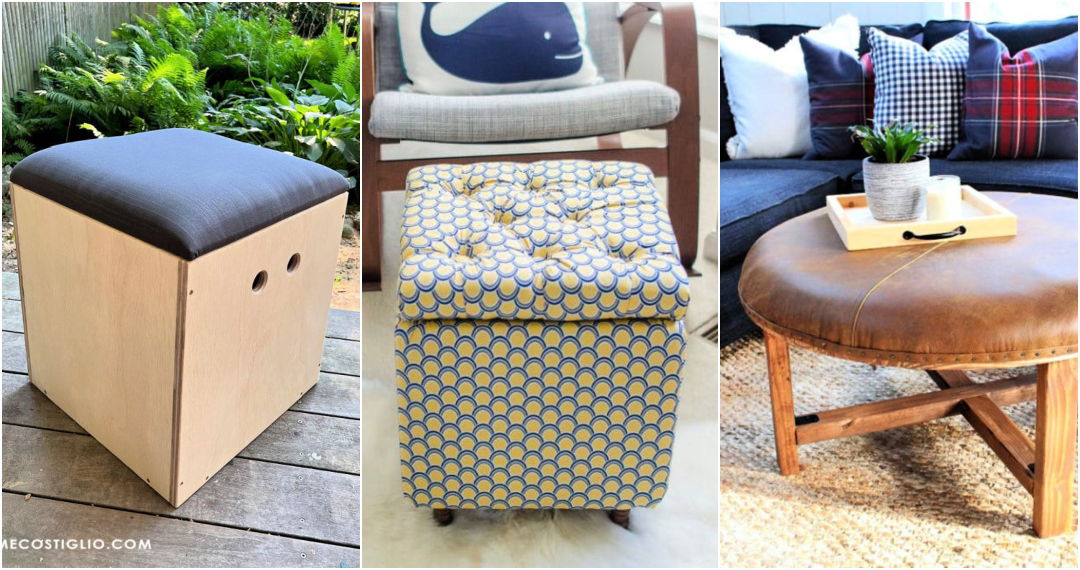
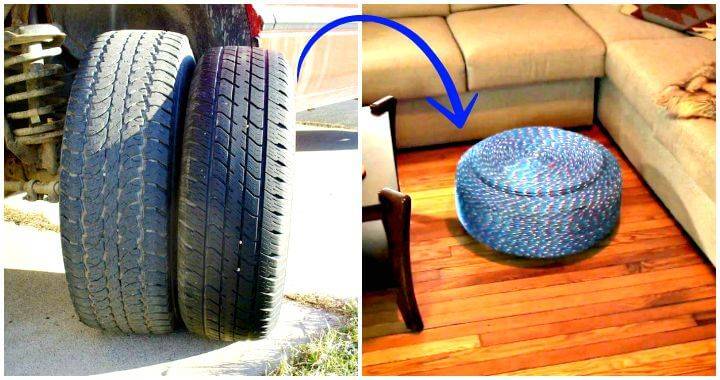
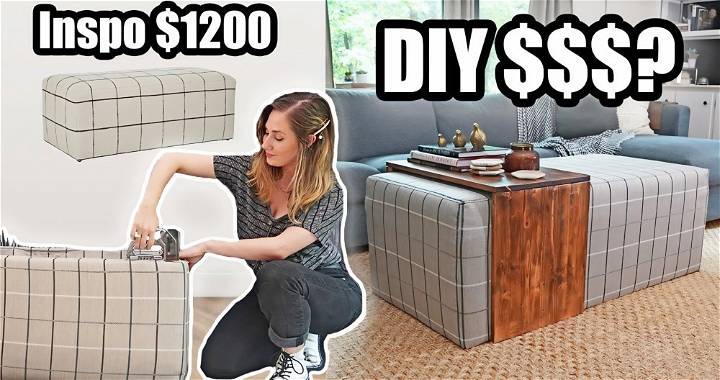
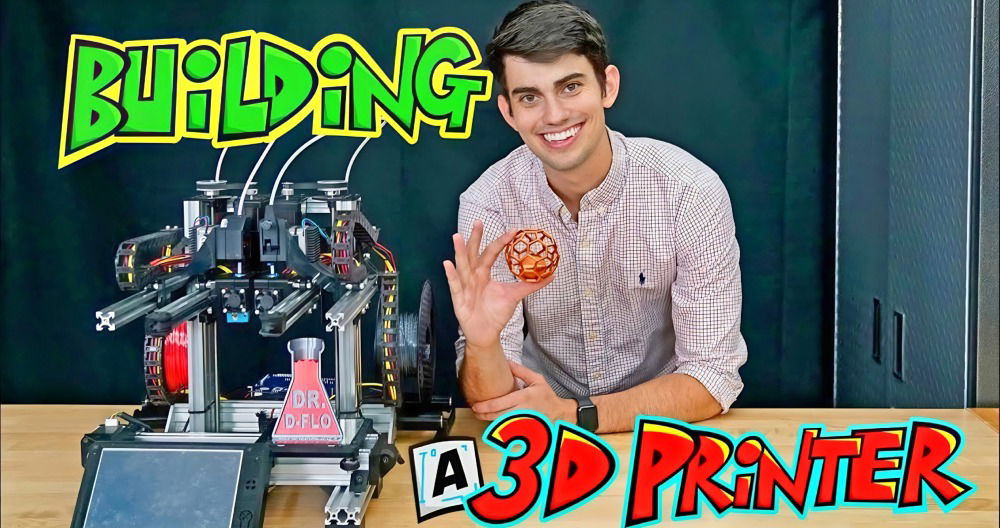
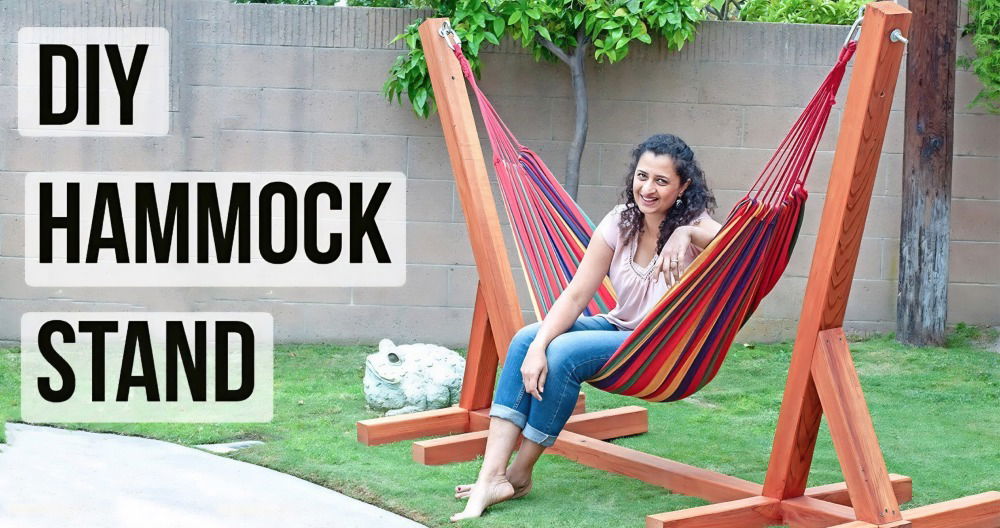
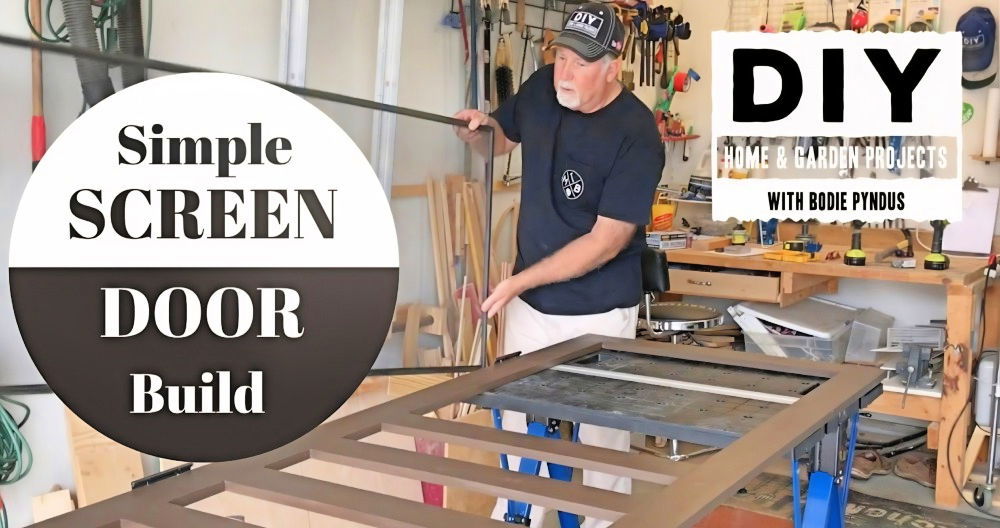
Making an easy DIY ottoman from scratch can be a rewarding and fun project. This guide will walk you through the process step-by-step. Ottomans are versatile pieces of furniture that can add style and function to any room. You'll need some basic materials like fabric, foam, and a sturdy base. With simple tools and a bit of patience, you'll have a lovely ottoman in no time.
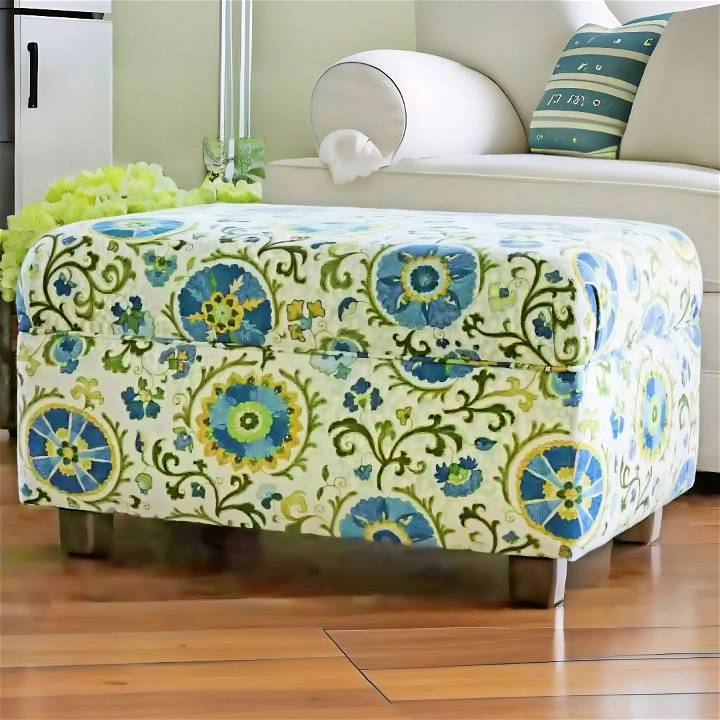
In this tutorial on DIY ottoman, you'll learn how to measure, cut, and assemble all parts. We'll also cover how to choose the right fabric and attach it securely. This project is perfect for those who enjoy hands-on activities and want to personalize their home decor.
Ready to get started? Let’s dive into the exciting steps on how to make an ottoman in the next section.
Step by Step Instructions
Learn how to make a DIY ottoman with our step-by-step guide. Gather materials, construct the frame, add foam, cover with fabric, and add finishing touches.
Step 1: Gathering the Materials
To kick things off, you’ll need several materials:
- Wood for the frame and legs
- A drill and screws
- Foam and batting for cushioning
- Fabric and optional inner lining (I used flannel)
- A staple gun
- Optional cording for decoration
Each of these materials played a crucial role in the project. The wood provided a sturdy structure, while the foam and batting made the ottoman comfortable to sit on. The fabric was the star of the show, giving the ottoman its unique appearance. And while the inner lining and cording were optional, I found that they added a professional touch to the finished product.
Step 2: Constructing the Frame
The first actual step in the construction was to cut the wood to the right sizes for my desired ottoman dimensions. I then painted the legs the color I wanted. I assembled the frame by screwing the boards together at each corner. Putting a 4x4 cut board in each corner before screwing them into place ensured that the ottoman would have sturdy legs. The center support was crucial for additional stability and was attached with care.
Step 3: Adding Comfort with Foam and Batting
After the frame was ready, I cut the foam to match the top of my ottoman and wrapped it with batting, making sure it was large enough to be stapled onto the plywood. Stapling the batting in place required patience and precision, especially around the corners where the fabric needed to be cut for a neat finish.
Step 4: Covering with Fabric
Covering the ottoman with the floral fabric was the most satisfying step. I laid the fabric wrong side up and placed the foam and plywood top on it. It was crucial to cut the fabric large enough to wrap around and be stapled to the plywood securely. Stapling started at the center of each side, moving out towards the corners. The corners were the trickiest part, requiring me to pull, fold, and staple the fabric to maintain a smooth appearance.
Step 5: The Finishing Touches
Adding cording around the edges of the plywood top gave the ottoman a polished look. This step was optional, but I opted for it to enhance the ottoman’s aesthetic. The loop of fabric around the base was another step that required precision, but it was worth it for the seamless look it provided.
Final Assembly
The last step was to attach the top to the base. Flipping the top, plywood-side-up, I placed the base over it, aligning the center support board next to the plywood before screwing them together. Attaching the leg plates and screwing on each of the legs was the final touch before turning my newly buildd ottoman right side up.
Design Customization Ideas
Building a DIY ottoman is not just about functionality; it’s also an opportunity to express your personal style and add a unique touch to your home decor. Here are some design customization ideas that can help you tailor your ottoman to your taste and interior design:
- Choose Your Fabric Wisely: The fabric you select for your ottoman can transform its look entirely. Consider the room where the ottoman will be placed. For a cozy feel, opt for soft textures like velvet or chenille. If you’re after durability, especially in a household with pets or children, go for a heavy-duty fabric like canvas or leather.
- Play with Colors and Patterns: Don’t shy away from bold colors or patterns. A bright-colored ottoman can become a statement piece in a neutral room. Similarly, patterns can add depth and interest. If you’re feeling adventurous, mix patterns but keep a consistent color palette to tie the look together.
- Add Some Legs: The legs of an ottoman can change its overall style. Sleek metal legs can give a modern vibe, while carved wooden legs can add a classic or rustic charm. You can even repurpose legs from old furniture for an eclectic look.
- Consider Storage: A functional yet stylish addition is to build an ottoman with storage. This can be achieved by attaching a lid with hinges. It’s perfect for stowing away blankets, books, or toys, keeping your space tidy.
- Accessorize: Accessories can elevate the look of your ottoman. Consider adding tufting for a sophisticated touch or decorative nails for a bit of glam. Even a simple ribbon or a fringe around the base can make a big difference.
- DIY Cushion Top: For added comfort, build a cushion top for your ottoman. Use high-density foam for support and wrap it in a layer of batting for softness. This also allows you to easily change the fabric in the future for a quick decor update.
The key to a successful DIY project is to make it your own. These ideas are just a starting point. Let your creativity flow, and don’t be afraid to experiment. Your ottoman can be as unique as you are!

Upcycling Tips
Upcycling is a fantastic way to breathe new life into items that might otherwise be discarded. When it comes to building a DIY ottoman, upcycling not only adds a unique story to your piece but also contributes to a more sustainable lifestyle. Here are some practical tips to help you upcycle materials for your ottoman project:
- Start with Structure: Look for old furniture that can serve as the base of your ottoman. An outdated coffee table, a sturdy box, or even a stack of old hardcover books can form a solid foundation.
- Fabric Finds: Instead of buying new fabric, consider repurposing old curtains, blankets, or clothing. Look for materials with interesting textures or patterns that can add character to your ottoman.
- Foam and Fillings: For the padding of your ottoman, use foam from an old mattress or cushions. You can also use stuffing from retired pillows or stuffed toys to give your ottoman a comfortable top.
- Get Creative with Covers: If you have old sweaters or knitwear, they can make cozy and attractive covers for a smaller ottoman. Slip them over the padding and secure them underneath.
- Belt It Up: Leather belts can be used to build a chic, banded look around your ottoman. They can also add extra support to the structure when tightly wrapped.
- Denim Designs: Jeans that are no longer in use can be cut and sewn together to build a durable and trendy denim cover. The pockets add a functional touch, perfect for holding remotes or small items.
- Wooden Wonders: Wooden pallets are sturdy and versatile. They can be sanded down and stained or painted to build a rustic-looking ottoman base.
- Accessorize with Hardware: Old drawer pulls, handles or knobs can be attached to your ottoman to build feet or add decorative elements.
- Think Outside the Box: Everyday items like tin cans or plastic bottles can be used as lightweight fillers for a pouf-style ottoman, covered with a thick layer of padding and fabric.
- Final Touches: Add personality with patches, embroidery, or even paint. These final touches can tell a story and showcase your creativity.
By following these upcycling tips, you’ll build an ottoman that’s not only functional and stylish but also eco-friendly and personal. The best-upcycled items are those that blend practicality with a touch of imagination.
Troubleshooting Common Issues
When embarking on a DIY ottoman project, you might encounter a few hiccups along the way. Here’s a helpful guide to troubleshooting common issues, ensuring your ottoman turns out just as you envisioned:
- Uneven Padding: If your ottoman’s padding isn’t even, it can lead to a lumpy surface. To fix this, spread the padding evenly before securing the fabric. Use a flat tool, like a spatula, to smooth out any bumps.
- Fabric Wrinkles: Wrinkles can detract from the finished look of your ottoman. To avoid this, iron your fabric before applying it. When stretching the fabric over the padding, pull it taut and staple it securely to prevent any creases.
- Sturdy Base: A wobbly ottoman is not only annoying but also unsafe. Make sure the base is solid before adding any padding or fabric. If it’s made of wood, check for any weak spots and reinforce them with additional screws or brackets.
- Mismatched Corners: Getting a neat finish on the corners can be tricky. For a clean look, fold the fabric neatly, similar to wrapping a gift, and secure it with staples. Practice on scrap material first to perfect your technique.
- Securing the Fabric: If the fabric comes loose, it can ruin the aesthetic of your ottoman. Use a strong adhesive or a heavy-duty staple gun to attach the fabric firmly to the base. Check the tension periodically as you work around the edges.
- Choosing the Right Fabric: The wrong type of fabric can lead to wear and tear. Opt for durable materials like leather or microfiber for high-traffic areas. For less used spaces, you can choose more decorative but delicate fabrics.
- Color Fading: Direct sunlight can cause the fabric color to fade. Position your ottoman away from windows or use UV-resistant fabric to maintain its vibrant color.
- Cleaning Challenges: Spills and stains are inevitable. Choose a fabric that’s easy to clean or treat it with a stain-resistant spray. Keep a cleaning kit handy with the right products for your ottoman’s material.
By keeping these tips in mind, you’ll be well-equipped to handle any issues that arise during your DIY ottoman project. Patience and attention to detail will go a long way in achieving a beautiful and functional piece for your home.
Maintenance and Care
Taking care of your DIY ottoman will ensure it remains a cozy and attractive feature in your home for years to come. Here’s how to maintain your ottoman with simple, straightforward steps:
- Regular Cleaning: Dust and vacuum your ottoman regularly. For fabric covers, use an upholstery attachment to avoid damaging the material. If your ottoman is made of leather, a soft cloth will do the job.
- Spot Cleaning: Accidents happen, and quick action is key. Blot spills immediately with a clean, dry cloth. For stubborn stains, use a mild detergent mixed with water, but test it on a small area first.
- Avoid Harsh Chemicals: Harsh cleaners can damage your ottoman’s fabric. Always opt for gentle, natural cleaning solutions. If you’re unsure, check the manufacturer’s recommendations for your specific fabric type.
- Rotate and Flip: If your ottoman has a reversible top, rotate and flip it periodically. This will help distribute wear evenly and maintain its shape.
- Keep Out of Direct Sunlight: Prolonged exposure to sunlight can fade the fabric. Position your ottoman away from direct sunlight or use window treatments to protect it.
- Tighten Loose Parts: Over time, legs or buttons may become loose. Tighten any screws and fix loose buttons to prevent further damage.
- Protect from Pets: If you have pets, consider using a protective cover or throw to shield your ottoman from claws and fur.
- Deodorize Naturally: To keep your ottoman smelling fresh, sprinkle baking soda on the surface, let it sit for 15 minutes, then vacuum it up.
- Professional Help: For deep cleaning or repairs, don’t hesitate to call in a professional. They have the right tools and expertise to handle the job without causing damage.
By following these maintenance and care tips, you’ll keep your DIY ottoman looking and feeling great. A little effort goes a long way in preserving the beauty and comfort of your handcrafted piece.
Safety Precautions
When building a DIY ottoman, safety is paramount. Here are some safety precautions to keep in mind to ensure a smooth and secure crafting experience:
- Work Area: Keep your work area clean and organized. Make sure it’s well-lit and free of clutter. This reduces the risk of accidents and makes it easier to find and use your tools properly.
- Tool Safety: Use the right tools for the job and follow the manufacturer’s instructions. If you’re using power tools, wear protective eyewear and ear protection. Always unplug tools when they’re not in use.
- Material Handling: Be cautious when handling heavy materials. Lift with your legs, not your back, to avoid strain. If a piece is too heavy, don’t hesitate to ask for help.
- Sharp Objects: When using scissors, knives, or other sharp tools, cut away from your body. Store these tools safely out of reach of children.
- Chemical Safety: If you’re using adhesives, paints, or other chemicals, work in a well-ventilated area. Wear gloves to protect your skin and read all labels for proper usage.
- Fire Safety: Keep flammable materials away from heat sources. If you’re using a hot glue gun, keep it on a heat-resistant surface when not in use.
- Child and Pet Safety: Keep small objects, like staples and buttons, out of reach of children and pets to prevent choking hazards.
- First Aid: Have a first aid kit nearby in case of minor injuries. Know basic first aid procedures for cuts or burns.
- Know Your Limits: If a step in the project feels beyond your skill level, seek advice or consider hiring a professional. It’s better to be safe than sorry.
Follow these safety tips to ensure your DIY ottoman project is successful and safe. Preparing and being cautious can prevent accidents and injuries.
FAQs About DIY Ottoman
Explore the top faqs about DIY ottomans with tips, materials, and techniques for crafting your own stylish and functional piece.
A DIY ottoman is a custom, homemade piece of furniture that you can create using various materials and tools. It’s a versatile item often used as a footrest, seat, or coffee table. You can make one from scratch or repurpose items like old crates, tables, or chests to add a personal touch to your space.
Yes, storage ottomans are quite popular. You can build one with a removable or hinged top to store items like blankets, books, or games inside. Some designs include drawers or use repurposed items with built-in storage.
Customizing your ottoman is all about choosing the right materials that match your style. Select fabrics that complement your room’s decor, and consider adding unique features like tufting, nailhead trim, or wheels for mobility. The shape and size can also be tailored to fit your space.
Many ottoman projects are beginner-friendly and don’t require advanced skills or tools. Simple designs like a floor pouf or a repurposed table ottoman can be great starting points. Look for step-by-step guides that walk you through the process.
Maintaining your DIY ottoman involves regular cleaning and occasional repairs. For fabric upholstery, vacuuming and spot-cleaning with a mild detergent should keep it looking fresh. If you’ve used leather, a leather conditioner can help maintain its sheen. Tighten any loose screws or bolts periodically, and if your ottoman has a wooden base, consider reapplying a sealant or paint as needed to keep it in top condition.
Conclusion:
Wrapping up, building an easy DIY ottoman from scratch can be a fun and rewarding project. By following these simple steps, you'll have a custom piece that adds style and functionality to your home. Remember, diy ottoman projects allow you to customize your space without breaking the bank. Now that you know how to make an ottoman, it's time to gather your materials and start crafting. Enjoy your new, personalized ottoman!


