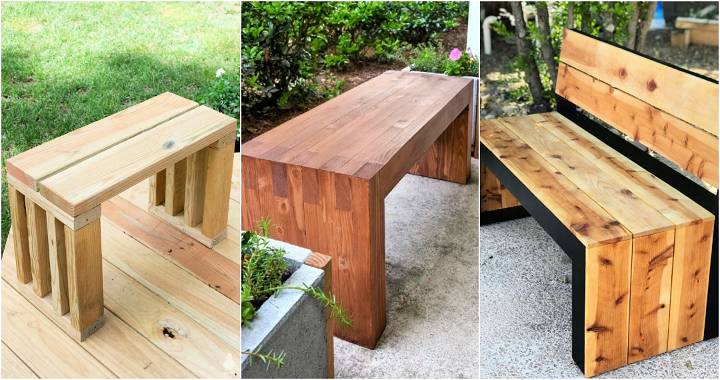
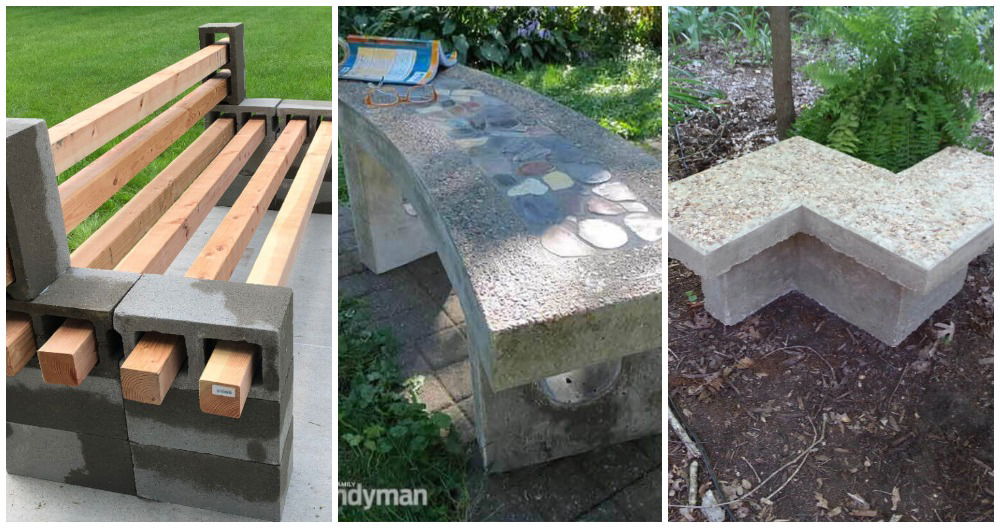
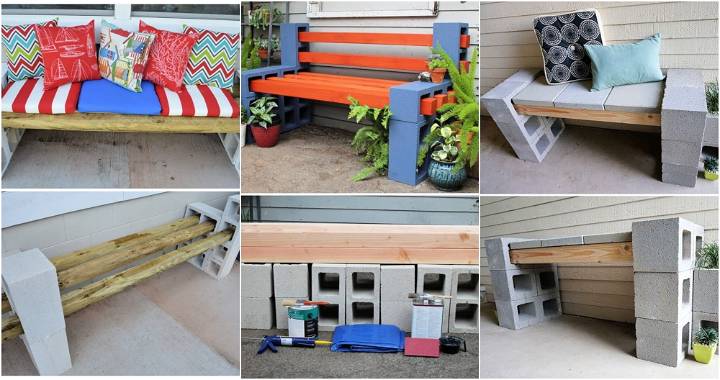
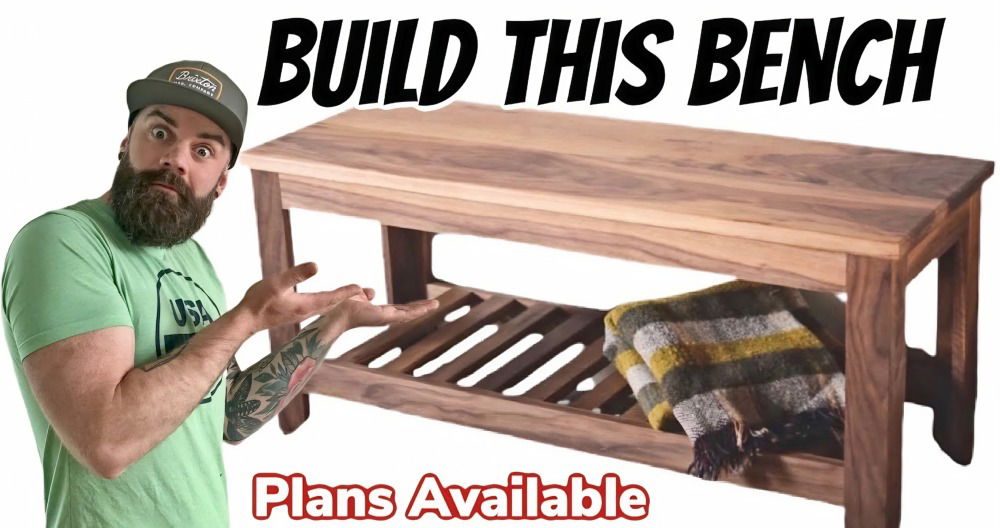
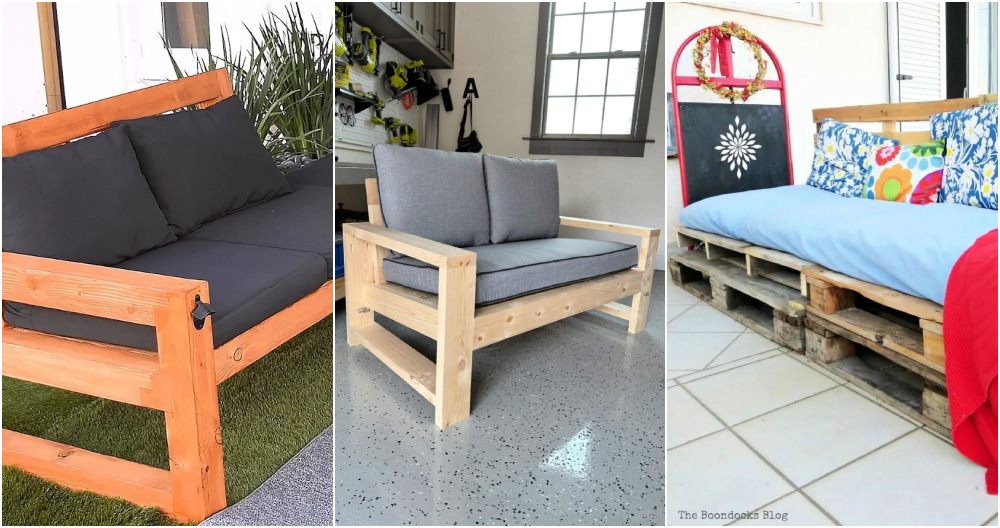
Building a DIY outdoor bench can be a rewarding and practical project to enhance your outdoor space. In this guide, we'll go through the necessary steps and materials to build your own bench. Whether you're interested in a simple DIY patio bench or a more stylish addition, our instructions ensure that the project remains straightforward and achievable. This project not only adds seating but also gives you the satisfaction of making something unique.
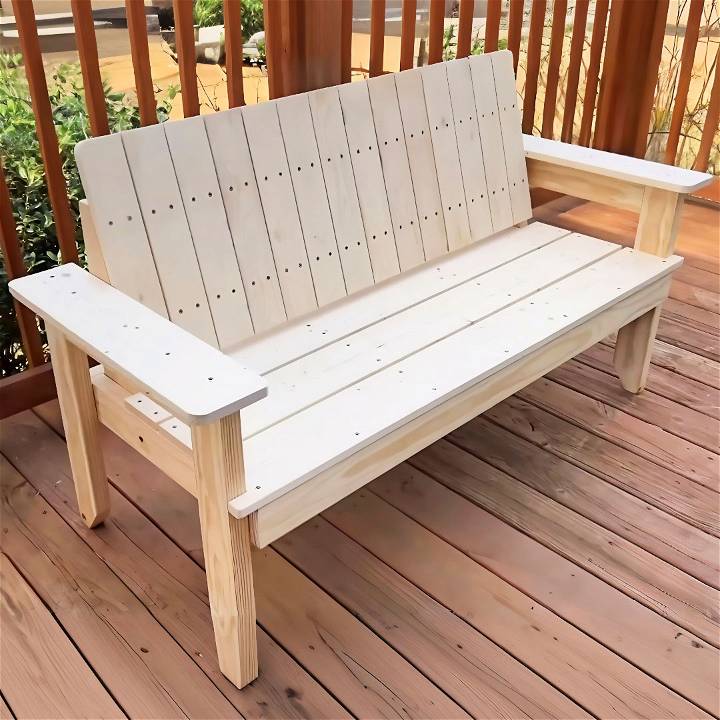
Begin by gathering all the necessary materials. You will need wood, screws, a drill, and some wood finish or paint. Follow the step-by-step instructions to cut and assemble the pieces, ensuring each part fits securely. By the end of this guide, you'll have a sturdy and attractive DIY outdoor bench perfect for your garden or patio.
Choosing the Right Materials
My first step was to source high-quality lumber without breaking the bank. I opted for number one grade common lumber, known for its fewer knots and splits. This decision ensures durability and aesthetics for outdoor furniture. Remember, materials play a pivotal role in the success of your project, so choose wisely.
Step by Step Instructions
Learn how to build a DIY outdoor bench with easy step-by-step instructions. Perfect for your patio or garden DIY project.
Acclimating the Wood
After bringing the wood home, I let it acclimate in my workshop for a couple of days. This process is crucial as it minimizes the risk of the wood warping or splitting after your bench is assembled.
Cutting and Assembling the Seat Frame
With my materials ready, I focused on the seat frame. I squared up the ends of the 2x4s and cut them to the desired lengths. A pro tip: to ensure uniformity, align one end flush and cut the other end where the blade will slice through both pieces.
Joinery: The Power of Pocket Holes
For joining, I used pocket holes. This method is perfect for DIYers of all levels due to its simplicity and strength. I used an M2 Pro pocket hole jig, which I've found to be incredibly user-friendly and accurate, making the assembly process a breeze.
Outdoor Screws and Glue: The Dynamic Duo
When assembling the frame, I used outdoor-coated screws and wood glue. This combination provides extra durability against the elements, ensuring your bench lasts for years to come.
Perfecting the Bench Legs and Assembly
Cutting the legs to the appropriate height (I chose 16 inches for a comfortable seating height), I drilled pocket holes and joined them to the seat frame. Accuracy and a square assembly are crucial here to ensure stability.
Back support: Crafting Comfort
The back support was a bit more challenging. It required precise cuts and angling to achieve a comfortable recline. Pay attention to measurements here and use a tapering jig on a table saw or a steady hand with a jigsaw for the angled cuts.
Finishing Touches: Sanding and Sealing
Sanding the entire bench smoothly preps it for sealing - an essential step for any outdoor furniture. A good outdoor sealant not only enhances the wood's natural beauty but protects it from weather elements. I applied a thin coat using a sprayer for an even finish.
Installation and Enjoyment
Finally, it was time to install the bench outdoors. I chose a spot that benefitted from both sun and shade, perfect for enjoying any time of the day.
Lessons Learned and Tips
- Patience Is Key: Allow your wood to acclimate and take your time with each step to ensure quality results.
- Invest in Good Tools: High-quality tools, like the M2 Pro pocket hole jig, make the process more streamlined and efficient.
- Prep and Finish Properly: Don't skimp on sanding and sealing, as these steps significantly extend the life of your outdoor furniture.
Design Customization Ideas
When making your DIY outdoor bench, personalizing the design can make it a unique centerpiece in your garden or patio. Here are some ideas to inspire customization:
- Choose a Theme: Reflect the character of your outdoor space by selecting a theme. Whether it's rustic, modern, or whimsical, let the theme guide your choice of materials and design details.
- Play with Colors: Don't shy away from color! A bright coat of paint can transform a simple bench into a statement piece. Consider colors that complement your garden or home's exterior.
- Incorporate Patterns: Use stencils or masking tape to build patterns on the wood. Geometric shapes, stripes, or even floral designs can add visual interest.
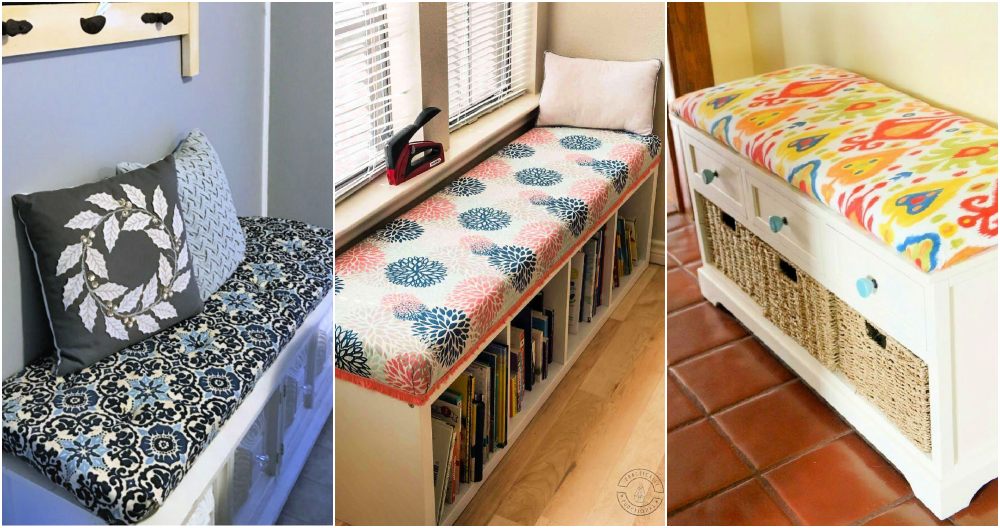
- Add Comfort with Cushions: For added comfort, make or buy outdoor cushions. Choose weather-resistant fabrics in colors or patterns that match your theme.
- Engrave or Burn Designs: Personalize your bench by engraving or wood-burning names, dates, or meaningful quotes into the backrest or seat.
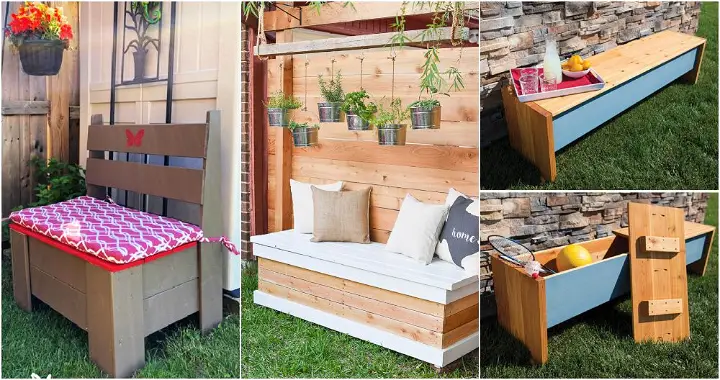
- Functional Additions: Think about adding built-in storage under the seat or armrests that can double as a place to set drinks.
- Integrate Planters: Attach planters to the ends of the bench or incorporate spaces for potted plants within the design, blending seating and greenery.
- Light It Up: Add solar-powered LED lights for ambiance and evening use. They can line the bench or be built into the design for a subtle glow.
- Use Recycled Materials: For an eco-friendly touch, use reclaimed wood or repurpose old furniture parts to build your bench.
- Consider the Surroundings: Design your bench to fit the specific area where it will be placed. Curved benches work well around fire pits, while a straight bench might suit a garden wall.
Consider these customization ideas to build a functional bench that reflects your style and creativity. Enjoy the process and make a bench you'll love for years. Keep it simple, safe, and satisfying!
Troubleshooting Common Issues
Building a DIY outdoor bench can be a rewarding project, but sometimes you might encounter a few hiccups along the way. Here's how to troubleshoot some common issues you may face:
- Wobbly Bench: If your bench wobbles, check to ensure all legs are even. You can adjust the length of the legs or add shims to stabilize the bench. Make sure all screws and joints are tight.
- Wood Splitting: When wood splits as you drive in screws, it's often because the pilot holes are too small. Drill larger pilot holes, and consider using screws with a smaller gauge or a different type of wood.
- Uneven Stain or Paint: For an even finish, sand the wood thoroughly before applying stain or paint. Use a primer for paint, and apply multiple thin coats rather than one thick coat.
- Rotting Wood: To prevent rot, choose weather-resistant wood like cedar or apply a waterproof sealant. Keep the bench off the ground with feet, or place it on a stone or concrete base.
- Screws Not Holding: If screws aren't holding, the wood may be too soft or the holes too large. Use wood glue in the holes or switch to longer or thicker screws for a better grip.
- Difficulty in Assembly: If the bench is hard to assemble, double-check the instructions and measurements. Use clamps to hold pieces in place as you work.
- Comfort Issues: If the bench isn't comfortable, add cushions or adjust the backrest angle. A slight recline can make a big difference.
- Insect Infestation: To protect against insects, use wood treated for outdoor use and regularly inspect your bench for signs of infestation. Treat any problems immediately to prevent damage.
Patience and careful work can solve most issues. Don't rush, and take the time to do it right. Your outdoor bench will be a source of pride and a comfortable spot to enjoy for years to come.
FAQs On DIY Outdoor Bench
Discover answers to common questions on building a DIY outdoor bench. Get tips, tools, and expert advice for your next garden project.
To protect your outdoor bench from the elements, you should apply a weather-resistant finish. This can include outdoor-grade paint, stain, or a wood sealant. It’s important to reapply the finish periodically to maintain the bench’s durability.
Yes, there are many simple bench plans available that are suitable for beginners. These plans often come with detailed instructions and images to guide you through the process. Starting with a basic design can help you build confidence and skills in woodworking.
You can customize your outdoor bench by choosing a design that fits your style, adjusting the dimensions to fit your space, and selecting a finish that complements your outdoor decor. Adding cushions or pillows can also provide a personal touch.
Building your own outdoor bench can be more cost-effective than buying a pre-made one. By selecting your materials and doing the work yourself, you can save money and build a bench that's tailored to your preferences and needs.
The time it takes to build a DIY outdoor bench can vary depending on the complexity of the design and your woodworking experience. A simple bench design can take a few hours to complete, while more intricate designs may require a weekend or more. It's best to review your chosen plan for an estimated time frame and ensure you have all the necessary materials and tools before starting.
Closing Thoughts
Wrapping up our guide on how to build a DIY outdoor bench, you'll now have the skills to build your own DIY patio bench. This project can add charm and practicality to your outdoor space. Remember to gather all the necessary materials and follow the steps carefully. Building something with your own hands is not only rewarding, but it also allows you to customize the design to fit your unique style. Happy building!


