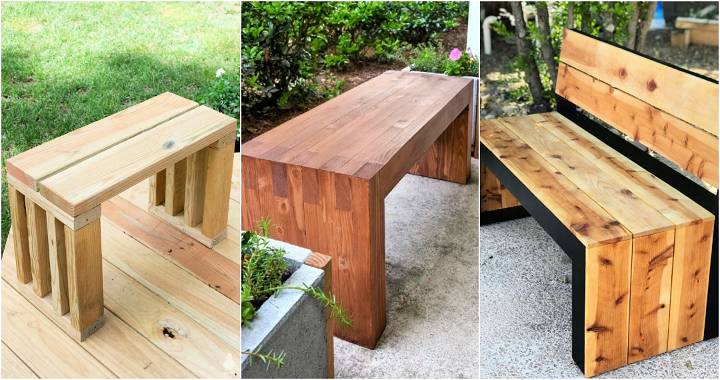
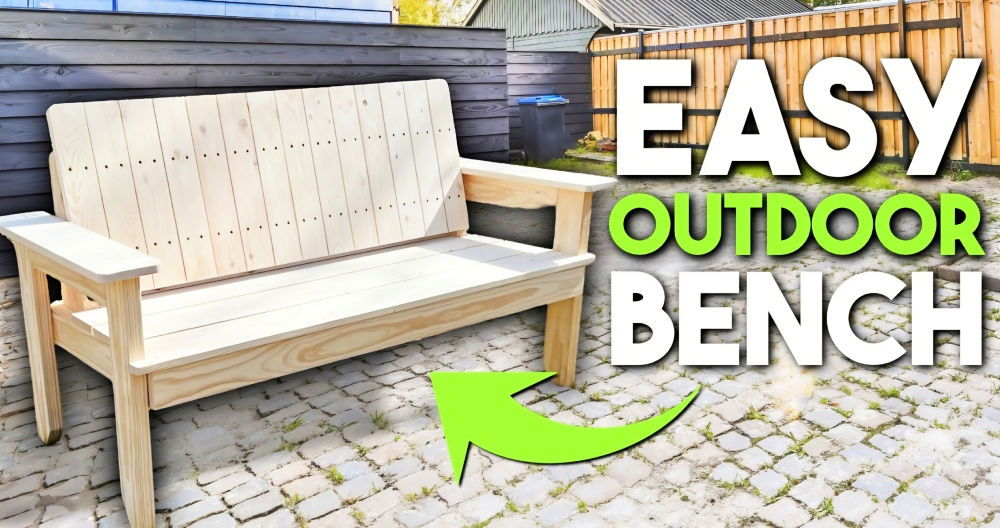
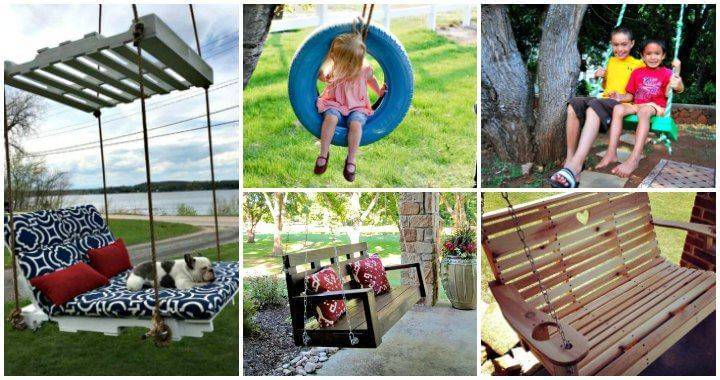
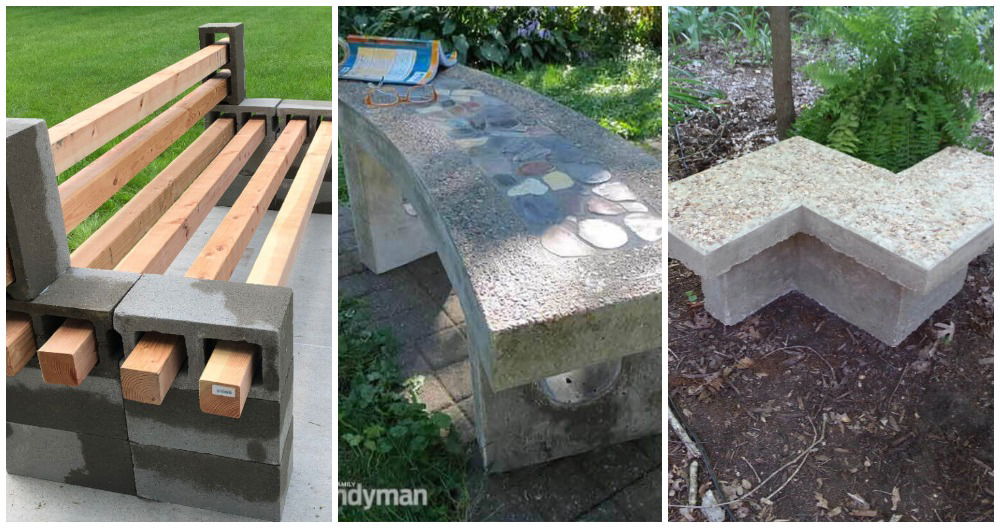
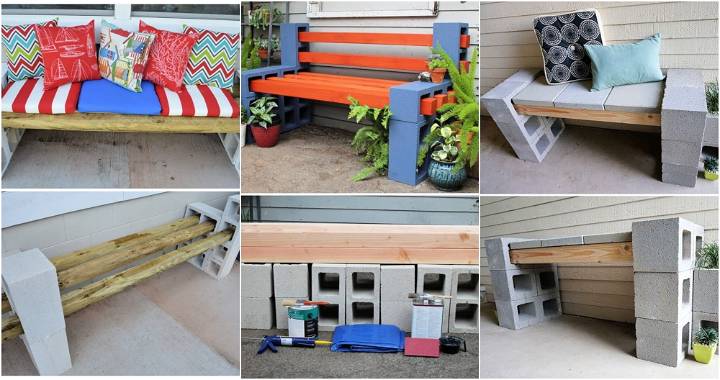
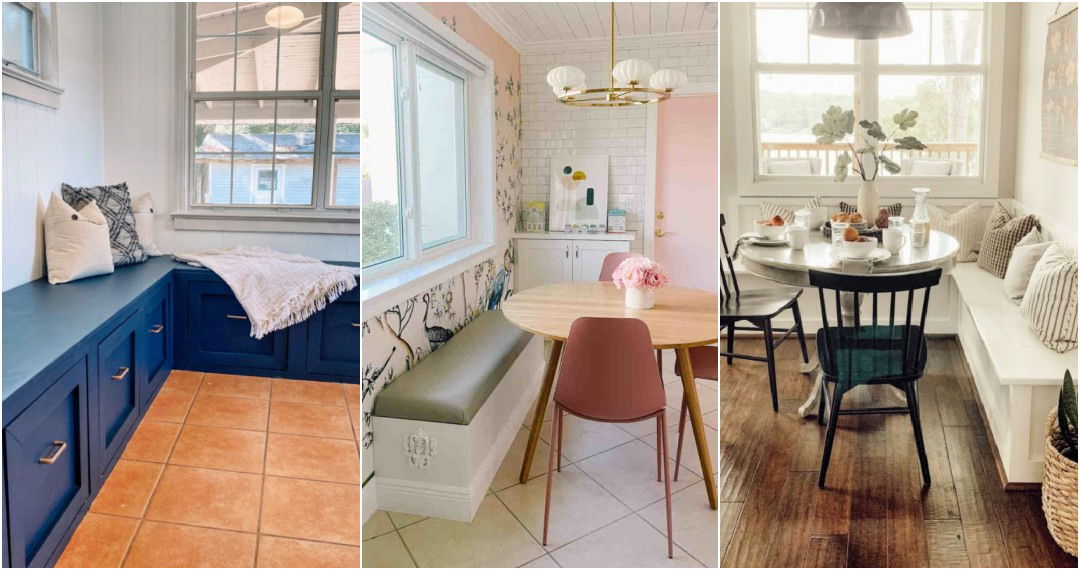
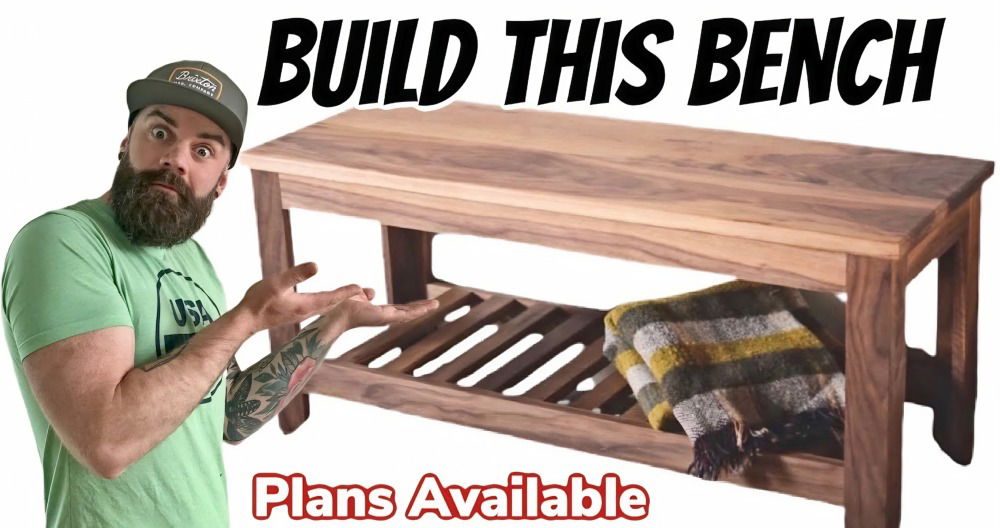
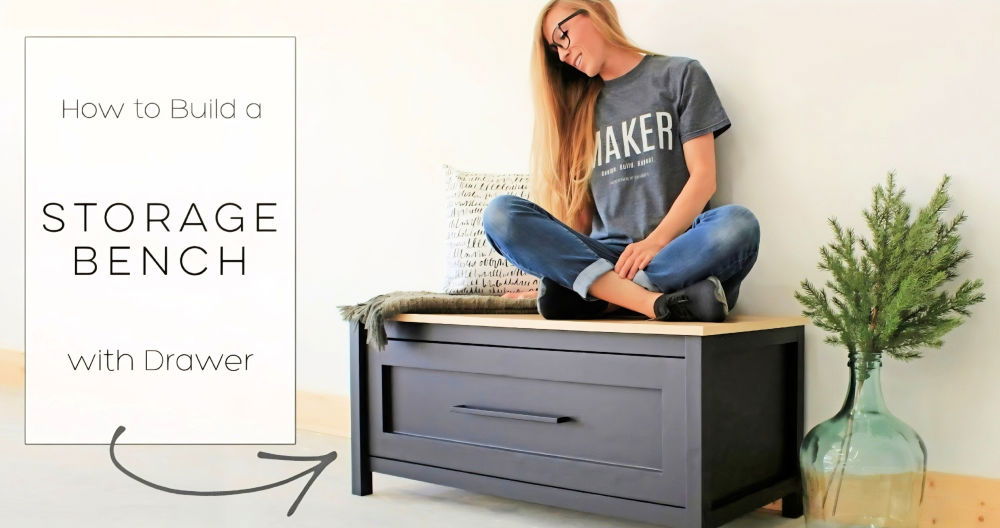
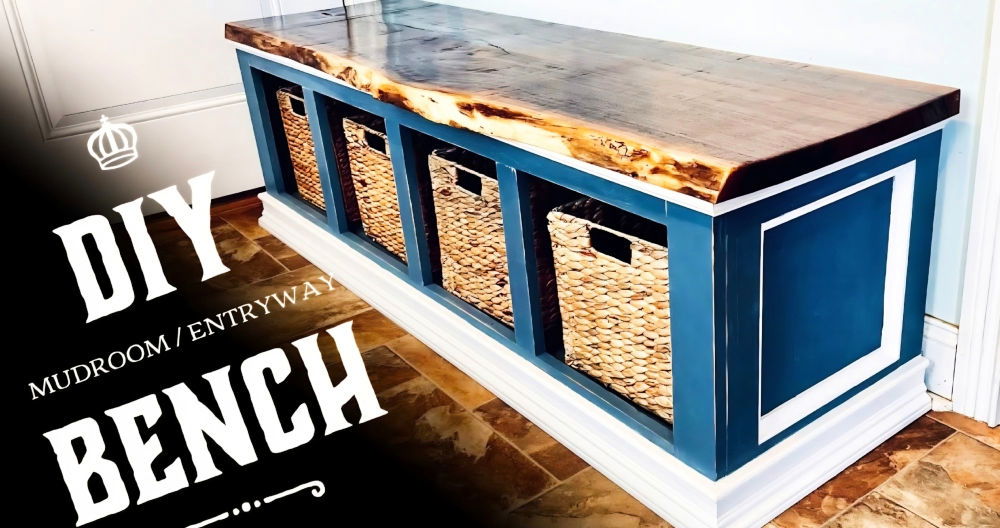
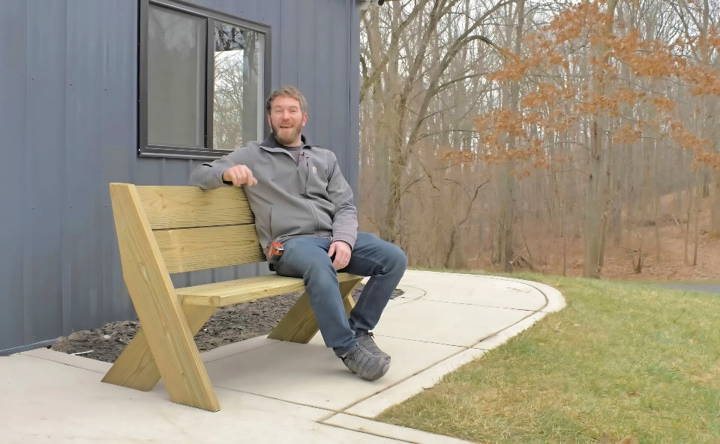
Building a DIY outdoor bench with a back can be a rewarding project. I remember the first time I decided to build one for my backyard. It seemed daunting at first, but with the right materials and a bit of patience, I found it surprisingly manageable. By gathering simple tools like screws, wood, a saw, and a drill, I started my project with a clear plan in mind.
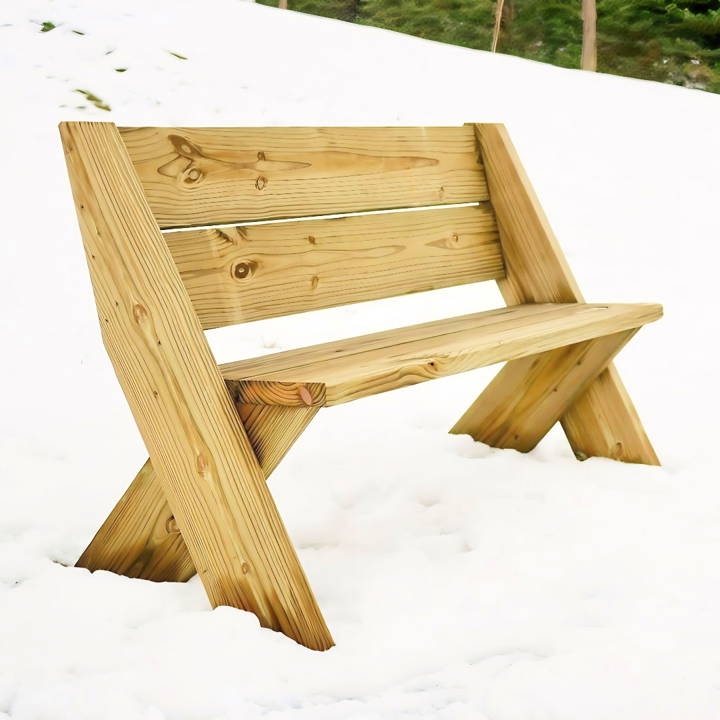
As I assembled the pieces together, the bench started to take shape. The process was quite engaging and fulfilling. Seeing the final product, a sturdy and comfortable bench, was incredibly satisfying. It added charm to my garden and provided a perfect spot for relaxation.
By following this guide, you, too, can build a beautiful and durable DIY outdoor bench with a back.
Materials Needed and Why
- Four exterior-grade 2x8x8 boards: These are the backbone of the bench, providing both the seat and legs. Choosing exterior-grade wood is vital for durability.
- Exterior wood screws: These screws are designed to withstand outdoor conditions, ensuring the bench stays sturdy and intact over time.
Tools Used and Their Purposes
- Circular Saw: For making precise cuts on the boards. This tool is indispensable for resizing the long boards into manageable pieces for the bench.
- Drill: To fasten the wood screws securely, joining the pieces together.
- Speed Square, Tape Measure, and Pencil: For accurate measurement and alignment. These tools ensure that every cut is straight and every part fits perfectly together.
Step by Step Instructions
Discover how to build a DIY outdoor bench with a back. Follow our step-by-step instructions for making your perfect outdoor seating solution.
Step 1: Cutting the Boards
First, I measured and marked the 2x8 boards to cut them into 48-inch lengths for the seat and back of the bench. Using the circular saw and speed square, I made sure my cuts were straight. A tip I picked up was cutting on a piece of foam to prevent damage to the surface below and to support the wood evenly.
Step 2: The Legs
The legs required angled cuts for aesthetics and stability. By adjusting my speed square to a 30-degree angle, I marked and cut the first angle. Then, measuring 38 inches down for the long part of the leg and cutting at a 30-degree angle again formed the piece needed.
For the shorter leg piece, I marked a 40-degree angle, measured 19 inches from the tip, and then cut a 45-degree angle at the end. These angles ensure the legs splay out slightly, giving the bench a stable base and a stylish look.
Step 3: Assembling the Legs
I laid out the cut pieces, aligning the short and long leg parts to form a cohesive leg setup. It was crucial to ensure that the bottom of the legs was flat, so I used a straight edge as a guide while screwing them together with the exterior wood screws. Flipping and repeating the process for the opposite leg, I made sure they mirrored each other perfectly.
Step 4: Securing the Seat
With the legs built, it was time to place the seat boards. I spaced the legs about as wide as the seat boards would allow, marking where the seat boards would overhang the legs by about an inch and a half. I left a small gap between the seat boards for water drainage. Using the drill, I secured the seat to the legs with screws, ensuring it was fixed tightly.
Step 5: Fixing the Back Rest
The back rest was slightly trickier, requiring balance and precision. I positioned the first back board flush with the top of the legs and the back of the bench, then secured it with screws. The second board followed, placed a few inches below the first for comfort and support.
Design Customization Ideas
Building a DIY outdoor bench with a back is not just about building a seating area—it's about crafting a personal haven in your outdoor space. Here are some design customization ideas to make your bench truly yours:
Choose Your Style
- Classic: Go for a timeless look with straight lines and a slatted back.
- Modern: Opt for sleek, minimalist designs with clean angles and a smooth finish.
- Rustic: Use reclaimed wood and leave the edges rough for a country feel.
- Coastal: Incorporate light-colored woods and horizontal slats to evoke a beachside vibe.
Pick the Right Wood
- Pine: Affordable and easy to work with, perfect for a painted finish.
- Cedar: Naturally weather-resistant, it's ideal for a bench that will age gracefully.
- Teak: A durable option that stands up well to the elements and requires little maintenance.
Add a Personal Touch
- Engravings: Carve your initials, a special date, or a simple pattern into the wood.
- Decorative Hardware: Use unique screws or bolts to add character.
- Mosaic Tiles: Build a colorful backrest with a custom mosaic design.
Play with Color
- Stains: Enhance the natural beauty of the wood with a stain that complements your outdoor palette.
- Paint: Make a bold statement with a bright color, or keep it subtle with pastels.
Comfort is Key
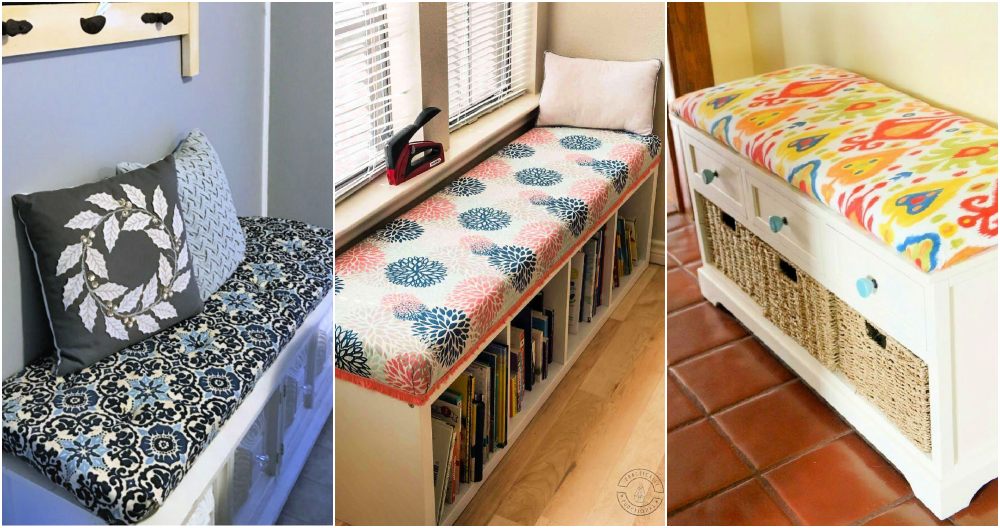
- Cushions: Add cushions for extra comfort and a pop of color.
- Armrests: Design ergonomic armrests for a more relaxing experience.
Lighting
- Integrated Lights: Install solar-powered LED lights under the armrests or within the backrest for ambiance and functionality.
Functionality
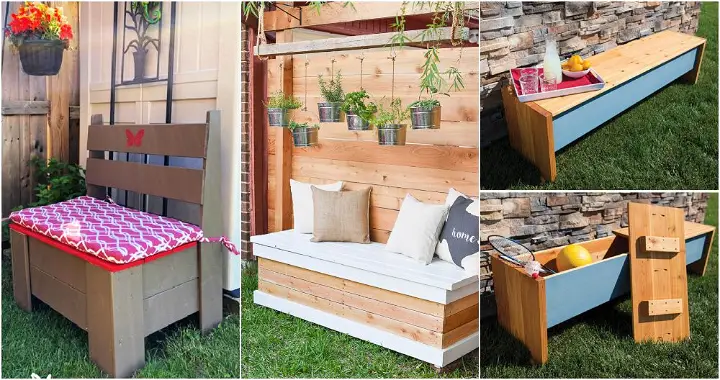
- Storage: Include a hinged seat that opens to reveal a storage compartment for garden tools or outdoor games.
- Foldable Design: Make your bench foldable for easy storage during off-seasons.
Use these design ideas to build a functional bench that reflects your personal style. The best DIY projects bring joy and comfort to your life.
Troubleshooting Common Issues
When building a DIY outdoor bench with a back, you might encounter a few hiccups along the way. Here's how to tackle some common issues with straightforward solutions:
Wobbly Bench
- Check Joints: Ensure all joints are tight and secure. If screws are loose, tighten them.
- Level Ground: Place your bench on a flat surface. Uneven ground can make it wobble.
- Reinforce: Add corner braces or additional supports under the seat for extra stability.
Wood Splitting
- Pre-Drill Holes: Always pre-drill holes before inserting screws to prevent the wood from splitting.
- Correct Screws: Use the right type of screws for the wood you've chosen.
- Gentle Handling: Avoid forcing screws into the wood. If it's tough to screw in, widen the pre-drilled hole slightly.
Paint or Stain Not Adhering
- Surface Prep: Sand the wood thoroughly before applying paint or stain.
- Quality Products: Use high-quality outdoor paint or stain designed for the type of wood you're using.
- Right Conditions: Apply paint or stain in suitable weather conditions; avoid humid or rainy days.
Backrest Comfort
- Adjust Angle: If the backrest feels uncomfortable, adjust the angle. A slight recline can make a big difference.
- Add Padding: Consider adding a cushioned backrest for additional comfort.
Insect Damage
- Wood Choice: Choose insect-resistant wood like cedar or treat the wood with a natural insect repellent.
- Regular Checks: Inspect your bench regularly for signs of insect damage and address any issues promptly.
Weather Damage
- Sealant: Apply a waterproof sealant to protect the wood from rain and sun damage.
- Cover: Use a bench cover during extreme weather or when not in use for prolonged periods.
Mismatched Pieces
- Measure Twice: Always double-check measurements before cutting.
- Template: Build a template for repeated cuts to ensure consistency.
Follow these tips, and you'll handle any challenges in your DIY project. Patience and attention to detail will ensure a beautiful, sturdy bench for years.
FAQs About DIY Outdoor Bench with Back
Discover answers to common questions about building a DIY outdoor bench with a back, including materials, tools, and step-by-step guidance.
To ensure durability:
Use pressure-treated lumber or hardwoods like cedar or teak that resist rot and pests.
Apply a weather-resistant finish such as exterior paint or a wood sealant.
Consider adding rubber feet to the legs to keep the wood off the ground and prevent water absorption.
Yes, there are many simple designs available that require minimal tools and materials. Look for plans labeled for beginners, which often use straight cuts and simple assembly methods. Always follow safety guidelines when using tools.
A comfortable outdoor bench typically has:
A seat height of 17-19 inches.
A seat depth of 15-18 inches.
A backrest height of 12-16 inches from the seat.
An overall width of 42-60 inches to comfortably seat two people.
Customize your bench by:
Adjusting dimensions to fit your space or desired seating capacity.
Adding cushions or pillows for extra comfort.
Incorporating storage under the seat for functionality.
Choosing a paint or stain color that complements your outdoor decor.
Maintaining your DIY outdoor bench is crucial for its longevity. Here are some tips:
Regular Cleaning: Wipe down your bench regularly to remove dirt and debris. Use a mild soap and water solution for a deeper clean.
Wood Treatment: If your bench is made of wood, reapply a sealant or wood oil annually to protect it from the elements.
Inspect for Damage: Check for any signs of wear or damage, such as loose screws or splintered wood, and repair promptly to prevent further deterioration.
Winter Care: If you live in an area with harsh winters, consider storing your bench indoors or covering it to protect it from snow and ice.
Conclusion:
Wrapping up, making a DIY outdoor bench with back can be a highly rewarding project. This guide aims to provide you with clear and actionable steps to craft your own comfortable seating. Remember, each bench you build not only adds value to your outdoor space but also provides a sense of accomplishment. Happy building!


