As a long-time cat lover and a DIY enthusiast, I recently embarked on a project to build an outdoor cat shelter. My neighborhood is home to many community cats, and with winter looming, I felt compelled to ensure they had a safe and warm place to weather the cold. Today, I'm excited to share my experience and step-by-step guide to help others make a cozy haven for their furry friends.
Why Build an Outdoor Cat Shelter?
Outdoor cat shelters are essential for community cats (those adorable furballs that roam our neighborhoods) to stay warm and safe during harsh weather conditions. Unlike indoor cats, community cats have to brave the elements year-round. A well-built shelter can be a lifesaver, offering warmth and protection.
Materials Needed and Their Purpose
- Two Storage Containers: You'll need a large one and a smaller one that can fit snugly inside. These containers are the foundation of your shelter. I used a 30-gallon tub for the outer shell and an 18-gallon for the inner container.
- Permanent Marker and Box Cutter: For tracing and cutting out the entrance hole. Ensure your tools are sharp and reliable for clean cuts.
- Blowtorch or Hairdryer: This is to soften the plastic, making cutting easier and safer. I opted for a hairdryer, as it's a safer option and most people have one at hand.
- Sheet of Insulation: To line the inner walls of the large container and the bottom for added warmth. This material keeps the interior cozy.
- Straw: A crucial element for insulation that repels moisture, keeping the shelter dry and warm. Hay or blankets can retain moisture and freeze, so straw is your best bet.
- Flower Pot and Weatherproof Tape: For making a windbreak at the entrance and sealing any gaps to keep drafts out.
- Scissors: For cutting insulation and straw to fit.
Step-by-Step Guide
Discover the essential steps for creating your own cat shelter with this comprehensive guide. Learn how to provide a safe and comfortable space for your furry friends.
Step 1: Preparing the Entrance
Trace the smaller end of the flower pot on the large container using your permanent marker. This outlines your entrance. Soften the plastic around this outline using a blowtorch or hairdryer, then carefully cut out the entrance with a box cutter. Remember, safety first!
Step 2: Lining With Insulation
Trace and cut out a piece of insulation to fit the bottom of the large container. This adds an extra layer of warmth. Next, insert the smaller container and align it so you can mark where the entrance will be. Cut out this entrance too.
Step 3: Insulating the Walls
Cut pieces of insulation to fit each side of the inside of the large container, including a piece for the entrance. This ensures that warmth is locked in from all sides.
Step 4: Adding Straw for Warmth
Fill the small container with straw until it's about three-quarters full. This might seem excessive, but the straw compresses and provides excellent insulation, making it cozy for the cats. Then, add extra straw around the sides within the large container to eliminate any gaps.
Step 5: Securing the Entrance
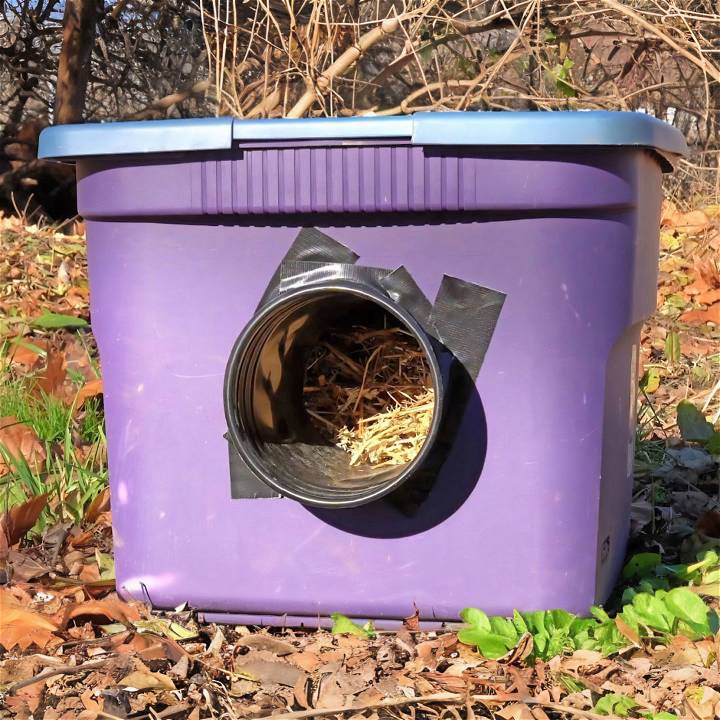
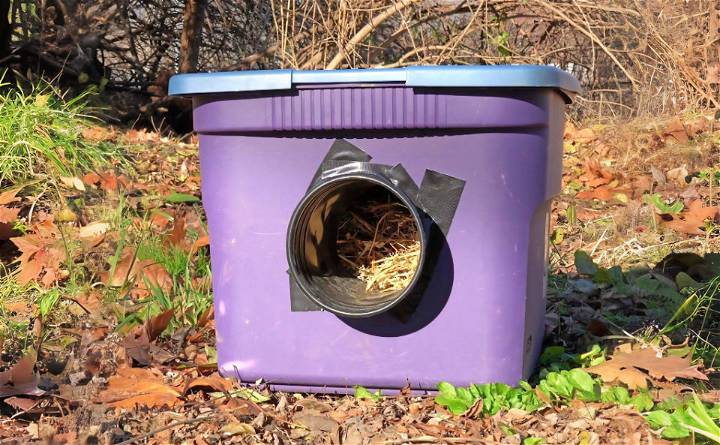
Cut the bottom off the flower pot and thread it through the entrance holes you've maked. This acts as a windbreak and entranceway. Wrap the exterior of this makeshift tunnel with weatherproof tape to block drafts.
Step 6: Final Touches
Affix a piece of insulation to the underside of the small container's lid for added warmth and place the lids on both containers. Your shelter is now ready to house those precious community cats.
Placing Your Shelter
Choose a quiet, somewhat secluded spot outdoors with minimal foot traffic. Ensure the entrance is facing away from the prevailing winds and slightly elevated off the ground to prevent moisture from seeping in.
Understanding Your Cat's Needs
When making a DIY outdoor cat shelter, it's crucial to consider the needs of your feline friend. Cats are creatures of comfort and instinct, and their shelter should be a haven that provides warmth, safety, and a place to indulge their natural behaviors.
- Comfort: Cats love cozy spaces. The shelter should have soft bedding and be large enough for the cat to move around comfortably but small enough to retain body heat.
- Safety: Outdoor cats face many dangers. The shelter should be situated in a quiet, low-traffic area. It should be sturdy and secure to protect from predators and extreme weather.
- Instincts: Cats have a strong hunting instinct and need to stay alert. Include a small window or lookout point in the shelter design so they can watch their surroundings.
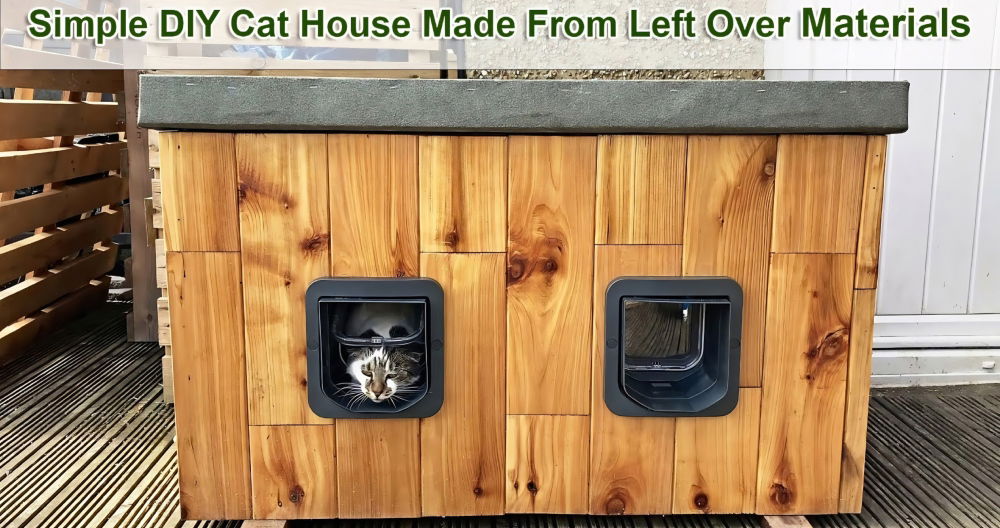
- Accessibility: Ensure the entrance is easy to access and inviting. A flap door can help keep the elements out while allowing the cat to enter and exit freely.
- Temperature Control: Insulation is key. Materials like straw can keep the shelter warm in winter without retaining moisture. In warmer months, proper ventilation will prevent overheating.
Remember, the goal is to make a shelter that feels like a safe and inviting space for your cat, meeting their needs for comfort, safety, and instinctual behaviors. Keep it simple, practical, and cat-friendly.
Customization Ideas for Your DIY Outdoor Cat Shelter
Making a DIY outdoor cat shelter is not just about providing a safe haven for your feline friend; it's also an opportunity to add a personal touch that reflects your cat's personality and your own style. Here are some customization ideas to make your cat shelter unique and inviting:
- Choose a Theme: Just like our homes, a cat shelter can have a theme. Whether it's a rustic cabin, a miniature version of your own home, or a fantasy castle, picking a theme can make the building process fun and the end result truly special.
- Paint and Colors: Use pet-safe paints to decorate the shelter. Bright colors can make it stand out, while earth tones can help it blend in with the garden. Patterns or murals can add a whimsical touch.
- Add a Nameplate: Personalize the shelter with a nameplate bearing your cat's name. This not only looks adorable but also gives your cat a sense of ownership.
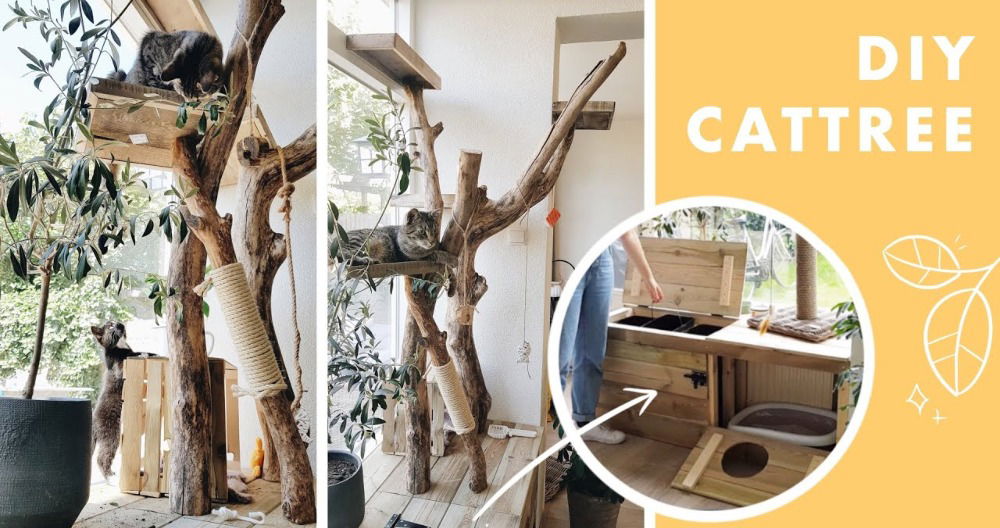
- Incorporate Play Elements: Cats love to play and explore. Adding a small scratching post or hanging toys near the entrance can provide entertainment and encourage your cat to use the shelter.
- Comfort Upgrades: Inside the shelter, consider a soft, washable bed or blanket for extra comfort. In colder climates, a self-warming pad can provide additional warmth without the need for electricity.
- Landscaping: Surround the shelter with cat-friendly plants or a small garden. This not only beautifies the space but also gives your cat some nature to enjoy.
- Lighting: If the shelter is in a darker part of the yard, consider adding solar-powered lights for a cozy glow that can also help you spot the shelter at night.
- Seasonal Decor: Just like our homes, the shelter can change with the seasons. Add a cool mat in the summer, warm blankets in the winter, or festive decorations during holidays.
By using these ideas, make a cat shelter that is both functional and attractive. Use safe materials and maintain stability.
FAQs About DIY Outdoor Cat Shelters
Discover the answers to all your DIY outdoor cat shelter questions in this comprehensive FAQ guide. Start building a safe haven for your feline friend today!
What materials are best for insulating an outdoor cat shelter?
Straw is the preferred insulating material because it repels moisture and helps keep the shelter warm. Avoid using hay, as it can absorb moisture and become moldy.
How big should the shelter be?
The shelter should be large enough for the cat to move around but cozy enough to retain body heat. A good rule of thumb is at least 2 feet long, 18 inches wide, and 18 inches high.
Should the shelter be elevated?
Yes, elevating the shelter a few inches off the ground prevents moisture from seeping in and helps protect the cat from cold ground temperatures.
What kind of entrance is best for a cat shelter?
A small, cat-sized entrance with a flap or baffle will keep out drafts and predators. The entrance should be just large enough for a cat to pass through comfortably.
Can I place food and water inside the shelter?
It's best to set up food and water stations outside the shelter to avoid spills and messes inside the sleeping area. Make sure to use heavy bowls that won't tip over easily.
How often should I clean the shelter?
Regular cleaning is important to ensure the shelter remains a healthy environment. Remove old straw and replace it with fresh straw as needed, and wipe down the interior surfaces with a pet-safe cleaner.
Is it okay to use blankets or towels for bedding?
Cloth materials like blankets or towels can retain moisture and freeze in cold weather, making them unsuitable for bedding. Stick to straw or use self-warming pads designed for pets.
By addressing these FAQs, you can make a more comprehensive and helpful section for your readers, ensuring they have the information they need to build a safe and comfortable outdoor shelter for their cats.
Conclusion: A Warm Haven for Cold Nights
Building this DIY outdoor cat shelter was an incredibly rewarding experience. Not only was it an opportunity to apply my love for DIY projects, but it also served a greater purpose in providing warmth and safety for the community cats braving the winter. Remember, the size and simplicity of the shelter can make a significant difference in the lives of these animals. So, I encourage my fellow cat lovers and DIYers to consider building a shelter. It's a small effort on our part, but a huge benefit for them.


