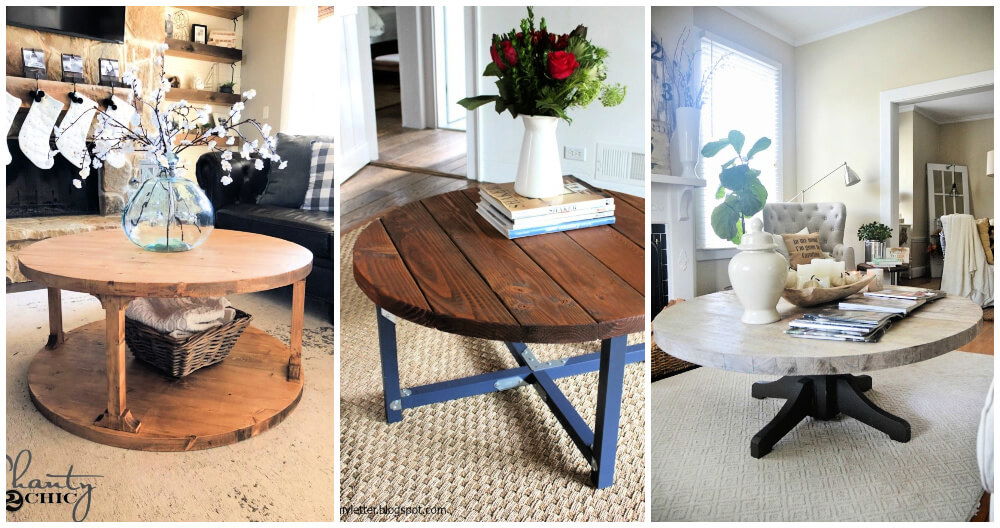
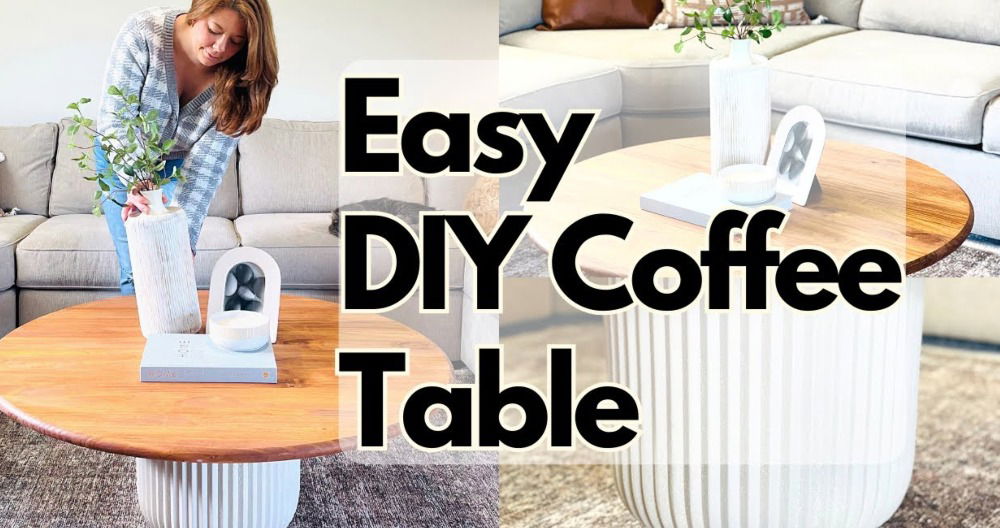
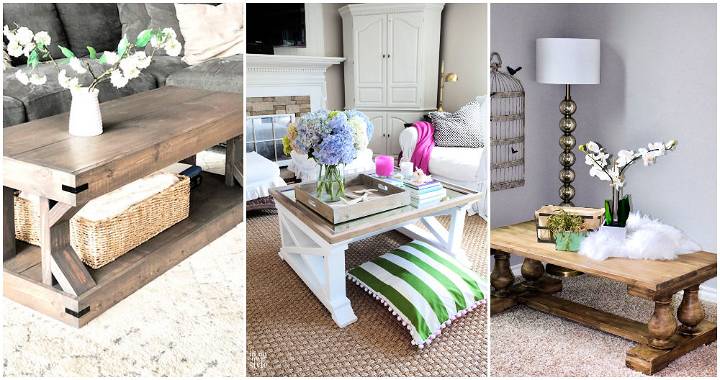
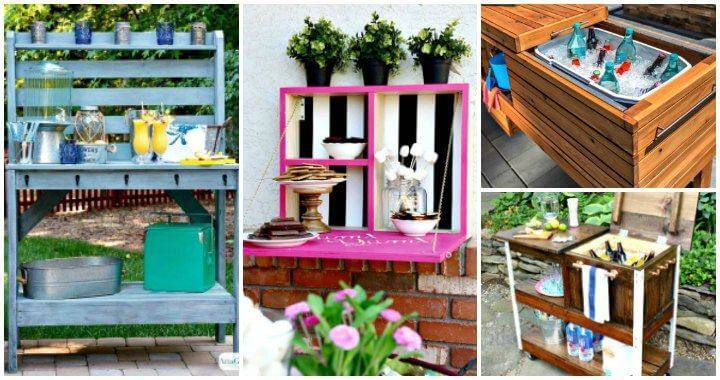
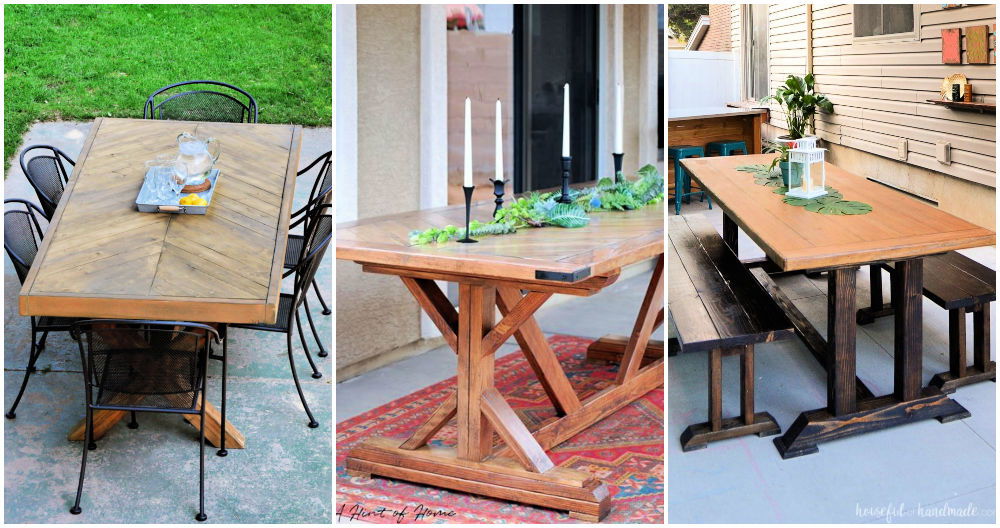
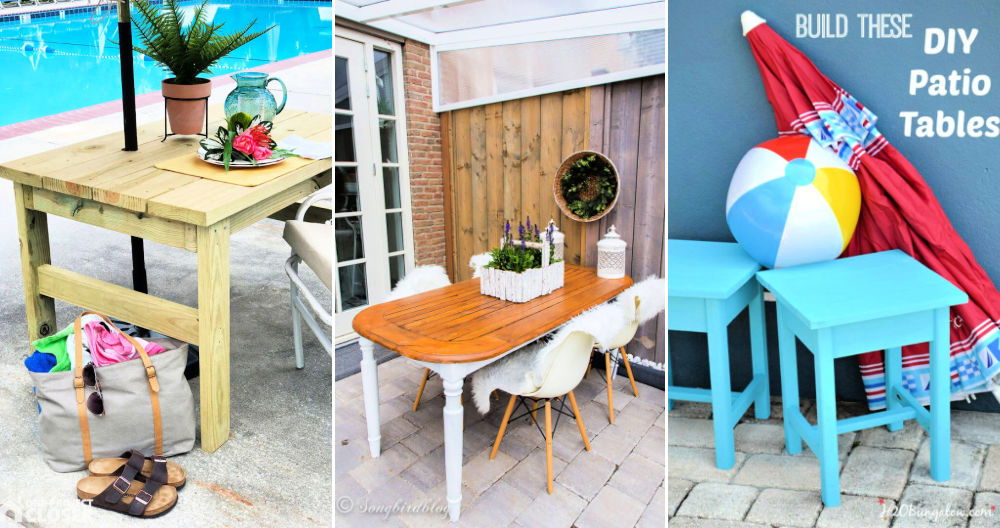
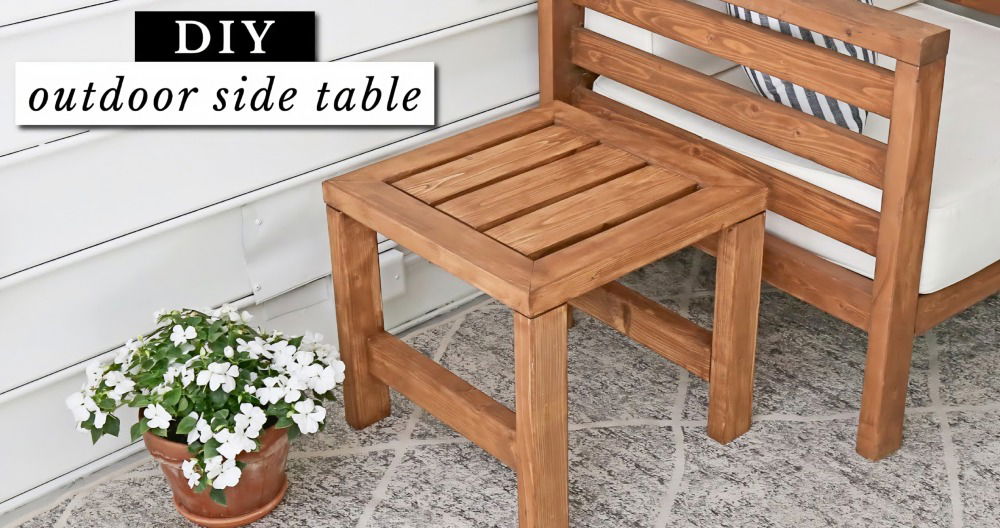
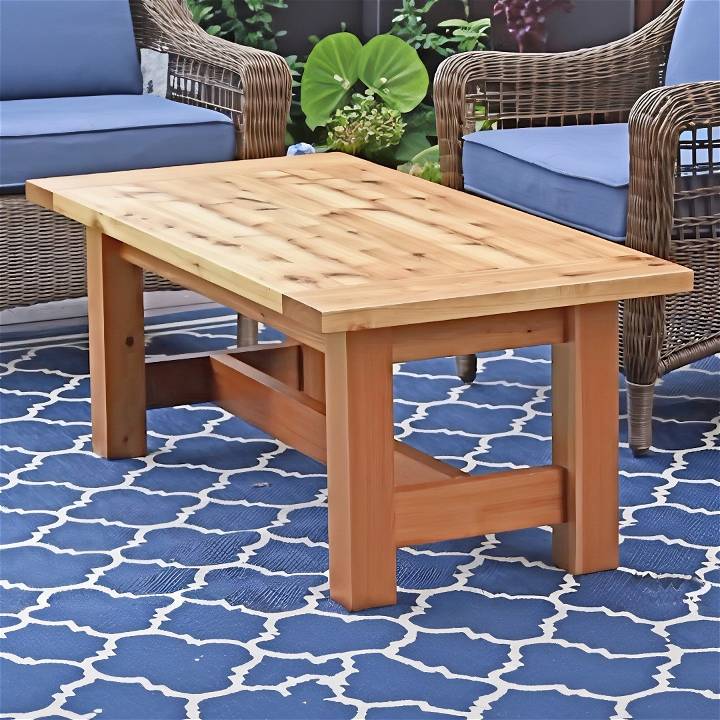
Building an outdoor coffee table from scratch has been one of the most rewarding DIY projects I've embarked on. Through this process, not only have I enhanced my woodworking skills, but I've also buildd a beautiful and sturdy piece of furniture that adds charm to my outdoor space. I would love to guide you through the step-by-step process I followed, sharing some practical insights I gained along the way. Whether you're a seasoned woodworker or a beginner looking to tackle a new project, I hope you'll find this guide useful.
Materials Needed
Western Red Cedar
I chose Western Red Cedar for this project because of its excellent durability and resistance to rot, making it perfect for any outdoor furniture. Its lightweight nature also means the table is easier to move around.
Tools
You'll need a miter saw, a jointer, a table saw, a planer, a domino joiner or dowels, sandpaper of varying grits (80, 120, 150), a track saw, clamps, and a block plane. Each tool plays a crucial role, from cutting the lumber to the right size to ensuring the surfaces are perfectly smooth.
Step by Step Instructions
Learn how to build your own outdoor coffee table with step-by-step instructions. From preparing the lumber to building the base, create a stylish addition to your patio.
Step 1: Preparing the Lumber
Initially, I cut all my materials to rough length using a miter saw. Running them through a jointer and a planer ensured that each piece was flat and squared up, which is crucial for a well-constructed table.
Step 2: Building the Tabletop
The tabletop required ripping the boards to width on the table saw, ensuring the edges were perfectly parallel. After arranging the boards to my liking, I joined them using a unique book-folding method at the glue joints. This technique ensures seamless joints, vital for a polished finish.
Step 3: Sanding and Finishing the Top
Once glued, I sanded the tabletop starting with an 80-grit sandpaper, progressing to 150-grit. For outdoor furniture, there's no need to go beyond this grit since the finish will cover the finer details. Trimming the ends with a track saw gave me a perfectly flush edge.
Step 4: Building the Base
For the base, I cut joinery using a domino joiner, although dowels can also be used effectively. Assembly required careful orientation and a liberal application of Titebond 3 glue known for its water resistance.
Final Assembly
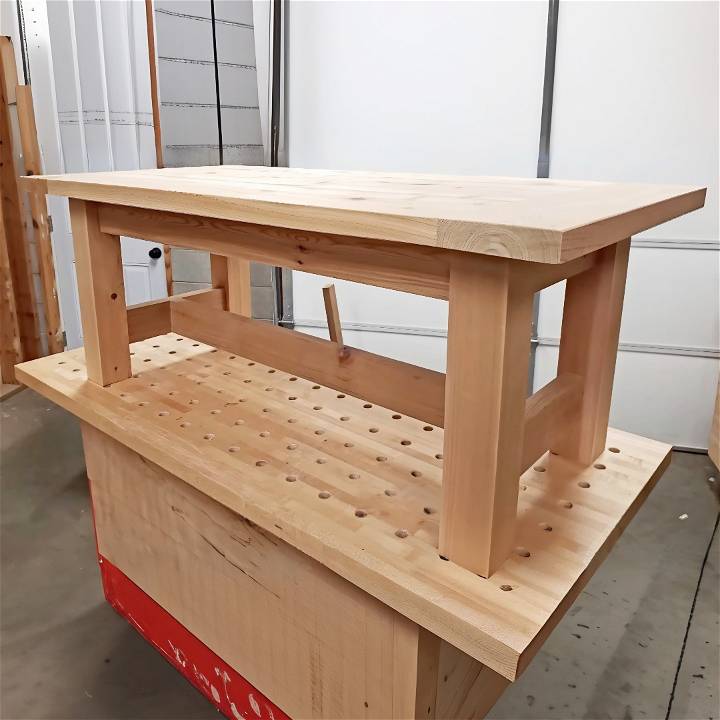
With the sides of the table ready, I connected them with long apron parts and added stretchers. I made sure to spread glue thoroughly for a strong bond before clamping everything tightly together.
Attaching the Top
The addition of cleats to the frame helped anchor the top securely while allowing for wood movement, which is a critical consideration for outdoor furniture.
Breadboard Ends
To ensure the tabletop remained flat and resisted warping, I attached breadboard ends using dominoes for joinery. This also added an aesthetic touch to the table.
Finishing Touches
To deal with cedar's natural knots and imperfections, I filled them with black CA glue, which not only sealed the voids but also added a unique character to the table's appearance. A final sanding before applying a clear epoxy sealer and spar varnish brought out the cedar's natural color while ensuring the table's durability against the elements.
Customization Ideas for Your DIY Outdoor Coffee Table
Building a DIY outdoor coffee table is not just about functionality; it's also an opportunity to inject your personal style and flair into your outdoor space. Here are some unique and practical ideas to customize your coffee table that will make it a standout piece.
Choose a Theme
- Reflect Your Personality: Pick a theme that mirrors your personal taste. Whether it's rustic, modern, or eclectic, your coffee table can be a reflection of you.
- Match Your Garden: Consider the colors and styles of your garden. A table that complements your outdoor environment builds a harmonious look.
Select Materials
- Durable Woods: Opt for woods like teak, cedar, or redwood, which are known for their durability and resistance to weather conditions.
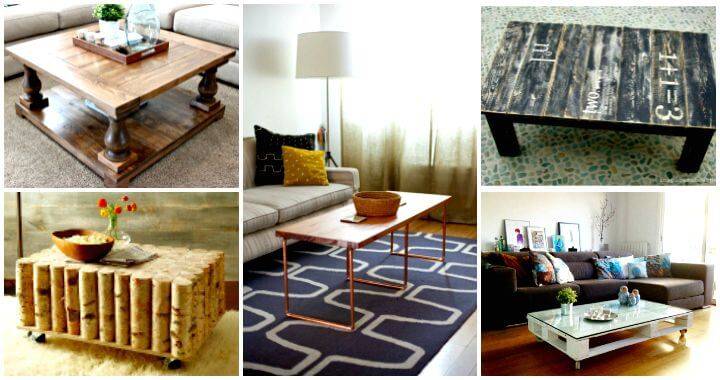
- Recycled Materials: Use recycled or upcycled materials for a unique touch. Old pallets or reclaimed wood can add character and charm.
Add Color and Texture
- Stain or Paint: Apply a stain to enhance the natural wood grain, or choose a paint color that pops and adds vibrancy to your garden.
- Tile Mosaic Top: For a durable and artistic surface, consider building a mosaic top with tiles. This can also be a fun family project.
Functional Features
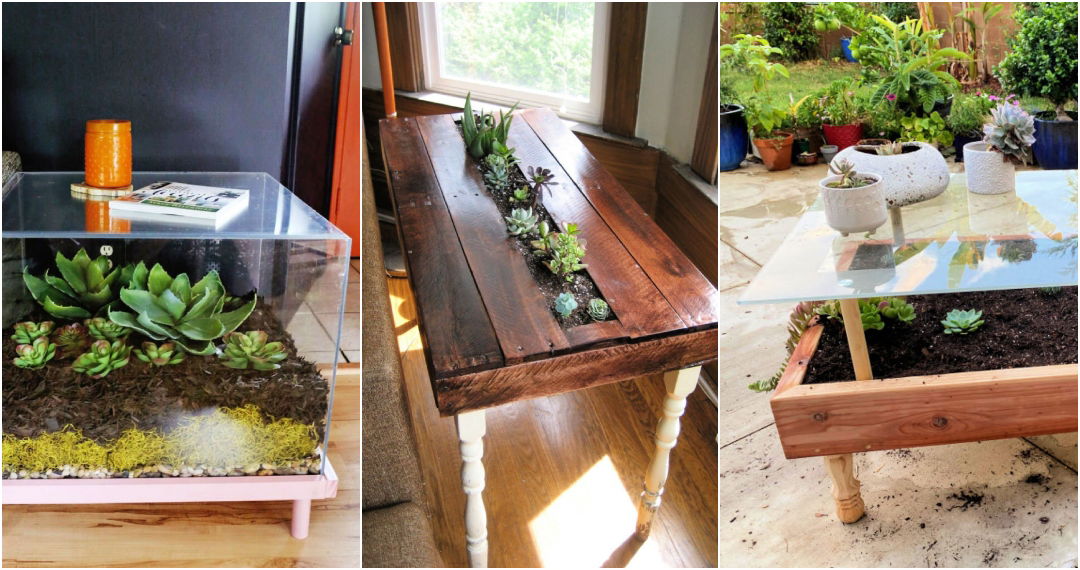
- Built-In Planters: Incorporate planters into the design of your coffee table. This adds greenery and life to your outdoor space.
- Adjustable Height: Consider a design that allows for adjustable height, making your table versatile for different occasions and uses.
Lighting and Ambiance
- LED Strips: Install LED strips underneath the table for a subtle glow that enhances the ambiance during evening gatherings.
- Solar Lights: Embed solar lights into the table design for an eco-friendly lighting solution that charges during the day and illuminates at night.
Finishing Touches
- Protective Coating: Apply a waterproof sealant to protect your table from the elements and extend its life.
- Decorative Accents: Add decorative elements like glass pebbles, metalwork, or carvings to give your table a unique finish.
By using these ideas, make a unique coffee table that reflects your style. Keep it practical, choose materials wisely, and enjoy building. Your table will impress guests!
Troubleshooting Common Issues
When embarking on a DIY outdoor coffee table project, you might encounter a few hiccups along the way. Here's a helpful guide to troubleshoot common issues, ensuring your project stays on track.
Dealing with Wood Warping
- Identify the Warp: Check for any signs of bending or twisting in your wood planks.
- Prevention: Store your wood flat and off the ground in a cool, dry place before use.
- Fix: If warping occurs, use clamps and a flat surface to gently straighten the wood over time.
Handling Split Wood
- Careful Drilling: Prevent splits by pre-drilling holes, especially near the ends of boards.
- Glue and Clamp: For minor splits, wood glue and clamps can often salvage the piece.
Stabilizing Loose Joints
- Tighten Up: Regularly check and tighten any bolts or screws that may have loosened.
- Reinforce: Add corner brackets or additional supports if joints continue to loosen.
Fixing Uneven Stain
- Sanding: Lightly sand the area to remove excess stain.
- Reapply: Use thin, even coats of stain, allowing ample drying time between applications.
Addressing Peeling Paint
- Scrape and Sand: Remove peeling paint with a scraper and sand the area smooth.
- Prime and Paint: Apply a primer designed for outdoor use before repainting.
By being prepared to tackle these common issues, you'll ensure your DIY outdoor coffee table remains a beautiful and functional centerpiece for your outdoor space for years to come.
FAQs About DIY Outdoor Coffee Tables
Building a DIY outdoor coffee table can be a rewarding project. Here are answers to some common questions to help you get started and ensure success.
What is the best wood to use for an outdoor coffee table?
Hardwoods like teak, cedar, and redwood are excellent choices for outdoor furniture due to their natural resistance to weather and decay. If you're on a budget, treated pine can also be a good option, but make sure it's rated for outdoor use.
How can I protect my DIY coffee table from the elements?
To protect your outdoor coffee table, apply a waterproof sealant or finish that is appropriate for the type of wood you've used. Regular maintenance, such as cleaning and reapplying sealant as needed, will also extend the life of your table.
Can I use reclaimed materials to build my coffee table?
Absolutely! Reclaimed wood or metal can add character and sustainability to your coffee table. Just ensure the materials are still structurally sound and treat them appropriately for outdoor use.
What tools will I need for a DIY outdoor coffee table project?
The basic tools you'll need include a saw (hand saw, circular saw, or miter saw), drill, screwdriver, sandpaper, and measuring tape. Depending on your design, you might also need a router or chisel for more intricate work.
How can I customize my coffee table to match my outdoor decor?
Consider staining or painting your coffee table to match or complement your outdoor decor. Adding features like a lower shelf for storage or built-in planters can also integrate your table with the rest of your outdoor space.
Conclusion
Building this outdoor coffee table was a journey that taught me much about woodworking, patience, and attention to detail. By following these steps and employing a little creativity, I've added a personal touch to my outdoor living space that's both functional and visually appealing. This project is a testament to the joy and satisfaction that comes from building something by hand. Whether you follow this guide to the letter or use it as inspiration for your design, I wish you success and hope you enjoy the process as much as the result.


