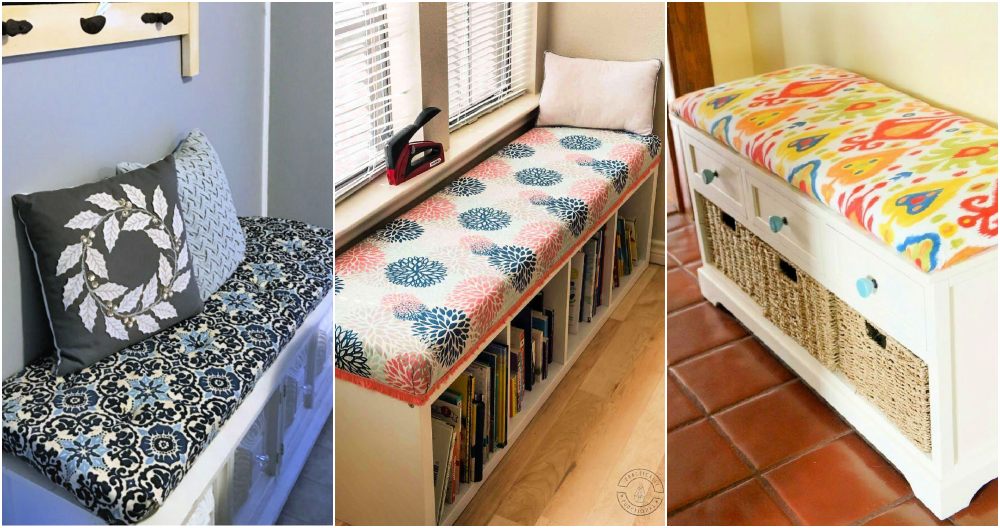
Starting with making my first DIY outdoor cushion was both exciting and daunting. I had never sewn anything before. Following a simple step-by-step guide, I gathered my materials: fabric, foam, and thread. The process was straightforward – cutting, sewing, and assembling the cushions felt rewarding. The guided steps made it easy and fun, even for someone new to sewing.
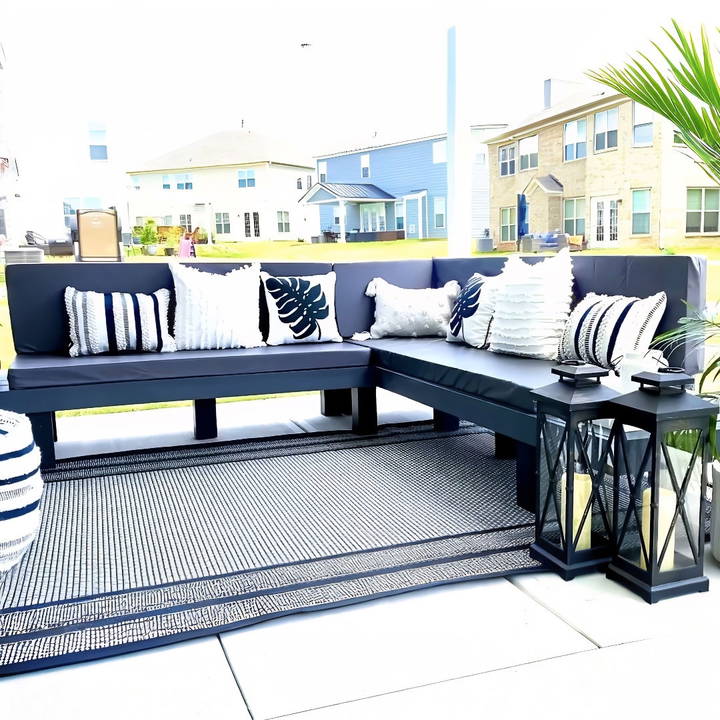
By the end, I buildd beautiful DIY patio cushions that perfectly matched my outdoor furniture. The satisfaction of completing this project boosted my confidence in trying other DIY projects. I hope this guide will help you as much as it helped me.
Building your own DIY outdoor cushions not only saves money but also brings a personal touch to your space. Let's get started with the guide below!
Materials You'll Need
Let's start with gathering the materials. Here's what I used:
- Multi-purpose Foam: Essential for the cushion's inside. I selected a 3-inch thick high-density foam from a local store, ensuring comfort and durability.
- 100% Waterproof Vinyl Outdoor Tablecloth: This fabric choice is crucial for outdoor cushions, ensuring they can withstand the elements, particularly important if your cushions might be exposed to rain.
- Bias Tape and Zipper: For sealing and providing an opening for the cushion cover, adding practicality for washing or replacing the foam.
- Sewing Supplies: Including a kitchen knife (for cutting the foam), measuring tape, and a sewing machine.
Each of these materials plays a vital role in the project. The high-density foam provides comfort, the waterproof tablecloth ensures durability and resilience against weather, and the bias tape alongside the zipper adds functionality and finesse to your cushions.
Step by Step Instructions
Make stylish and comfortable DIY outdoor cushions with our step-by-step instructions. Easy, budget-friendly guide to outdoor comfort.
Cutting the Foam to Size
First, I measured and marked the foam, making it a half-inch bigger than the desired cushion size for a snug fit. Surprisingly, a kitchen knife worked better than scissors for cutting the foam—it was smoother and easier.
Preparing the Fabric
I then turned my attention to the vinyl outdoor tablecloth, cutting it according to the size with additional space for the seams and zipping enclosure. Cutting the fabric correctly was crucial for fitting the foam snugly within.
Crafting the Cushion Cover
The trickiest part was cutting corner and center notches on the fabric. This process might sound complicated, but it's all about ensuring the fabric folds and fits nicely around the corners of the foam.
I used bias tape to manage the fabric's edges, which I planned to attach to the zipper. For someone not particularly experienced in sewing, the bias tape made the seam work feel more manageable.
Sewing It All Together
With the preparations done, it was time to sew. I attached one side of the bias tape to the zipper, then sewed the other side of the bias tape along the edge of the fabric, making sure the zipper was properly aligned for a neat finish.
Using the sewing machine, I closed the sides of the cushion cover before tackling the corners. The secret is folding them diagonally, forming a triangle, and then sewing, which neatly tucks away any imperfections from earlier steps.
Final Touches
Finally, with the sewing completed, all that was left was to insert the foam into the cushion cover. The snug fit I aimed for at the start truly paid off, as the cushion looked professionally made. You might need to adjust slightly by adding small pieces of foam for a snugger fit, depending on the accuracy of your initial measurements.
Customization Ideas for DIY Outdoor Cushions
Building your own outdoor cushions is not just about saving money; it's also an opportunity to inject your personality into your outdoor space. Here are some customization ideas that can help you make each cushion a reflection of your style:
Choose Your Colors and Patterns
- Color: Think about the mood you want to set. Warm colors can build a cozy, inviting space, while cool colors can make your outdoor area feel more serene.
- Pattern: Stripes can give a classic look, florals can add a touch of romance, and geometric patterns can make a modern statement.
Add Some Texture
- Mix Fabrics: Combine different textures like canvas with velvet or satin with burlap for a tactile experience.
- Trim: Consider adding trim such as fringe, lace, or pom-poms for a playful touch.
Personalize with Paint
- Stencils: Use stencils to paint designs onto plain cushion covers. This can range from simple shapes to intricate mandalas.
- Fabric Markers: For a more freehand approach, fabric markers allow you to draw or write directly on the fabric.
Functional Customizations
- Pockets: Sew on pockets to hold books, sunglasses, or a remote control.
- Ties and Straps: Add ties or straps to secure your cushions to chairs or benches, preventing them from blowing away.
Comfort Enhancements
- Padding: Choose the thickness and density of your foam for the desired comfort level.
- Quilting: Quilted patterns not only add beauty but can also provide extra comfort.
Eco-Friendly Options
- Recycled Fabrics: Use recycled or upcycled materials for an environmentally friendly choice.
- Natural Dyes: Opt for natural dyes made from plants for a sustainable coloring method.
Have fun with your DIY projects and let your creativity shine. Make your outdoor cushions unique, comfortable, and stylish.
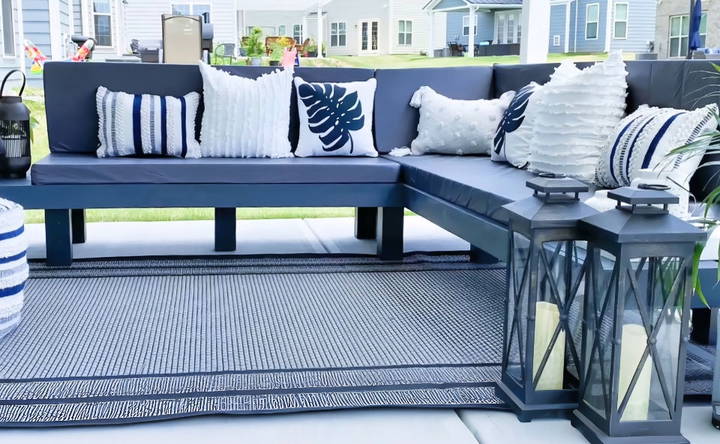
Troubleshooting Common Issues with DIY Outdoor Cushions
When crafting your own outdoor cushions, you might encounter a few hiccups along the way. Here's a guide to help you troubleshoot some of the most common issues:
Fabric Not Holding Up to Weather
- Solution: Ensure you're using outdoor-grade fabric that's water-resistant and UV-protected. If your cushions are fading or getting damaged quickly, consider switching to a higher-quality outdoor fabric.
Cushions Aren't Comfortable
- Solution: The comfort of a cushion largely depends on the quality of the foam inside. If your cushions feel too hard or too soft, try using a different density of foam. High-density foams are firmer and more durable, while lower-density foams are softer and more comfortable.
Cushions Keep Slipping Off Furniture
- Solution: Add ties or Velcro strips to secure the cushions to your furniture. This will prevent them from moving around or falling off.
Sewing Issues
- Solution: If you're having trouble with sewing, make sure you're using the right type of needle and thread for outdoor fabrics. A heavy-duty needle and UV-resistant thread can make a big difference.
Mold and Mildew Growth
- Solution: Mold and mildew can be a problem in damp environments. To prevent growth, ensure your cushions are completely dry before storing them and consider using a fabric that's treated to resist mold and mildew.
Zipper Malfunctions
- Solution: Zippers can often get stuck or break. Use a zipper that's designed for outdoor use, and apply a lubricant like silicone spray to keep it moving smoothly.
Difficulty in Cleaning
- Solution: Choose a fabric that's easy to clean and maintain. Removable cushion covers are a great option as they can be taken off and washed separately.
Anticipating issues and knowing solutions will help you build beautiful, functional outdoor cushions.
Safety Precautions for DIY Outdoor Cushions
When embarking on a DIY project to build outdoor cushions, safety is paramount. Here's how you can ensure a safe and enjoyable crafting experience:
Work Area Setup
- Clear Space: Ensure your work area is tidy and spacious enough to move around safely.
- Stable Surface: Use a stable table or workbench to prevent any tools or materials from falling.
Tool Safety
- Sharp Tools: Always handle scissors, sewing needles, or cutting tools with care. Store them safely when not in use.
- Sewing Machine: If using a sewing machine, make sure to follow the manufacturer's safety instructions.
Material Handling
- Fabric: When cutting fabric, keep your hands away from the cutting line and use proper cutting tools.
- Foam: Cutting foam can build dust, so consider wearing a dust mask to avoid inhalation.
Chemical Safety
- Adhesives and Sprays: Use adhesives, sprays, or any chemical treatments in a well-ventilated area or outdoors.
- Protective Gear: Wear gloves and safety glasses when handling chemicals to protect your skin and eyes.
Fire Safety
- Heat Sources: Keep fabrics and cushion materials away from heat sources like stoves, heaters, or open flames.
- Smoking: Avoid smoking in the crafting area to prevent any fire hazards.
Ergonomics
- Proper Posture: Maintain a comfortable posture to avoid strain while sewing or assembling cushions.
- Breaks: Take regular breaks to stretch and rest, especially during lengthy crafting sessions.
Child and Pet Safety
- Supervision: Keep children and pets away from the crafting area to prevent accidents.
- Storage: Store all crafting materials and tools out of reach of children and pets.
Adhering to safety precautions minimizes risks, allowing you to focus on crafting outdoor cushions.
FAQs About DIY Outdoor Cushions
Find answers to the most common questions about DIY outdoor cushions, from materials to maintenance tips, in our comprehensive FAQs guide.
First, measure the width and depth of your seating area. Add 1 inch to both measurements for a 1/2 inch seam allowance on all sides. These measurements will be for the top and bottom panels of your cushion. For the side panel, add the perimeter of your cushion and include an extra inch for the seam allowance. Cut your panels according to these dimensions, rounding the corners for a better fit.
Yes, you can create no-sew cushions using fabric glue or iron-on hemming tape. However, these methods may not be as durable as sewing. If you choose to sew, you can hand-stitch the cushions, though it will be more time-consuming than using a machine.
Select a filling that is firm enough to provide support but soft enough for comfort. Outdoor foam is a popular choice because it’s sturdy and dries quickly. Polyester fiberfill is another option, though it may compress over time. Consider the climate and usage when choosing your filling.
To maintain your cushions, store them in a dry place when not in use, and avoid prolonged exposure to direct sunlight to prevent fading. For cleaning, most outdoor fabrics can be wiped down with a damp cloth. For deeper cleans, use a mild soap solution and rinse thoroughly. Always allow the cushions to dry completely before storing to prevent mold and mildew.
To protect your outdoor cushions from weather damage, consider these tips:
Choose the Right Fabric: Opt for high-quality outdoor fabric that's designed to withstand UV rays and moisture.
Proper Storage: When not in use, store your cushions in a dry, shaded place to prevent sun damage and mildew growth.
Use Covers: Invest in protective covers for your cushions, especially during harsh weather conditions or when not in use for extended periods.
Regular Cleaning: Clean your cushions regularly with a mild detergent and water to prevent dirt buildup, which can lead to mold and mildew.
Waterproofing Spray: Apply a waterproofing spray to build an additional barrier against moisture.
Conclusion
In conclusion, making your own DIY outdoor cushions can be a rewarding and cost-effective project. This step-by-step guide for beginners provides all the essential instructions and tips you need. By following these steps, you can customize your outdoor space with unique cushions that reflect your personal style. Enjoy the process of making outdoor cushions and the satisfaction of adding a personal touch to your home. Happy crafting!


