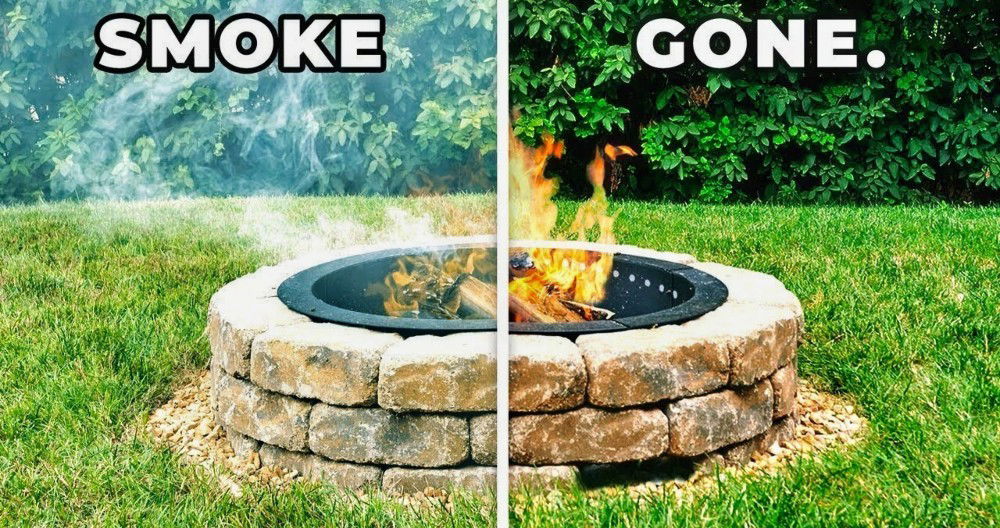
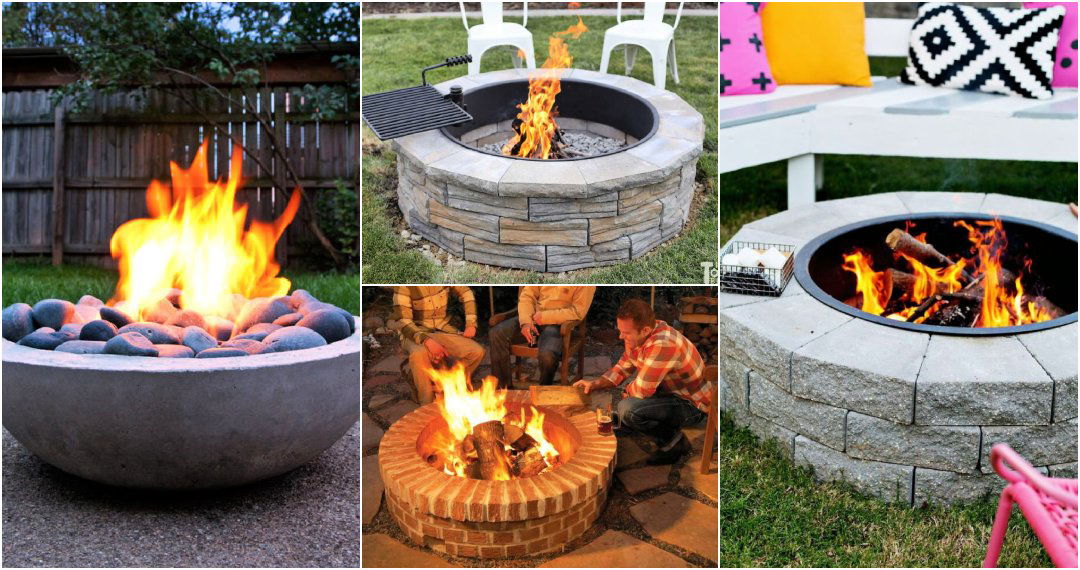
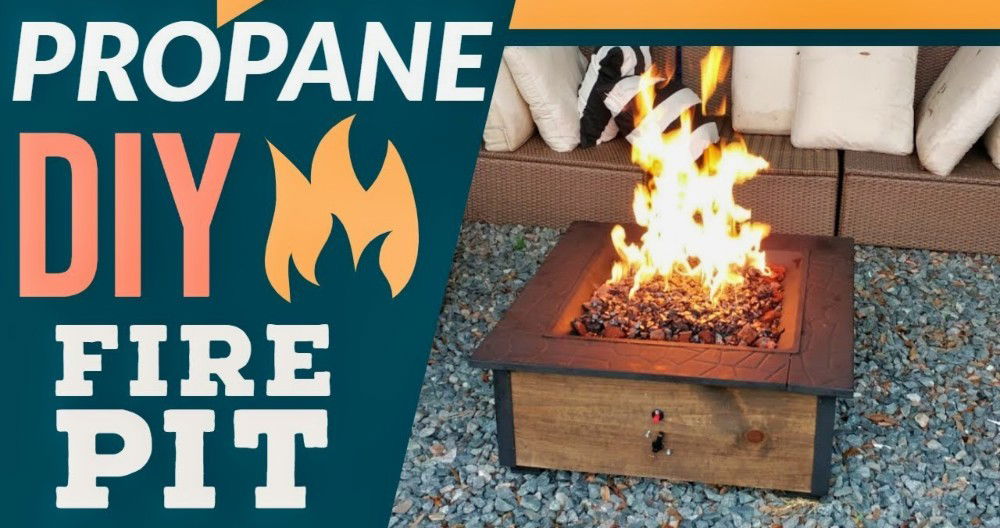
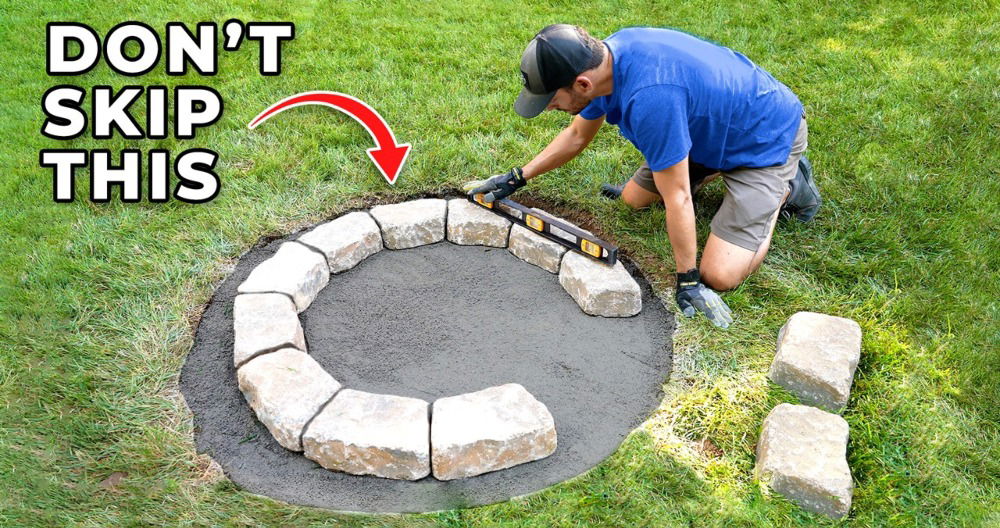
Making my own DIY outdoor fire pit was a fun and rewarding project. One weekend, I decided my backyard needed something special for family gatherings and cold nights. After some research, I realized building a fire pit was easier than I thought. With a few materials and basic tools, I got started. I was amazed at how quickly things came together with just a little effort.
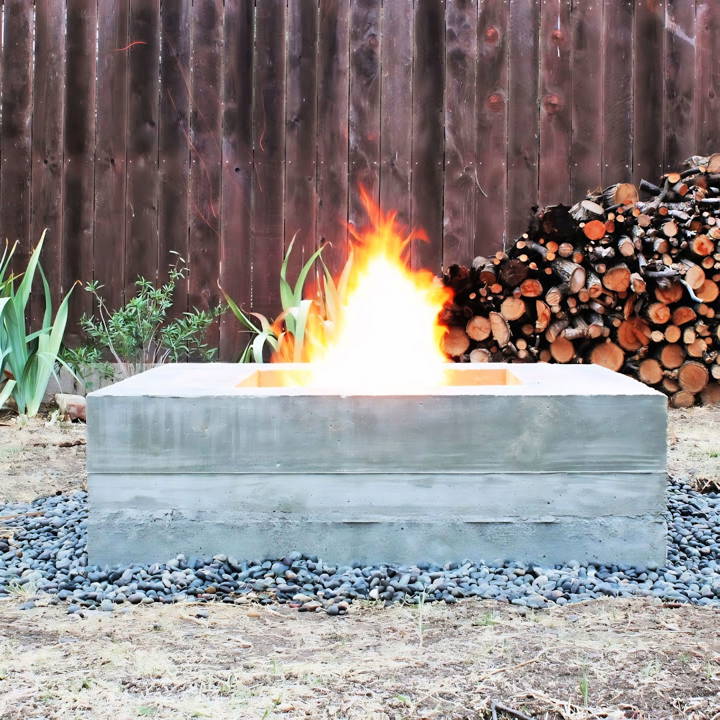
In this guide, I'm helping you see how easy it is to build your own DIY outdoor fire pit. You'll find step-by-step instructions that are simple and clear. This not only saves money but also gives a personal touch to your outdoor space.
With clear steps and a bit of your time, you can build a cozy and inviting spot in your backyard. These practical tips will help you enjoy outdoor fires in no time.
Materials Needed and Their Purpose
To bring this project to life, you'll need several materials. Let's break down what they are and why they're important:
- Wood for Formwork (2x4s and 2x6s): These pieces build the mold for your concrete. Precise measurements and cutting ensure the foundation of your fire pit is solid and well-shaped.
- L Brackets: These secure the wooden panels together, maintaining the formwork's integrity during the concrete pour.
- Concrete (Quikrete 5000): A high-strength, quick-setting concrete mix ideal for outdoor structures.
- Rebar: These steel bars reinforce the concrete, adding strength and longevity to your fire pit.
- Gravel: Forms a base layer beneath your concrete for drainage and stability.
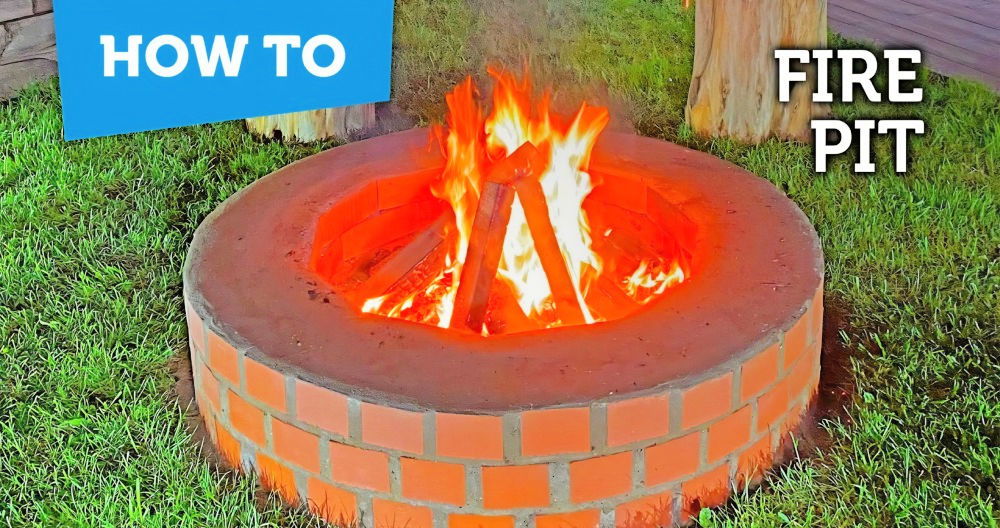
- Masonry Supplies (Fire Bricks, Mortar Mix): Fire bricks line the inside of your fire pit, offering heat resistance while the mortar keeps them in place.
- Lava Rock: A visually appealing, thermally resistant layer on which you'll start your fires, protecting the concrete from direct flame.
Step by Step Instructions
Learn how to build your own outdoor fire pit with our easy, step-by-step instructions. From formwork to final touches, build a cozy backyard retreat.
Step 1: Making the Formwork
Firstly, I cut the 2x4s and 2x6s according to the measurements (you can find these online or adjust them based on your own design preferences). The accuracy here directly impacts your fire pit's final shape and size. After cutting, I assembled the pieces into panels using screws and connected them with L brackets to form a sturdy rectangular frame.
Step 2: Preparing the Site
Choosing the right spot in my garden, I placed the frame on the ground and marked the outline by digging around it. This step might test your patience and back strength, as it involves digging about eight inches deep to build a level base. Filling the dugout space with about three and a half inches of compacted gravel ensured a stable foundation for the concrete.
Step 3: Installing the Formwork and Rebar
With the gravel in place, I centered the formwork on it, ensuring it was perfectly level. This was crucial for a symmetrical fire pit. After positioning the forms, I secured them together and installed the rebar within the perimeter to reinforce the upcoming concrete structure.
Step 4: Mixing and Pouring the Concrete
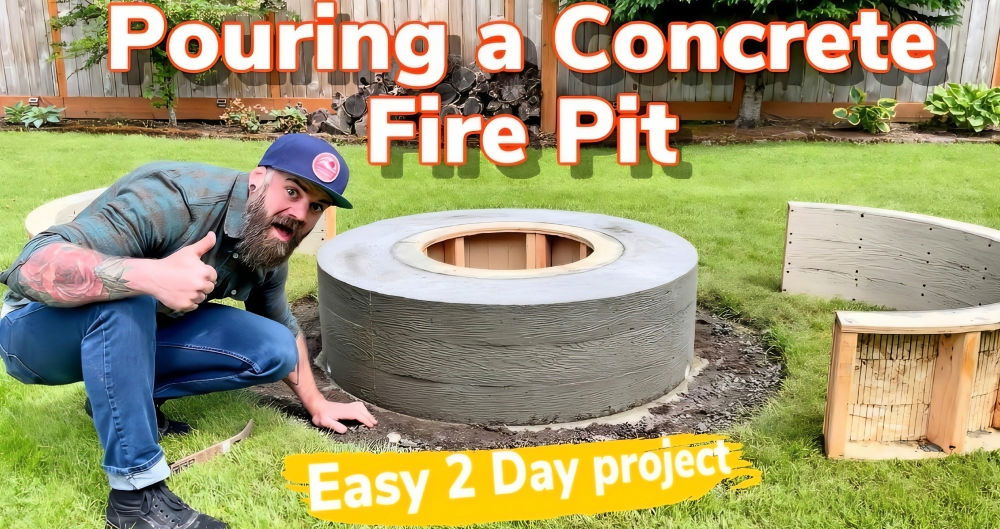
The Quikrete 5000 mix was my go-to for this step. Following the instructions, I mixed it to the right consistency and poured it into the formwork, which was about three and a half inches thick, making the base of the fire pit. This foundation is vital for the entire structure's stability, so it was important to cover every corner and remove any air pockets.
Step 5: Laying the Fire Bricks
After letting the foundation cure for at least 20 hours, it was time for my first foray into masonry. I mixed the mortar and started placing the fire bricks one by one, vertically against the formwork's inner perimeter. Admittedly, my initial attempts were far from perfect, but functionality was my priority over aesthetics.
Step 6: Final Concrete Pour
With the bricks set, I continued with additional concrete layers, interspersing more rebar for reinforcement. This phase required patience and endurance, as mixing and pouring concrete is physically demanding. But breaking it into manageable sections made it more approachable.
Step 7: Finishing Touches
Once filled to the brim, I used a straight piece of wood to level the concrete's surface and then a float to smooth it out, followed by a steel trowel for the final finish. Keeping the concrete moist, I allowed it to cure fully over 48 hours before removing the formwork—which required some cutting and prying due to swelling from moisture.
Maintenance and Upkeep
Maintaining your outdoor fire pit is crucial to ensure it remains safe to use and extends its lifespan. Here's a straightforward guide to keeping your fire pit in top condition:
- Regular Cleaning: After each use, once the fire pit has cooled down, remove any debris, such as ash and leftover wood. This prevents accumulation that can hinder airflow and cause excessive smoke during your next fire.
- Inspect for Damage: Check your fire pit regularly for any signs of wear or damage. Look for cracks in stone or brick fire pits and rust or corrosion in metal ones. Early detection can prevent further deterioration.
- Protective Covering: When not in use, cover your fire pit with a weather-resistant cover. This will protect it from rain, snow, and debris, reducing the risk of rust and weather-related damage.
- Avoid Water Accumulation: Ensure your fire pit has proper drainage to prevent water from pooling. Stagnant water can lead to rust in metal fire pits and weaken the structure of stone or brick ones.
- Seasonal Care: Before the onset of winter, give your fire pit a thorough cleaning. If you live in an area with severe winters, consider storing portable fire pits indoors to avoid exposure to harsh conditions.
- Safe Ash Disposal: Dispose of cool ashes safely. Ashes can be used as fertilizer in your garden, but make sure they are completely cold to avoid any fire hazard.
- Regular Sealing: For stone or brick fire pits, apply a sealant annually to protect against moisture and extend the life of the materials.
Follow these steps to enjoy your fire pit for many seasons. Regular maintenance keeps it safe and looking great. Use these tips for cozy fires all year.
Local Regulations and Permits
Before you start building your outdoor fire pit, it's essential to understand the local regulations and permits required in your area. This section will guide you through the process in a clear and straightforward manner.
- Check Local Ordinances: Firstly, you need to check with your local government about the specific laws related to fire pits. Regulations can vary greatly, depending on where you live. Some areas may have restrictions based on the fire pit's size, location, and the type of fuel you can use.
- Safe Distance: Generally, fire pits should be placed at a safe distance from any structures or combustible materials. This distance is often between 10 to 30 feet. It's important to place your fire pit away from overhanging branches, fences, or anything that could easily catch fire.
- Recreational Fire Guidelines: Most localities define a recreational fire by its size and purpose. Ensure your fire pit fits these criteria to avoid needing a permit for open burning, which is typically reserved for larger or industrial fires.
- Permit Requirements: While many places do not require permits for recreational fire pits, some states and counties might need them for safety reasons. Always double-check with your local fire department to ensure you're following the correct protocol.
- Material Restrictions: Be aware of what materials you're allowed to burn. Some materials can release dangerous gases and are prohibited. Stick to clean, dry wood or other recommended fuel types to ensure safety and compliance with local laws.
- Insurance and Inspections: If you're building a permanent fire pit, your homeowner's insurance policy may need to be informed. Additionally, some localities require a site inspection before you can use your fire pit, so it's best to schedule this in advance if needed.
By adhering to these guidelines, you can enjoy your outdoor fire pit without any legal concerns.
Safety Precautions
When it comes to enjoying your outdoor fire pit, safety is paramount. Here's a comprehensive guide to keeping you, your family, and your property safe while you bask in the warmth of an open flame.
- Check the Weather: Before lighting your fire pit, always check the weather. Avoid using your fire pit on windy days, as strong winds can spread sparks and embers, potentially starting unintended fires.
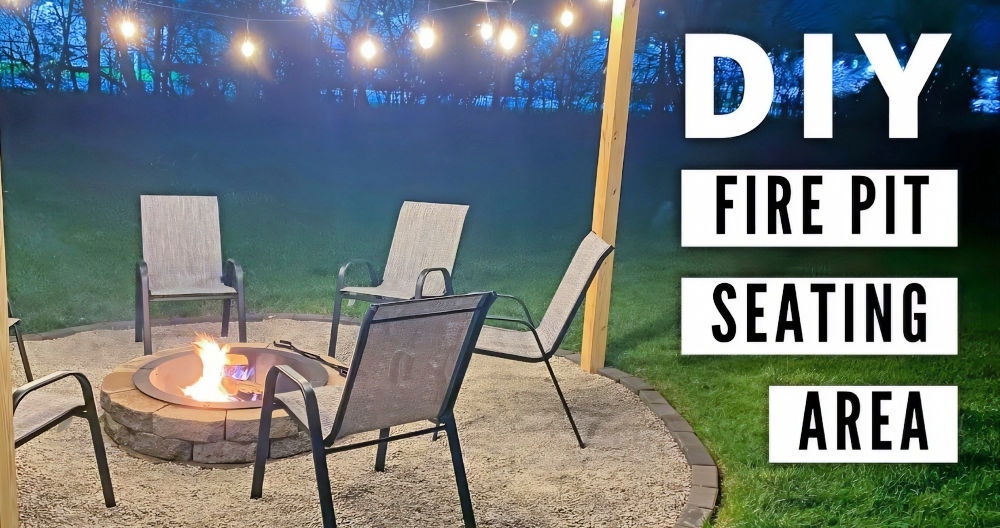
- Location, Location, Location: Place your fire pit in an open area away from buildings, trees, and other flammable structures. Ensure it's on a non-flammable surface like stone, brick, or concrete and at least 10 feet away from your home or any other potential hazards.
- Fire Pit Materials: Use the right materials for your fire. Hardwoods like oak or maple are ideal as they burn longer and produce less smoke. Never use construction lumber or any wood treated with chemicals, as they release toxic fumes when burned.
- Emergency Preparedness: Always have a plan for extinguishing the fire quickly. Keep a bucket of water, sand, or a fire extinguisher nearby. In case of an emergency, you'll be able to act fast and prevent the fire from spreading.
- Supervision is Key: Never leave your fire pit unattended. Always supervise the fire until it's completely extinguished. This means the fire is out, the embers are cold, and there's no risk of reigniting.
- Child and Pet Safety: Keep children and pets at a safe distance from the fire pit. Establish a perimeter of at least 3 feet and ensure they understand the importance of staying clear of the area.
- Containment: Use a spark screen to contain embers and prevent them from escaping the pit. This simple addition can significantly reduce the risk of stray sparks causing a blaze.
By following these safety precautions, you can enjoy the cozy ambiance of your fire pit with peace of mind, knowing that you've taken the necessary steps to ensure a safe and pleasant experience for everyone involved.
FAQs About DIY Outdoor Fire Pit
Discover answers to the most common questions about DIY outdoor fire pits. Learn safety tips, material choices, and design ideas for your own fire pit.
Select a flat, open area away from structures, overhanging branches, or any flammable materials. Ensure it’s a spot where smoke won’t disturb your neighbors or your own home. It’s also important to check local regulations regarding fire pits.
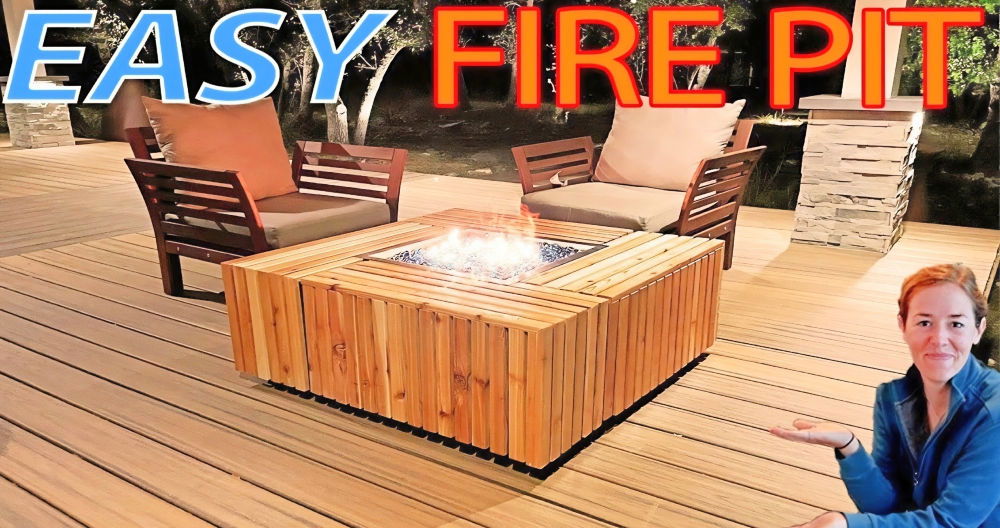
It’s not recommended to place a fire pit directly on a wooden deck due to fire risk. If you must, use a fire pit pad or mat to protect the surface and only use a gas fire pit designed for deck use. Always prioritize safety and check with local fire codes.
After each use, remove ash and debris once the pit has cooled. Regularly check for and remove any rust or wear. Cover your fire pit when not in use to protect it from the elements. For gas fire pits, inspect the burner and connections periodically.
Always supervise the fire pit when in use. Keep a fire extinguisher or water source nearby in case of emergencies. Never leave the fire unattended, and ensure the fire is completely out before leaving it. Avoid using flammable liquids to start or revive a fire.
The safest and most effective way to light your fire pit is by using a fire starter that's specifically designed for outdoor use. Avoid using lighter fluid or gasoline as they can cause uncontrollable flames. Instead, use kindling or natural fire starters placed under larger logs. Light the kindling with a long match or lighter to start your fire pit safely.
Conclusion: Filling and Enjoying Your Fire Pit
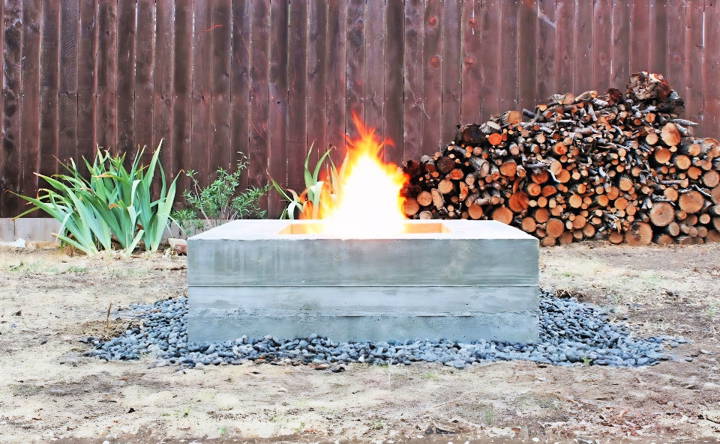
Completing this project boosted my confidence and gave my family a new spot to gather around. Taking the first step was the hardest, but I'm glad I did. You can do it too. Follow through with the steps provided, and soon, you'll have your own cozy DIY outdoor fire pit to enjoy.


