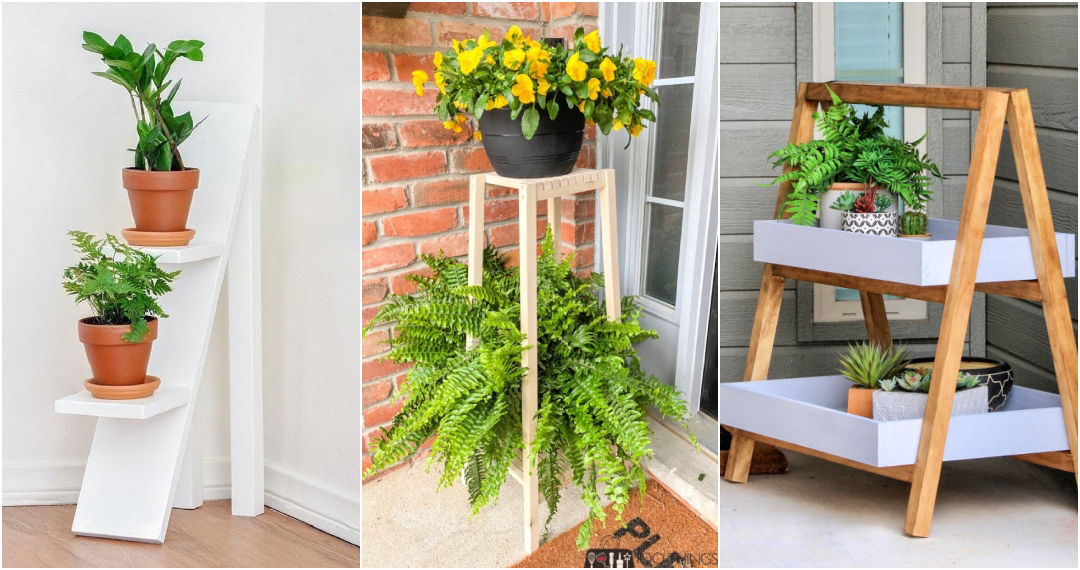
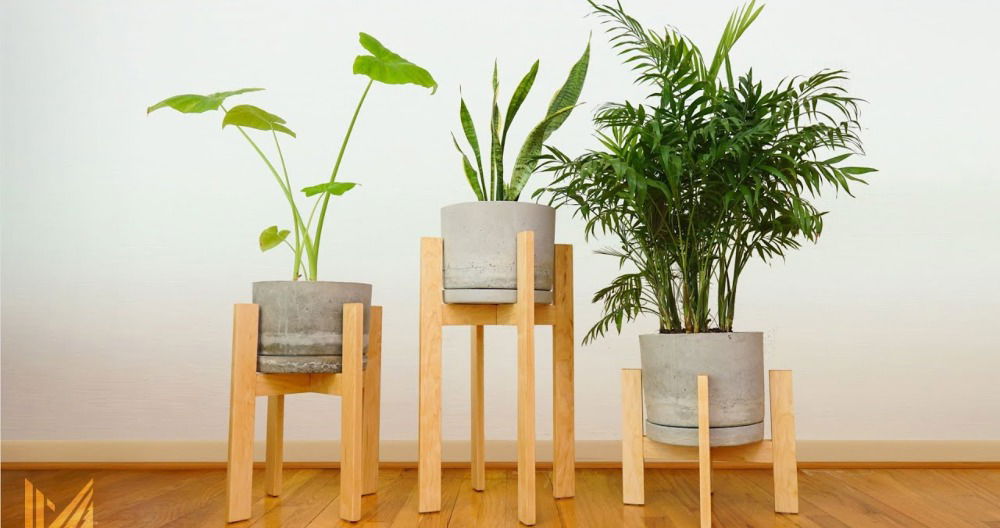
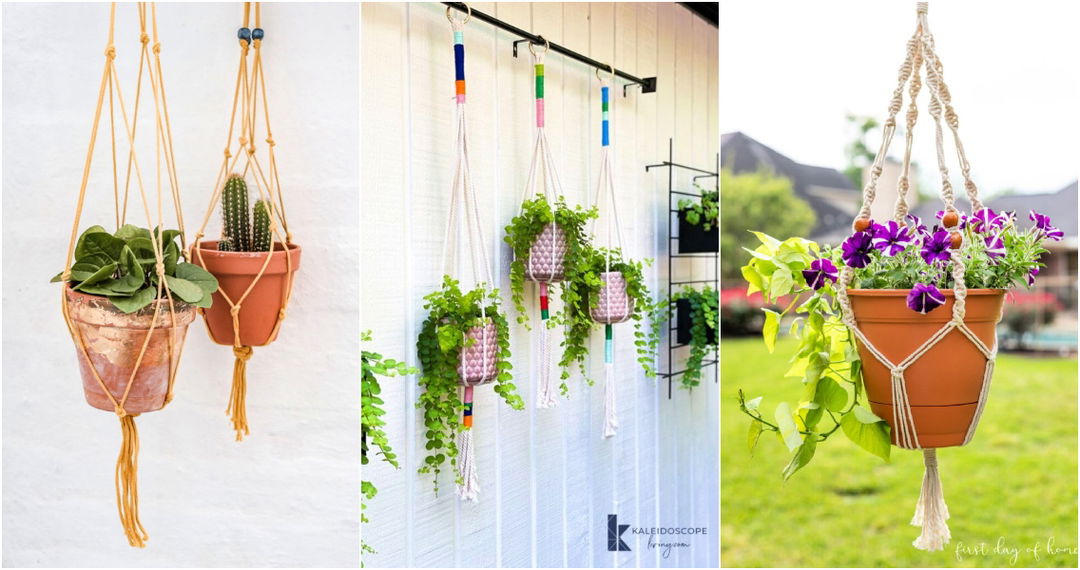
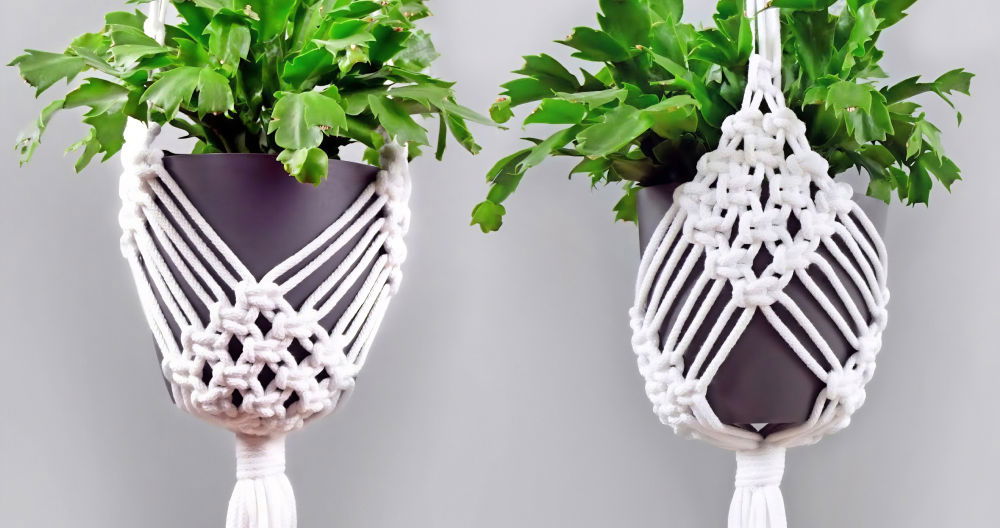
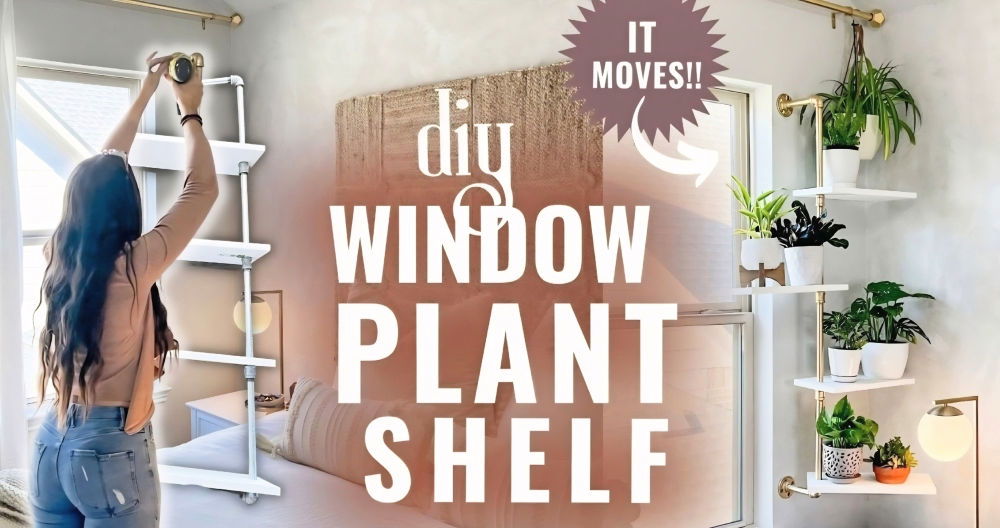
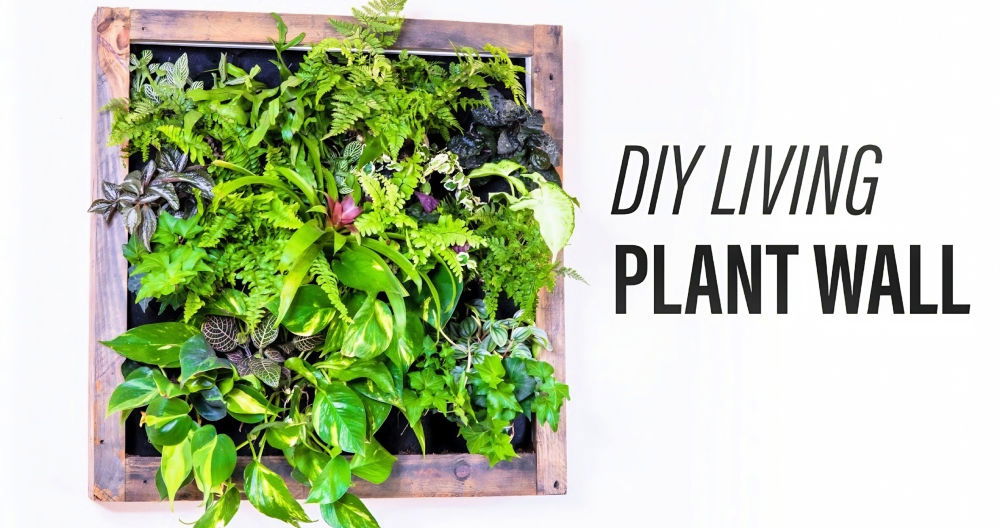
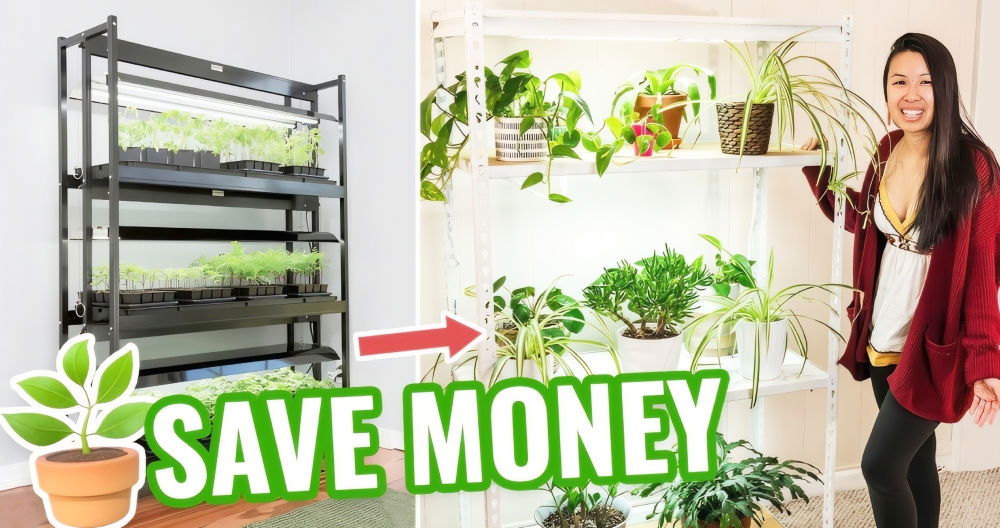
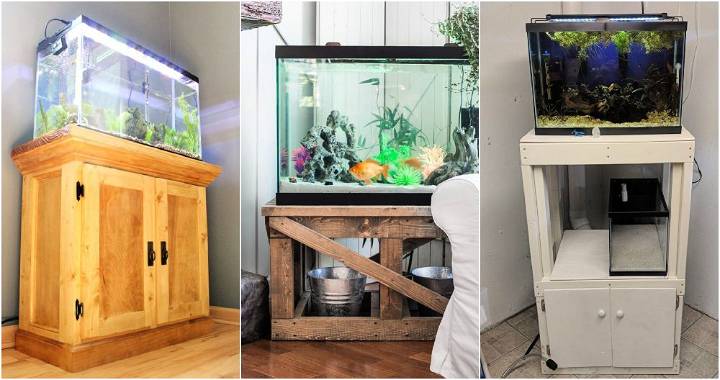
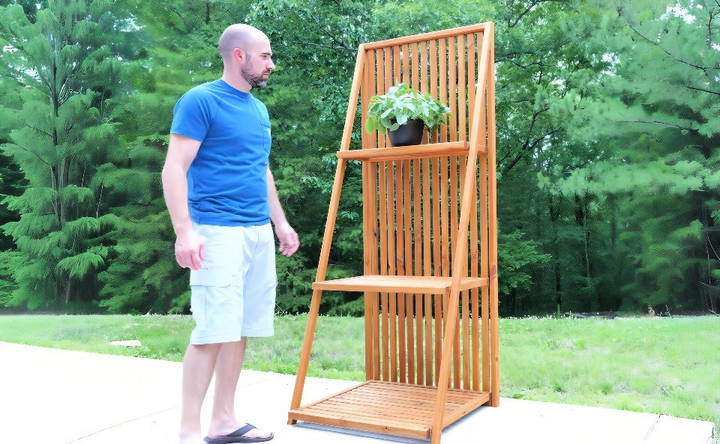
Building my own DIY outdoor plant stand was an exciting project. I love gardening and needed a place for my plants. So, I decided to make a DIY outdoor plant stand. With a few materials and some patience, I built a unique and sturdy stand that fits well in my garden. The process was simple and enjoyable, and I felt proud of my accomplishment.
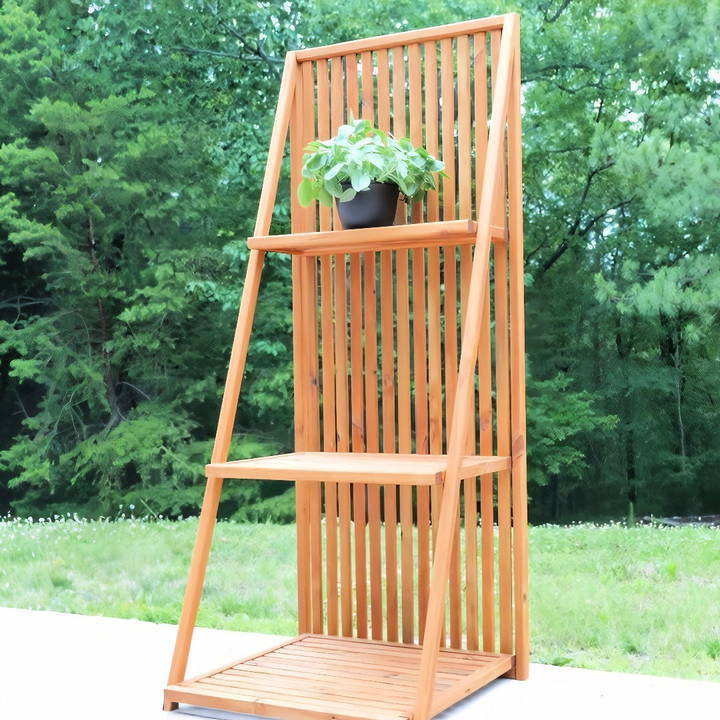
This unique outdoor plant stand not only saved me money but also gave me a sense of satisfaction. It's a great way to display my favorite plants. I believe making your own plant stand can be very rewarding. I'm sharing this experience to help you get started on your project. These tips will guide you and make it easy for you to build your own stand.
Materials You'll Need
- Pressure-treated 2x2s and 1x2s: Essential for durability and longevity, especially when exposed to outdoor elements.
- Circular saw: For all the cutting required.
- Kreg Cross-Cut Station and Pocket Hole Jig: These jigs will help you make precise cuts and sturdy joints.
- Drill with bits: For making holes and driving screws.
- Pocket hole screws (stainless steel or blue coat): These are specifically designed to hold things together tightly and are resistant to rust.
- Clamps: To keep pieces in place while you work.
- Scrap plywood: Useful as spacers.
- Measuring tape: To ensure accuracy.
- Stain and protective gloves: For finishing the wood.
- Countersink drill bit: For drilling countersinks.
- Wood plugs or dowels: For filling countersunk holes.
Step by Step Instructions
Learn how to build a DIY outdoor plant stand with our step-by-step guide. Perfect for plant lovers looking to add a stylish touch to their garden.
Step 1: Prepare Your Materials
First, gather all your pressure-treated 2x2 and 1x2 boards. These will form the structure and shelves of your plant stand. Pressure-treated wood is important because it resists rot and decay, which is crucial for outdoor furniture.
Step 2: Cutting the Wood
Learn how to cut wood using a circular saw and kreg cross-cut station, including tips for cutting 1x2s for shelves efficiently.
Using the Circular Saw and Kreg Cross-Cut Station
- Use the Kreg Cross Cut Station with your circular saw to make straight cuts. Measure out the lengths of the legs and cut multiple pieces (gang cutting) at once for precision. Remember to trim the ends first, then measure and cut to the desired length.
- For the front legs, you'll need to make a long tapered cut. Clamp your wood piece, line it up by eye, and cut carefully. The cross-cut station's miter gauge helps with angled cuts but might require some manual adjustments.
Note: Safety first! Always wear safety goggles and gloves while cutting.
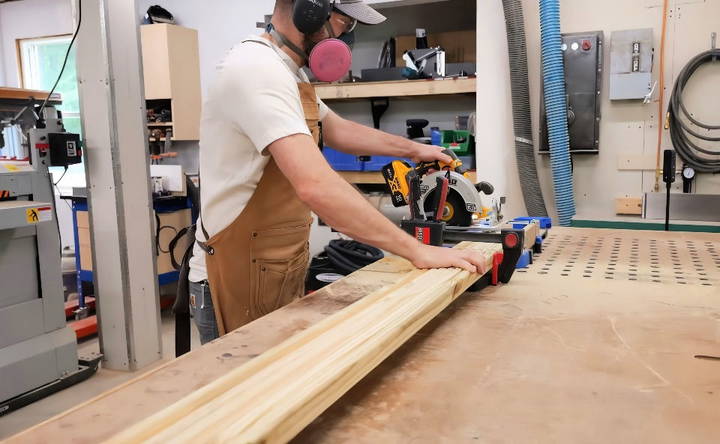
Cutting the 1x2s for Shelves
- Gang Cutting:
Lay out several pieces and cut them all at once. This ensures uniformity and saves time.
Step 3: Assembling the Frame
- Setting Up Pocket Holes: Use the Kreg Pocket Hole Jig set to 1.5 inches for the 2x2s and 0.75 inches for the 1x2s. This allows you to drill holes for screws that will hold everything together.
- Drilling: Insert the screws into the pre-drilled holes to assemble the frame's back and shelves. Ensure you use stainless steel or blue coat screws, which withstand outdoor conditions.
- Check for Squareness: Measure the diagonal dimensions across the frame. If they are equal, your frame is square. Make any necessary adjustments before proceeding.
Step 4: Attaching the Slats
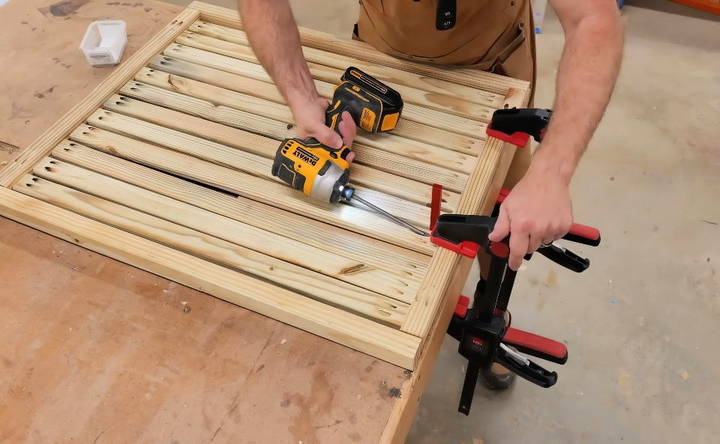
- Setting Up Slats: Lay the slats evenly spaced on a scrap plywood piece (use 0.5-inch plywood for the back and 0.25-inch plywood for the shelves).
- Securing the Slats: Use a spacer to ensure even spacing between slats. Screw them into the frame. If you don't have fancy spacers, cut some scrap wood to use as spacing blocks.
Step 5: Finishing and Final Touches
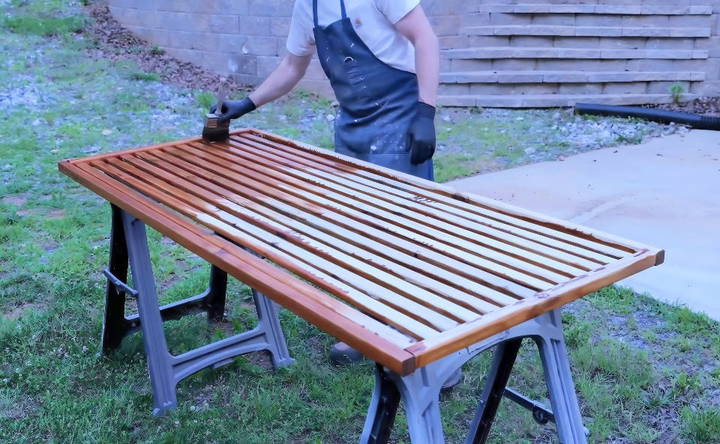
- Staining the Wood: Move the assemblies outside for staining. This prevents the hassle of reaching awkward spots once the stand is fully built. Use gloves to avoid staining your hands, as the work can get messy.
- Final Assembly: Once the stain is dry, position and secure the middle and top shelves. Use clamps to support the shelves while you fasten them in place.
- Counterboring and Plugging: For a polished finish, drill countersink holes and fill them with wood plugs or dowel pieces. Use exterior-rated glue like Titebond III, which holds up well against moisture.
Tips and Pro Hacks
- Gang Cutting: Clamping multiple pieces together before cutting saves time and ensures all pieces are the same size.
- Proper Spacing: Uniform spacing of slats is key to a professional look. Use scrap wood or plywood as spacers.
- Square Confirmation: Always check for squareness after assembling the frame. It keeps your structure stable and aligned.
Design Customization Ideas
Crafting a DIY outdoor plant stand lets you showcase your style and add uniqueness to your garden. Here are some ideas to customize it:
- Choose Your Material Wisely: The material of your plant stand will greatly influence its look and feel. For a natural, rustic appearance, use reclaimed wood or bamboo. For a modern, sleek look, consider metals like aluminum or wrought iron. Remember, the material should also be durable and suitable for outdoor conditions.
- Play with Colors: Don't shy away from adding a splash of color to your plant stand. Bright colors can make it a focal point in your garden, while more subdued tones can help it blend in with the surroundings. Use outdoor paints or stains that are weather-resistant to ensure longevity.
- Incorporate Patterns and Textures: Use patterns and textures to add depth to your design. This could be as simple as arranging the slats of wood in a herringbone pattern or adding a mosaic tile top for a touch of elegance.
- Add Functional Decor: Consider adding hooks for hanging tools or a shelf underneath for additional storage. These elements can be both decorative and practical, enhancing the overall utility of your plant stand.
- Light It Up: Integrate solar-powered LED lights to illuminate your plant stand at night. This not only highlights your plants but also adds a warm ambiance to your outdoor space.
- Personalize with Accessories: Attach decorative elements that reflect your interests or the season. For example, you could add bird figurines, wind chimes, or seasonal decorations like pumpkins for autumn.
- Think Vertically: If space is limited, design your plant stand to grow upwards. Add tiers or shelves to maximize vertical space, allowing you to display more plants without taking up additional floor space.
- Mind the Details: Small details can make a big difference. Use decorative brackets, finials, or even hand-painted designs to add a personal touch to your plant stand.
The key to a successful DIY project is to make it your own. These ideas are just a starting point—feel free to mix and match or come up with new ones that suit your taste and needs.
FAQs About DIY Outdoor Plant Stand
Discover answers to common questions about DIY outdoor plant stands including materials, steps, tips, and maintenance for a perfect garden display.
To ensure stability, make sure the base of your plant stand is wide and heavy enough to counterbalance the top where the plants will sit. You can also secure the stand to a wall or use braces if it's a taller structure.
Absolutely! You can repurpose items like ladders, pallets, or even old tires for a unique look. For a minimalist design, simple geometric shapes using wood or metal can be very stylish.
Applying a sealant to wood stands can protect them from moisture and UV damage. For metal stands, use a rust-resistant paint, and for concrete, a sealant can prevent chipping and cracking.
Yes, plant stands can serve as decorative pieces themselves or be designed with shelves for gardening tools. Some stands come with wheels for easy mobility, making them functional as well as decorative.
The simplest design for a DIY outdoor plant stand is a single-tiered stand. You can build one by using a flat surface like a repurposed wooden plank or a slate tile and adding legs made from wood dowels or metal pipes. This design is straightforward, easy to assemble, and can be customized to fit any pot size.
Conclusion
The DIY outdoor plant stand tutorial is helpful if you want a functional and beautiful space for your plants. It inspired me to be creative and resourceful. I'm sure this simple guide will encourage you to start your project and enjoy the process as much as I did.


