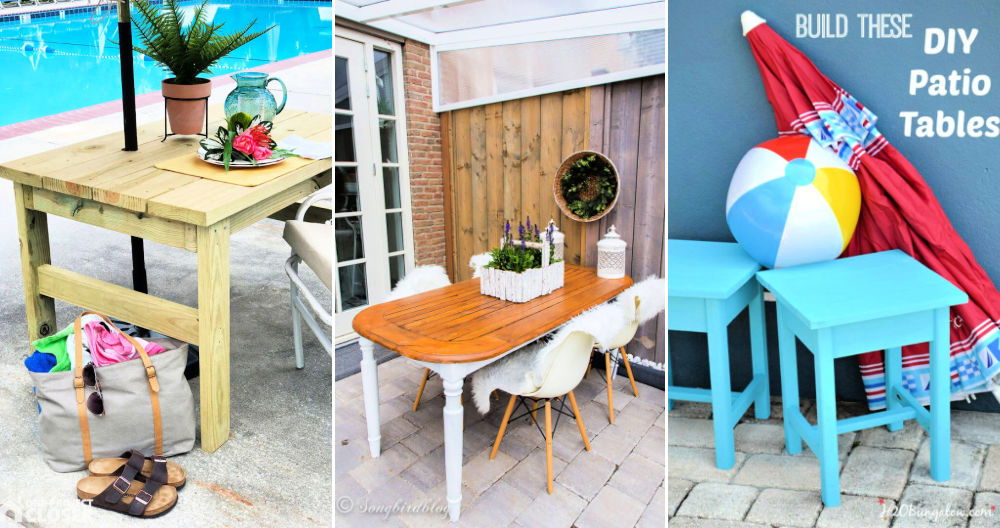
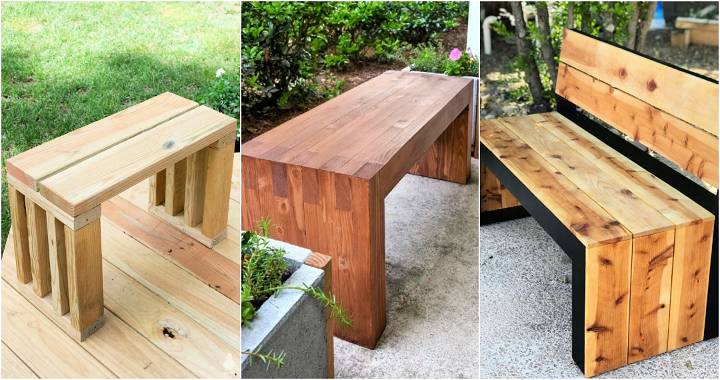
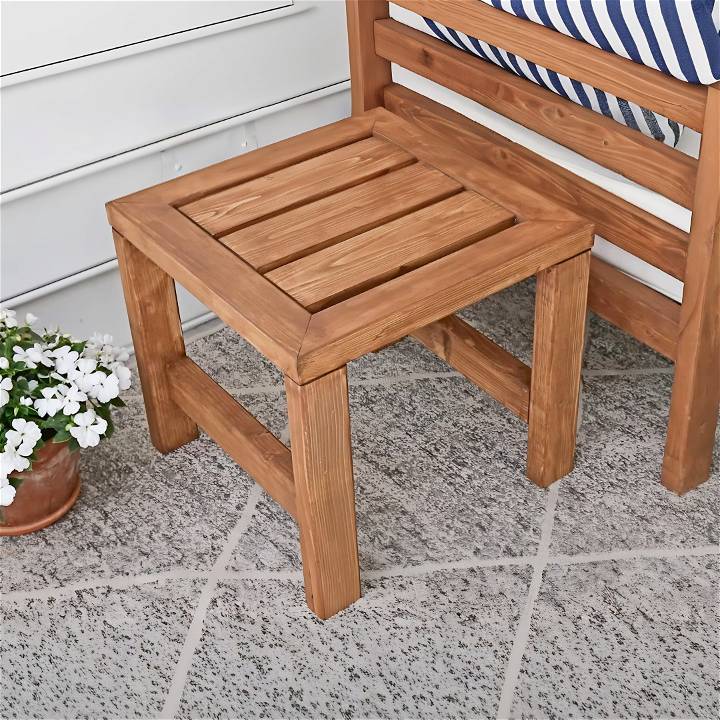
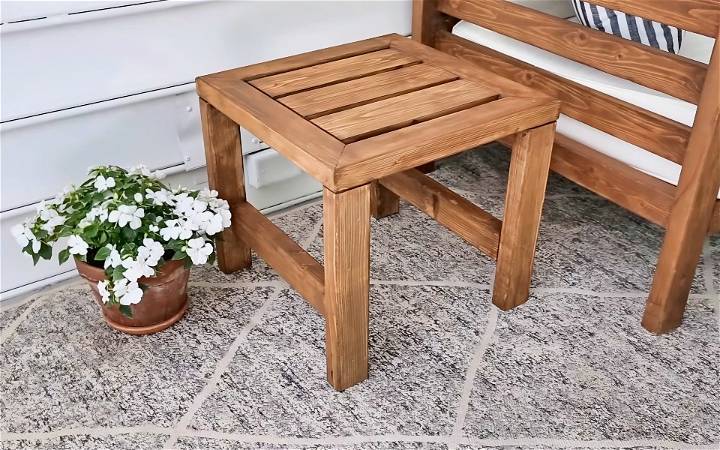
Ever wanted to build something beautiful for your outdoor space without spending a fortune? I found myself in this exact scenario last spring. I had just completed my DIY outdoor furniture set, which consisted of a couch, chair, and coffee table. However, something was missing—an outdoor side table to match. I took it upon myself to complete our outdoor oasis, and I thought it would be helpful to share my experience, hoping it might inspire others.
Materials Needed & Why
Here's a breakdown of the materials needed and why they're important:
- 2x3 lumber: This serves as the foundation for the tabletop frame and legs. Its sturdiness is perfect for outdoor furniture.
- 1x4 lumber: Used for the tabletop slats, giving it a sleek look while ensuring durability.
- Kreg Jig & Outdoor Craig screws: Essential for assembling the pieces securely while maintaining the aesthetic. The Kreg Jig helps to build strong, hidden joints.
- Waterproof wood glue: Crucial for outdoor furniture to withstand the elements.
- Brad nailer & Brad nails: Offers an extra layer of attachment between the wood pieces, ensuring a strong build.
- Miter saw: For accurate cuts, especially at angles, making the assembly smoother.
- Stain (Valspar semi-transparent exterior stain in Pine Bark): Protects the wood while matching the existing outdoor furniture set.
Step-by-Step Guide
Learn how to build a DIY outdoor side table with this step-by-step guide. From initial lumber cuts to final touches, build a stylish addition to your outdoor space.
Initial Lumber Cuts
I started by cutting the 2x3s using a miter saw. For the tabletop frame, I cut four 2x3s with a 45-degree angle. Then, I cut six 2x3s for the table legs with straight, zero-degree cuts. This precise cutting ensured my table had the desired shape and sturdiness.
Assembling the Top Frame
Using a Kreg Jig, I drilled pocket holes on each side of two of the 2x3s with 45-degree angles. A crucial tip here: align the board carefully with the Kreg Jig to hide the holes effectively. After applying waterproof wood glue, I used a brad nailer to join the boards. Securing them with outdoor Craig screws further added to the table's durability.
Adding the Slat Boards
Measuring the distance between the side frames precisely, I cut three 1x4 boards to size. Pocket holes were then added using adjusted Kreg Jig settings. When attaching these slat boards, I found placing a popsicle stick under them helped prevent any unevenness.
The Legs
After adjusting the Kreg Jig settings for the thicker wood, pocket holes were added to the edges of the 2x3s intended for legs. This step was a bit tricky and required some creativity with clamping the boards to the jig. Once drilled, I marked 3.5 inches from the bottom of the leg boards without pocket holes and attached the boards together using wood glue and Craig screws.
Bringing It All Together
I found the easiest way to attach the legs to the tabletop was by laying the tabletop on its side. After applying wood glue, I used deck screws for a strong attachment, ensuring they were countersunk for a smooth finish.
The Final Touches
Filling any screw and nail holes with sustainable wood filler, I sanded down the surface for a seamless look. Staining was the final step. The Valspar semi-transparent exterior stain in Pine Bark gave it the perfect finish, matching my existing outdoor furniture beautifully.
Key Takeaways
- Precision is Key: Accurate measurements and cuts make the assembly process smoother and the final product more polished.
- Patience Pays Off: Taking your time, especially with staining and letting the wood glue set, ensures a durable and high-quality table.
- Customization is Everything: This project is easily customizable, allowing for adjustments in size or color to match your existing furniture perfectly.
Customization Ideas for Your DIY Outdoor Side Table
Building a DIY outdoor side table is not just about functionality; it's also an opportunity to express your personal style and add a unique touch to your outdoor space. Here are some creative ideas to customize your side table:
Color Variations
- Choose Your Palette: Select colors that complement your outdoor decor. Consider the colors of your garden, your home's exterior, or your patio cushions.
- Painting Techniques: Use techniques like distressing, sponge painting, or ombre to add depth and character to your table.
- Protective Finishes: Apply a weather-resistant sealant to protect your paint job from the elements.
Stenciling or Decals
- Stenciling: Add a stencil design to the tabletop or sides. Floral patterns, geometric shapes, or even a compass rose can make your table stand out.
- Decals: Use outdoor-grade decals for a quick and easy customization. They come in various designs and are simple to apply.
- Sealing: After applying stencils or decals, seal the surface to ensure longevity.
Inlay Designs
- Wood Inlays: Incorporate contrasting wood strips or shapes into the tabletop for an elegant look.
- Epoxy Resin: Fill carved designs or natural wood imperfections with colored epoxy resin for a modern twist.
- Simple Patterns: Start with simple inlay patterns like stripes or chevrons before moving on to more complex designs.
These customization ideas are just the beginning—feel free to mix and match techniques to build a side table that's truly one-of-a-kind.
Outdoor Maintenance Tips for Your Side Table
Ensuring your DIY outdoor side table remains in great condition requires regular care. Here's a guide to help you maintain your table through the seasons.
Cleaning Routine
- Regular Dusting: Wipe your table with a soft cloth to remove dust. This prevents buildup and maintains the wood's appearance.
- Deep Cleaning: Twice a year, use warm water and mild soap to scrub the table. A hard-bristle brush can reach into nooks. Rinse thoroughly and let it dry completely.
Weatherproofing
- Sealant Application: Apply a sealant to protect the wood from moisture and UV rays. This extends the life of your table.
- Choosing the Right Products: Use products designed for outdoor furniture. Teak oil or penetrating oil finishes are good options for exotic woods.
Handling Discoloration
- Natural Changes: Over time, wood may develop a gray patina due to sunlight and weather. This is normal and doesn't affect the table's integrity.
- Maintaining Original Color: If you prefer the original wood color, apply a protective oil once or twice a year.
Storage Tips
- Covering: When not in use, especially for prolonged periods, cover your table to protect it from the elements.
- Proper Storage: During extreme weather, store your table in a dry, sheltered place to prevent damage.
By following these tips, your outdoor side table will continue to be a functional and stylish addition to your outdoor space for years to come.
FAQs About DIY Outdoor Side Tables
Building a DIY outdoor side table can be a rewarding project. Here are some frequently asked questions to help guide you through the process:
What is the best wood to use for an outdoor side table?
The best wood for outdoor furniture is typically cedar, redwood, or teak because they are naturally resistant to decay and insects. However, these can be expensive and harder to find. Pressure-treated wood is a budget-friendly alternative that's treated to resist deterioration. Untreated pine is common and cost-effective but requires a good finish to withstand the elements.
How do I protect my outdoor side table from the weather?
To protect your outdoor side table, apply a sealant that's suitable for outdoor use. This will help shield the wood from moisture and UV rays. For ongoing maintenance, reapply the sealant or protective oil once or twice a year, depending on the weather conditions in your area.
Can I customize my outdoor side table?
Absolutely! Customization can range from painting in your favorite colors to adding stencils or decals for a personal touch. You can also explore inlay designs with contrasting wood or colored epoxy resin for a unique look. Remember to seal your finished table to protect these custom details.
What tools will I need to build an outdoor side table?
The basic tools you'll need include a drill, miter saw, sander, and possibly a jigsaw if your design includes curves or intricate cuts. Ensure you have outdoor-rated hardware like screws and finishes to ensure longevity.
How can I make my DIY outdoor side table more stable?
To ensure stability, make sure all joints are securely fastened with screws or bolts. If your table wobbles, check that the legs are even and adjust as necessary. Adding cross braces or a lower shelf can also increase stability and provide additional storage or decorative space.
Conclusion
This DIY project not only saved me money but also provided a satisfying sense of accomplishment. My outdoor space is now truly complete, with a beautiful, handmade side table that perfectly matches my DIY furniture set. If you're thinking about tackling this project, remember it's more than just building furniture—it's about making something unique that you can enjoy for years to come. Happy crafting!


