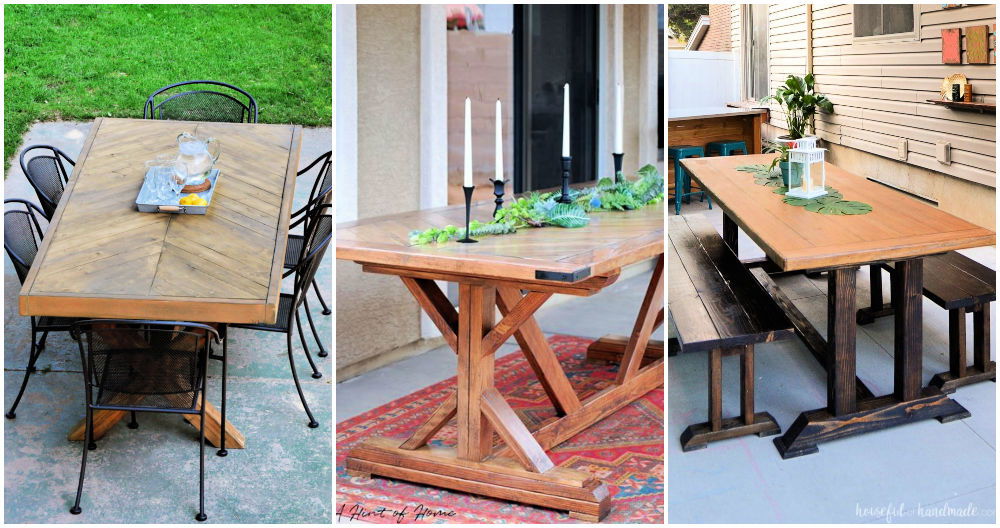
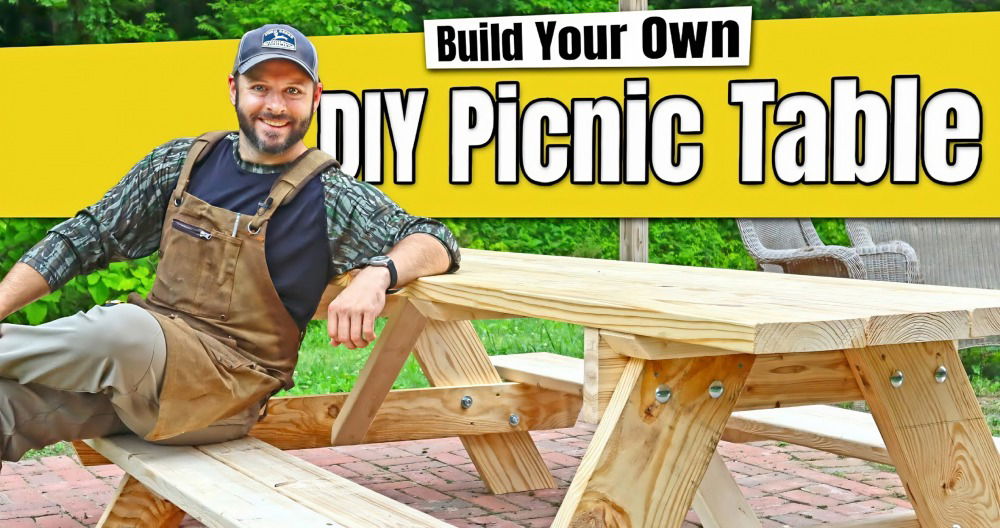
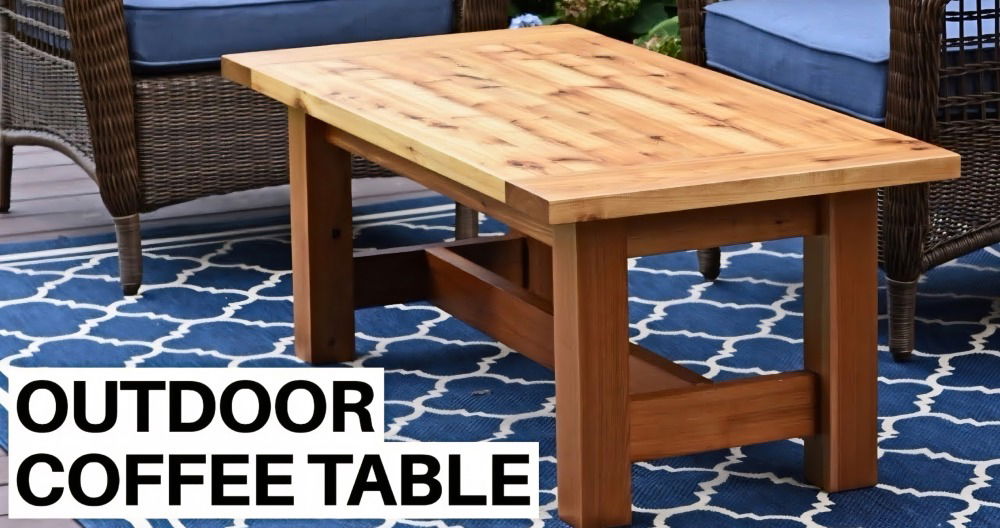
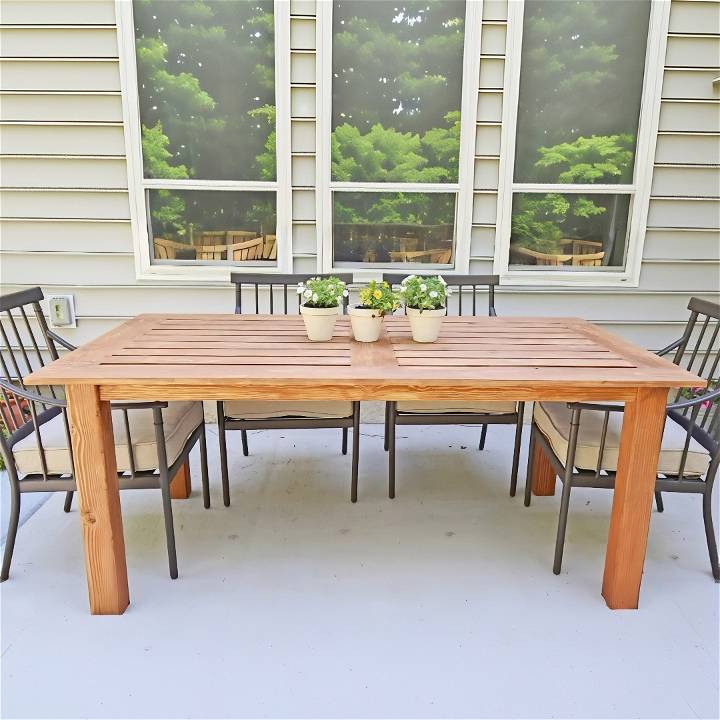
Last spring, amid the blossoming flowers and the brisk yet sunny mornings, I decided to take on a project that was both intimidating and thrilling. My family's outdoor space was craving a centerpiece, something that could host laughter, meals, and memories under the open sky. That's when the idea of building my own outdoor dining table took root. Guided by Angela Marie's insightful DIY YouTube tutorial and armed with determination, I embarked on this crafting journey. Here's how I, a complete beginner in woodworking, built a budget-friendly and beautiful outdoor table that became the heart of our outdoor gatherings.
Getting Started: Gathering the Materials
Before diving into the process, understanding and assembling the right materials is crucial. Here's what I used and why:
- Lumber (including 1x6s for the top and 4x4s for the legs): These are the skeleton of your table. Selecting high-quality, weather-resistant wood ensures longevity.
- Miter Saw: Essential for making precise cuts according to the cut list.
- Kreg Jig and Screws: For making strong, hidden joints.
- Waterproof Wood Glue: Enhances durability by binding pieces more firmly.
- Sandpaper and Stain: For finishing touches that protect and beautify your table.
Step by Step Instructions
Learn how to build a DIY outdoor table with step by step instructions. From initial cuts to final touches, build a beautiful and functional piece for your outdoor space.
Step 1: Initial Cuts and Preparations
Using a miter saw, I made the initial lumber cuts following Angela's cut list. Ensuring accuracy here sets the foundation right. The stop block jig mentioned was a lifesaver for repetitive cuts, guaranteeing uniformity.
Step 2: Building Pocket Holes
With the Kreg Jig, I drilled pocket holes at both ends of the tabletop, frames, and aprons. This step was about precision and patience, pivotal for assembling the pieces seamlessly later.
Step 3: Assembling the Table Top
This phase was both challenging and rewarding. I began by fixing the side frames with waterproof wood glue and then evenly spaced the slat boards using makeshift spacers. Encountering the issue of extra spacing, I mimicked Angela's hack by adding paint stick pieces to achieve perfect spacing - a testament to the magic of improvisation in DIY projects.
Step 4: Fixing the Aprons and Support Boards
Attaching the aprons was about ensuring stability. Measuring and marking accurately ensured that the aprons aligned perfectly with the table's frame. The support boards added further strength, prepping the table for the final structuring.
Step 5: Attaching the Legs
Positioning the 4x4 legs and securing them was a pivotal moment, as the table finally stood on its own. Here, I learned the importance of generous glue application and the robustness provided by Kreg screws.
Step 6: Final Touches
Equipped with a sander, I smoothed out uneven joints, readying the surface for staining. Choosing the right stain was crucial, as it needed to complement our existing outdoor setup while offering protection from the elements.
Overcoming Challenges
One particular hiccup was the staining process. The fast-drying feature of the stain meant I had to work quickly and efficiently, often racing against time to ensure an even coat. A foam brush became my tool of choice, allowing me to reach narrow spaces between slats effectively.
The End Result and Personal Reflections
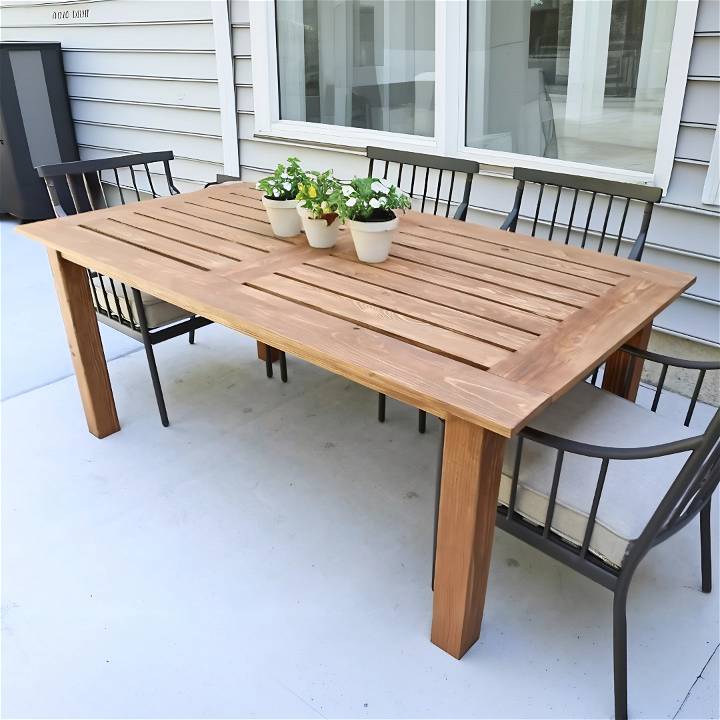
The completion of this table was a moment of immense pride. Not only did it stand as a testament to my newfound skills and Angela's excellent guidance, but it also symbolized the joys of making something tangible and functional with my own hands. Pairing the table with stylish, cushioned metal chairs transformed our outdoor space into a cozy, inviting area perfect for family dinners and friendly gatherings.
Learnings and Tips for Future DIY Enthusiasts
- Detailed Planning: Invest time in planning and understanding each step thoroughly before beginning.
- Quality Materials: Opt for the best materials within your budget. The longevity of your table depends on it.
- Patience Is Key: Some steps might require more time and precision. Rushing can compromise the quality of your work.
- Flexibility: Be ready to improvise. Not all processes will go as planned, and slight adjustments might be necessary.
Building this table meant challenging myself, learning new skills, and making memories. It reflects my journey to gaining more DIY experience. This guide can inspire your own DIY adventure, adding personal creativity to your outdoor space.
Upcycling Options for Your DIY Outdoor Table
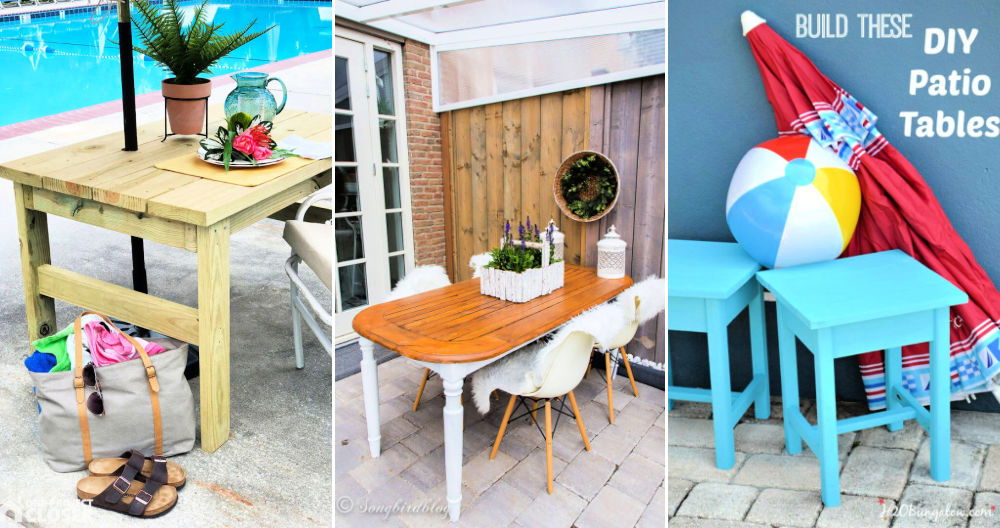
Building an outdoor table can be a rewarding project that not only gives you a unique piece of furniture but also promotes sustainability. Here's how you can upcycle materials for your DIY outdoor table.
Choosing the Right Materials
Upcycling involves repurposing old or discarded materials. Look for items that can withstand outdoor conditions, such as:
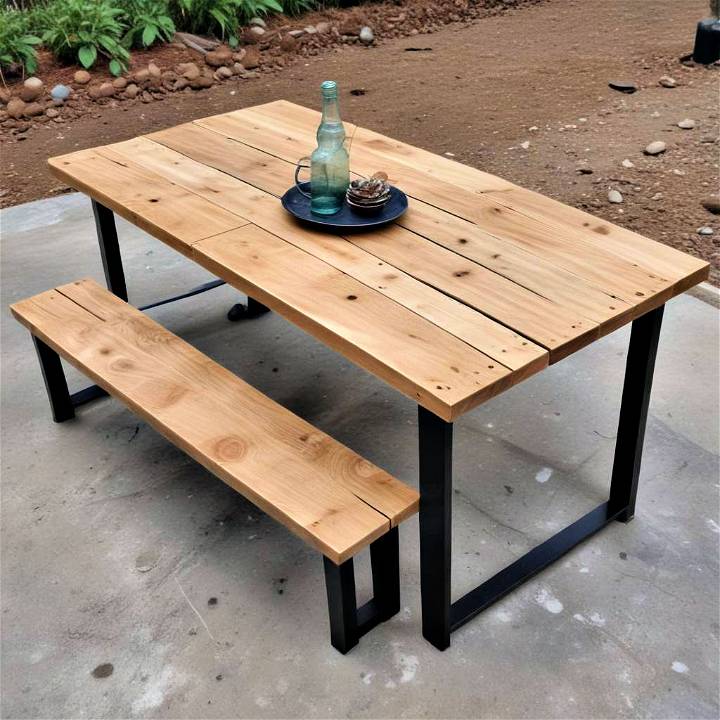
- Wood: Old doors, pallets, or beams can be sanded and treated for outdoor use.
- Metal: Frames from patio furniture or bed frames can be repainted and sealed.
- Glass: A piece of tempered glass from a broken table can become a new tabletop.
Designing Your Table
Think about the size and shape of your table. Rectangular tables are great for dining, while round tables suit smaller spaces. Consider the height as well—standard dining tables are around 30 inches tall.
Preparing Your Materials
Clean your materials thoroughly. Remove any nails or screws, and sand down wood to prevent splinters. If you're using metal, remove rust with a wire brush and apply a rust-inhibitor.
Assembling Your Table
Safety first: Wear gloves and eye protection. If you're not experienced with tools, seek help or use simple construction methods like:
- Brackets: Easy for attaching legs to tabletops.
- Adhesives: Strong glues can bond glass or metal without welding.
Finishing Touches
Protect your table from the elements:
- Sealant: Use a waterproof sealant for wood.
- Paint: Choose outdoor paint for metal parts.
Benefits of Upcycling
- Cost-effective: Saves money compared to buying new.
- Environmentally friendly: Reduces waste and the need for new resources.
- Personalization: Builds a table that reflects your style.
By following these steps, you'll make a durable, stylish outdoor table that's a conversation piece and shows your commitment to sustainability. Remember, success in upcycling comes from seeing potential in old materials and enjoying the process. Craft with joy!
FAQs About DIY Outdoor Tables
Building a DIY outdoor table can be a fun and fulfilling project. Here are some common questions and straightforward answers to help you get started.
What materials do I need for a DIY outdoor table?
You'll need lumber suitable for outdoor use, such as cedar or pressure-treated pine. Other materials include screws or nails, wood glue, and sealant for weatherproofing. Tools might include a saw, drill, and sander.
How do I protect my outdoor table from the weather?
Apply a waterproof sealant or stain designed for outdoor furniture. This will help protect the wood from rain, sun, and temperature changes. For metal parts, use paint that prevents rust.
Can I build an outdoor table if I'm not experienced with tools?
Yes, there are many simple designs available that require minimal tools. Start with a basic plan that uses pre-cut lumber and simple assembly techniques like brackets and adhesives.
How can I make my DIY table unique?
Personalize your table by choosing a distinctive stain color, adding a patterned tile top, or incorporating decorative elements like metalwork or mosaics. Use materials that reflect your style, like reclaimed wood for a rustic look.
Is it cheaper to build an outdoor table than to buy one?
Generally, yes. Building your own table can be more cost-effective, especially if you use reclaimed or leftover materials. Plus, you get the added satisfaction of making something tailor-made for your space.
Conclusion:
In conclusion, building a DIY outdoor table can be a fun and rewarding project. By following the step-by-step guide provided in this article, you can easily build a beautiful and functional piece of furniture for your outdoor space.


