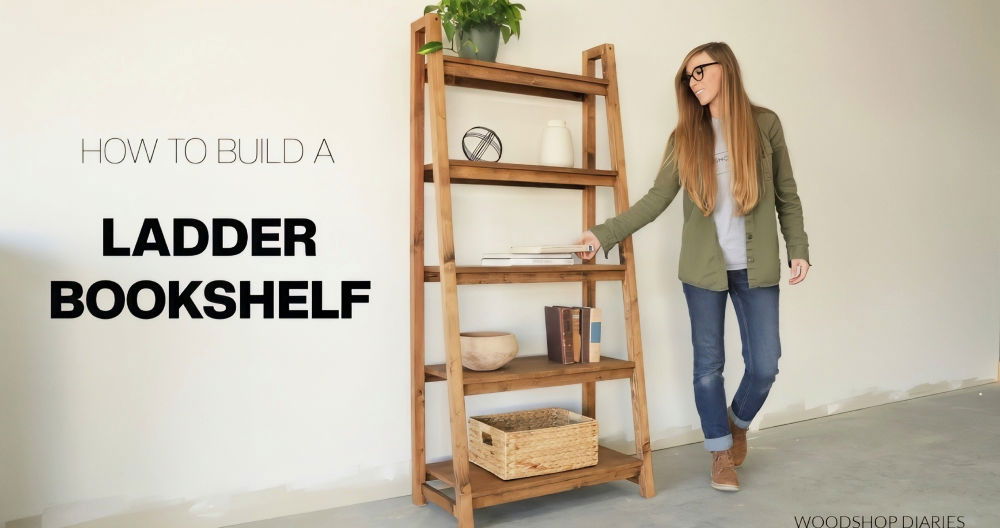
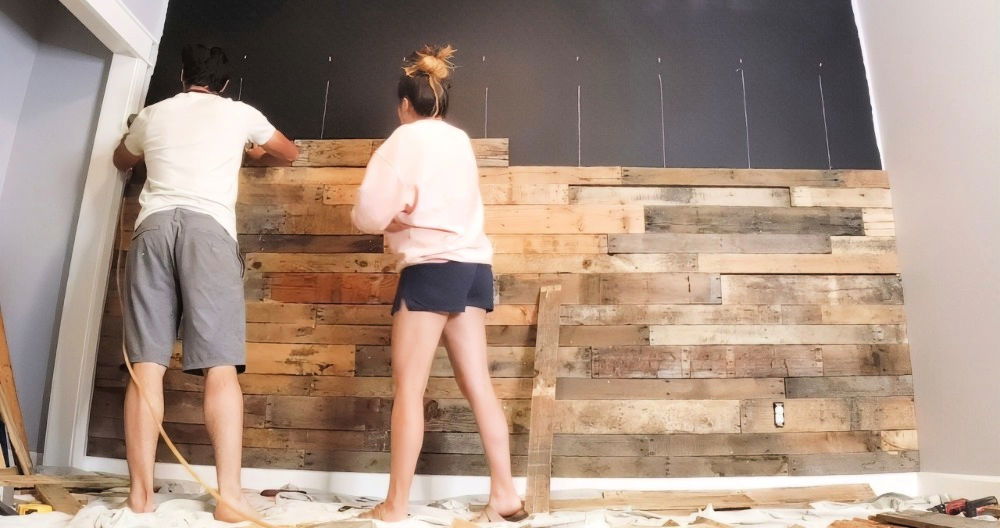
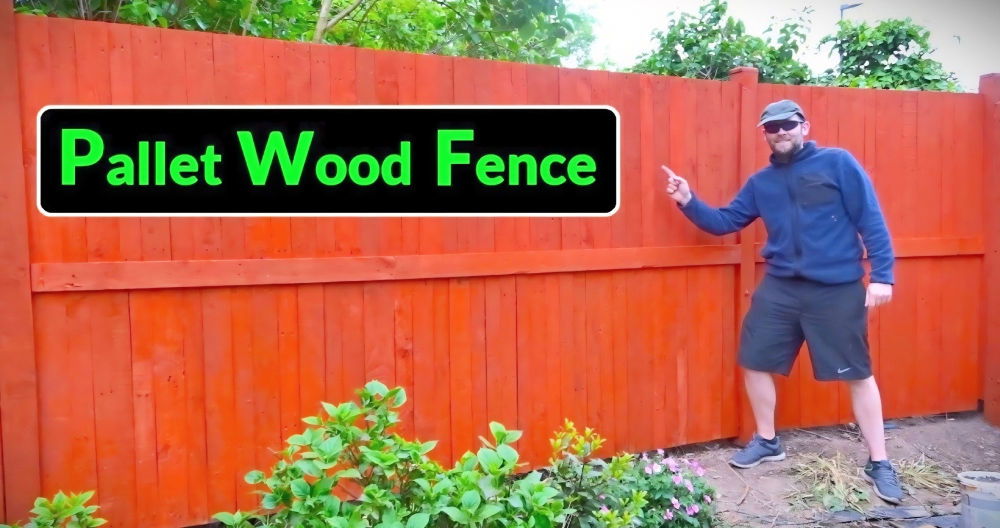
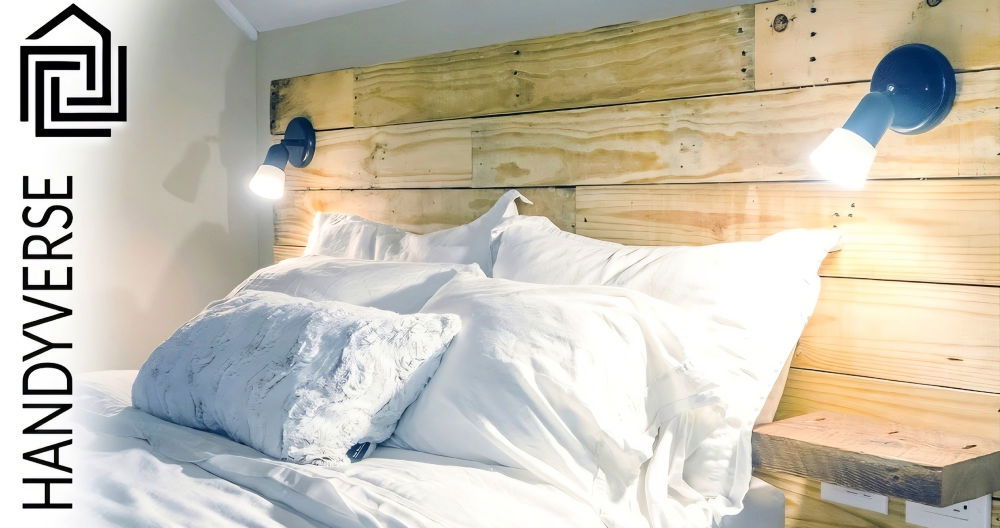
Getting started with building a DIY pallet shelf can be simple and fun. I remember the first time I took on this project, I was nervous but excited. With just a few wooden pallets and some basic tools, I was able to transform leftover wood into a practical and stylish shelf. It felt great to build something useful with my own hands, and the process was much easier than I expected.
If you're thinking about trying it yourself, I'm here to help. In just a few steps, you can make a shelf that's perfect for your space. I'm sharing this guide because I know it will give you the confidence to start your own project. The steps I followed will help you too. Let's get to building something awesome!
This project was rewarding for me, and I hope it will be for you too. Building a DIY pallet shelf will not only save money but also add a personal touch to your home.
Materials Needed
- Wooden Pallet: Ideally, a heat-treated (HT) pallet to avoid any harmful chemicals. Make sure it's clean and free from excessive cracks.
- Sandpaper (80 grit and 120 grit): To smooth the rough surfaces and edges of the pallet.
- Power Drill: For making holes and driving screws.
- Screws (1.5 to 2 inches): To secure the pieces of the pallet together.
- Saw: To cut the pallet into the desired size.
- Wood Stain and Paintbrush: For a polished finish.
- Measuring Tape and Pencil: For accurate measurements and markings.
- Protective Gear: Gloves, goggles, and a dust mask for safety.
Each of these materials plays a vital role in transforming an old, dusty pallet into a fabulous new shelf.
Step by Step Instructions
Learn how to build a DIY pallet shelf with our step-by-step guide. From preparing to mounting, we'll walk you through every stage for perfect results.
Step 1: Preparing the Pallet
Duration: 20-30 minutes
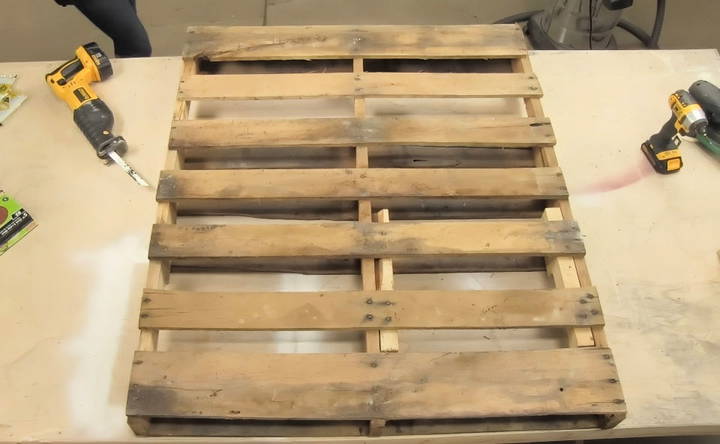
First things first, let's prep that pallet. Inspect it thoroughly to identify any protruding nails or rough spots.
Cleaning and Sanding
- Clean the Pallet: Start by giving the pallet a good clean. Use a stiff brush to get rid of dirt and debris. A hose can help remove any stubborn grime.
- Sanding: Put on your gloves and dust mask. Using 80 grit sandpaper, sand down the rough areas. Follow this up with 120 grit sandpaper for a smoother finish. This step ensures the pallet is splinter-free and ready to handle.
Step 2: Disassembling the Pallet
Duration: 30-45 minutes
Now, we need to take apart the pallet to use the individual boards.
Cutting and Pulling Apart
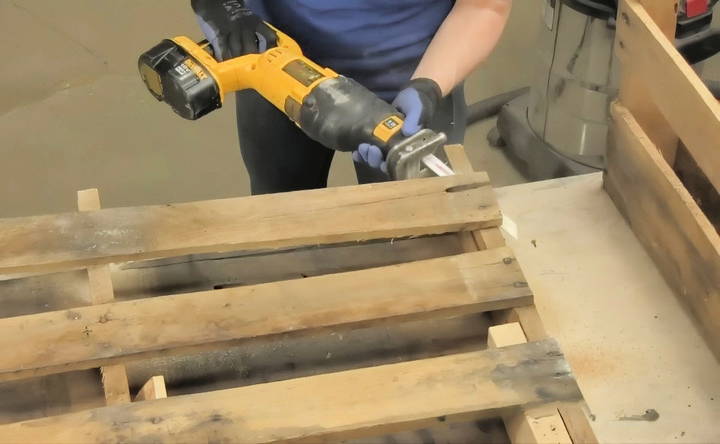
- Use the Saw: Cut along the vertical supports to free the horizontal planks. Be careful to avoid cutting into the nails.
- Remove Nails: Using the claw end of a hammer or a pry bar, remove any remaining nails from the disassembled boards.
Step 3: Cutting to Size
Duration: 20-30 minutes
Next, let's cut the pallet boards to their final sizes.
Measuring and Cutting
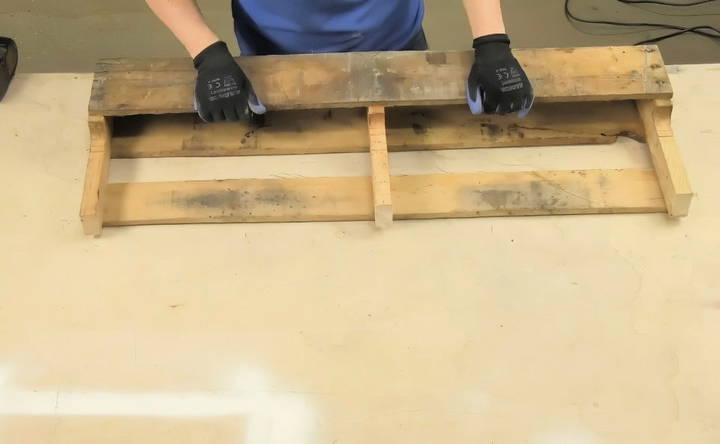
- Measure and Mark: Use your measuring tape and pencil to mark out the sections for your shelf. Typically, aim for lengths around 18-24 inches, which is perfect for a bookshelf or a wine rack.
- Cut the Boards: With your saw, cut the boards along the marked lines. Take it slow and steady to ensure straight cuts.
Step 4: Assembling the Shelf
Duration: 30-45 minutes
Now comes the fun part - putting your shelf together!
Drilling and Screwing
- Arrange Your Boards: Lay out your cut pieces to form the shelf structure, with a back panel and two or three shelf tiers.
- Drill Pilot Holes: To avoid the wood splitting, drill pilot holes where you'll insert the screws.
- Screw the Pieces Together: Using your power drill, secure each piece with screws. Make sure everything is aligned properly.
Step 5: Finishing Touches
Duration: 20-30 minutes (excluding drying time)
To give your shelf a beautiful finish, let's move on to staining or painting it.
Staining
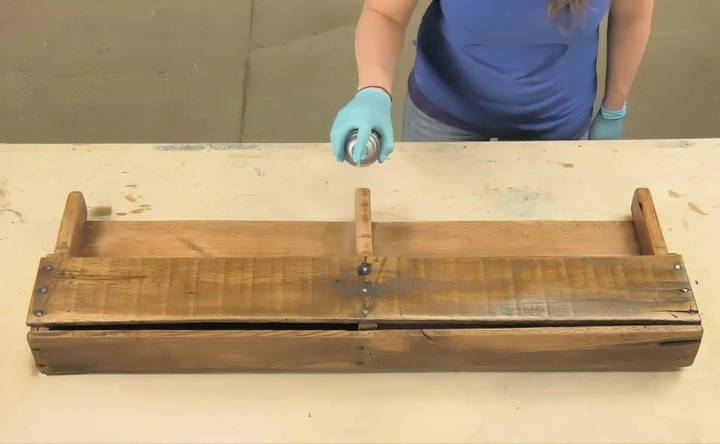
- Apply Wood Stain: Using a paintbrush, apply the wood stain evenly over your assembled shelf. This enhances the wood's appearance and provides some protection.
- Drying: Allow the stain to dry completely. Follow the manufacturer's instructions for best results.
Step 6: Mounting Your Shelf
Duration: 20 minutes
Now, it's time to get your new pallet shelf up on the wall!
Mounting
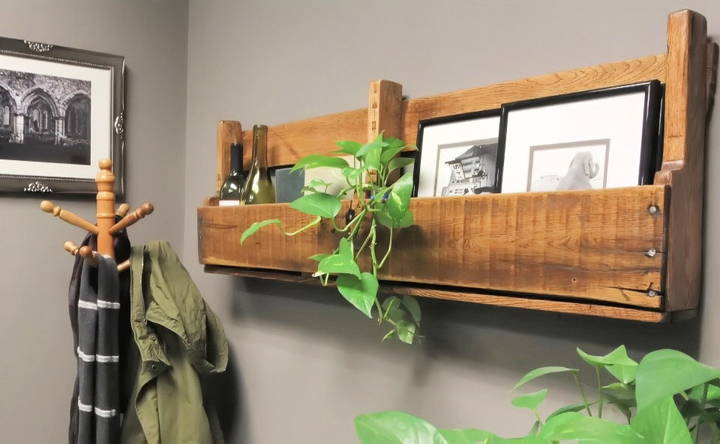
- Choose the Spot: Decide where you want to hang the shelf. Ensure it's a strong wall to support the weight.
- Drill Holes: Mark the spots for drilling on the wall. Use the power drill to make the holes.
- Secure the Shelf: Insert screws or wall plugs, then mount the shelf.
FAQs About DIY Pallet Shelf
Discover the essential FAQs about DIY pallet shelf projects, including tips, tools needed, and step-by-step guides for your creative home decor.
While most pallets can be repurposed into shelves, it's crucial to choose ones that are safe and sturdy. Look for pallets marked "HT" (heat-treated) rather than "MB" (methyl bromide-treated), as the latter can be toxic. Avoid pallets with visible damage, stains, or odors.
Use a pry bar and hammer to carefully remove the nails or screws holding the pallet together. Start by loosening the boards from the outer frame, then work your way inwards. Be patient and gentle to avoid splitting the wood. A reciprocating saw can also be helpful for cutting through stubborn nails.
Sanding the wood thoroughly is essential for a smooth and safe finish. You can then choose to stain or paint the shelf to match your decor. Seal the wood with a clear coat or polyurethane to protect it from moisture and wear.
Use appropriate wall anchors and screws to ensure your shelf is securely fastened. Consider the weight of the items you'll be storing and choose anchors that can support the load. If attaching the shelf to drywall, use toggle bolts or molly bolts for added strength.
Absolutely! You can stack multiple pallets vertically or horizontally to build a multi-level shelf. Ensure each pallet is securely attached to the wall or to each other for stability. You can also add additional shelves or dividers within each pallet for more storage options.
Conclusion
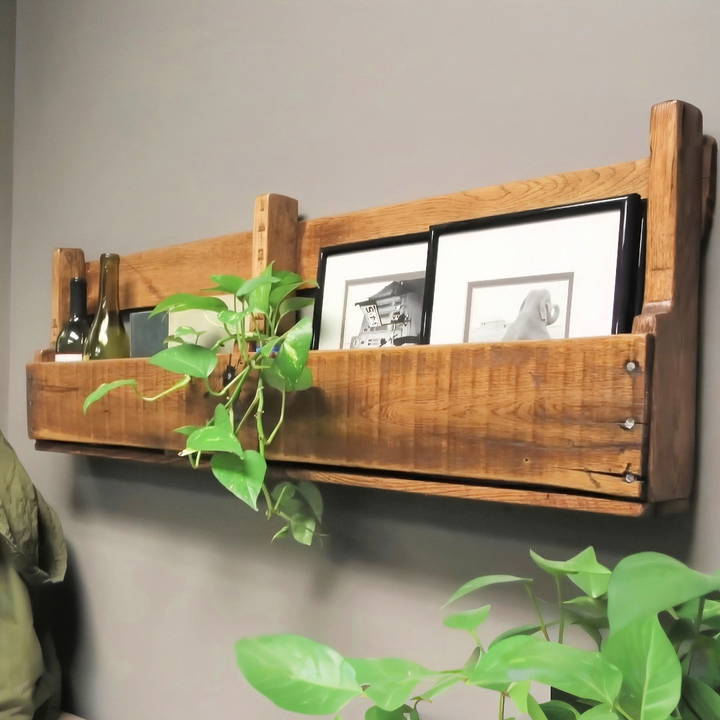
Who knew that you could turn a dirty, old pallet into a beautiful new shelf? I mean, look how it turned out! It took a little time, and a little effort, and it was a lot of fun. I enjoyed every step of the process. I'm super excited to fill it up, maybe with some pictures, maybe a couple of bottles of wine, maybe a book or two. Get it up on the wall and see how it looks!
Next time you see an old pallet and think you can do something with it, do it! Just look what it can turn into! Like what you saw and want to see more? Please follow me on social media and share with all your friends. Also, if you have any questions or comments, please drop me a line so we can share ideas. Can't wait to see you for our next project!


