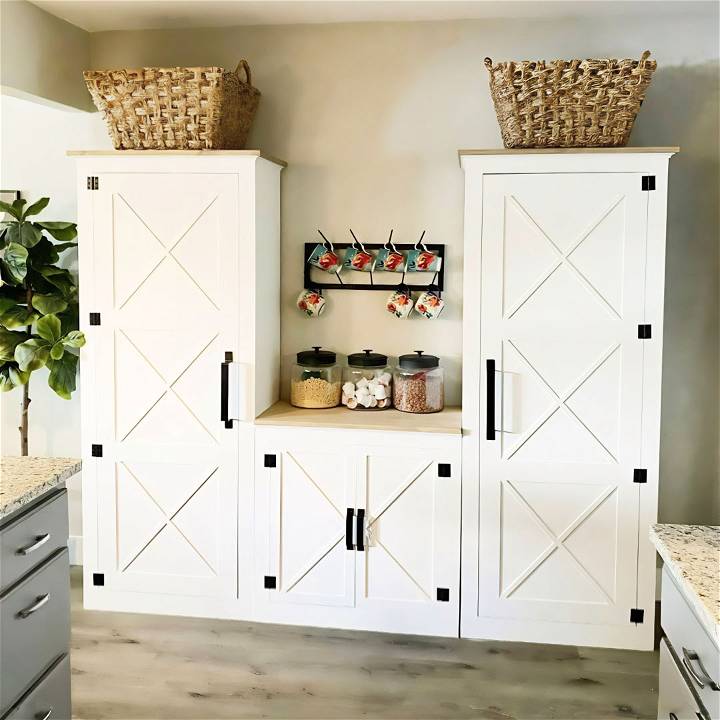
When my sister moved into her new rental home with her family of five, we quickly realized the kitchen lacked sufficient storage space. With no dedicated pantry and a pressing need for organization, we decided to take matters into our own hands. Below is a detailed, step-by-step guide on how we built a DIY kitchen pantry cabinet, making use of the expertise gained through watching helpful tutorials and applying some ingenuity.
Materials Needed and Their Purpose
- 3/4 inch Birch Plywood: Chosen for its durability and smooth finish, ideal for painting.
- 1x3 and 1x4 Lumber: Used for making the face frames, lending a sleek and sturdy finish to the pantry.
- Pocket Hole Screws: Essential for building strong joints between plywood pieces.
- Wood Glue: Adds extra strength to the joints, ensuring the cabinet can handle heavy loads.
- Paint: To provide a clean, finished look that matches the kitchen interior.
- Cabinet Hardware: Including handles and magnetic closures for easy access and use.
- Drawer Slides: For building smooth, pull-out drawers at the base of the pantry.
Step by Step Instructions
Learn how to build a DIY pantry cabinet with our step-by-step instructions. Build extra storage space in your kitchen with this easy project.
Step 1: Cutting the Plywood
The first step involved cutting the birch plywood to the required sizes. Lucky for me, the hardware store cut the broad strokes, slicing the plywood down into manageable pieces. I only needed to make the precise cross-cuts at home to fit the cabinet's dimensions.
Why birch plywood?
It's robust and presents a smooth finish when painted, perfect for a kitchen environment.
Step 2: Adding Pocket Holes
Next was drilling pocket holes into the pieces of plywood. Pocket holes are essential for connecting the pieces securely with screws. It's a relatively straightforward process but requires a bit of precision to ensure the screws correctly align with the connecting pieces.
Step 3: Assembling the Cabinet Sides and Shelves
Using wood glue and pocket hole screws, I started piecing together the sides and shelves of the pantry. The fixed shelves provided integrity and structure to the pantry, ensuring it would stand tall and bear the weight of whatever my sister needed to store. The adjustable shelving feature was incorporated at the top half of the pantry for added versatility using a simple shelf pin jig.
Step 4: Building and Attaching the Face Frames
The face frames, made from 1x3 and 1x4 lumber, added a polished look to the pantry. After cutting them to size, I added pocket holes and used wood glue and screws to assemble them into a frame. Attaching the frames to the front of the pantry instantly gave it a more defined, cabinet-like appearance. It's crucial the frame is attached precisely to ensure the doors fit correctly later.
Step 5: Making the Cabinet Doors
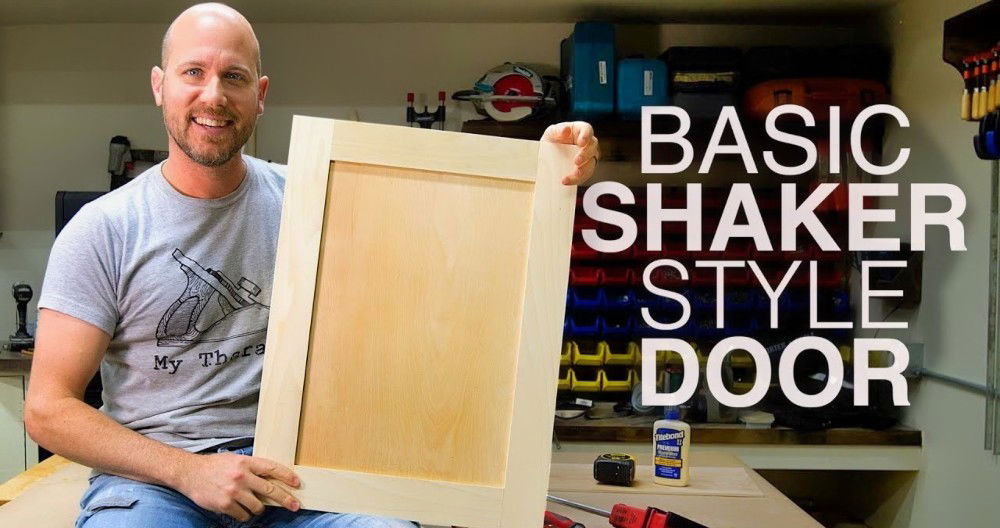
The doors were an exciting part of the project because they added character to the pantry. Using half-inch plywood as the base, I trimmed and attached bender boards to build a charming pattern on each door. This customization allowed us to add a unique touch that matched my sister's style.
Step 6: Installing Drawers and Hardware
The pull-out drawers at the base required careful measurement and installation of drawer slides. These drawers would become home to heavier items like bags of rice or cans, so ensuring they slid in and out smoothly was key. After that, the hardware handles and magnetic closures were attached to provide the finishing touches that made the pantry functional and easy to use.
Step 7: Finishing Touches: Painting and Mounting
Choosing the right paint color was crucial; we opted for a shade that complemented the kitchen's color scheme, making the pantry look as if it had always belonged. After painting, we mounted the pantry to the wall, ensuring it was secure and wouldn't wobble.
Challenges Faced
The biggest challenge was ensuring everything was level and square. Any small error in measurement could throw off the entire project. However, taking the time to double-check every cut and every piece before assembly helped mitigate this.
Customization Ideas for Your DIY Pantry Cabinet
When it comes to building a DIY pantry cabinet, personalization is key. Your pantry should not only be functional but also reflect your personal style and meet your specific needs. Here are some ideas to help you customize your pantry cabinet:
Choose a Theme
Start by deciding on a theme that complements your kitchen's decor. Whether you prefer a sleek modern look, a cozy rustic vibe, or a charming farmhouse style, let your theme guide your choices for materials and design.
Select Your Materials
Pick materials that align with your theme and are durable enough for kitchen use. For a modern look, consider using metals or high-gloss finishes. For a rustic touch, reclaimed wood can add warmth and character.
Paint and Finishes
The color and finish of your pantry can transform its appearance. Choose a paint that's easy to clean and matches your kitchen palette. You can also add a protective clear coat for longevity.
Hardware Choices
The handles and knobs are the jewelry of your cabinet. Select hardware that enhances the style of your pantry and is comfortable to use. Mixing metals can add an eclectic touch.
Lighting
Good lighting is essential in a pantry. Install LED strips or puck lights to illuminate the shelves. If you're feeling adventurous, a small chandelier or unique pendant light can add a wow factor.
Adjustable Shelves
Incorporate adjustable shelving to accommodate items of various sizes. This flexibility allows you to reorganize and adapt your storage as your needs change.
Door Design
If your pantry has doors, consider adding glass panels to showcase your organized shelves or use a chalkboard paint surface for notes and grocery lists.
Add Accessories
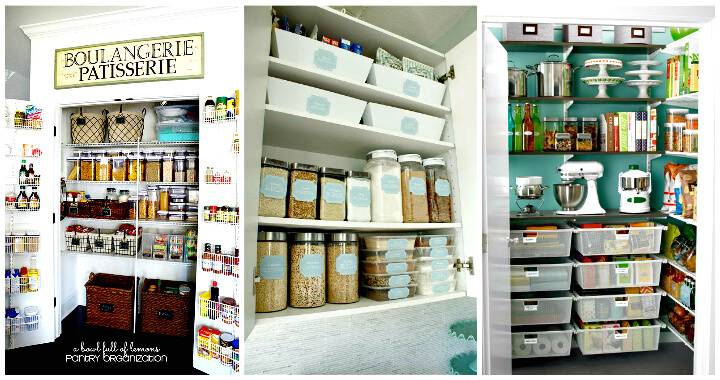
Incorporate baskets, bins, and dividers to keep your pantry organized. Label them for easy identification and to maintain order.
Incorporate Technology
For a high-tech pantry, install a tablet holder or charging station. This can be useful for looking up recipes or keeping devices charged and ready.
Personal Touches
Finally, add some personal touches. Display some of your favorite cookbooks, or hang art that inspires you. These details will make the space truly yours.
Consider customization ideas for a unique pantry cabinet that is both practical and reflects your style. Design a space you enjoy using daily. Keep it simple and focus on what's important to you. Have fun!
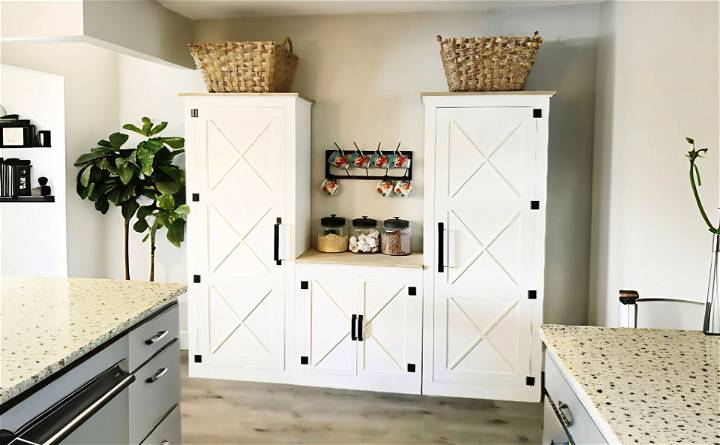
Storage Optimization for Your DIY Pantry Cabinet
Maximizing the storage capacity of your DIY pantry cabinet is essential to keep your kitchen organized and functional. Here's how you can optimize the storage space in your pantry:
Measure Twice, Store Once
Before you start, measure the items you plan to store in your pantry. This will help you determine the right shelf height and depth, ensuring everything fits perfectly.
Use Vertical Space
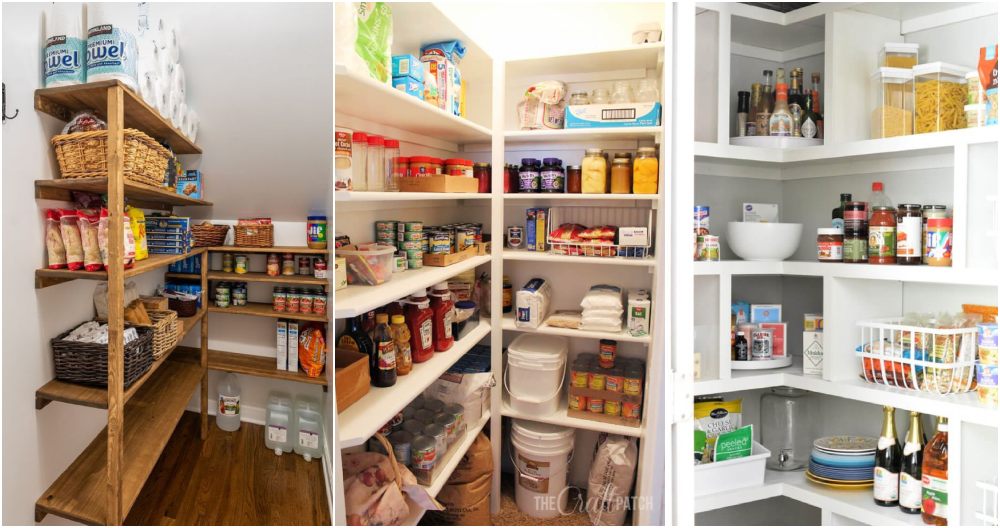
Take advantage of the full height of your pantry. Install shelves all the way up, and use a step stool to reach the top shelves. This is a great place to store less frequently used items.
Adjustable Shelving
Incorporate adjustable shelves to easily change the layout of your pantry as your storage needs evolve. This flexibility is key for maintaining an organized space.
Door Storage
Don't forget the inside of the pantry doors. You can add racks or over-the-door organizers for extra storage. This is perfect for spices, condiments, and small jars.
Drawer Inserts
If your pantry has drawers, use drawer dividers or inserts to keep things tidy. This works well for utensils, small containers, and other miscellaneous items.
Lazy Susans
Install lazy Susans in the corners of your pantry shelves. They make it easy to access items that would otherwise be hard to reach.
Pull-Out Baskets
Baskets that slide out can make it easier to grab what you need, especially for items at the back of the shelf. They're also great for grouping similar items together.
Label Everything
Use labels to mark shelves and containers. This not only helps you find items quickly but also makes it easier to put things away in the right spot.
Keep It Visible
Arrange items so that everything is visible at a glance. When you can see what you have, you're less likely to overbuy or waste food.
Regularly Declutter
Set a schedule to go through your pantry and declutter. Remove anything that's expired or no longer needed to make room for new items.
Implement storage tips for a functional pantry. Customize for your lifestyle. Stay organized and simplify your kitchen.
FAQs About DIY Pantry Cabinet
Get answers to all your DIY pantry cabinet questions in one place. Discover tips and tricks for building your own storage solution at home.
How can I maximize space in my pantry cabinet?
To maximize space, utilize vertical storage with tall shelves and consider adjustable shelving to accommodate items of different sizes. Use door racks, pull-out baskets, and lazy Susans to make use of every inch of space. Clear containers and labels can help keep items organized and visible.
Can I build a pantry cabinet if I'm not an experienced woodworker?
Yes, building a pantry cabinet is a project that intermediate DIYers can tackle. There are many plans available that provide step-by-step instructions. It's important to have the right tools and materials, and to take accurate measurements. If you're new to woodworking, consider starting with a simpler design or consult with someone experienced.
How do I ensure my pantry cabinet is sturdy and durable?
To ensure sturdiness, use quality materials and joinery techniques such as screws and dowels. Reinforce the structure with back panels and secure the cabinet to wall studs if it's freestanding. Regular maintenance, such as tightening loose screws and checking for wear, will also prolong the life of your pantry cabinet.
Are there any special considerations for painting or finishing my pantry cabinet?
When painting or finishing your pantry cabinet, use products that are suitable for kitchen environments. This means they should be durable, easy to clean, and resistant to moisture. Sand the surfaces before painting for a smooth finish, and apply a primer if necessary. For staining, choose a stain that complements your kitchen cabinets and apply a protective clear coat to seal the wood.
Conclusion
This DIY kitchen pantry cabinet project was a testament to the power of a little sweat equity and a lot of love. Not only did it solve the storage problem, but it also added a personal touch to my sister's kitchen. If you're considering a similar project, remember that careful planning, precision, and patience are your best tools.


