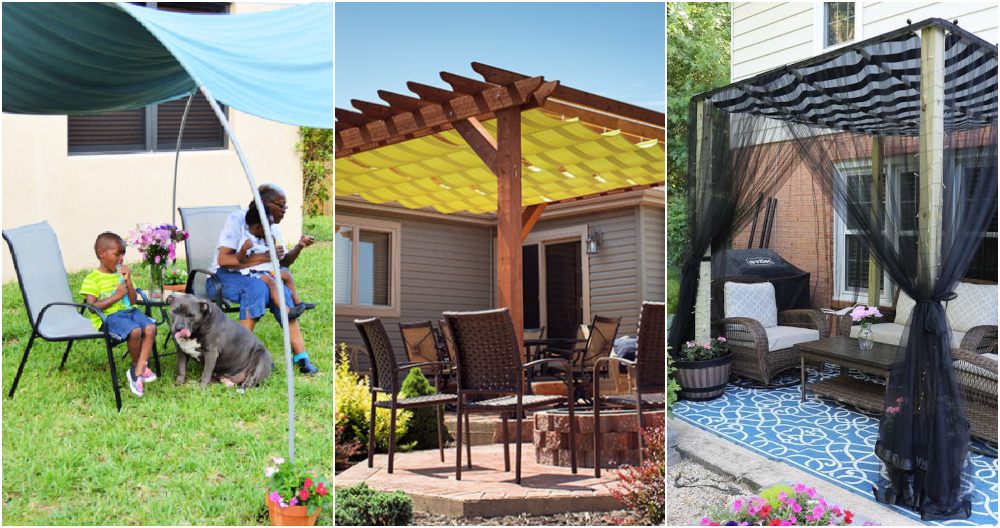
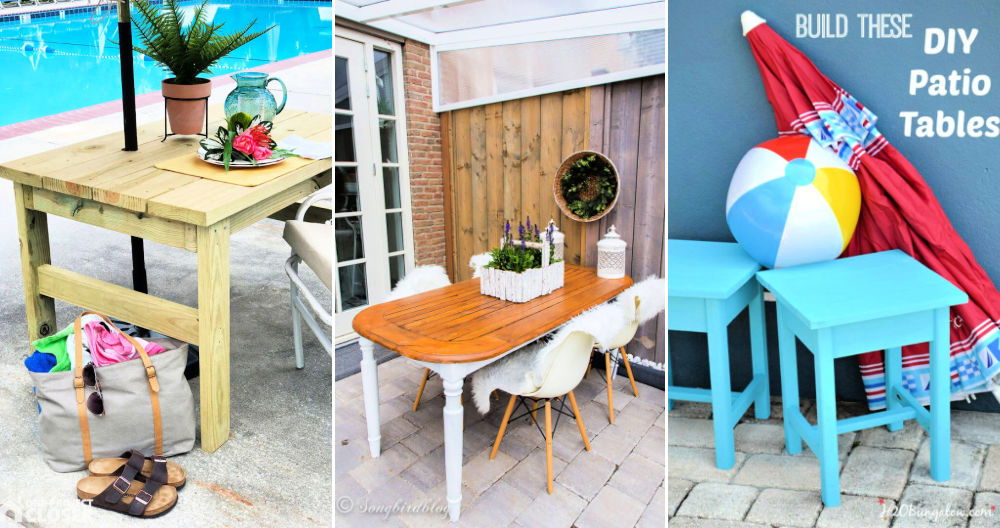
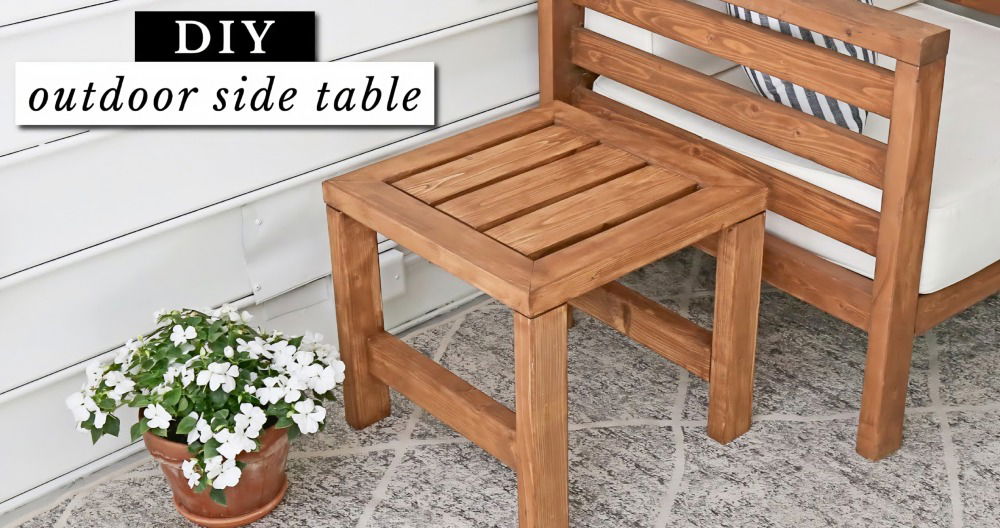
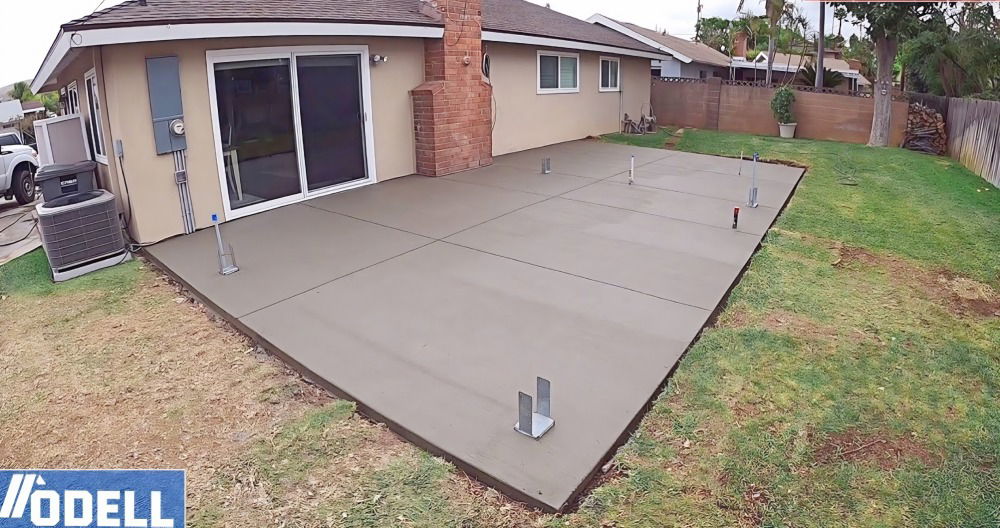
Building a DIY patio can be a rewarding project that adds beauty and functionality to your outdoor space. Planning is the first crucial step, as it helps you map out your vision and gather the necessary materials. Evaluate your backyard space, choose a design, and make a list of materials you will need. Proper planning can save you time and prevent costly mistakes down the road.
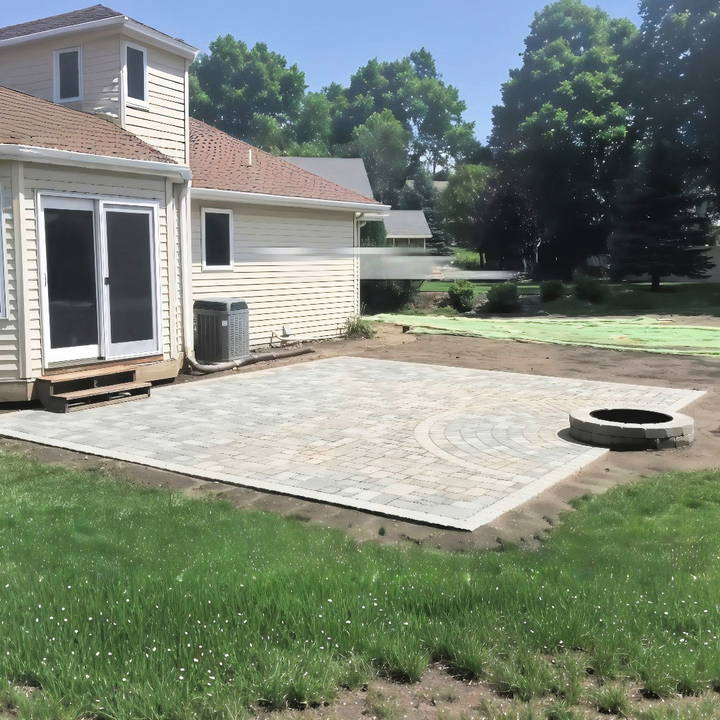
Learning how to build a patio involves understanding the steps, such as preparing the ground, laying the foundation, and installing pavers or stones. Each step requires attention to detail to ensure a sturdy and attractive patio. Once your patio is complete, you can enjoy your new outdoor area for gatherings, relaxation, or gardening.
Ready to dive deeper into the process? Let's explore each step in detail in the next section.
Materials You Will Need
Essential materials and tools for your project include subbase material, imported base material (class 5), sand/screed base, and specific tools.
1. Subbase Material:
- Purpose: Provides stability and prevents settling.
- Why needed: Without a solid subbase, your patio will not last, and you will see uneven settling over time.
2. Imported Base Material (Class 5):
- Purpose: Separates the subbase from your pavers.
- Why needed: Ensures a uniform and stable foundation for the pavers.
3. Sand/Screed Base:
- Purpose: Builds a smooth surface for laying pavers.
- Why needed: Prevents pavers from shifting and provides an even setting.
4. Tools:
- Shovel and Rake
- Hammer and Spike
- Plate Compactor (preferably 1,000 lbs.)
- Screed Rail and Pipe (1-inch)
- Pavers
- Polymeric Sand (optional)
Step by Step Instructions
Learn DIY patio construction with our step-by-step instructions! From soil prep to laying pavers, get all the tips to build your perfect patio.
Step 1: Preparing the Subbase
Learn how to prepare a subbase for your project. Assess and compact the soil effectively to ensure a strong, durable foundation.
Assess the Soil
The subbase is the very foundation of your patio, making its preparation crucial.
- Test the Soil: Take a spike and pound it into your soil. If the spike easily goes in with two or three hits, your soil is too soft and may need correction. If it barely moves, you're in good shape.
Compact the Soil
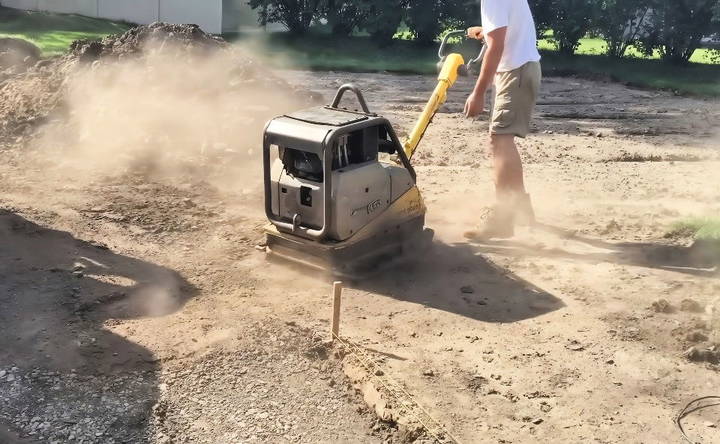
- Use either a 1,000-pound plate compactor or a 33-inch trench compactor. Heavy compaction equipment helps ensure better stability and uniformity.
- Tip: If your soil has a high moisture content, lay down some filter fabric before adding your base. This will prevent future settling issues.
Step 2: Adding the Imported Base Material
Learn how to add and compact imported base material, choose the right material, and ensure proper import and compaction for a solid foundation.
Choosing the Right Material
Imported base material, such as Class 5, is essential for separating the raw soil and the pavers.
- Class 5 Base: Class 5 is simply a mix of 3/4-inch rock and fines. Once compacted, it offers a stable and cohesive base.
Importing and Compacting
Optimize your website by learning importing and compacting processes. Enhance efficiency, save space, and improve data management effortlessly.
Add and Compact:
- Add the Class 5 material in two lifts. Generally, 6 inches is sufficient for standard patios, but if you expect heavier loads, increase this to 8 or even 10 inches.
- Compact each lift thoroughly to achieve maximum stability.
Step 3: Setting the Sand Base
Learn expert tips for setting the sand base and screed layering. Achieve perfect results with a slightly compacted sand base.
Screed Layering
Efficient screed layering services for flawless flooring. Achieve smooth, durable surfaces with expert techniques and high-quality materials.
Setting the Sand Base:
- The critical measurement here is 1 inch. Too much sand can cause your pavers to shift, leading to uneven surfaces.
- Use a 1-inch pipe to ensure an even layer of sand. Lay the pipe down and spread the sand evenly across the base. This helps maintain a precise depth.
Compact Slightly:
- Ensure the sand is level but be cautious not to overcompact.
Step 4: Laying the Pavers
Learn about planning, layout, and laying techniques for pavers with our comprehensive guide. Perfect for your next outdoor project.
Planning and Layout
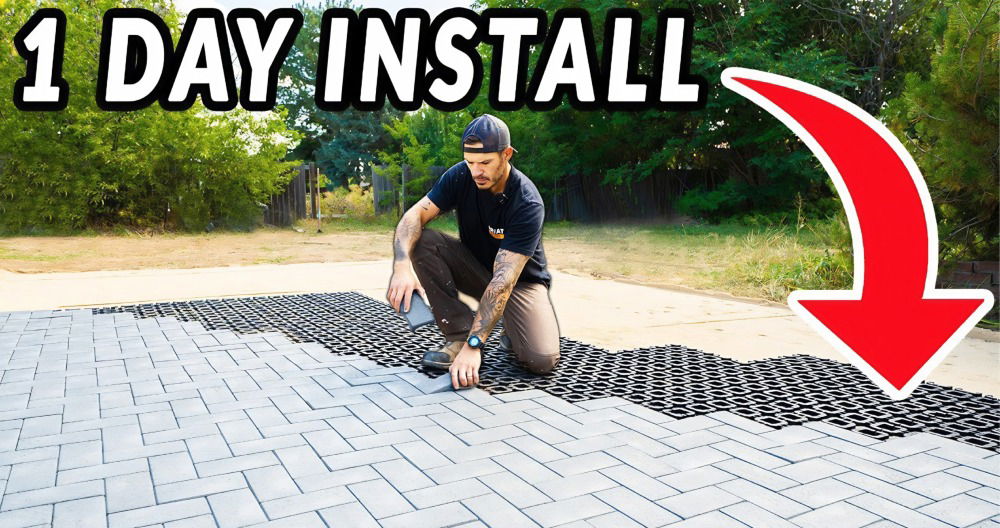
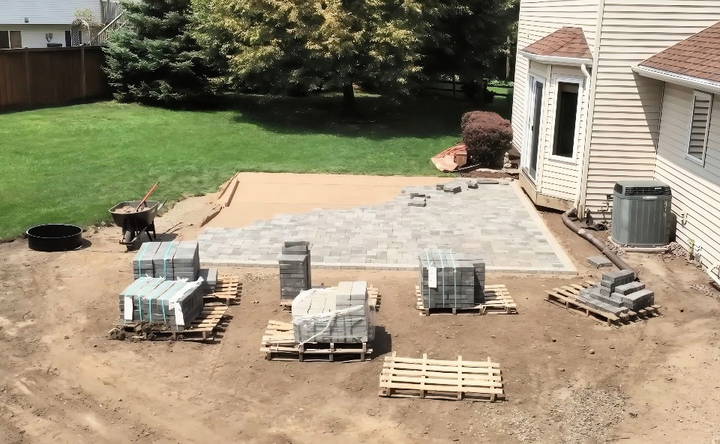
- Initial Layout: Begin by planning the layout of your pavers. Depending on your design, you can arrange them in a pattern or simply align them evenly.
- Cutless Installation: For a no-cut installation, lay the pavers in a design that doesn't require precise cuts. This makes the process faster and easier.
Laying Techniques
Master the art of laying techniques with our expert tips. Enhance your skills in flooring, paving, and more. Perfect your technique for flawless results.
Place Pavers:
- Lay each paver flat and even. Make sure there are no gaps larger than your chosen sand can fill.
- Use a mallet to tap the pavers into the sand gently, ensuring they are firm and level.
Step 5: Filling the Joints
Discover how to fill paver joints with sand or polymeric sand and get the best final maintenance tips for long-lasting results.
Sand or Polymeric Sand
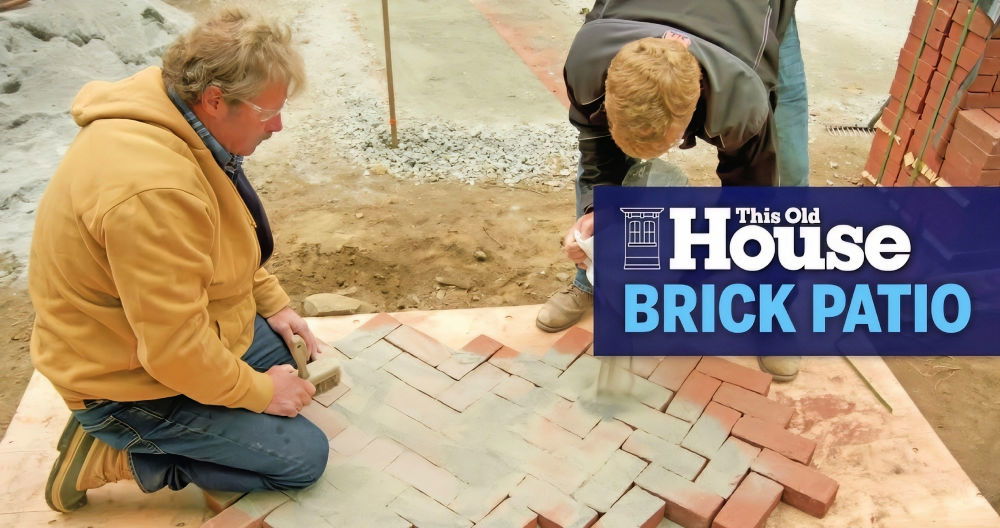
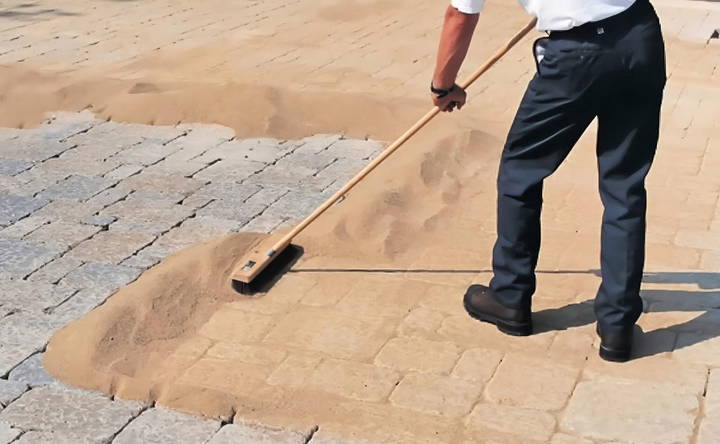
- Regular Sand: Sweep regular sand into the joints between the pavers. Use a plate compactor to settle the sand, then sweep again until all joints are full.
- Polymeric Sand (Optional): For added longevity, use polymeric sand. Sweep it into the joints, then hose it down to activate the binding agents. Be aware that polymeric sand can chunk over time, making future maintenance more challenging.
Final Maintenance Tips
- Regular Aftercare: Regularly sweep sand into the joints to maintain stability. If using polymeric sand, check for any chunks and replace as necessary.
Personalization Ideas for Your DIY Patio
Building a patio that reflects your personal style and meets your needs can transform your outdoor space into a cozy and inviting retreat. Here are some ideas to help you personalize your DIY patio:
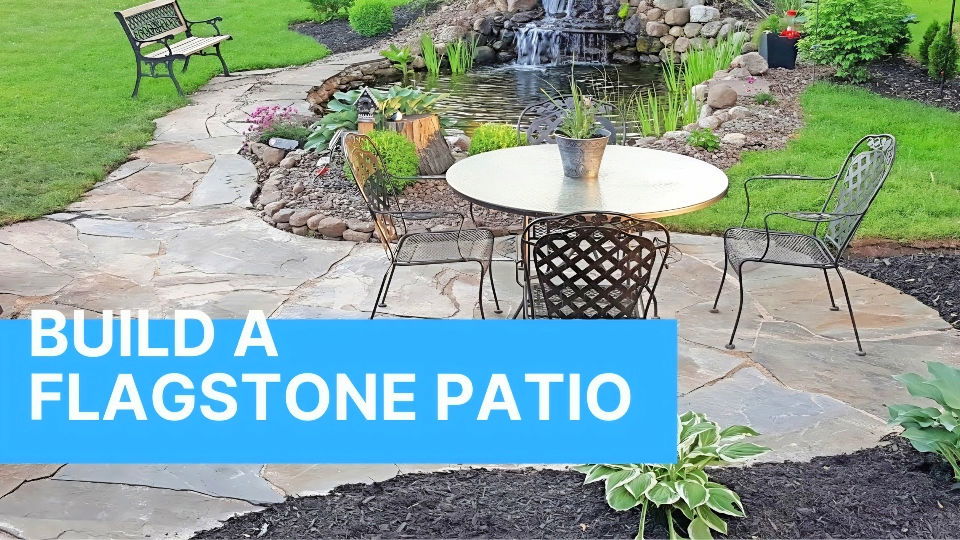
- Choose a Theme: Start by selecting a theme that resonates with you. Whether it's a Mediterranean oasis, a Zen garden, or a rustic country vibe, your theme will guide your choices in decor, color schemes, and landscaping.
- Color Your World: Incorporate colors that you love. Use vibrant cushions, outdoor rugs, and accent pieces to add pops of color. Consider painting a feature wall or adding colorful planters to brighten the space.
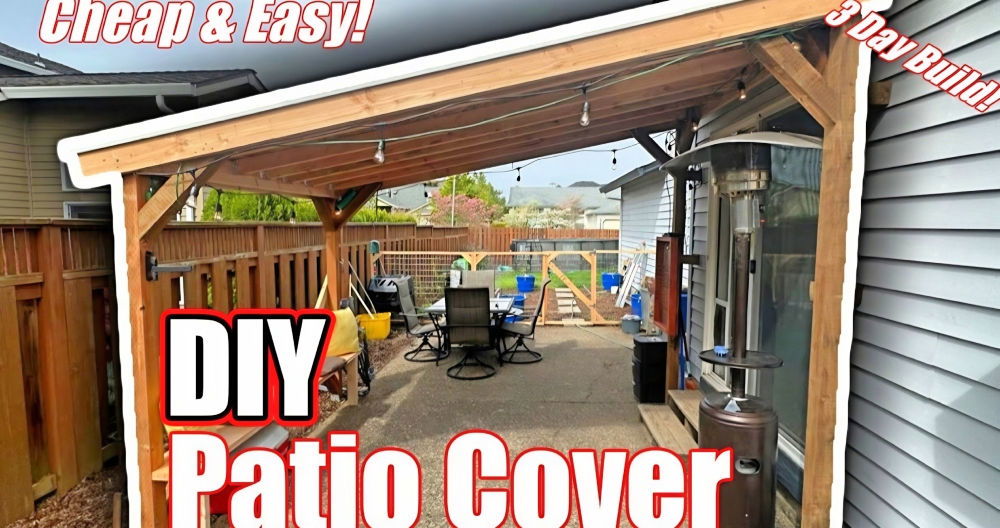
- Lighting: Set the mood with lighting. String lights, lanterns, or solar-powered lamps can build a warm ambiance. For a fun twist, use lights in different colors or shapes that match your theme.
- Furniture Selection: Choose furniture that not only looks good but also provides comfort. Think about how you'll use the space—whether for dining, lounging, or entertaining—and select pieces that serve those purposes.
- Accessorize: Add personal touches with accessories. Outdoor art, wind chimes, or a small water feature can make the space feel unique. Display items that have personal significance, like a family-made birdhouse or a collection of stones from your travels.
- Plant Life: Introduce plants and flowers that you love. Use planters and pots that complement your theme and color palette. Consider growing herbs or vegetables for a functional element that also adds greenery.
- DIY Projects: Incorporate your own handcrafted items. This could be anything from a hand-painted sign with a favorite quote to a homemade fire pit. These projects add a personal touch that can't be bought in a store.
- Privacy: Build a sense of privacy with screens, trellises, or tall plants. This not only personalizes the space but also makes it more intimate and secluded.
- Comfort Additions: Think about comfort. Add cushions, throws, and outdoor carpets to make the space cozy. If you enjoy spending evenings outside, consider a patio heater or fire pit for warmth.
- Entertainment: If you love to entertain, set up a dedicated area for it. Include a bar cart, a grill station, or a fire pit for guests to gather around. Make sure there's ample seating and surfaces for food and drinks.
Personalize your patio to reflect your style and enjoy a beautiful, functional space. Details make it uniquely yours.
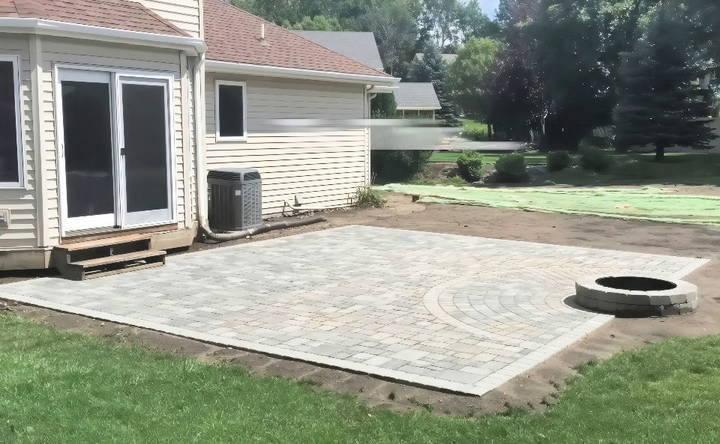
Troubleshooting Common Issues in DIY Patio Projects
When embarking on a DIY patio project, it's normal to encounter a few hiccups along the way. Here's a guide to troubleshooting some of the most common issues, presented in a clear and straightforward manner:
- Uneven Ground: Before laying patio stones or tiles, ensure the ground is level. If you find uneven areas, use a shovel to adjust the soil or sand beneath until you achieve a flat surface.
- Patio Pavers Settling: Over time, pavers may settle and build an uneven patio surface. To fix this, remove the affected pavers, add or remove sand underneath, and reposition them firmly.
- Drainage Problems: Poor drainage can lead to water pooling on your patio. To prevent this, make sure your patio has a slight slope away from your house for water runoff. If pooling occurs, consider installing additional drains or adjusting the slope.
- Cracked Stones or Pavers: Weather and wear can cause cracks. Replace cracked stones or pavers as soon as possible to maintain the integrity of your patio and prevent further damage.
- Weed Growth Between Pavers: Weeds can sprout between pavers, but they can be managed. Regularly sweep sand into the joints and consider using a weed barrier during installation to minimize growth.
- Loose Railings or Steps: Check any railings or steps for sturdiness. Tighten any loose screws and, if necessary, reinforce the structure with additional support.
- Discoloration: Sun exposure and weather conditions can cause discoloration. Clean your patio regularly and apply a sealant to protect against stains and fading.
- Moss and Algae: These can make your patio slippery and unsightly. Use a moss and algae remover suitable for your patio material, and apply it according to the manufacturer's instructions.
- Furniture Damage: Outdoor furniture can suffer from the elements. Cover furniture when not in use, and during off-seasons, store it in a dry place to extend its life.
- Lighting Issues: If your patio lights aren't working, check for burnt-out bulbs, damaged wires, or tripped circuit breakers. Always replace bulbs with those of the correct wattage and type.
Regular maintenance prevents common DIY patio issues, ensuring it looks great and functions well for years.
FAQs About DIY Patio
Discover answers in our FAQs about DIY patios. Learn tips, materials, and steps to build your perfect outdoor space. Save time and money today!
Start by assessing your outdoor space, considering drainage, sun exposure, and how the patio will integrate with your landscape. Use graph paper or a digital design tool to sketch your layout, ensuring it complements your home’s exterior and meets your functional needs.
The time it takes to install a DIY patio can vary. A simple project might take a weekend, while more complex designs could require several weekends. The key is to prepare the site properly, which includes excavation and laying a solid foundation.
While professional help can ensure a high-quality finish, many homeowners successfully complete DIY patio projects. If you’re comfortable with basic landscaping tasks and willing to learn, you can build your own patio. However, for large or complex projects, consider consulting a professional.
To ensure proper drainage, slope the ground away from your home's foundation at a rate of about 1 inch for every 4 feet. Use a level to check the slope as you prepare the base. Additionally, consider using permeable materials like gravel or sand-set pavers to allow water to soak through.
Regular maintenance will keep your patio looking great for years. Sweep it regularly to remove debris, and rinse with water to clean off dirt. For pavers or stones, refill joint sand as needed, and consider sealing the surface to protect against stains and weather damage. If you notice any uneven or sunken areas, you may need to lift the pavers and re-level the base material.
Conclusion
Building your own DIY patio is a rewarding project that, when done correctly, can last for years. From assessing the soil to the final layer of sand, each step is critical. I hope my experience and these practical tips help you build a beautiful and durable patio.


