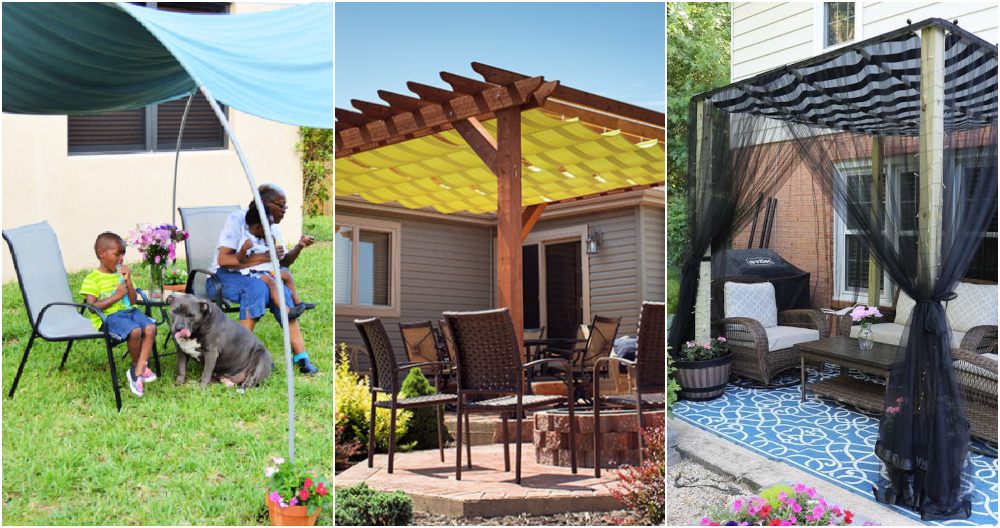
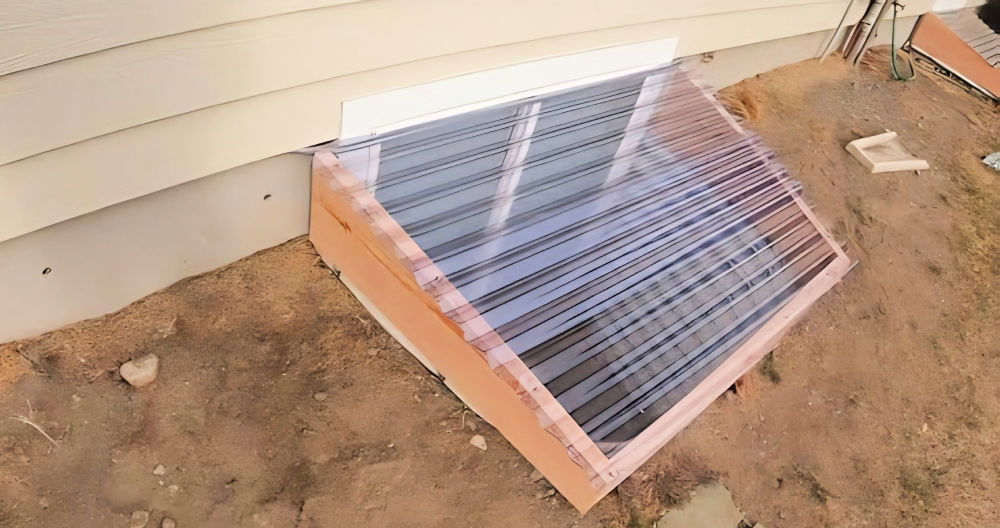
The main motivation behind this DIY patio cover project was to make our backyard more usable across all seasons. During summer, a patio cover would provide much-needed shade, making it comfortable to spend time outdoors.
Meanwhile, during the rainy parts of the year, we could enjoy barbecues and gatherings without getting soaked. Additionally, I was inspired after watching a DIY patio cover tutorial, believing I could tackle this project with my limited carpentry experience.
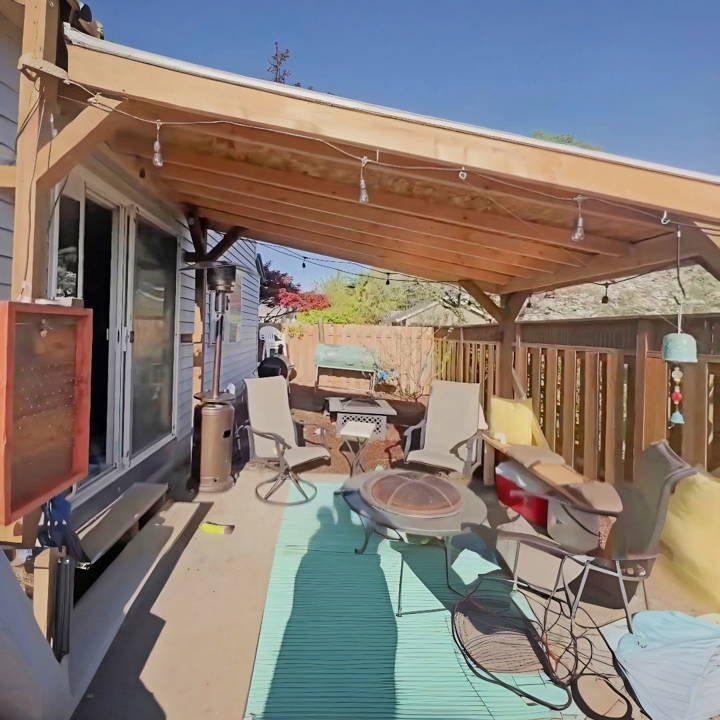
Materials and Tools Needed
- Wood: I chose pressure-treated lumber for its durability against elements.
- Hardware: Anchors, bolts, nuts, and lag bolts for secure installation.
- Concrete and Anchor Bolts: For setting the posts in place.
- Rotary Hammer: For drilling into concrete to install the post anchors.
- Saw: Both a circular saw and handsaw were used for cutting wood to size.
- Level and Tape Measure: Essential for ensuring everything is straight and perfectly sized.
- Drill: For assembling the frame and securing the cover.
- Roofing Materials: I opted for corrugated tin for its ease of installation and longevity.
- Safety Gear: Gloves, goggles, and ear protection.
Step by Step Instructions
Learn how to build a patio cover with our step-by-step instructions. Easy-to-follow guide for making a stylish, functional patio cover. Perfect for DIY enthusiasts!
Step 1: Planning and Preparation
Before diving into construction, I meticulously planned out the dimensions and design of the patio cover. This involved measuring the patio space, deciding on the height and slope of the roof, and sketching a basic blueprint. I also checked local building codes to ensure compliance.
Step 2: Setting the Posts
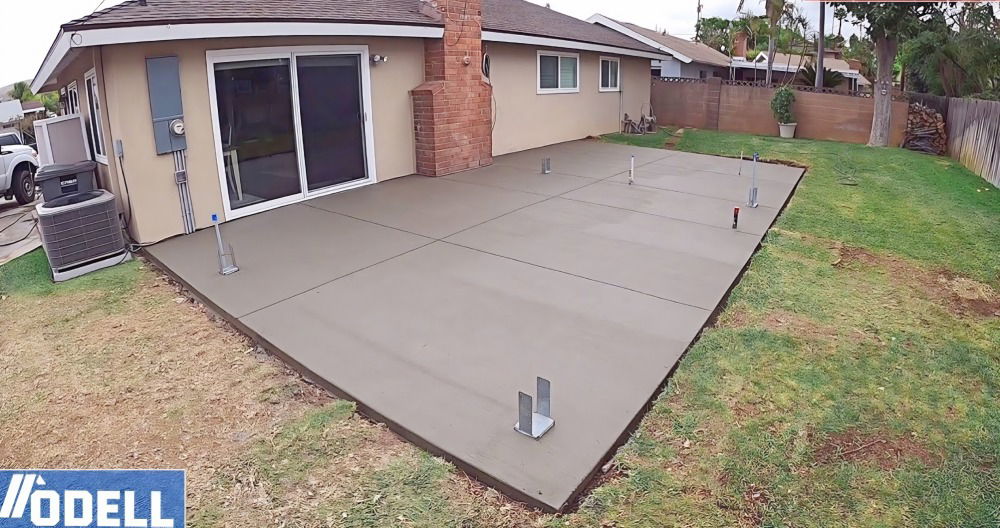
Using a rotary hammer, I drilled holes in the concrete patio for the post anchors. This was probably the most physically challenging part of the project. After installing the anchors, I secured the wooden posts. Ensuring the posts were perfectly vertical using a level was crucial for the overall stability of the structure.
Step 3: Building the Frame
With the posts in place, I constructed the frame for the patio cover. This involved cutting the wood to the desired lengths and securing them at the top of the posts. Getting the slope right was a bit of trial and error, but eventually, I achieved the desired angle for water runoff.
Step 4: Installing the Rafters and Roof
Cutting the rafters at the right angle was a learning curve, as they had to fit snugly against the frame. I used lag bolts to attach each rafter, ensuring they were evenly spaced for aesthetic and structural solidity. For the roofing, corrugated tin was a budget-friendly and durable choice. I overlapped each sheet for waterproofing and secured them with screws designed for metal roofing.
Step 5: Finishing Touches
The last steps involved installing gussets for additional support and covering the entire structure with weather-resistant paint. The paint not only added an extra layer of protection against the elements but also gave the patio cover a polished look.
Tips and Lessons Learned
- Measure Twice, Cut Once: This age-old adage was my mantra throughout the project. Precise cuts and measurements were key to avoiding wasted materials and ensuring the structure fit together perfectly.
- Consider the Weather Direction: I installed the tin roof starting from the corner least affected by prevailing winds, minimizing the risk of wind damage.
- Extra Support is Worth the Effort: Adding the bench not only provided additional seating but also significantly increased the rigidity and stability of the entire structure.
Customization Ideas for Your Patio Cover
When it comes to adding a personal touch to your patio cover, the possibilities are endless. Here are some customization ideas that can make your outdoor space more enjoyable and reflect your unique style:
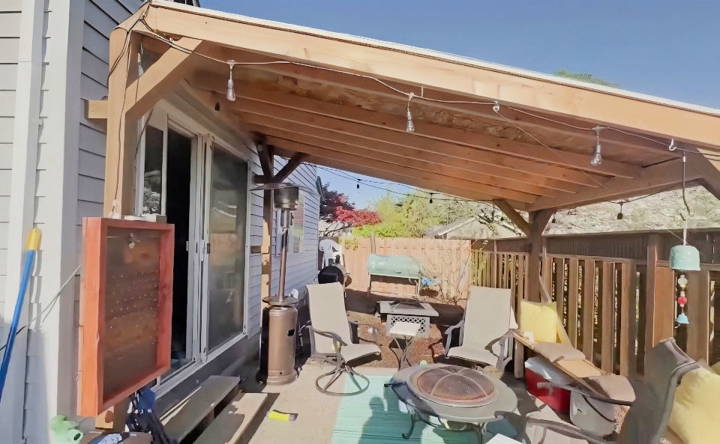
- Lighting Options: Brighten up your evenings with a variety of lighting options. String lights can build a cozy ambiance, while solar-powered lights offer an eco-friendly solution. For a more dramatic effect, consider installing LED strip lights along the edges of your patio cover.
- Color and Material Choices: Choose colors and materials that complement your home's exterior. If you have a modern home, you might opt for sleek metal or transparent polycarbonate panels. For a traditional look, wood stains in natural tones can add warmth and charm.
- Decorative Elements: Incorporate decorative elements like corbels or carved posts to add architectural interest. Hanging planters or climbing vines can also bring life and greenery to your patio cover.
- Outdoor Fans or Heaters: Stay comfortable outdoors regardless of the weather. Ceiling fans can provide a cool breeze during hot summer days, while patio heaters can keep you warm on chilly evenings.
- Retractable Features: For versatility, consider retractable walls or screens that can provide privacy and protection from the elements when needed. Retractable awnings can also offer shade on demand.
- Entertainment Systems: Make your patio an entertainment hub with an outdoor sound system or a weatherproof television. This way, you can enjoy your favorite music or shows while relaxing outside.
- Multi-Level Design: If space allows, a multi-level patio cover can define different areas for dining, lounging, or cooking. Steps or platforms can add depth and interest to your outdoor space.
Incorporate these ideas to build a patio cover that shelters and enhances outdoor living. Choose options fitting your lifestyle and home's design. With thoughtful customization, your patio cover will be a cherished outdoor space.
Maintenance and Upkeep of Your Patio Cover
Keeping your patio covered in top condition is crucial for extending its life and maintaining the beauty of your outdoor space. Here's a straightforward guide to the maintenance and upkeep of your patio cover:
- Regular Cleaning: Dirt and debris can accumulate on your patio cover over time. Use a soft brush or cloth to remove any buildup gently. For tougher stains, a mild soap solution can be used. Rinse thoroughly with water to prevent soap residue.
- Inspect for Damage: At least twice a year, inspect your patio cover for signs of damage such as cracks, rust, or rot. Early detection of these issues can prevent more significant problems down the line.
- Reapply Protective Coatings: If your patio cover is made of wood, reapply a sealant or stain every few years to protect it from moisture and UV rays. For metal covers, check for any areas that may need a fresh coat of rust-resistant paint.
- Check for Loose Fittings: Ensure that all bolts, screws, and brackets are tight and secure. Loose fittings can lead to instability and potential damage during strong winds or heavy rain.
- Trim Overhanging Branches: Overhanging branches can pose a risk to your patio cover, especially during storms. Keep trees trimmed to prevent branches from falling and causing damage.
- Monitor for Pests: Be on the lookout for signs of pests such as termites or carpenter ants, which can cause significant damage to wooden structures. Consult a professional if you suspect an infestation.
- Ensure Proper Drainage: Water pooling can lead to damage and the growth of mold and mildew. Make sure your patio cover has proper drainage to avoid water accumulation.
Maintain your patio cover to keep it functional and attractive for years. Regular upkeep preserves its structure and enhances your outdoor enjoyment.
FAQs About How to Build a Patio Cover
Discover answers to common questions about how to build a patio cover. Get tips on materials, permits, and construction techniques.
First, check if your existing roof structure can support the new patio cover. You may need to consult a structural engineer. Ensure that the weight of the patio cover is evenly distributed between the house and the posts. Use proper fasteners and brackets to secure beams and rafters, and make sure all elements are level and securely attached.
Yes, in most cases, you will need a permit to build a patio cover. Check with your local building authority for specific requirements. You may also need to comply with Homeowners Association (HOA) rules if applicable. Obtaining a permit ensures that your patio cover meets local building codes and safety standards.
To attach a patio cover to your house, you will need to secure a ledger board to your home’s structure using lag screws. The ledger board should be level and properly flashed to prevent water damage. Rafters will extend from this ledger board to the outer beam supported by posts. Always ensure that the connection points are watertight and structurally sound.
Yes, you can build a patio cover on an existing concrete slab. You will need to drill holes and install post anchors for the patio cover’s posts. Ensure the slab is in good condition and can support the additional weight. If expanding the slab, pour additional concrete with proper footings to support the new structure.
When selecting a design for your patio cover, consider the architectural style of your home and aim for a complementary look. Think about the purpose of your patio cover—whether it's for shade, protection from the elements, or to enhance outdoor living space. Research different styles, such as pergolas, solid roofs, or retractable covers. Take into account the direction of the sun and prevailing winds to maximize comfort. Lastly, ensure your design adheres to local building codes and regulations.
Final Thoughts
Wrapping up, building your own DIY patio cover can build the perfect shade oasis in your backyard. With the right materials and a clear plan, you can enjoy a cozy outdoor space for relaxation and entertainment. Remember, how to build a patio cover involves a bit of effort but the end result is worth it. Enjoy your new shaded retreat!


