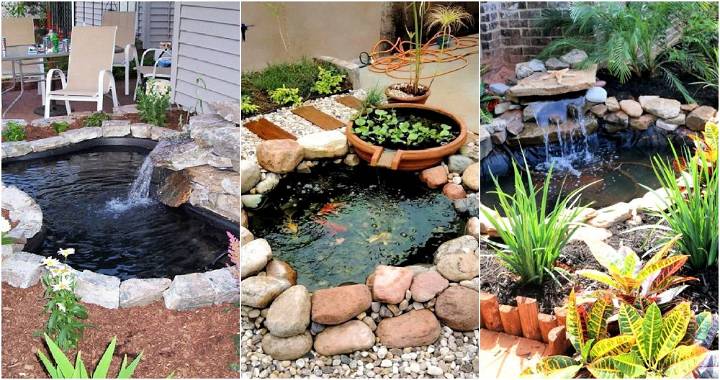
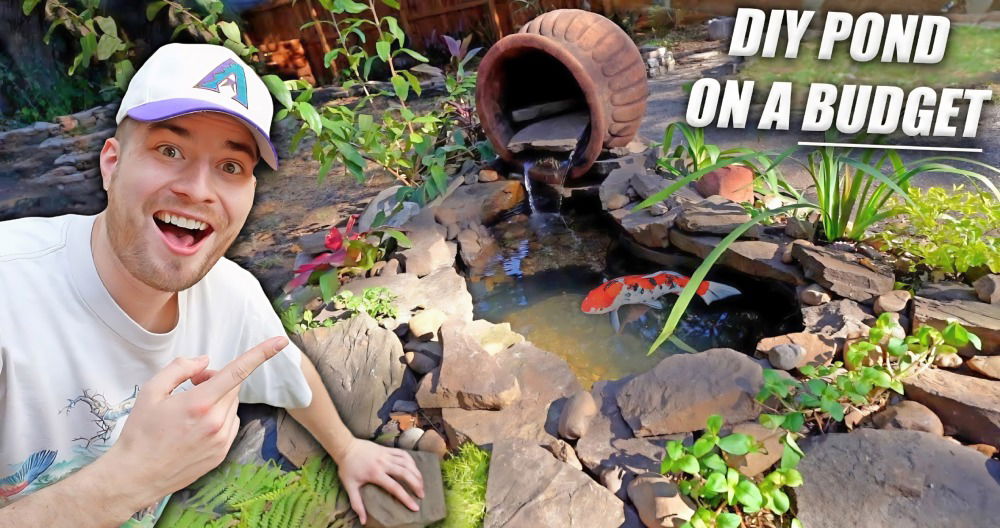
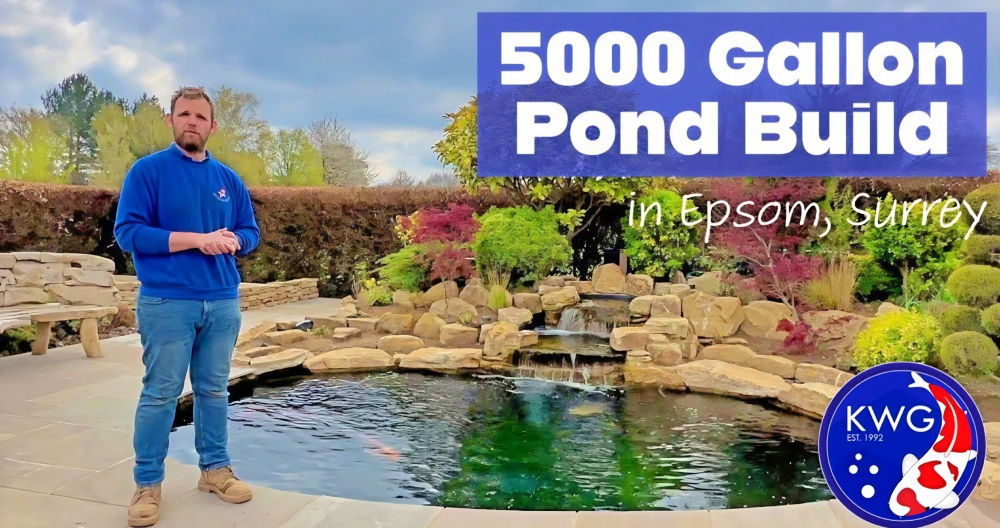
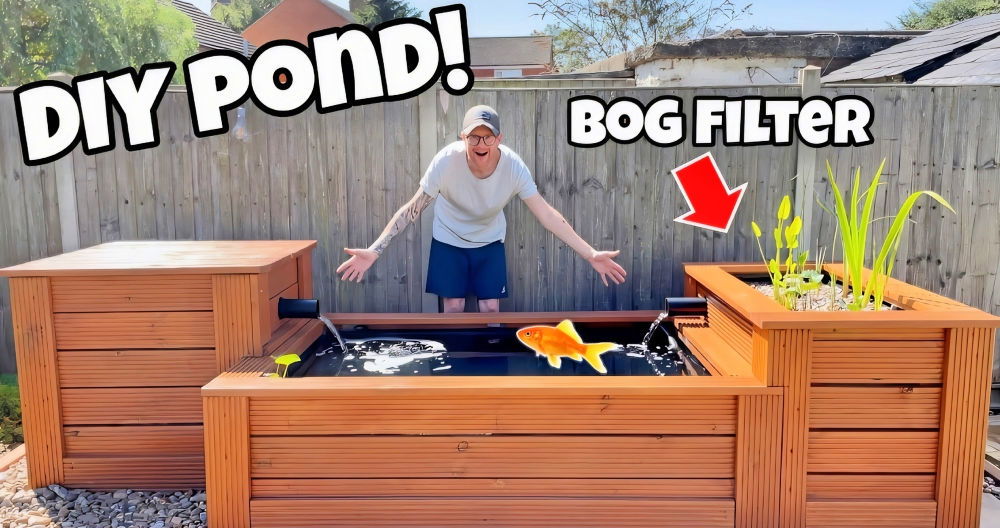
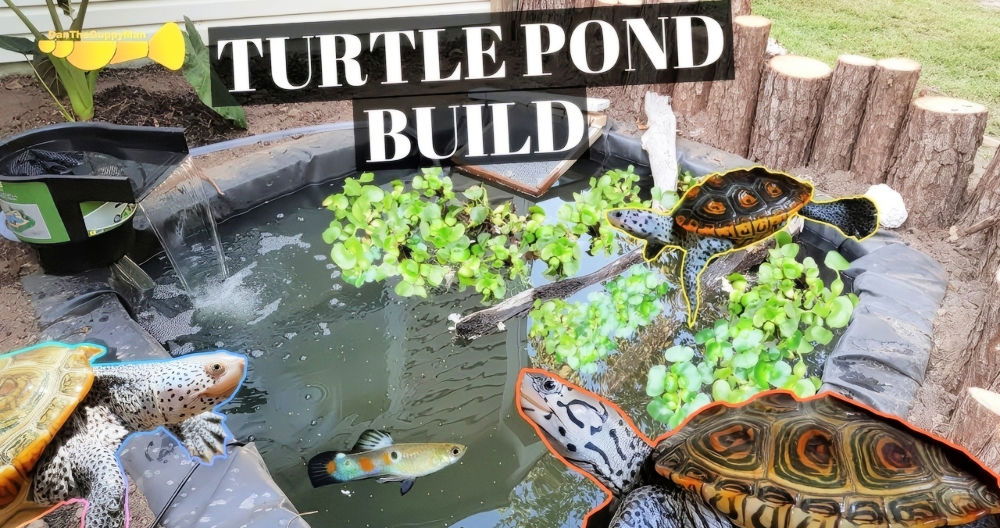
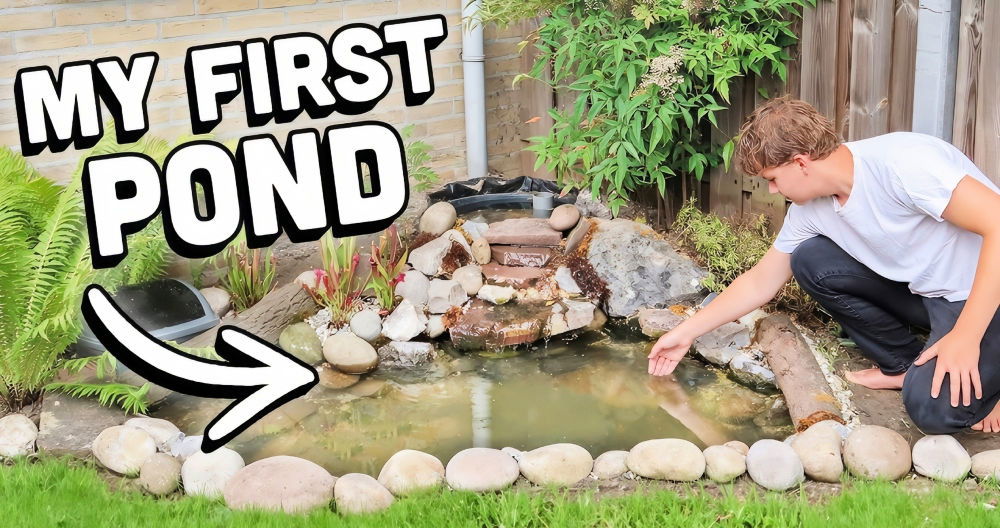
Building a DIY patio pond is a fun and rewarding project that transforms your outdoor space into a serene and beautiful oasis. Whether you're a seasoned DIYer or just starting, this guide will walk you through everything you need to know to build a stunning patio pond that not only enhances your backyard's aesthetic but also provides a habitat for aquatic life like fish and plants. In this guide, we will also discuss how to add an aquaponics filter to help build a sustainable ecosystem in your pond.
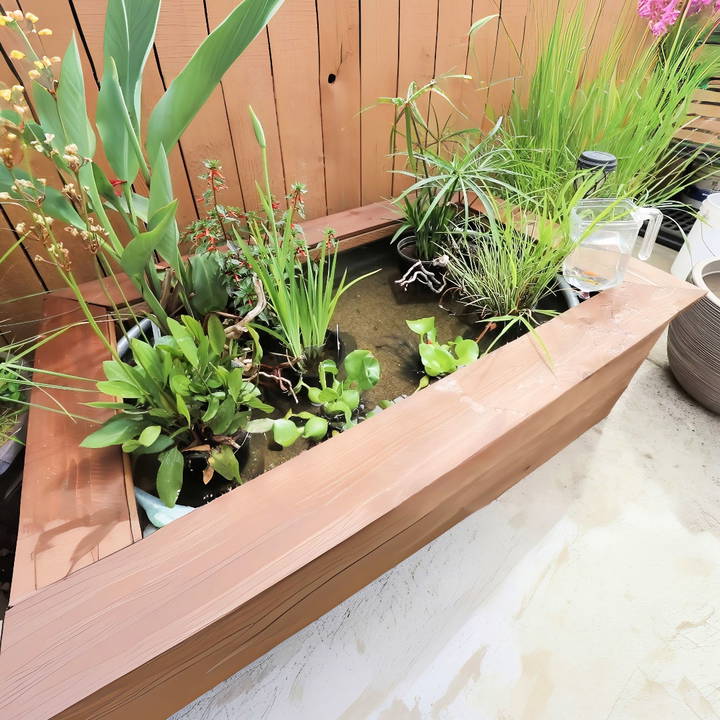
What Is a Patio Pond?
A patio pond is a small, self-contained water feature that can fit on your patio, deck, or small yard. These ponds can be as simple or as elaborate as you like, from using a large tub to making a custom-built enclosure. The beauty of patio ponds is their flexibility—they can be designed to fit into any space and customized to suit your personal style.
Building a patio pond is also a great way to get started with aquaponics, where fish and plants work together to build a self-sustaining ecosystem. The fish provide nutrients for the plants, and the plants help filter the water, keeping the pond clean.
Materials and Tools You'll Need
Before you start building your patio pond, gather all the necessary materials and tools. Here's what you'll need:
Materials:
- Pond liner or a large waterproof container (such as a stainless steel or plastic tub)
- 4x4 wooden posts or equivalent (for pond support)
- Substrate (sand, gravel, or pebbles)
- Plants (aquatic plants like water lilies, papyrus, or sword plants)
- Driftwood or decorative stones (optional for aesthetic purposes)
- Fish (such as Comet Goldfish or Rice Fish)
- Beneficial bacteria (to help establish a healthy water environment)
- Dechlorinator (for treating tap water)
- EcoPlus pump (for filtering the pond water)
- Aquaponics grow media (such as clay pebbles)
- Aquaponics planter (to house the grow media and plants)
- Stain (optional for wooden structures)
- Water Hyacinth (to enhance the pond's environment)
Tools:
- Skill saw (for cutting wood)
- Brad nailer (to fasten wood pieces together)
- Drill and drill bits (for making drainage and piping holes)
- Tape measure
- Level
- Hose (for filling the pond with water)
- Spray paint (optional for aesthetic purposes)
Now that you have everything prepared, let's dive into the step-by-step process of building your patio pond.
Step by Step Instructions
Learn how to make a DIY patio pond with our step-by-step guide, from planning and building to adding plants, fish, and maintaining your eco-friendly oasis.
Step 1: Plan Your Pond Layout
Before you start cutting or assembling anything, it's important to have a clear plan. Measure the area where you'll place your pond and determine the shape and size that will fit best. A square or rectangular pond tends to be the easiest to build, but you can also opt for a circular or more freeform shape depending on your creativity and space available.
You'll also need to decide how deep you want your pond to be. A depth of 12–24 inches is generally sufficient for most patio ponds, depending on the type of plants and fish you plan to include. Keep in mind that deeper ponds require more water but offer more room for fish and plants to thrive.
Step 2: Build or Set the Pond Structure
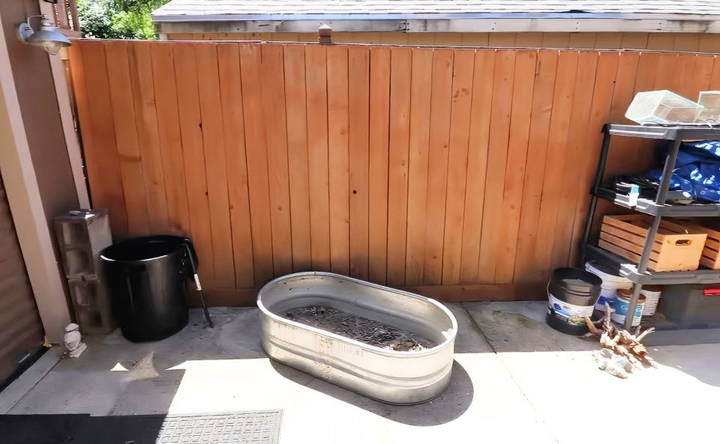
If you're using a pre-made tub, this step is simple: find a sturdy, level spot on your patio or yard and place the tub there. However, if you're building the structure from scratch, you'll need to take a few extra steps:
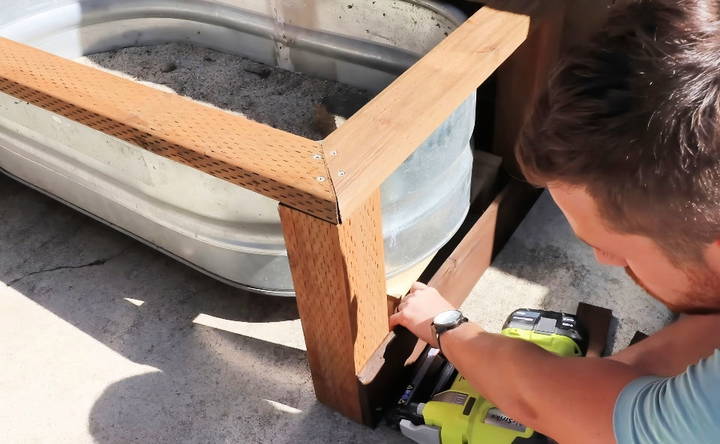
- Cut and assemble the wooden supports: Cut the 4x4 posts to the desired height of your pond. These posts will prop up the tub or liner, making it easier to manage water changes and general maintenance. Make sure the posts are level and stable.
- Frame the pond: If you want to improve the appearance of a simple tub, consider framing it with red cedar boards or another type of wood. This gives the pond a more polished and aesthetically pleasing look. You can make angled (45-degree) cuts on the boards to build cleaner, more professional edges.
- Stain and seal the wood (optional): If you're using wood for your frame, consider staining it to protect it from water damage and to make it visually appealing. Use a waterproof sealant or stain designed for outdoor use.
Step 3: Add Substrate and Plants
Once the structure is set up, it's time to build the environment inside the pond.
- Add the substrate: Start by adding sand, gravel, or pebbles to the bottom of your pond. This will provide a natural base for your plants to anchor into and will give your pond a more organic look. Be sure to wash the substrate thoroughly before adding it to the pond to avoid clouding the water.
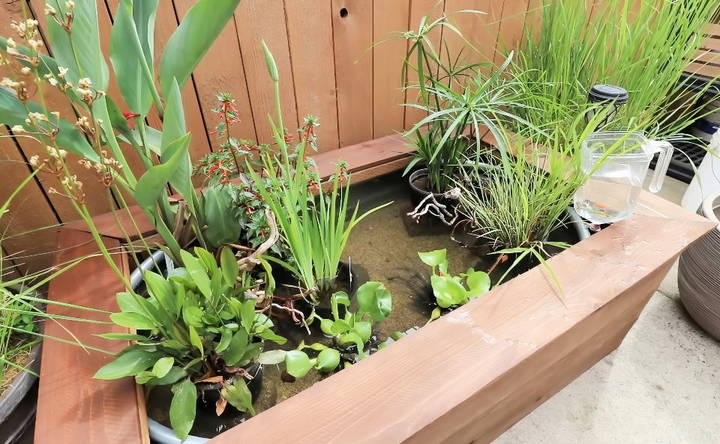
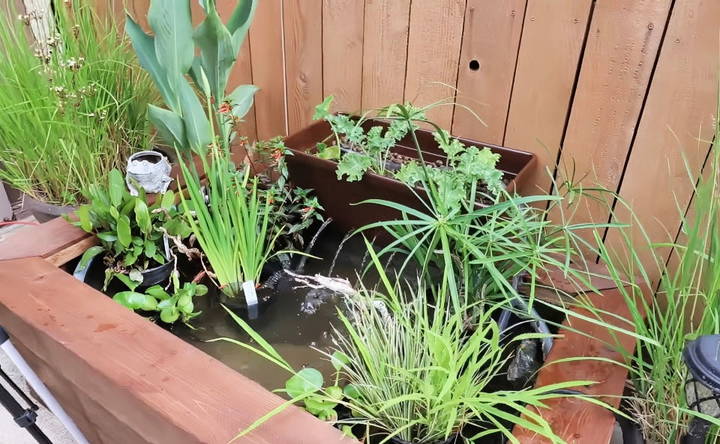
- Plant selection: Choose a variety of aquatic plants to place in your pond. Taller plants like Papyrus or reeds should go toward the back or corners, while shorter grasses or water lilies can be placed in the front. You can also use a "paver trick" to help boost plants higher in the water column by placing them on stones or bricks.
- Position the plants: Play around with the placement of your plants until you're happy with the overall look. The taller plants should be placed toward the back, with shorter plants in the front for a layered effect. Remember that adding water will change the way the plants sit, so you might need to adjust them once the pond is filled.
Step 4: Fill the Pond with Water
After placing the plants and substrate, it's time to fill your pond with water.
- Use a hose to fill the pond: Slowly fill the pond with water from a garden hose. If you're using tap water, be sure to add a dechlorinator to remove any chlorine or chloramines that could harm your fish and plants.
- Add beneficial bacteria: Introduce beneficial bacteria to the pond. This helps establish the nitrogen cycle, which is crucial for maintaining a healthy ecosystem, especially when adding fish. The bacteria will break down waste produced by the fish, keeping the water clean.
Step 5: Set Up the Aquaponics System
Aquaponics is an eco-friendly way to maintain your pond by using fish waste as fertilizer for plants. Here's how to set it up:
- Select a planter for the aquaponics filter: Choose a planter that will sit on the edge of your pond. You'll be planting vegetables or herbs in this planter, so make sure it's sturdy enough to hold both water and soil.
- Drill drainage holes: Drill a few drainage holes in the bottom of the planter, so that water can flow from the pond, through the plants, and back into the pond. Be careful not to drill too many holes, or the water will drain too quickly.
- Set up the pump: Attach a small pump, like the EcoPlus 185, to circulate water from the pond into the planter. Use clear poly tubing to direct the water into the aquaponics planter. Drill a few small holes in the tubing to build a rain-like effect over the plants.
- Add aquaponics media: Fill the planter with aquaponics grow media like clay pebbles, which will help filter the water and support plant roots. Once the media is in place, plant your vegetables or herbs, such as kale or zucchini.
- Test the system: Turn on the pump and observe how the water flows through the planter. You may need to adjust the drainage holes or add more plants to balance the water flow.
Step 6: Introduce Fish to Your Pond
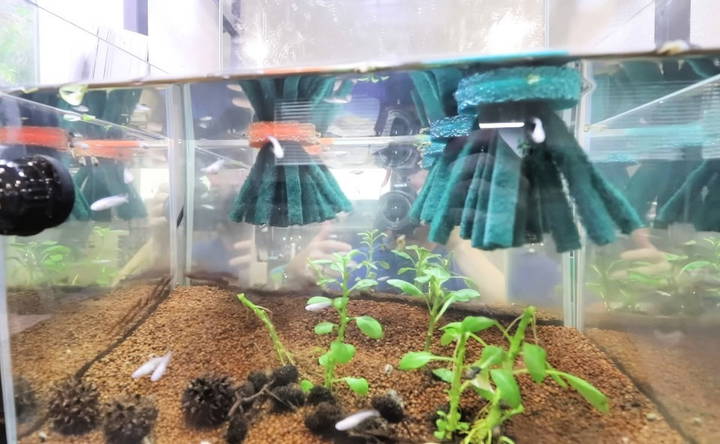
Now that your pond is set up and cycled with beneficial bacteria, you can introduce fish. Some good options for patio ponds include:
- Rice Fish (Medaka): These fish are small, hardy, and thrive in outdoor ponds. They resemble miniature koi fish and come in a variety of colors.
- Comet Goldfish: Inexpensive and easy to care for, Comet Goldfish can grow quite large in the right conditions and are well-suited for patio ponds.
Acclimate the fish: Float the fish in their bags in the pond for 15–20 minutes to let them acclimate to the water temperature. Once acclimated, release them into the pond.
Step 7: Regular Maintenance
To keep your pond looking great and running smoothly, regular maintenance is key:
- Water changes: Change about 10–20% of the pond water every week to keep it fresh.
- Filter maintenance: Clean the pump and aquaponics system regularly to prevent clogs and ensure the water circulates properly.
- Fish care: Feed your fish regularly and monitor their health. Remove any uneaten food to avoid water pollution.
Final Thoughts
Building a DIY patio pond is a fun, relaxing, and rewarding project that can completely transform your outdoor space. With just a bit of time, effort, and creativity, you can enjoy the sound of flowing water, the sight of beautiful plants, and the joy of watching fish swim in your very own pond.
By incorporating an aquaponics filter, you're also setting up a self-sustaining system where plants and fish work together in harmony, providing a mini ecosystem right on your patio.
FAQs About DIY Patio Pond
Discover everything you need to know about DIY patio ponds with our detailed FAQs. Perfect advice for making your own serene patio pond space!
The size of your patio pond depends on your available space and what you want to achieve. Smaller ponds, around 20–50 gallons, are perfect for tight spaces like patios or decks, while larger ponds (100+ gallons) can support more fish and larger plants. Ensure that the pond fits comfortably in your space and provides enough room for your chosen plants and fish.
For small ponds (under 50 gallons), cold-tolerant fish like Medaka rice fish and White Cloud Mountain minnows are excellent choices. These fish thrive outdoors and are easy to care for. Goldfish, such as Comet goldfish, are also a popular choice for slightly larger ponds.
To protect fish from predators like raccoons or birds, provide plenty of hiding spots using plants or pond decorations like driftwood and stones. You can also install a net over the pond during vulnerable times, such as overnight. Adding floating plants, like water hyacinths, can also provide cover for your fish.
Yes, but make sure to use a clean, non-toxic substrate like aquarium-grade sand or gravel. If Monterey Sand is unavailable, play sand or pea gravel from a hardware store can be alternatives, as long as you rinse it thoroughly to remove dust before adding it to the pond.
Regular water changes (about 10–20% weekly) and a good filter system, like an aquaponics setup, will keep your water clean. Adding beneficial bacteria can help establish a nitrogen cycle to manage waste. Additionally, pond plants will naturally filter the water by absorbing nutrients from fish waste.
Use a planter placed on the edge of your pond. Drill small drainage holes in the planter, add aquaponics grow media (like clay pebbles), and set up a pump to circulate water. The water passes through the plants, which filter it before it returns to the pond. This builds a self-sustaining ecosystem that benefits both fish and plants.
It's possible, but make sure to choose plants that can tolerate the outdoor climate in your area. For colder climates, hardy plants like water lilies, papyrus, and sword plants work well. In warmer regions, tropical plants such as lotus may thrive, but you may need to overwinter them indoors during colder months.
If the pump clogs frequently, it's likely due to plant debris or algae buildup. Clean the pump regularly and consider adding a pre-filter or a net around the intake to catch larger particles. Regular trimming of plants and removing dead leaves will also reduce clogging.
Yes, leafy greens like kale, lettuce, and spinach grow well in aquaponics systems. Just ensure that the water flow is balanced, as some vegetables like zucchini may struggle with too much moisture around the stem. A trellis can help support climbing plants like cucumbers or beans.
Fish in outdoor ponds are generally able to adapt to temperature changes if there is enough depth for them to swim to cooler areas. You can add floating plants or artificial shade to reduce heat exposure. Fish like Medaka and goldfish are particularly hardy in fluctuating temperatures.


