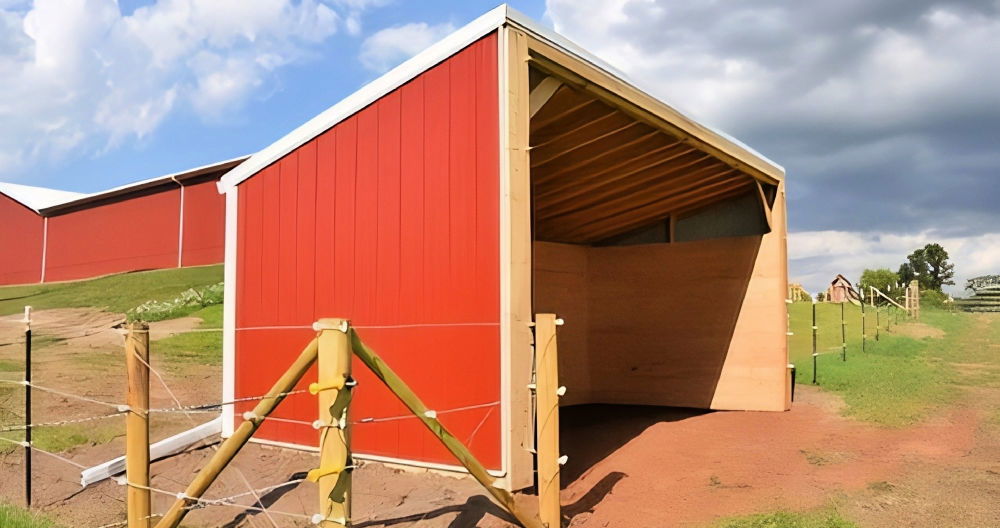
Building a simple DIY paver walkway is an excellent way to enhance your outdoor space while keeping costs low. This project is manageable and provides a satisfying and functional result. You'll need pavers, sand, and some basic tools. Start by planning your pathway layout and calculating the materials needed. This initial step ensures that you have everything ready before you begin the actual groundwork.
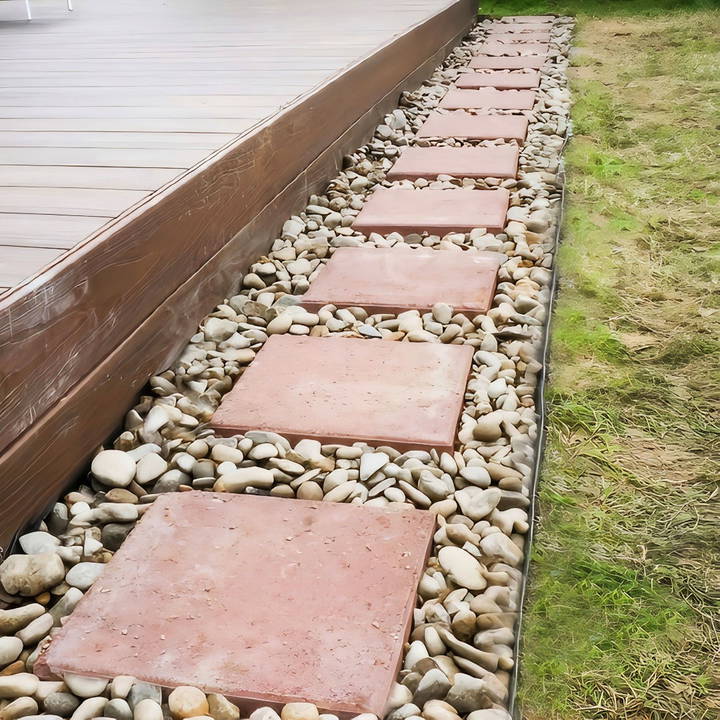
Learning how to lay pavers for a walkway is straightforward, with clear instructions. First, dig out the path area, making it wide enough for the pavers and some additional space. Next, add a layer of sand, leveling it out. Then, begin placing the pavers, ensuring they fit snugly against each other with minimal gaps. Once all pavers are placed, fill the gaps with more sand to stabilize them.
Continue reading to explore detailed steps and tips to ensure your paver walkway project is smooth and successful.
Materials You'll Need
Before diving into the step-by-step process, let's talk about the materials you'll need and why they're essential.
- Pavers (11.5" x 11.5" squares): These will be the main feature of your walkway.
- Steel Pegs or Markers: For accurate measurements.
- String: To help mark the path.
- Spray Paint: For marking the outlines (fluorescent paint is ideal).
- Spade Shovel: To dig out the pathway and build straight edges.
- Bow Rake: For leveling soil and paver base.
- Tamper Tool (8x8 weighted): To compact the base layer.
- Weed Mat: To prevent weed growth.
- Edger: For clean, precise edges.
- Paver Base and Paver Sand: To build a stable foundation.
- PVC Pipes or Galvanized Pipes: For leveling the sand.
- Rubber Mallet or 2x4 and Hammer: For ensuring the pavers are properly set.
- Pond Pebbles: To fill gaps and add the final touch.
Step by Step Instructions
Learn how to make your own paver walkway with our step-by-step instructions, from preparing the area to installing the pavers and finishing touches.
Step 1: Preparing the Area
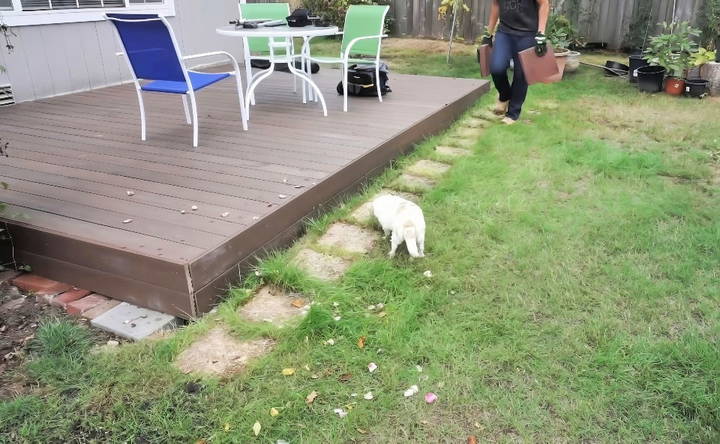
First, remove any existing pavers and clear the area. Measure 20 inches away from the deck or boundary. Use steel pegs or any markers to set this distance on each side. Run a piece of string between the markers to build a straight line.
Double Check Measurements
Ensure the string line is even and accurately measured across the whole area using your tape measure.
Step 2: Marking the Outline
If you have fluorescent paint, use it to mark the outline along the string line. This will guide your digging. In my case, I only had black spray paint, but it worked just fine.
Step 3: Digging the Pathway
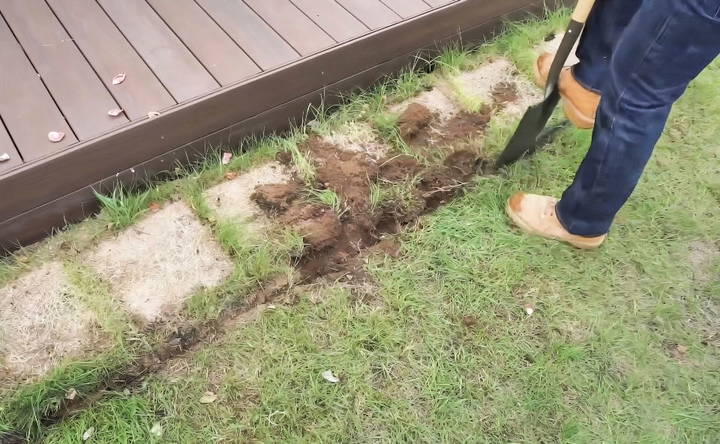
Using a spade shovel, start digging along the marked lines. Aim to dig about four inches deep. This is arguably the most labor-intensive part, so don't hesitate to ask for some help. I was thankful for my parents pitching in to help with the digging.
Clear and Level the Area
Once the digging is complete, use a bow rake to remove any remaining rocks and roots. The ground should be relatively level but doesn't have to be perfect just yet.
Step 4: Compacting the Base
Grab your tamper tool and start compacting the soil. This will ensure a solid foundation for your pavers. Alternatively, if you're working on a larger area, consider renting a plate compactor for more efficiency.
Step 5: Laying the Weed Mat
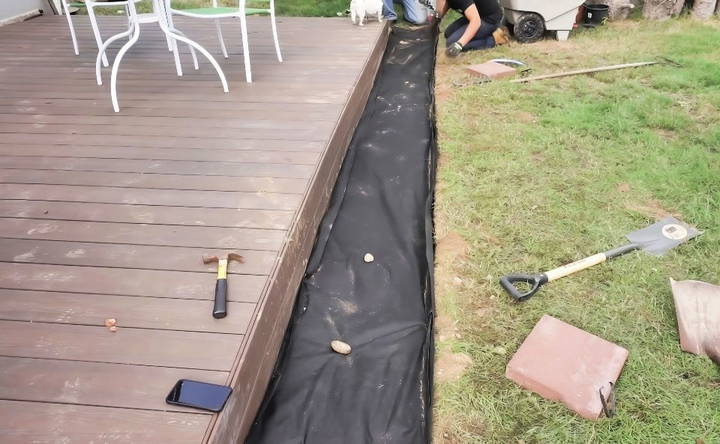
Unroll the weed mat over the entire dug-out area. This step will save you a lot of time in future maintenance by preventing weed growth between the pavers.
Secure the Edger
Place the edger along the boundaries of your path. Using steel pegs, secure it in place. If the ground is too tough, use larger nails to build initial holes, then insert the pegs.
Step 6: Adding the Paver Base
Pour paver base into the pathway area. I used eight bags for my project. Spread it out evenly using a bow rake, aiming for about one inch deep.
Step 7: Compacting the Paver Base
Compact the paver base using the tamper tool. This step ensures that your pavers have a sturdy, well-compacted surface to rest on.
Step 8: Laying the Paver Sand
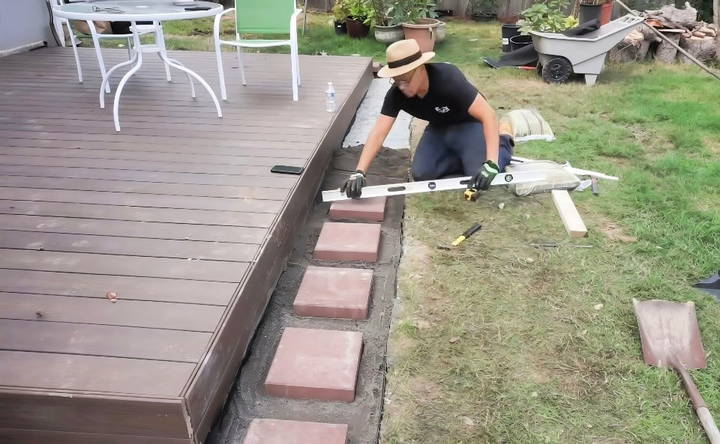
Now, lay down paver sand over the compacted base. This layer will help level out any minor imperfections. Position two PVC pipes (or galvanized pipes) parallel to each other on the sand and use a straight piece of wood (screed) to level the sand by dragging it along the pipes. This technique ensures an even layer.
Step 9: Installing the Pavers
Start placing the pavers according to your pattern. Ensure they are level and evenly spaced. For this, use a leveler and make adjustments by adding or removing sand as needed.
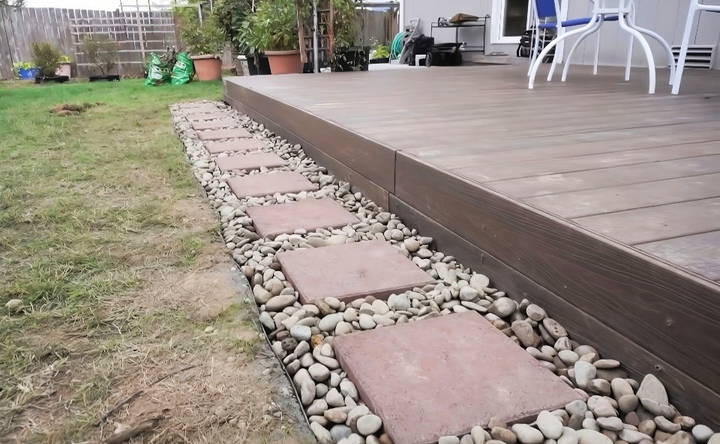
Step 10: Finishing Touches
After laying all the pavers, use pond pebbles to fill gaps and spaces between them. This not only locks the pavers in place but also adds an aesthetic touch.
Troubleshooting Common Issues
When making a DIY paver walkway, you might encounter a few common issues. Here's how to troubleshoot them effectively:
Pavers Shifting or Sinking
- Cause: Inadequate base preparation or poor drainage.
- Solution: Ensure a well-compacted base of gravel and sand. If the pavers have already shifted, remove them, re-compact the base, and level the sand before replacing the pavers.
Weeds Growing Between Pavers
- Cause: Seeds landing in the joints from above.
- Solution: Regularly sweep and clean the walkway. Consider using polymeric sand in the joints, which hardens and prevents weed growth.
Pavers Becoming Loose
- Cause: Erosion of joint sand or sub-base.
- Solution: Refill the joints with sand and compact. If the problem persists, check for water pooling and redirect the flow away from the walkway.
Stains on Pavers
- Cause: Spills, leaves, or other organic material.
- Solution: Clean spills promptly. For organic stains, use a cleaner designed for pavers, and consider sealing the pavers to prevent future stains.
Efflorescence (White Haze)
- Cause: Natural salts in the pavers coming to the surface.
- Solution: This is a natural process that usually goes away with time. You can also use a cleaner specifically for efflorescence.
Color Fading
- Cause: Exposure to sunlight and weather.
- Solution: Apply a UV-resistant sealer to protect the color of your pavers.
Pooling Water
- Cause: Improper slope or drainage.
- Solution: Ensure the walkway has a slight slope away from structures for proper drainage. If pooling occurs after installation, consider adding drains or regrading the area.
Regular upkeep keeps your paver walkway beautiful and functional. Clean it often and make minor repairs promptly to prevent bigger problems.
FAQs About DIY Paver Walkway
Get quick answers to common questions about DIY paver walkway projects, covering materials, installation tips, and maintenance advice.
The width of your walkway should be at least 36 inches to allow comfortable passage. If you want two people to walk side by side, consider making it 48 inches wide. For wheelchair access, ensure a width of 36 inches with a 60-inch-wide turnaround area.
Yes, ground preparation is crucial. You should:
Remove any grass or debris.
Level the ground and remove any large stones.
Lay down landscape fabric to prevent weeds.
Apply a base layer of crushed gravel and compact it.
Add a layer of paver sand and level it before placing your pavers.
You can lay pavers over concrete if the surface is solid and without large cracks. However, if the concrete is crumbling, you’ll need to repair it first. It’s also important to ensure the surface is flat to avoid uneven paver placement.
Maintaining your paver walkway involves:
Regularly sweeping to remove debris.
Rinsing with water to clean off dirt and stains.
Refilling joint sand as needed.
Applying a sealer every few years to protect against weather and stains.
To ensure your pavers are level and evenly spaced, follow these steps:
Start with a Flat Base: After laying down your gravel and sand, use a long 2x4 and a level to make sure the surface is flat.
Use Spacers: If your pavers don't come with built-in spacers, consider using small pieces of wood or metal as spacers to maintain even gaps.
Check Regularly: As you lay the pavers, place a level on top to check that they are flat. Adjust as necessary by adding or removing sand underneath.
Tap into Place: Use a rubber mallet to gently tap the pavers into the sand, ensuring they are snug against the spacers and level.
Fill the Gaps: Once all pavers are laid, fill the gaps with paver sand or polymeric sand, which hardens and locks the pavers in place.
Conclusion
And there you have it! Your very own DIY paver walkway, all done with a touch of elbow grease and a lot of satisfaction. I hope you found this guide helpful. Remember, the key is in the preparation and taking your time.


