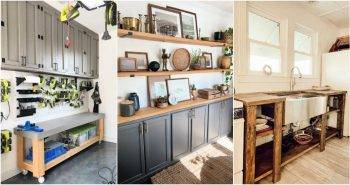
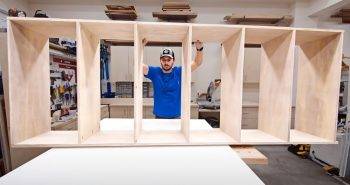
Starting my own DIY PC case was one of the best decisions I made. I remember staring at my old computer case and thinking I could make something better. With a few tools and some online guides, I was ready to start. It was a mix of fun and learning.
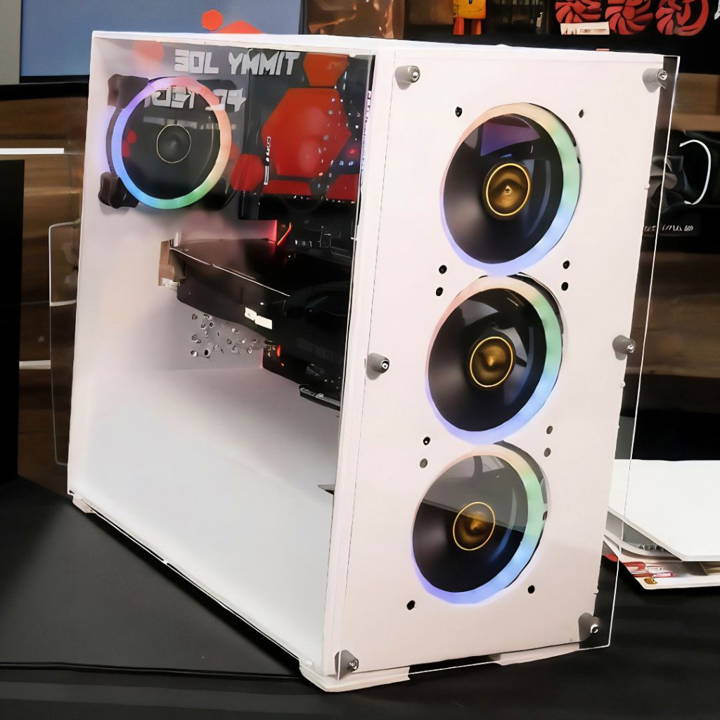
Making a DIY computer case isn't just about saving money. It's about having a case that fits your exact needs and style. It's not hard if you follow the steps carefully.
I hope this story motivates you to start making your own DIY PC case.
Gathering the Materials
Discover essential materials and their importance for the Preparation stage. Learn why each material is crucial for successful project completion.
Why Each Material is Crucial:
- Acrylic Sheets: The backbone of our project. Used for structure and aesthetics, it provides a transparent look that's both modern and functional.
- Foam Board: Available at any dollar store in various colors. It's lightweight yet sturdy enough to form the body of the case.
- Push Pins and Hot Glue: These will be your primary tools for assembling and securing everything in place. Push pins allow for easy adjustment during the mock-up phase, while hot glue ensures a firm hold.
- Exacto Knife: Essential for precision cutting of the foam board according to measurements.
- Screws and Standoffs: Necessary for mounting the motherboard and other components securely onto the foam board.
Preparation
Start by sketching out a rough design based on the dimensions of a PC case you admire or the components you plan to house. This not only aids in visualizing the final product but also ensures you cut materials accurately, minimizing waste.
Step by Step Instructions
Learn how to build your own pc case with our step-by-step guide! From cutting foam board to mounting components, get expert DIY tips now.
Building Process
Learn the building process: Cutting foam board, assembling the frame, securing with hot glue, adding acrylic sheets, and mounting components. Expert tips included.
Cutting the Foam Board
With your Exacto knife, carefully cut the foam board according to your design. Smooth, controlled cuts result in a cleaner look and a sturdier build.
Assembling the Frame
Begin piecing the foam board together using push pins for a temporary hold. This step allows you to adjust sizes and make corrections before final assembly.
Securing with Hot Glue
Once satisfied with the mock-up, disassemble the frame and reassemble it using hot glue for a permanent bond. Take care to align edges properly for a neat, professional look.
Adding the Acrylic Sheets
Cut the acrylic to fit the sides or front panel for a transparent window. This adds a high-end feel to the case and allows you to showcase the components inside.
Mounting the Components
Use screws and standoffs to mount the motherboard and other components. Ensure the power supply is properly secured and that there is ample space for air circulation.
Personal Insight
When I reached the component mounting stage, I realized the importance of careful planning for cable management and airflow. Initially, I had not accounted for the extra space needed for tidying cables, which led to a slight redesign. Learning from this, remember to factor in additional space for cables and consider the airflow path to prevent overheating.
Adding the Finishing Touches
Add the Finishing Touches: Expert tips on why attention to detail makes all the difference in achieving a flawless finish.
Attention to Detail Makes a Difference
- Front Panel and Airflow: Cut additional openings or integrate fans into the front panel for optimal airflow.
- Cable Management: Use cable ties or clips to organize wires neatly, enhancing both aesthetics and air circulation within the case.
- Customization: Personalize your case with paint, stickers, or LED lighting for a unique touch that reflects your personality.
Determination
What started as a challenging idea turned into a highly rewarding project, culminating in a functional and stylish PC case for less than $20. This endeavor not only tested my creativity and problem-solving skills but also demonstrated that with a little bit of ingenuity and effort, building a custom PC case on a budget is entirely feasible.
Customization Ideas for Your DIY PC Case
When it comes to building your own PC case, customization is where you can truly make it your own. Here are some ideas to inspire your creativity and help you build a PC case that stands out:
- Choose a Theme: Start by deciding on a theme that reflects your personality or interests. It could be anything from your favorite color scheme to a sci-fi or fantasy motif. This will guide your choices in materials, design elements, and additional features.
- Exterior Design: Consider painting your case in a unique color or using vinyl wraps for a custom look. You can also add LED strips or neon lights for a vibrant effect. If you're artistically inclined, hand-painted designs or decals can add a personal touch.
- Interior Layout: Plan the layout of your components carefully. Not only does this affect airflow and cooling, but it also determines how your build will look through a transparent side panel. Arrange components in a way that showcases them and consider custom mounts for a clean look.
- Functional Add-ons: Think about adding functional elements that enhance your experience. This could include a built-in display for system stats, custom fan grills for better airflow, or even a docking station for easy access to ports.
- Personalized Touches: Engrave your name or a special message on the case. Use 3D printing to build custom knobs, stands, or cable combs. These small details can make a big difference in the overall look and feel of your case.
- Modularity: Design your case with future upgrades in mind. Implement a modular design that allows you to easily swap out parts or expand storage without having to start from scratch.
- Eco-Friendly Materials: If sustainability is important to you, consider using recycled materials or designing your case to be energy-efficient with optimized airflow and LED lighting.
Enjoy your DIY PC case project! Let your imagination shine. Your PC case reflects you. Customize these ideas uniquely.
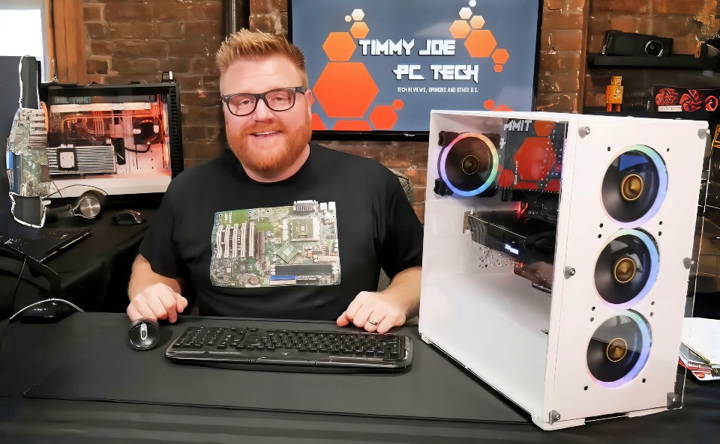
Troubleshooting Common Issues in DIY PC Case Projects
Building a DIY PC case can be a rewarding experience, but it's not without its challenges. Here are some common issues you might encounter and how to resolve them:
Misalignment of Components
- Solution: Measure twice, cut once. Before making any cuts or drilling holes, double-check all measurements. Use templates or jigs to ensure consistent placement.
Inadequate Cooling
- Solution: Good airflow is crucial. Make sure there's enough space for air to circulate around components. Plan for multiple air intake and exhaust points, and consider adding additional fans if necessary.
Excessive Noise
- Solution: Noise often comes from vibrations or high-speed fans. Use rubber grommets to dampen vibrations and opt for larger, slower-spinning fans to reduce noise.
Dust Accumulation
- Solution: Dust can impede airflow and cause overheating. Install dust filters at air intakes, and maintain a positive air pressure inside the case by having more intake than exhaust.
Electrical Short Circuits
- Solution: Always ensure that there's no contact between the motherboard or other components and the metal case. Use standoffs and insulating materials where needed.
Difficulty in Cable Management
- Solution: Plan your cable routes ahead of time. Use cable ties and clips to keep cables organized and out of the way of airflow.
Components Overheating
- Solution: Besides improving airflow, check that heat sinks and coolers are properly mounted and thermal paste is correctly applied.
Static Electricity
- Solution: Work on an anti-static mat and use an anti-static wrist strap to prevent damaging components.
Anticipate issues and know solutions to build a functional, attractive DIY PC case.
FAQs About DIY PC Case
Discover essential FAQs about DIY pc case builds, covering everything from tool requirements to cooling solutions for optimal performance.
Proper cooling is crucial for a DIY PC case. Make sure to include space for airflow and fans. Plan for intake and exhaust fans to build a flow of air that moves heat away from your components. You can also add fan filters to prevent dust buildup inside the case.
Yes, you can build a travel-friendly PC case. Focus on using lightweight materials and a streamlined design that protects your components while being easy to carry. Consider adding handles or designing the case to fit within standard luggage sizes for convenience.
The tools required will depend on the materials you choose. Generally, you’ll need basic hand tools like a screwdriver, drill, and saw. If you’re working with wood, you might need a jigsaw or wood blade. For metal or acrylic, you may need more specialized tools like a dremel or laser cutter.
Building your own PC case can be more cost-effective than buying a pre-made one, especially if you use recycled materials or items you already have at home. It also allows you to customize the case to your exact needs and preferences, potentially saving you money on features you don’t need.
When designing a DIY PC case, consider both functionality and aesthetics. Start by ensuring your design accommodates all your PC components comfortably. Then, think about airflow and cable management for functionality. For aesthetics, choose materials and colors that match your personal style. You can add LED lighting or custom paint jobs to make it visually appealing. Remember to plan for easy access to components for upgrades and repairs.
Final Thoughts:
With my experience, I can say it's fulfilling to build your own DIY computer case. It's not just a project but a learning adventure. You'll gain skills that go beyond building a PC. Get started now, and you'll see that these steps will help you.


