Making a DIY pencil holder really helped me keep my desk organized. I used simple materials like cardboard, glue, and some decorative paper. It was fun to make and didn't take much time. My desk is now tidy, and I can find my pencils easily.
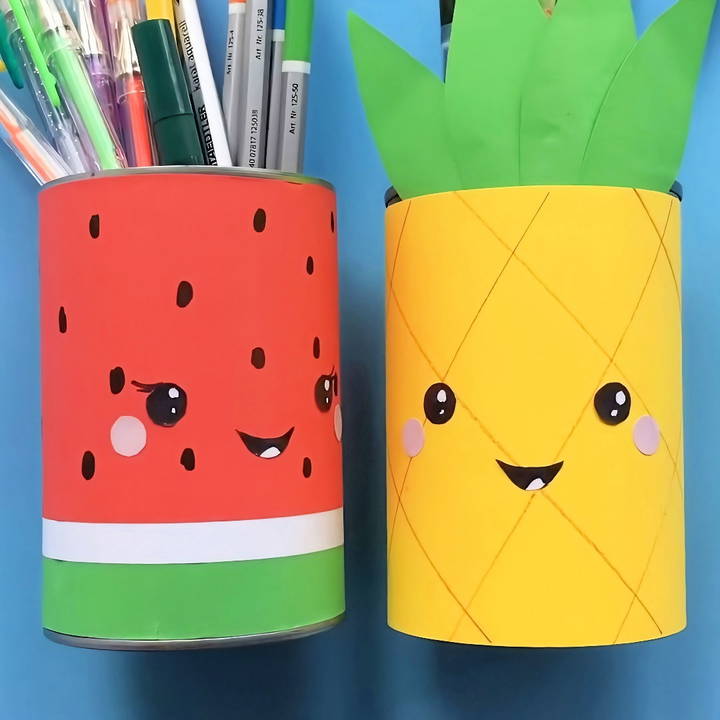
When I finished my DIY pencil organizer, I felt a great sense of accomplishment. Now, I always have a neat spot for my pens and pencils. I'm excited to share this useful project with you. These tips will help you make your own pencil holder and stay organized.
Let's get started with the tutorial below—you'll find everything you need!
Materials Needed and Their Purpose
- Empty Tin Can: An excellent way to recycle; the can serves as the base of our pencil holder.
- Red, White, and Green Paper: These colors mimic the melon's rind, flesh, and skin.
- Tape: Used to secure the paper around the can.
- Glue Stick: For affixing the paper details onto the can.
- Scissors: Necessary for cutting the paper to size.
- Black Pen: For drawing the melon seeds and cute faces.
- Ruler (optional): Helps ensure the paper fits the can precisely.
Step by Step Instructions
Learn how to make a DIY pencil holder with our easy, step-by-step instructions. Perfect for adding a kawaii touch to your desk.
Step 1: Preparing the Paper
I started by cutting a strip of white paper to serve as the 'flesh' layer of the melon. Wanting the green 'skin' part to be dominant, I cut a slightly narrower strip. These strips were remnants from a previous project, underscoring the joy of repurposing materials.
Step 2: Wrapping the Tin Can
Next was the green paper, symbolizing the melon's outer skin. It was thrilling to wrap the can, seeing it transform. I secured the paper with a small piece of tape at the back. It's essential to ensure your can is clean and dry before starting this step.
Pro Tip: Gently squeezing the paper around the can can help mark the right measurement before cutting, simplifying the process.
Step 3: Adding the Seeds
With the basic melon design in place, it was time to add character. Using a black pen, I joyfully dotted seeds across the red 'flesh'. This step was both easy and pivotal, truly bringing the melon to life.
Adding Personality with a Kawaii Face
Though optional, I chose to draw a 'kawaii' (cute) face on separate white paper, cut it out, and glue it to the can. This whimsical touch added a burst of personality and charm to the pencil holder.
Step 4: Final Assembly
Lastly, I wrapped and taped everything securely around the can. Ensuring the patterns aligned neatly was key to a polished look. Surprisingly, this was the most satisfying step—seeing the melon pencil holder come together felt like a true craft victory.
Pro Tip: Keep a second piece of tape handy for a smooth, uninterrupted wrapping process.
The Result
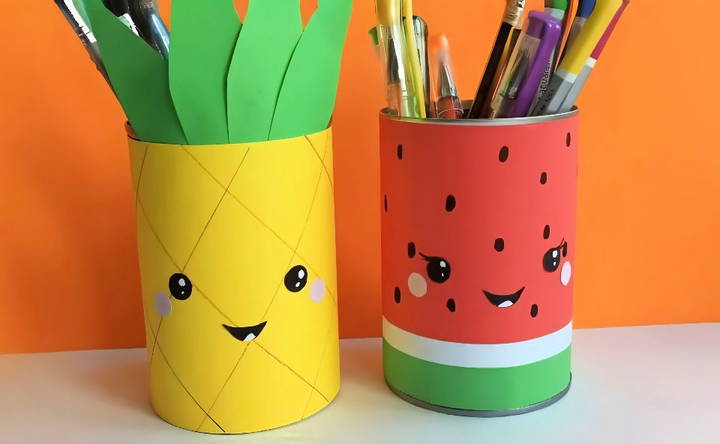
The melon pencil holder was a hit, not just with me but also with everyone who saw it. It added a delightful summer vibe to my desk, proving functional and decorative. Accompanied by its pineapple counterpart (a project for another day), it was a testament to the joy and simplicity of DIY.
Personalization Tips for Your DIY Pencil Holder
Making a DIY pencil holder is not just about crafting a functional item; it's also an opportunity to express your personality and style. Here are some tips to help you personalize your pencil holder:
- Choose Your Theme: Start by deciding on a theme that reflects your interests. Whether it's your favorite color, a season, a holiday, or a pattern, let this theme guide your choices in materials and design.
- Add a Splash of Color: Paint is a simple way to make your pencil holder stand out. Use acrylic paints for bold, solid colors or watercolors for a softer look. Consider using tape to make clean lines or stencils for intricate designs.
- Get Crafty with Decoupage: Decoupage is a fantastic way to add visual interest. Cut out images from magazines, wrapping paper, or fabric and glue them onto your holder. Seal it with a clear varnish for a smooth finish.
- Embellish with Accessories: Personalize with embellishments like ribbons, buttons, beads, or washi tape. These small details can add texture and character to your pencil holder.
- Inscribe It: Make it truly yours by adding your name, initials, or a meaningful quote with paint markers or a wood-burning tool.
- Upcycle with Purpose: Use materials that have personal significance. A jar from a memorable meal or a piece of wood from an old piece of furniture can add a story to your holder.
- Functionality Meets Style: Consider how you'll use your pencil holder. If you need to transport it, add a handle or make it fit inside your bag. If it's staying on a desk, add non-slip feet or compartments for organization.
- Eco-Friendly Touch: If sustainability is important to you, use recycled materials and non-toxic paints. Showcasing eco-friendly practices can inspire others to think green.
- Involve Others: Personalizing can be a shared activity. Invite friends or family to decorate their own holders alongside you. It's a fun way to bond and see how everyone's creativity shines.
By following these tips, you'll not only make a pencil holder that's functional but also a reflection of who you are. The most important thing is to have fun and let your creativity flow!
Maintenance and Care for Your DIY Pencil Holder
Taking care of your DIY pencil holder is essential to ensure it remains a beautiful and functional part of your workspace for years to come. Here are some straightforward tips to maintain and care for your pencil holder:
- Regular Cleaning: Dust and dirt can accumulate on your pencil holder. Wipe it down with a soft, dry cloth regularly. If it's made of a washable material, a damp cloth can remove stains or spills.
- Avoid Water Damage: If your pencil holder isn't waterproof, keep it away from liquids. Water can warp wood and cause mold in porous materials. If it gets wet, dry it thoroughly.
- Handle with Care: Even if your pencil holder seems sturdy, handle it gently. Avoid dropping it or placing heavy objects on top, which could cause cracks or other damage.
- Repair Promptly: If your pencil holder gets chipped or broken, fix it as soon as possible. Glue can repair small breaks, while larger issues might require more work. Addressing problems quickly can prevent further damage.
- Protect from Sunlight: Direct sunlight can fade colors and weaken materials over time. Place your pencil holder in a spot where it's not exposed to harsh sunlight for extended periods.
- Update as Needed: Over time, you might want to change the look of your pencil holder. Don't be afraid to repaint, add new decorations, or adjust its design to match your evolving style.
- Keep It Organized: A cluttered pencil holder can become a source of stress. Regularly sort through its contents, removing anything that doesn't belong or is no longer needed.
- Safe Storage: If you're not using your pencil holder, store it in a safe place. A storage box or a shelf away from high traffic areas can protect it from accidental damage.
Follow these care instructions, and your DIY pencil holder will stay charming and useful on your desk.
FAQs About DIY Pencil Holder
Discover everything about DIY pencil holder FAQs. Learn tips, materials, and creative ideas to craft your perfect pencil organizer.
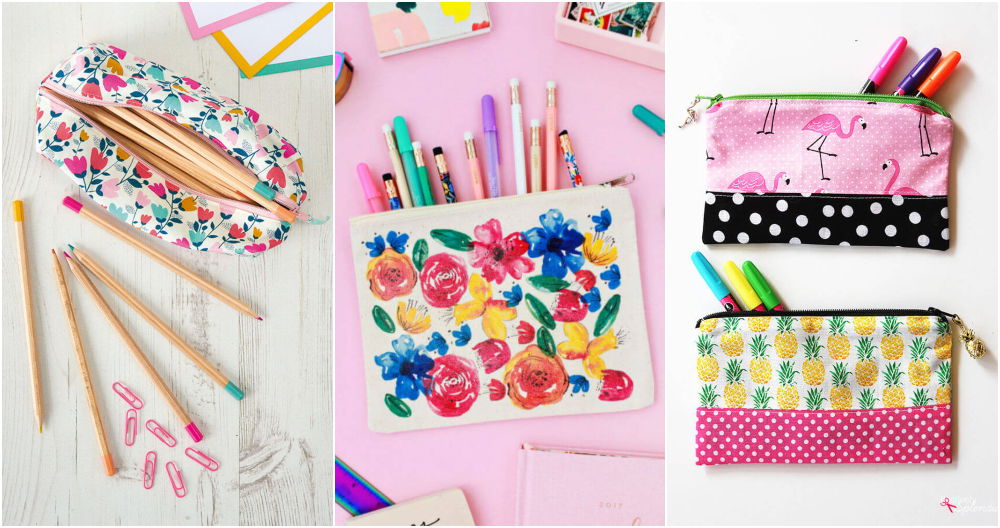
Involving children in making a DIY pencil holder is a great way to foster creativity. Choose simple designs like a caterpillar made from toilet paper rolls or a jar decorated with colorful paper. Ensure the steps are easy to follow and that any cutting or gluing is done under adult supervision. It’s a fun and educational activity that can be enjoyed by the whole family.
When making a DIY pencil holder, it's best to avoid materials that are too brittle or will deteriorate quickly, such as thin plastic or paper that isn't durable. Also, stay away from anything that could be a safety hazard, like sharp metal edges or small items that could be a choking risk for young children.
Absolutely! For a more professional look, consider using materials like leather, metal, or high-quality wood. A rustic wooden pencil holder or a sleek design using a repurposed glass jar can add a touch of sophistication to your office space. Keep the design simple and elegant for the best results.
There are countless creative designs you can try. For a playful look, make a pencil holder shaped like a cartoon character or animal. If you prefer something more stylish, a boho-themed holder made with jute rope or a minimalist design using cork can be very appealing. Explore various textures and colors to find a design that reflects your personality and suits your space.
Making a pencil holder from recycled materials is both eco-friendly and cost-effective. You can use old cans, jars, or cardboard tubes as the base. Clean them thoroughly and remove any labels. For decorating, you can wrap them in leftover fabric, paper, or even old maps for a unique look. Secure the materials with glue or double-sided tape. Not only does this give a new life to items that might otherwise be discarded, but it also adds a personal touch to your workspace.
Concluding Thoughts
Making your own DIY pencil holder is not only fulfilling but also super handy. Give it a try and see how it helps keep your things in order!


