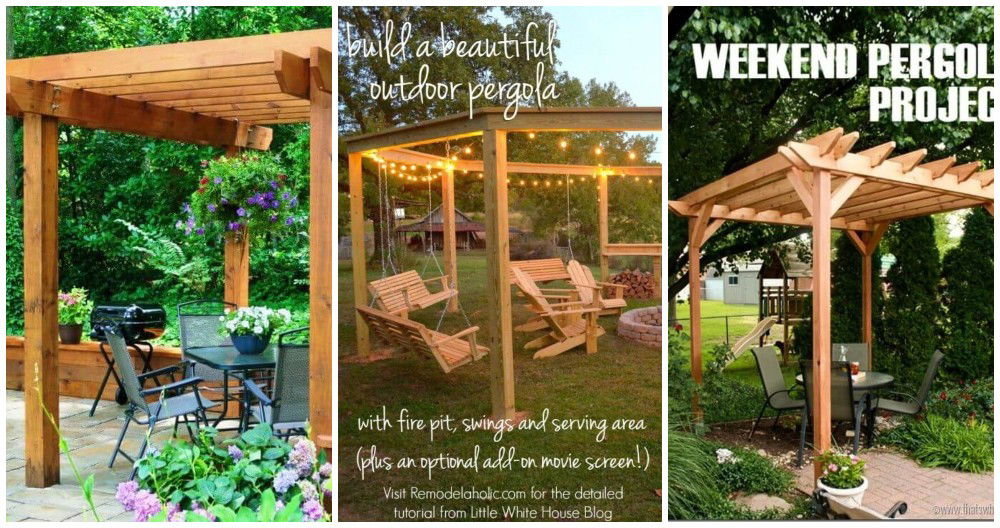
I never imagined that the giant 16x25 ft patio slab I proudly completed last week was just the beginning. The real challenge lay ahead – constructing a massive pergola to crown it. This project was daunting, not just because of its scale but because I was undertaking it solo. Here's my detailed journey, hoping it helps you navigate through yours.
Planning and Preparation
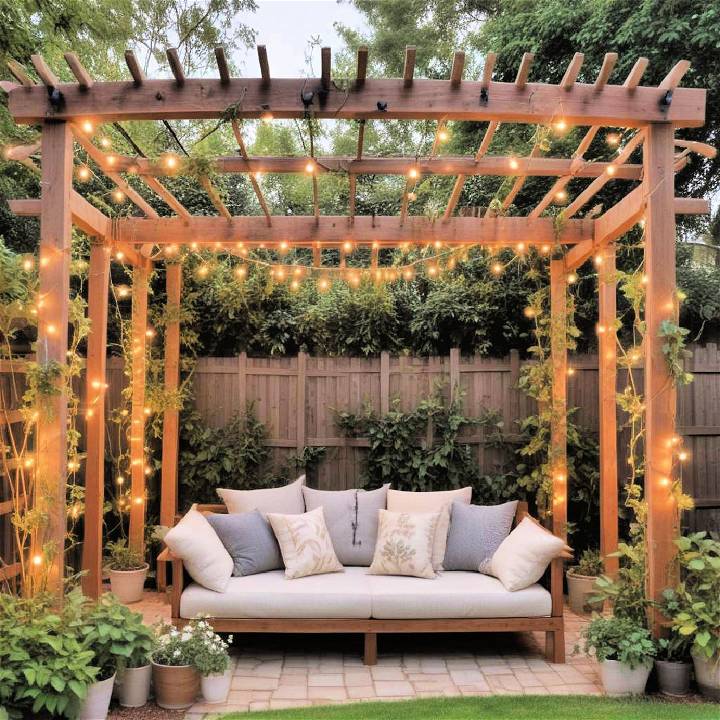
When I initially envisioned the pergola, size was my primary consideration. It had to be substantial to complement the patio, so I settled on dimensions of 12ft by 20ft. The first step involved removing some patio pavers to make room for the pergola's footings.
Materials Needed and Why
- Concrete Forms and Gravel: Essential for making stable footings that go below the frost line to prevent shifting during freeze-thaw cycles.
- Post Digger (Augur): Significantly eases the process of digging holes for the footings.
- 4x6 Posts and 2x10 Beams: Provides the structural backbone of the pergola.
- 2x6 Cross Beams and 2x4 Slats: For the top layer, adding aesthetic appeal and partial shade.
- Hardware (Screws, Anchors, Braces): Ensures the pergola's stability and durability.
Step-by-Step Process
Learn how to build a DIY pergola step-by-step: marking footing locations, digging footings, setting concrete forms, erecting posts, adding beams, installing cross beams, and finishing touches.
1. Marking Footing Locations
I meticulously measured and marked where each footing would go, ensuring alignment with the pergola's design. This step required precision as accurate spacing is crucial for structural integrity.
2. Digging Footings
With my post digger in hand, I embarked on the task of digging. Each hole had to be deeper than the frost line, a good couple of feet down. The effort was taxing but necessary for a sturdy foundation.
3. Setting Concrete Forms
After positioning the concrete forms, I filled them with a mixture of concrete and gravel. The gravel at the bottom ensured good drainage while the concrete offered the solid base my wooden posts would need.
4. Erecting the Posts
The 4x6 posts were the next to go in. Getting them perfectly upright and aligned was a challenge that required patience and a lot of level checking. I used temporary bracing to keep them upright.
5. Adding the Beams
The 2x10 beams connected the posts. Precision cuts were required to ensure they fit perfectly. Securing them with weather-resistant hardware was crucial, given they form the primary support structure.
6. Installing the Cross Beams
With the structure stable, the 2x6 cross beams were next. Spacing them evenly was key to achieving both a visually pleasing and functional top layer.
7. Finishing Touches
The final layer involved 2x4 slats, providing shade and added aesthetic appeal. Each slat was miter cut at the ends for a more finished look and then fastened securely to the cross beams.
Challenges Faced
- Working Alone: The biggest challenge was the sheer physical demand. Lifting heavy posts and beams without assistance was daunting.
- Measurement Mistakes: A minor error in footing placement could have derailed the project. Double-checking measurements was time-consuming but essential.
- Weather Constraints: Working outdoors meant being at the mercy of the weather, which could hinder progress on any given day.
Key Takeaways
- Preparation is Key: Having all materials and tools ready before starting saved invaluable time.
- Patience Pays Off: Rushing through steps, especially when working alone, could lead to mistakes. Taking it one step at a time ensured a better outcome.
- Safety First: Despite the urge to push through fatigue, recognizing when to take breaks was vital to avoid injuries.
Advanced Features and Technology in Pergola Design
Building a modern DIY pergola involves more than just aesthetics; it's about integrating functionality with cutting-edge technology. This section will guide you through the latest advancements that can transform your pergola into a smart, adaptable, and eco-friendly outdoor space.
Automated Retractable Roofs
Imagine a pergola that adjusts itself according to the weather. Automated retractable roofs do just that. Built-in sensors can open to let in sunshine or close during rain, providing comfort without any manual effort.
Smart Lighting and Climate Control
Enhance your evenings with smart lighting systems that can be controlled via mobile apps. Add climate control features like infrared heaters or cooling mist sprays to enjoy your pergola year-round, regardless of the temperature outside.
Eco-Friendly Solar Panels
Incorporating solar panels into your pergola's design isn't just good for the environment; it's also cost-effective. These panels can power your pergola's features, reducing your reliance on the grid and lowering energy bills.
High-Tech Entertainment
For those who love to entertain, integrate built-in speakers and USB ports to build the ultimate entertainment area. Host movie nights or stream music for a party, all from the comfort of your pergola.
Weather-Responsive Systems
With the latest technology, pergolas can now have weather-responsive systems. They can automatically adjust louvers, activate rain sensors, and even retract awnings in strong winds, ensuring your pergola is always in the perfect position.
Smart Home Integration
Connect your pergola with your home's smart system. Control lights, music, and roof settings with voice commands or through your smartphone for a seamless outdoor experience.
By embracing these technologies, your pergola becomes more than just a structure; it becomes a smart extension of your home. These features not only provide convenience and comfort but also add value to your property.
DIY Pergola: Essential Questions Answered
Building a pergola can be a rewarding project that enhances your outdoor space. To help you get started, here are answers to some frequently asked questions presented in a clear and straightforward manner.
Can I build a pergola on my own?
Yes, with the right tools and a clear set of instructions, building a pergola can be a manageable project for a DIY enthusiast. It's important to plan, measure accurately, and follow safety guidelines throughout the construction process.
How do I choose the right location for my pergola?
Select a level area in your garden that receives the desired amount of sunlight and shade. Consider the proximity to your house and other structures, as well as the overall aesthetic and function you want to achieve.
What materials will I need for a pergola?
Typically, you'll need posts, beams, rafters, and lattice. Choose materials like pressure-treated wood, cedar, or vinyl for durability and resistance to weather. Hardware should be rust-resistant, such as stainless steel or galvanized metal.
How do I ensure my pergola is stable?
Secure the structure by setting the posts in concrete and using sturdy hardware to connect the beams and rafters. For added stability, you can anchor the pergola to an existing deck or concrete patio.
Can I customize my pergola?
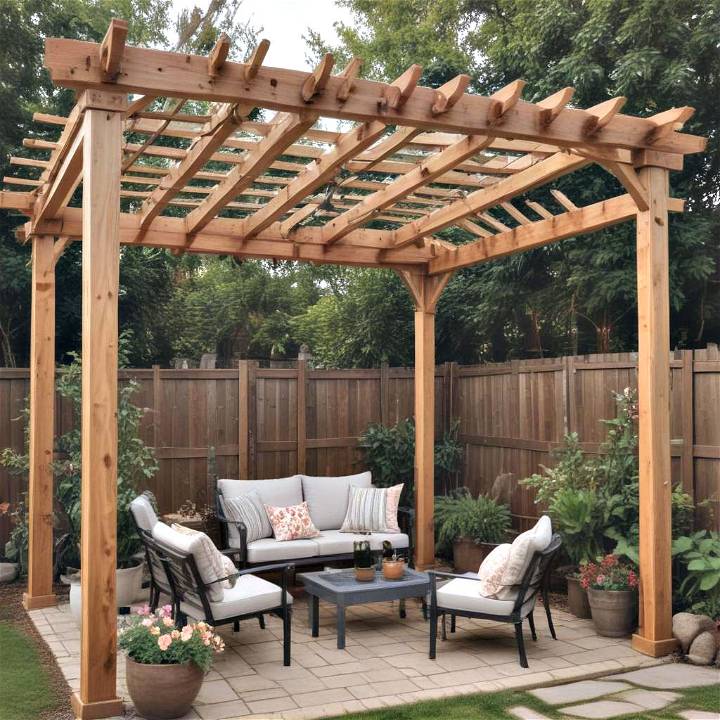
Absolutely! You can add a personal touch to your pergola with various design elements such as decorative cuts on the beams, climbing plants, string lights, or even a swing. Customization allows your pergola to reflect your style and meet your specific needs.
By addressing these common concerns, you'll be better prepared to tackle your DIY pergola project with confidence.
Conclusion
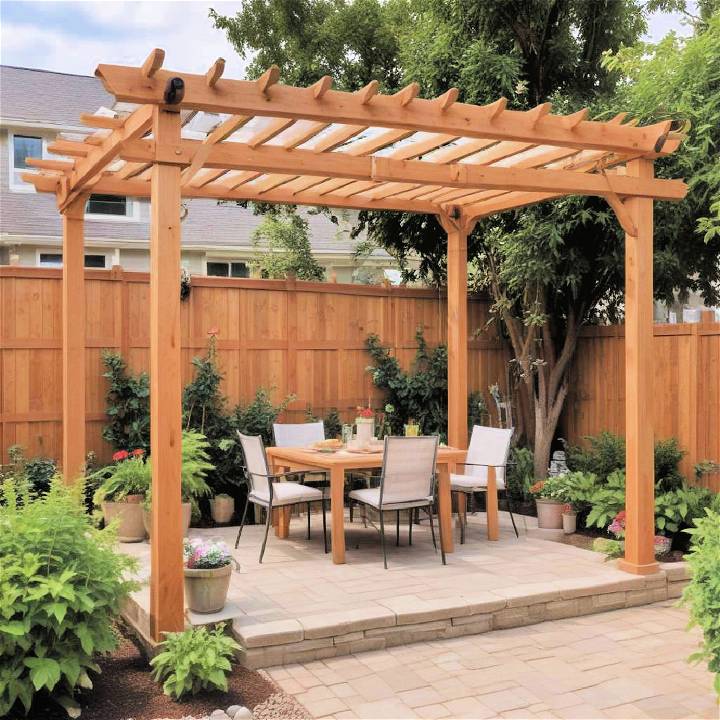
As I stepped back to admire the completed DIY pergola, a sense of pride washed over me. It was not just about completing the project; it was about overcoming the challenges it posed. For those considering a similar endeavor, know that while it's a significant undertaking, with the right preparation and mindset, it's definitely achievable. Remember, every cut, every screw, and every drop of sweat brings you closer to seeing your vision come to life.


