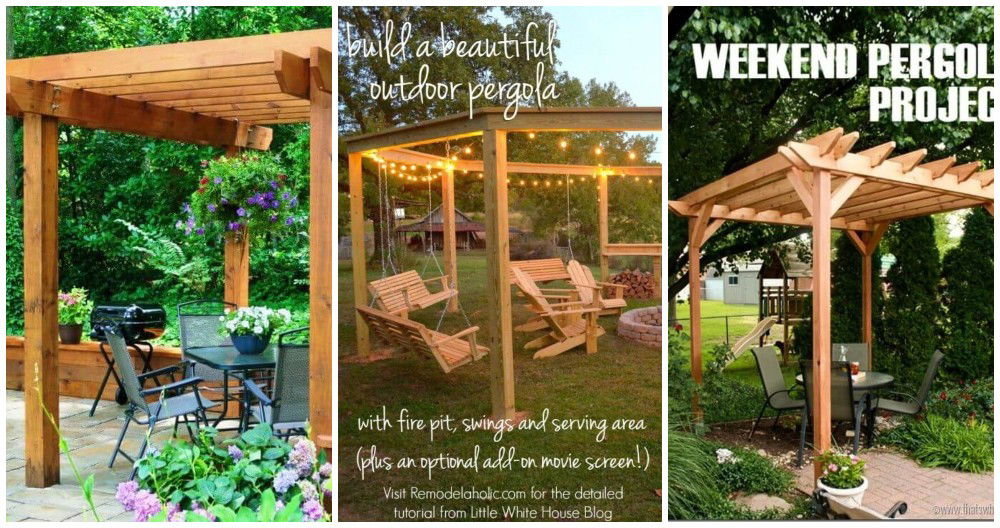
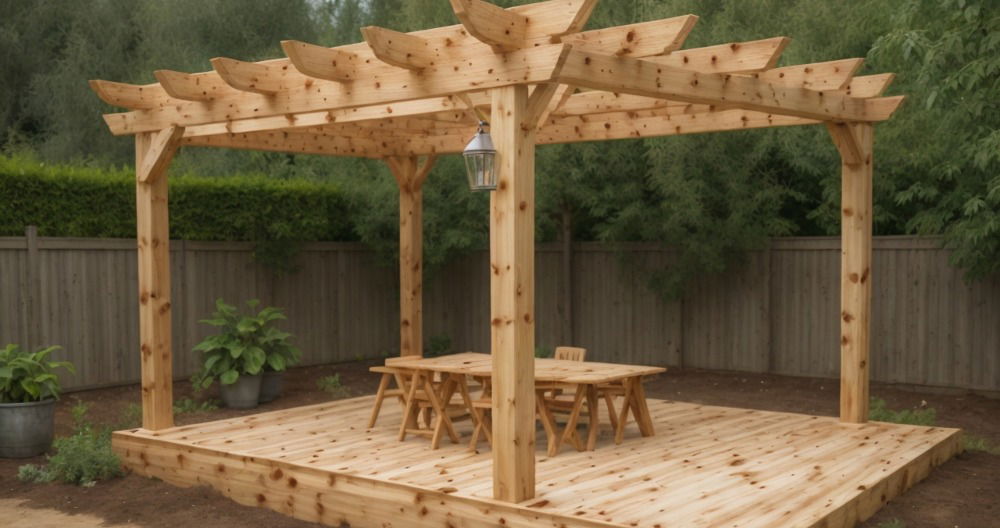
I always dreamed of having a cozy space in my backyard. My friend suggested I build a DIY pergola with a roof. It took some planning, but I knew this project would be worth it. I gathered all the materials and started working step-by-step.
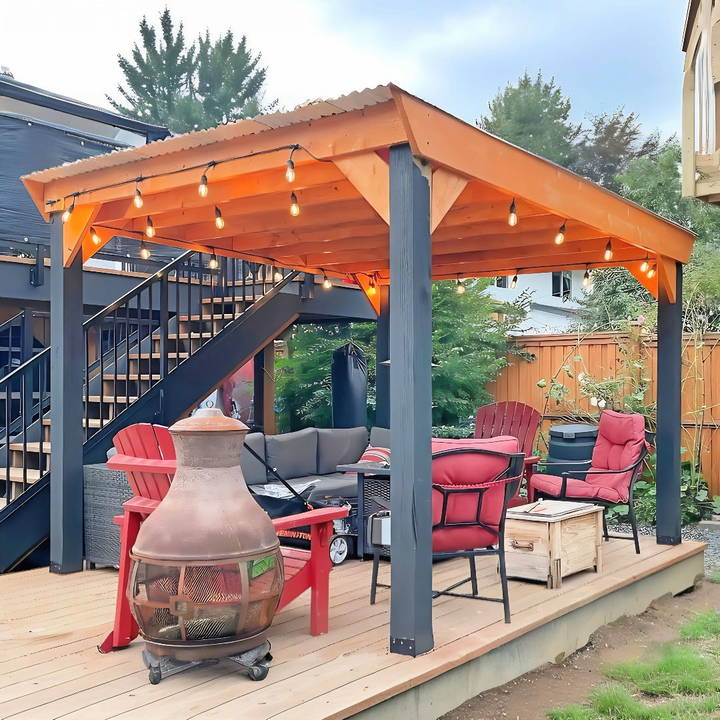
Following simple instructions, building the pergola was easier than I expected. The roof added extra comfort and protection from the sun. I enjoyed making a space where I could relax and spend time with my family. This guide will help you make your own beautiful outdoor retreat.
Building your own pergola with a roof is a rewarding project. I believe these instructions will guide you successfully. Let's get started!
Materials Needed and Why
Build a sturdy structure with wood, concrete post anchors, plastic corrugated roof, screws, lag bolts, and essential tools. Learn about materials needed and why.
Wood
The backbone of our gazebo. I used 6x6 posts for robust vertical support, complemented by 2x10s and 2x8s for the horizontal and roof structure. Wood provides natural beauty and durability, crucial for an outdoor living space.
Concrete Post Anchors
A non-destructive choice to secure the gazebo. These ensure stability without the need to cut into your deck, preserving its integrity.
Plastic Corrugated Roof
Provides coverage and protection from rain. We opted for transparent panels for natural light filtering.
Screws and Lag Bolts
Essential for assembling and securing the structure. The variety in sizes ensured each part of the gazebo was properly fastened, emphasizing safety and stability.
Tools Required
- Drill and Impact Driver: For holes and driving screws.
- Saw: To cut wood and trim edges for a perfect fit.
- Level: Essential to make sure the structure stands upright and true.
- Clamps: To hold beams in place temporarily as you work.
Step by Step Instructions
Learn how to make a DIY pergola with a roof. Follow step-by-step instructions from site prep to final touches. Build your perfect pergola easily!
Prepping the Site
Initial preparations involve measuring and planning the layout. I aimed for a 10x10 feet structure but adjusted to 11 feet to align with the deck joists, ensuring stability. The careful measurement is critical to a successful build.
Installing Concrete Post Anchors
I drilled holes in the deck and positioned the anchors over the joists. This provides a sturdy base. It was a balancing act to ensure these anchors did not interfere with the existing deck structure.
Setting the Posts
After cutting the posts to the desired height and ensuring a good fit into the post anchors, I temporarily fixed them with smaller screws. Ensuring the posts were as level as possible at this stage saved headaches later on.
Attaching Horizontal Beams
The main beams (2x10s) were secured to the posts, and it was here the structure began to take shape. Precision and patience were key—ensuring the beams were level and flush with the posts.
Roof Joists and Support
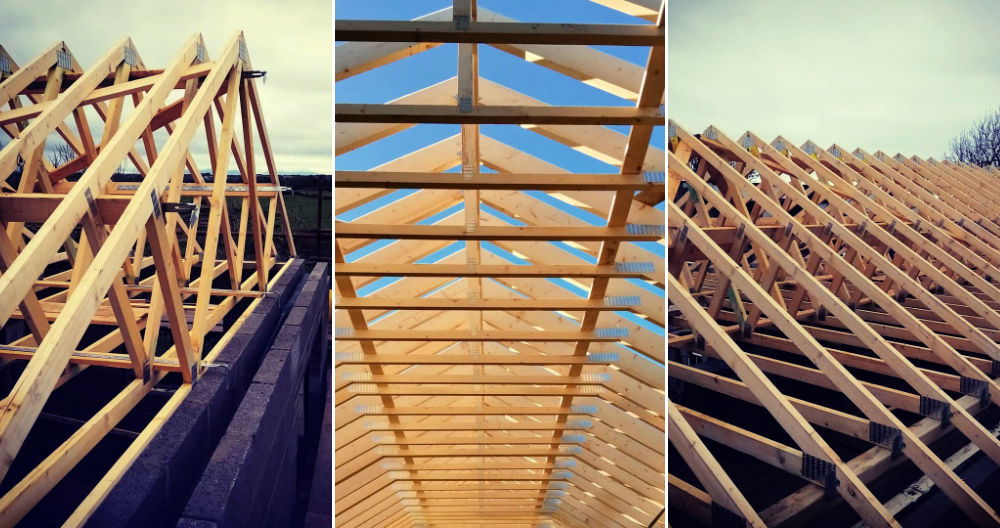
After adding the four sides, I installed 2x8s as roof joists. Spacing them evenly is crucial for supporting the corrugated roof panels. Cutting them at a slight angle not only provided an aesthetic touch but also ensured proper fit and finish.
Roofing Installation
Laying the corrugated panels was the most challenging yet rewarding part. Ensuring an overlap between panels for water tightness required a meticulous approach. The panels were fixed using screws with rubber gaskets to prevent leaks.
Finishing Touches
With the structure up and the roof secure, it was time for visual and functional touches. Staining the wood not only enhanced its appearance but provided additional protection against the elements.
Personal Insights and Advice
Discover essential personal insights and advice on planning, flexibility, safety, and enjoying the process for a fulfilling journey. Explore these key principles today!
The Importance of Planning
An absolute must. Detailed planning helped me anticipate and mitigate challenges, ensuring a smoother build process.
Flexibility
Be prepared to adapt. Not everything goes to plan, and modifications may be necessary, especially when working around existing structures like my deck.
Safety First
Always prioritize safety, both in the use of tools and in ensuring the structural integrity of the build. Wear appropriate protective gear and double-check measurements and fittings.
Enjoy the Process
Although challenging, building this gazebo was incredibly rewarding. It's a testament to the beauty and satisfaction of DIY projects, providing not just a functional space but also a sense of accomplishment.
Customization Ideas for Your DIY Pergola
Building a pergola that reflects your personal style and meets your outdoor living needs is all about customization. Here are some ideas to inspire you:
Choose a Theme
Start by deciding on a theme that resonates with your taste. Whether it's Mediterranean tranquility or modern minimalism, let your theme guide your choices in materials and decor.
Selecting Materials
For a natural look, consider cedar or redwood, which are both durable and visually appealing. If you prefer a low-maintenance option, vinyl or aluminum might be the right choice for you.
Roofing Styles
The roof of your pergola can vary from traditional slats to modern polycarbonate panels that offer protection from rain while still letting in light. Retractable canopies provide flexibility for any weather condition.
Lighting
String lights add a cozy ambiance for evening gatherings. Solar-powered lights are an eco-friendly option that can highlight your pergola's features without adding to your electricity bill.
Climbing Plants
Integrate nature into your structure with climbing plants like ivy, wisteria, or grapevines. They provide shade, privacy, and a touch of greenery.
Furniture and Accessories
Choose furniture that complements your pergola's style and your comfort needs. Add cushions for extra comfort and throw blankets for chilly nights.
Personal Touches
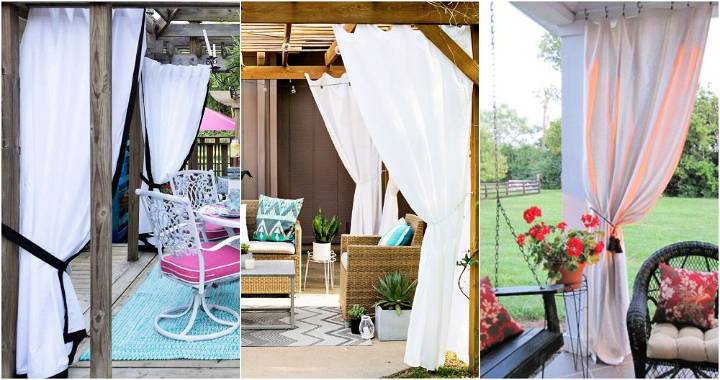
Hang art or mirrors on the sturdy walls of your pergola for a homely feel. Wind chimes or a hanging swing can add a playful element to the space.
Transform your pergola into a personal retreat for relaxation or guests. Make it an extension of your home, reflecting your style and lifestyle.
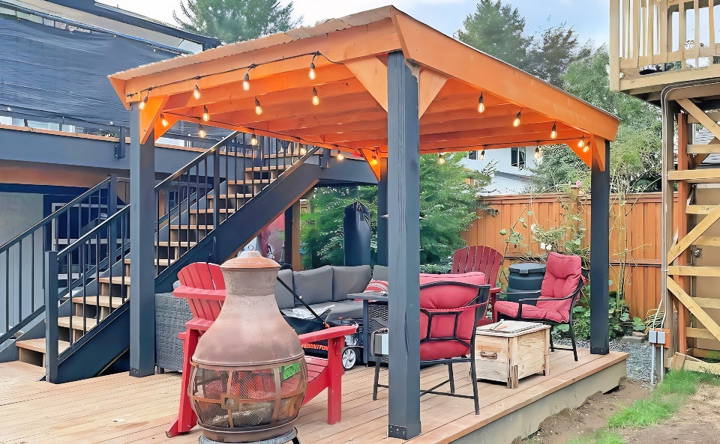
Roofing Options for Your DIY Pergola
When it comes to selecting a roof for your DIY pergola, it's important to consider both functionality and style. Here are some of the latest roofing options that are popular among homeowners:
Polycarbonate Panels
Polycarbonate panels are a great choice if you're looking for something that is both durable and lets in light. They are strong, lightweight, and can protect you from the sun's UV rays while still allowing sunlight to brighten your space.
Adjustable Louver Roofs
For those who want more control over their outdoor environment, adjustable louver roofs are an excellent option. You can adjust the slats to control sunlight and ventilation, making it perfect for any weather.
Waterproof Shade Sails
Waterproof shade sails are a stylish and modern choice that can protect you from rain. They are easy to install and can add a unique look to your pergola.
Metal Roofs
If you're looking for a long-lasting and sturdy option, metal roofs might be the way to go. They can withstand harsh weather conditions and come in various colors and styles.
Wood Roofs
For a more traditional or rustic look, wood roofs can be a beautiful addition to your pergola. They require more maintenance but offer a classic charm that is hard to beat.
Laminated Glass Roofs
Laminated glass roofs offer a sleek and modern look while providing protection from the elements. They are also great for letting in natural light without the heat of the sun.
Thatched Roofs
For a tropical vibe, thatched roofs can give your pergola a resort-like feel. They are best suited for drier climates and can add a unique aesthetic to your garden.
Your pergola's best roofing option depends on your preferences, local climate, and outdoor design. Choose wisely for a functional and attractive addition.
Troubleshooting Common Pergola Construction Issues
Building a pergola can be a rewarding DIY project, but it's not without its challenges. Here are some common issues you might encounter and how to solve them:
Unstable Structure
If your pergola wobbles or feels unstable, it may be due to inadequate anchoring or insufficient support.
- Solution: Ensure that all posts are securely anchored into the ground with concrete and that the footing depth is appropriate for your soil type. Use braces during construction to keep the structure stable until it's fully assembled.
Wood Rot or Insect Damage
Wooden pergolas can suffer from rot or insect damage over time, especially if the wood isn't treated properly.
- Solution: Choose pressure-treated wood or naturally rot-resistant species like cedar. Regularly inspect your pergola for signs of damage and treat any affected areas promptly to prevent further deterioration.
Misaligned Components
Components that don't line up correctly can lead to a pergola that looks off-balance and may not be structurally sound.
- Solution: Double-check measurements before cutting and assembling parts. Use a level and plumb line during installation to ensure everything is straight and square.
Difficulty Attaching to a House
Attaching a pergola to your home requires careful planning to avoid damage to your house's exterior.
- Solution: Use ledger boards and flashing to build a watertight seal where the pergola meets the house. Consult with a professional if you're unsure about this process to prevent water damage.
Overexposure to Elements
A pergola without proper roofing can leave you exposed to sun and rain, reducing its usability.
- Solution: Consider adding a retractable canopy or installing polycarbonate panels for protection from the elements while still enjoying natural light.
Lack of Tools or Expertise
Some steps in pergola construction might require tools or skills that you don't have.
- Solution: Don't hesitate to rent tools or hire a professional for specific tasks. It's better to ensure the job is done right than to risk a poorly built structure.
Anticipating issues and knowing how to fix them prepares you for your pergola project. Careful planning and detail are key to building a lasting pergola.
FAQs About DIY Pergola with Roof
Get answers to common questions about building a DIY pergola with a roof. Discover tips, materials, and techniques for your perfect backyard project.
Select a location that provides the desired amount of sun and shade, considering the path of the sun throughout the day. Ensure the site is level and away from underground utilities. Consider proximity to your home if you want easy access or prefer a more secluded spot in your garden.
Yes, you can attach a pergola to your house to build a seamless transition between indoor and outdoor spaces. However, you must ensure proper attachment techniques to avoid damage to your home’s exterior and ensure the pergola’s stability. It’s advisable to consult with a professional or refer to local building codes for guidance.
The best type of roof for a pergola depends on your personal preference and weather conditions in your area. Polycarbonate panels are durable, provide UV protection, and allow natural light through. Alternatively, a fabric canopy can offer a softer look and is easier to install and replace.
Maintenance will depend on the materials used. Wood structures should be inspected annually for signs of wear and treated for weather resistance. Polycarbonate roofs should be cleaned with mild soap and water to remove debris and prevent discoloration. Always follow the manufacturer’s instructions for the best care practices.
To ensure the structural integrity of your pergola, it's crucial to design the structure to withstand local weather conditions, including wind and snow loads. Use sturdy posts and secure them with concrete footings. For the roof, consider adding bracing and support beams if using heavier materials. Regularly inspect the pergola for any signs of damage or weakness and perform necessary repairs promptly.
Conclusion
Wrapping up, building your DIY pergola with a roof is a fulfilling project that enhances your outdoor space. With the right materials and clear steps, you can build a stylish and functional diy pergola with a roof. From planning to construction, this guide on how to build a pergola with a roof has you covered. Enjoy the process and the beautiful addition to your home.


