Making your own DIY photo booth props is not only a fun and creative project but also a great way to add personality to any event. Whether it's for a wedding, birthday party, corporate event, or even a family gathering, personalized photo booth props can elevate the atmosphere, offering guests a chance to engage with something unique and memorable. Plus, making your own props can help save money, and it's a great way to add a customized touch to your event.
In this detailed guide, we'll show you how to make your own photo booth props. From gathering the necessary tools and materials to following each step of the process, this guide provides everything you need to design and craft your props.
Why Make Your Own Photo Booth Props?
Before we dive into the "how," let's talk about the "why." There are several reasons to make your own props:
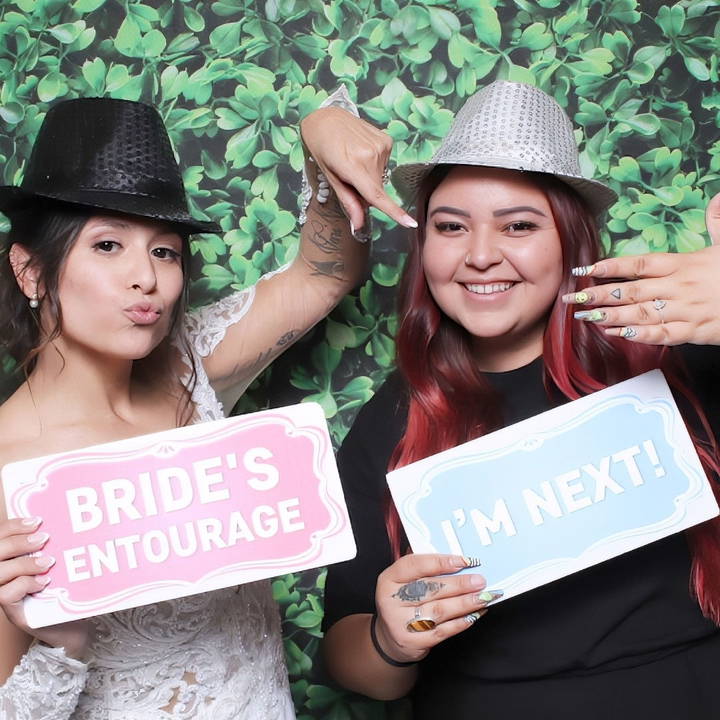
- Customization: When you make your own props, you have the freedom to design exactly what you want. This can be personalized messages, themes, or even inside jokes that are meaningful to the event.
- Cost Saving: Store-bought props can be expensive, and they can also wear out quickly, especially when used at events with many people. By making your own, you'll save money, and you can make more durable props that can be reused.
- Unique Experience: Offering custom props for your guests or clients (if you're a photo booth business owner) adds value and can make your services stand out. Providing a tailored experience can increase the overall appeal and can often justify a higher price point for your service.
Materials You'll Need for DIY Photo Booth Props
To get started, here's a list of materials you'll need to craft your own photo booth props:
- Heavy-Duty Cardstock: This is the most important material for making your props. Regular paper is too thin and will easily wrinkle or tear. Cardstock provides a sturdier base and can handle frequent handling at events. You can find this at most craft stores or online in packs.
- Printer: A high-quality printer will ensure that your designs come out vibrant and sharp. If your printer can handle thicker paper like cardstock, you can print directly onto the material. Otherwise, local printing services such as Office Depot or FedEx offer cardstock printing options.
- Foam Board or Plastic Board: Backing your props with foam board or plastic board increases durability. Foam board is easy to cut and handle, while plastic boards, though harder to cut, last longer.
- Scissors and X-Acto Knife: These tools are essential for cutting out your printed designs. Scissors are great for straight edges and basic shapes, while an X-Acto knife works better for intricate designs.
- Spray Adhesive: To ensure your printed designs stick securely to the foam or plastic board, use a good quality spray adhesive. Brands like Loctite offer reliable products that dry quickly and provide a strong bond.
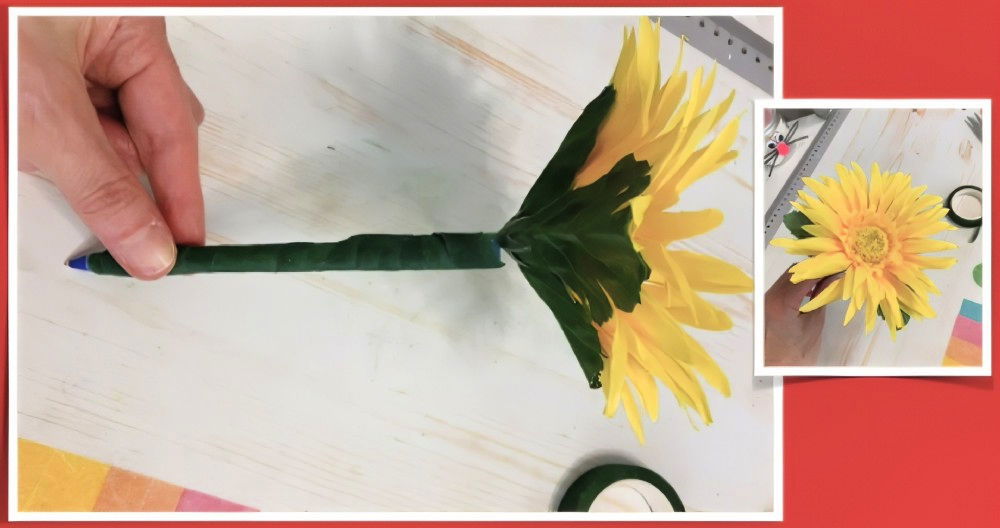
- Wooden Dowels or Sticks: These are used to hold the props. After cutting out your designs, you'll need to attach these dowels to the back of your props, making a handle that allows users to hold them in photos.
- Protective Gear: When working with spray adhesive or cutting tools, it's important to protect yourself. Wear gloves and a mask, and work in a well-ventilated area to avoid inhaling fumes.
Step by Step Instructions
Make amazing DIY photo booth props with our step-by-step guide. From design to assembly, follow these tips for a successful project!
Step 1: Choose Your Designs
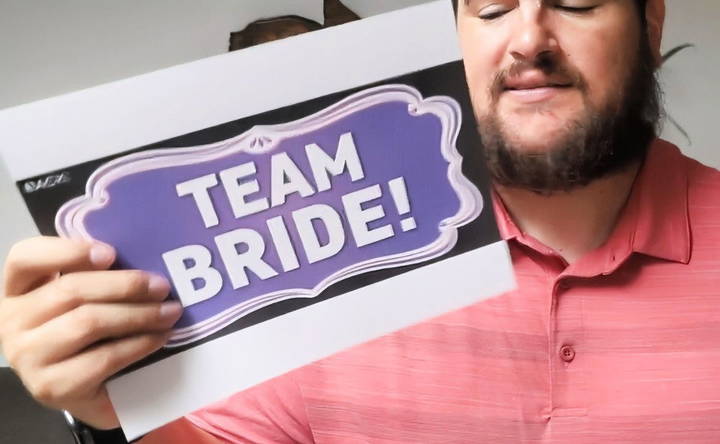
The first step in making your DIY photo booth props is deciding on your designs. Think about the theme of the event. If it's a wedding, you might want to make “Team Bride” and “Team Groom” signs, champagne glasses, or quirky mustaches. For a birthday, consider speech bubbles with fun phrases, party hats, or other symbols associated with celebrations.
To find high-quality images and templates, Google is a great resource, but make sure to filter the search results for high-resolution images by using the "Tools" option and selecting “Large” under size. You can also check out websites like Fiverr, where you can purchase professionally designed digital assets.
Step 2: Print Your Designs on Cardstock
Once you've finalized your designs, it's time to print them. Ensure that your printer can handle cardstock or take the designs to a printing service if needed. Use thick, durable cardstock to make sure your props won't easily bend or tear during use. If you're planning to print multiple props, consider printing on larger sheets to save time and paper.
Step 3: Cut Out Your Props
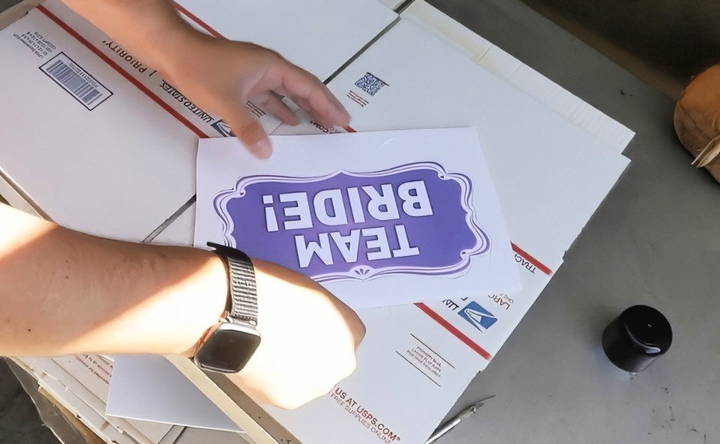
Using scissors or an X-Acto knife, carefully cut around the shapes of your printed designs. For simple shapes like straight lines or circles, scissors will work fine. For more intricate designs, like speech bubbles or custom shapes, use an X-Acto knife for more precision. Take your time with this step to ensure clean, smooth edges.
Step 4: Back the Designs with Foam or Plastic Board
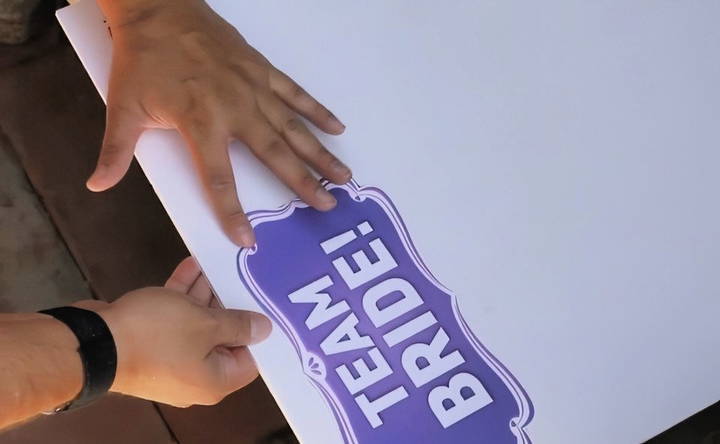
To make your props durable, back your printed cardstock designs with foam board or plastic board. Foam board is easier to work with and cut, making it a good option for beginners. However, plastic board offers greater durability, especially if you expect the props to be used multiple times.
- Foam Board: Cut the foam board into the same shape as your printed design. Spray adhesive onto the foam board and carefully press your cut-out design onto it. Apply firm pressure to ensure the two materials bond well.
- Plastic Board: This option is much tougher to cut, so it's best to use it for simpler shapes that require less intricate cutting. Use the same spray adhesive process to attach your printed designs to the plastic board.
Step 5: Cut Around the Foam or Plastic Backing
Once your cardstock design is glued to the foam or plastic, use scissors or your X-Acto knife to cut the backing into the same shape as your prop. Be careful not to cut too quickly, as the blade could slip and ruin the edges of your prop.
Step 6: Attach Wooden Dowels
The final step in the creation process is attaching wooden dowels or sticks to the back of your props. These will act as handles, allowing users to hold the props up for photos. Use a hot glue gun or strong tape to securely attach the dowel to the back of each prop. Make sure it is centered and sturdy, so it won't come loose during use.
Step 7: Test Your Props
Before the big event, take some test photos with your props. This will give you an idea of how they look in pictures and if any adjustments need to be made. Pay attention to things like glare, visibility of the design, and how sturdy the props are.
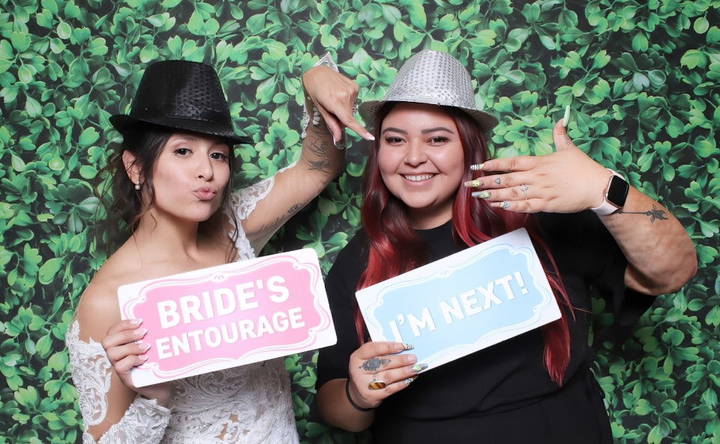
Tips for a Successful DIY Photo Booth Props Project
- Choose a Theme: Whether it's for a wedding, birthday, or corporate event, keep your props aligned with the event theme. This makes the props feel more personalized and adds to the overall fun.
- Keep It Simple: While intricate designs can be exciting, simple props are often easier to make and more durable. Speech bubbles, signs with fun messages, or simple shapes like hats and glasses are always popular choices.
- Durability Matters: Foam board is easy to work with, but if you're looking for something that will last through multiple events, consider using plastic board or laminated cardstock.
- Think About Size: Make sure your props are big enough to be seen in photos but not so big that they're awkward to hold. Play around with different sizes during your test photos to find the right balance.
- Add Personal Touches: Incorporate names, event dates, or inside jokes to make the props even more meaningful for the guests. Custom props make a unique experience and are sure to be a hit at the event.
- Protective Coating: For props you plan to reuse, consider applying a protective layer such as a spray-on sealant or laminating the cardstock before attaching it to the foam or plastic board. This will prevent wear and tear, especially at events where props are handled frequently.
Final Thoughts
Making your own DIY photo booth props is a rewarding experience that adds a unique and personal touch to any event. With the right materials and a little bit of creativity, you can make props that your guests will love. Whether you're doing it for a personal celebration or as part of a photo booth business, these DIY props will add fun and flair to your photos, and they'll make sure that your event is unforgettable.
So, gather your materials, get inspired by the event theme, and start making your very own photo booth props!
FAQs About DIY Photo Booth Props
Explore our FAQs about DIY photo booth props for tips, ideas, and step-by-step guides to make unique, memorable photo booth experiences.
The Canon Pixma Pro 100 is highly recommended due to its high-quality printing and compatibility with aftermarket inks, which can significantly cut down costs. Alternatively, consider the Epson Eco-Tank for its long-lasting ink tanks.
Ensure you are using high-resolution images. When searching for images on Google, use the "Tools" option and filter by "Large" size. This ensures sharp, clear prints that won’t look grainy.
For rectangle props, common sizes include 8 x 10 inches or 11 x 14 inches depending on your event needs. Ensure the size matches the foam or plastic backing to avoid excess cutting.
Yes! You can also use plastic boards or even layers of thin cardboard like cereal boxes for durability. Plastic boards are more durable but harder to cut, while cardboard is a lightweight and budget-friendly alternative.
Loctite spray adhesive is a reliable choice. It dries quickly and ensures a strong bond between the cardstock and backing materials, like foam or plastic.
You can source images from Google, making sure to filter for high-resolution files. Alternatively, Fiverr offers digital assets, or you can use Canva or Photoshop to design your own.
If your printer isn't compatible with thick cardstock, you can take your designs to local print shops like Office Depot or FedEx, which offer cardstock printing services.


