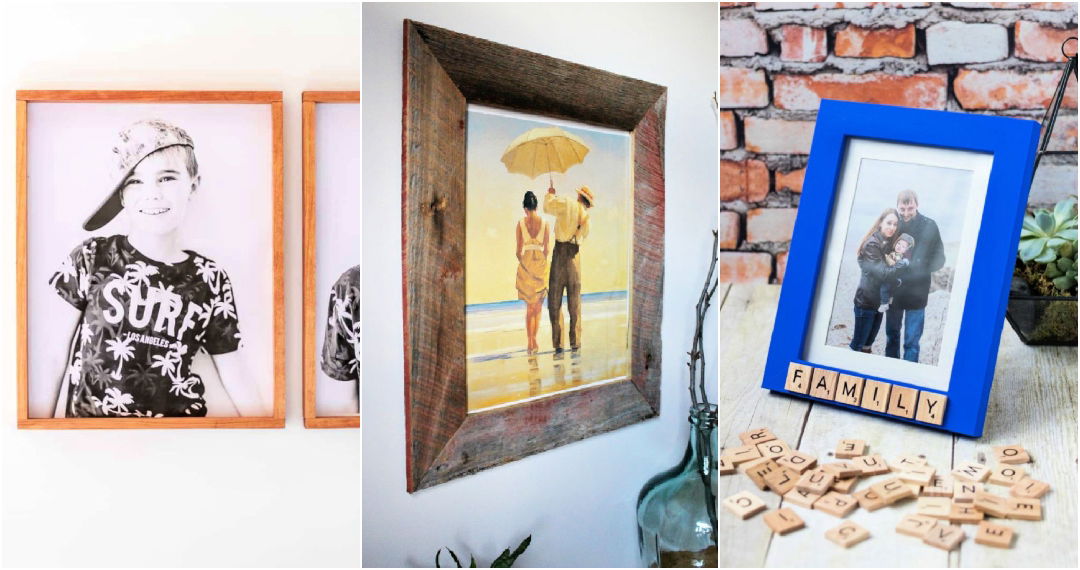
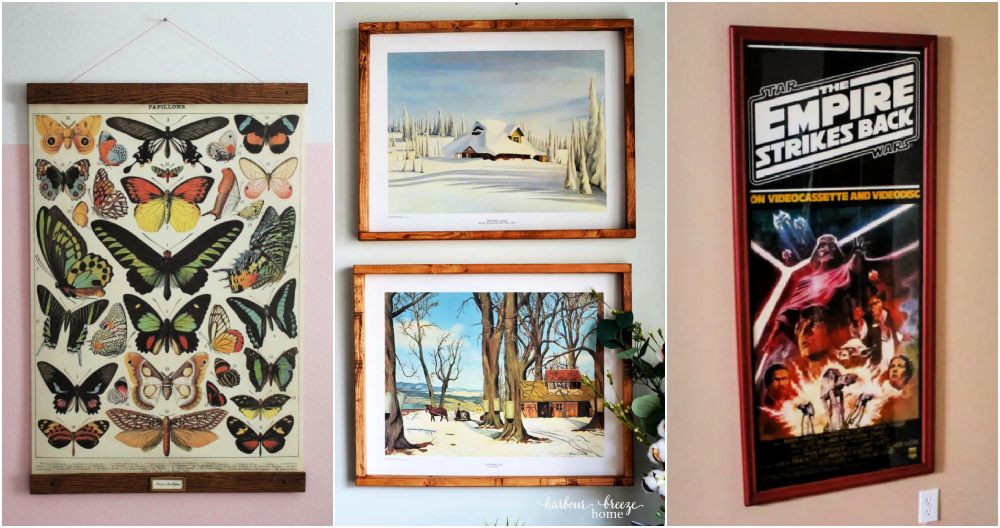
Making something unique for my home always excites me. Making a DIY picture frame was no different. I gathered some simple supplies like wood, glue, and paint. Following easy steps, I cut the wood to size and glued the pieces together. It felt incredibly satisfying to make something from scratch with my hands.
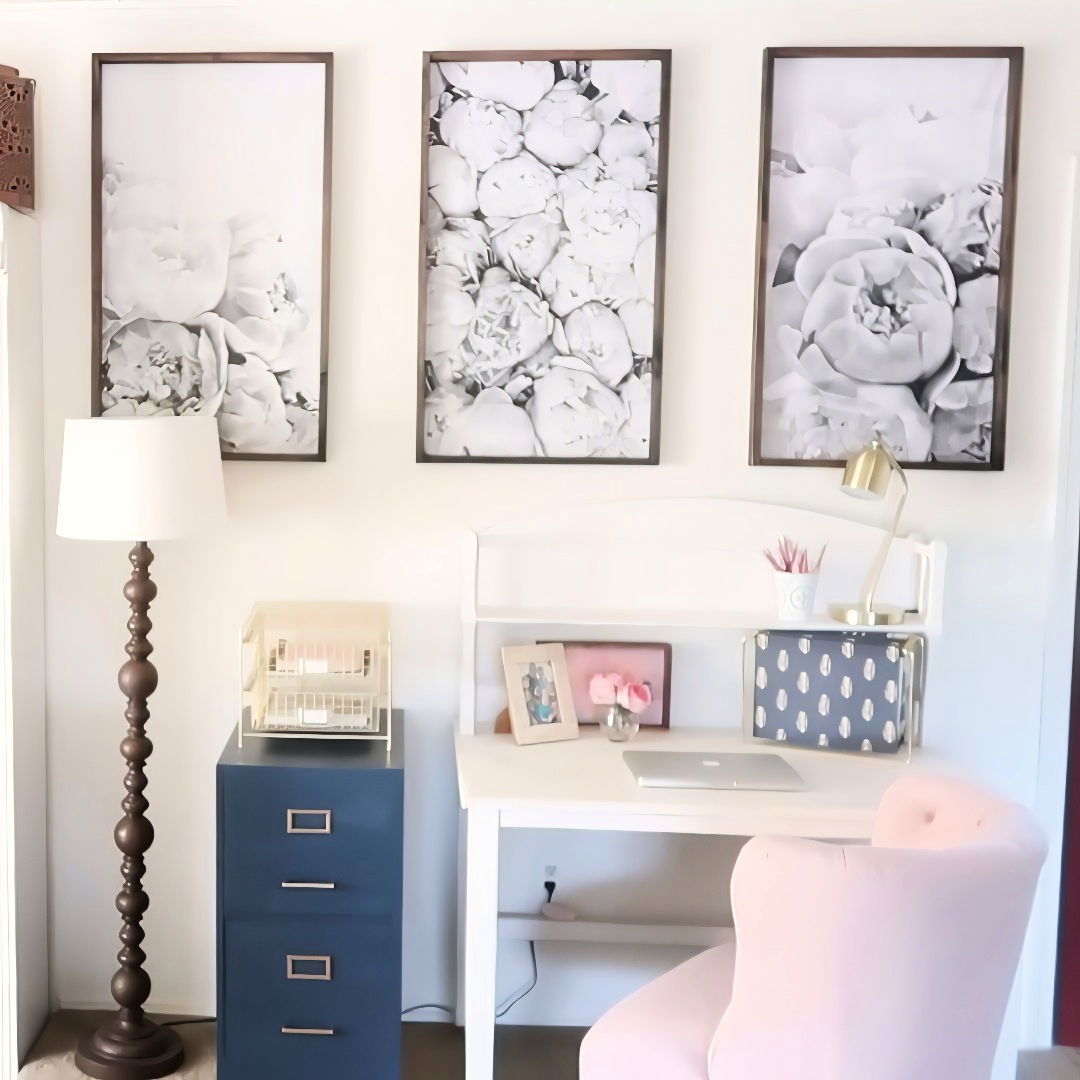
Decorating my home with DIY photo frames added a personal touch. After painting and arranging pictures, my walls looked brilliant. Frames are more than decor; they hold memories. It's rewarding to look at these handmade pieces and feel proud. Try making a DIY picture frame. These will help you display your artwork beautifully.
What You'll Need:
- 1x2 Inch Wood Strips: These form the frame's edges. I chose these for their affordability and sturdy structure.
- Plywood Sheet: Used for the backing, the cheapest option works perfectly.
- Wood Stain and Sealer: To give your frame a finished, professional look.
- Wood Screws or Nails: Depending on your tools, these will hold the frame together.
- Tools: You'll need a saw for cutting the wood, a sander or sandpaper for smoothing the edges, and a drill or hammer.
- White Wood Conditioner (Optional): This is great for preparing the wood for staining.
- Mod Podge: This is for attaching the print to the plywood.
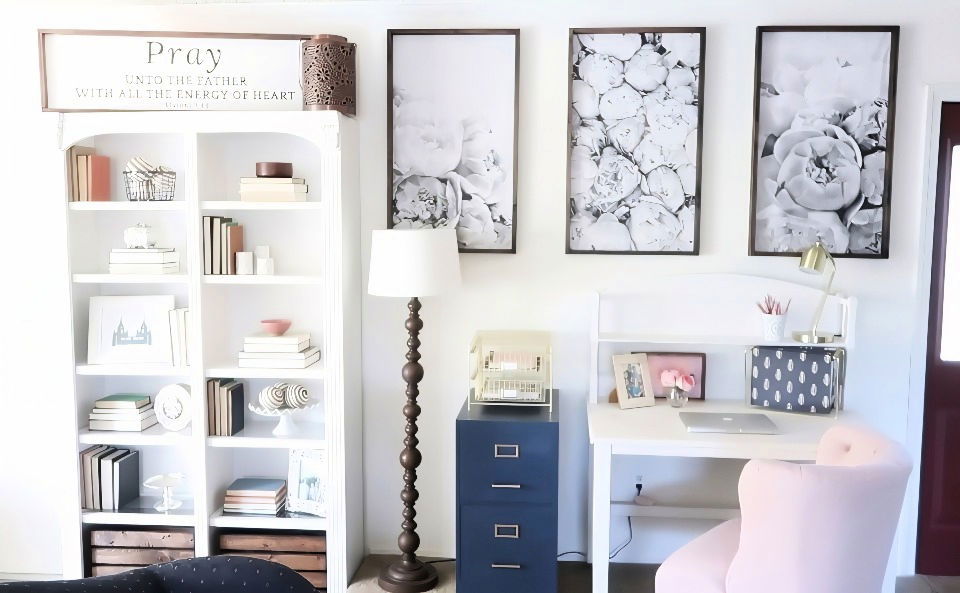
- Print of your Choice: Opt for a black and white engineer print for an aesthetic appeal.
- Basic Hardware for Hanging: Such as hooks or a wire.
Step by Step Instructions
Learn how to build DIY picture frames with our step-by-step guide. From design to adding hanging hardware, master each stage for a perfect finish.
Step 1: Design and Cut Your Frame
Firstly, measure and decide the size of the frame you need. For instance, I went with 22 inches by 37 inches for a prominent display. Take your 1x2 wood strips and cut two lengths at 37 inches and two more at 20.5 inches, considering the width of the wood strip overlap.
Step 2: Sand and Assemble
Once cut, sand all edges to avoid any splinters - this makes your frame safe and gives it a more finished appearance. Lay out your cut pieces on a flat surface, aligning them to form your frame. Secure the corners with screws or nails. Tip: Use an L-square to ensure your frame is perfectly square.
Step 3: Condition and Stain
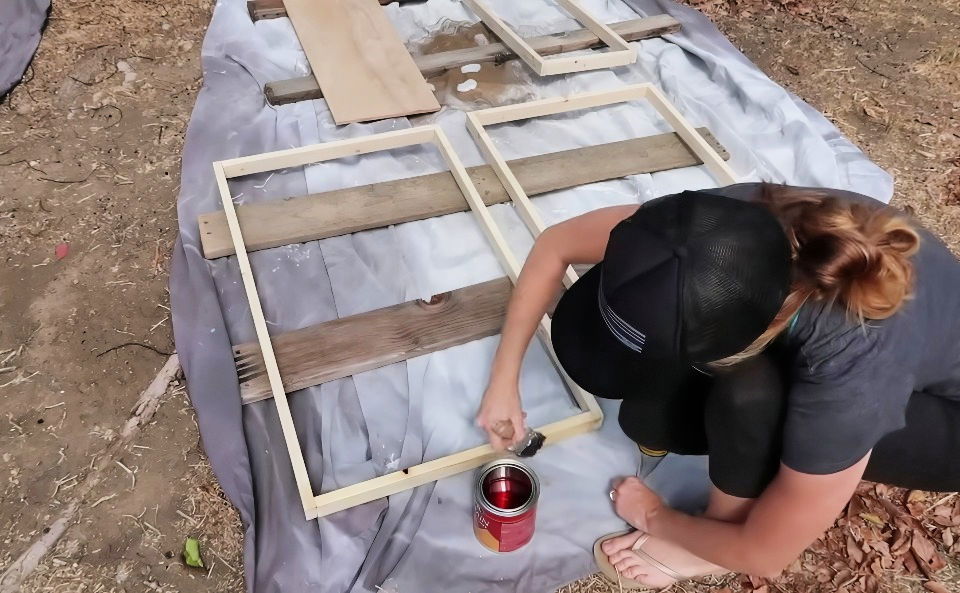
Apply a wood conditioner if your wood is very absorbent; this helps achieve a more even stain. Then, apply your stain in the color of your choice. Follow up with a sealer to protect the wood. Leave it to dry according to the product instructions.
Step 4: Prepare the Backing and Print
Cut the plywood to the same size as your outer frame dimensions. If your print isn't exactly the right size, now is the time to trim it using the plywood as a guide.
Step 5: Attach the Print to the Plywood
Lay down a thin layer of Mod Podge on the plywood, primarily around the corners and edges. Carefully place your print on top, smoothing it out to avoid bubbles. Allow it to dry completely.
Step 6: Complete the Assembly
Once the print is attached and dry, lay the frame over the plywood print assembly. Securely attach the plywood to the frame using a nail gun or hammer and finish nails.
Step 7: Adding Hanging Hardware
Measure the top center of your frame and attach your chosen hanging hardware. Make sure it's sturdy enough to support your frame.
Customization Ideas for Your DIY Large Frame
Making a DIY large frame gives you the freedom to tailor it to your personal style and the decor of your space. Here are some customization ideas that can help you make your frame truly unique:
- Choose Your Style: Think about the overall look you're aiming for. Do you prefer a modern, sleek design or a rustic, vintage feel? Your style choice will guide the materials and finishes you select.
- Selecting Colors: Colors can set the mood for your room. You might choose a stain or paint that complements your existing decor. For a bold statement, consider contrasting colors that pop!
- Adding Textures: Textures add depth and interest. Consider wrapping the frame in fabric, using decorative paper, or even incorporating natural elements like twigs or stones for a 3D effect.
- Personal Touches: Make the frame reflect your personality. You could add monograms, stencil a favorite quote, or use decoupage to apply photos or magazine cutouts.
- Interactive Elements: For a fun twist, make your frame interactive. Attach hooks for keys, add a chalkboard section for notes, or incorporate a magnetic board to display mementos.
- Light It Up: LED strip lights or fairy lights can add a warm glow to your frame, highlighting artwork or photos within.
- Mix and Match: Don't be afraid to mix materials. Combine metal with wood or glass with stone for a frame that stands out.
- Functionality: Consider the frame's purpose. If it's for a mirror, ensure it's sturdy. If it's for artwork, think about the weight it needs to support.
Enjoy your DIY project, let your creativity shine. Your frame is art itself! Keep it simple and experiment. DIY is about making something perfect for you.
Maintenance and Care for Your DIY Large Frame
Taking care of your DIY large frame is crucial to ensure it remains a beautiful part of your home for years to come. Here's a straightforward guide on maintaining and caring for your frame:
- Regular Dusting: Use a soft, dry cloth to dust the frame regularly. Avoid harsh chemicals that can damage the finish.
- Protect from Moisture: If your frame is made of wood or metal, keep it away from damp areas to prevent warping or rust.
- Avoid Direct Sunlight: Prolonged exposure to direct sunlight can fade the colors. Position your frame in a spot where it gets indirect light.
- Gentle Cleaning: For glass or acrylic, use a gentle cleaner and a microfiber cloth to avoid scratches.
- Check for Damage: Inspect your frame periodically for any signs of damage or wear and address them promptly.
- Secure Hardware: Ensure that all screws and hanging hardware are tight and secure to prevent accidents.
- Rotate Displays: If you frequently change the artwork or photos, be gentle to avoid scratches and wear on the edges.
- Touch-Ups: Keep some paint or stain handy for quick touch-ups in case of chips or scratches.
By following these simple steps, you can keep your DIY large frame looking as good as new.
Safety Precautions for Building a DIY Large Frame
When embarking on a DIY project to build a large frame, safety should be your top priority. Here are some key safety tips to keep in mind:
- Wear Protective Gear: Always wear safety glasses to protect your eyes from dust and debris. If you're sanding or cutting, a dust mask is also essential to prevent inhalation of fine particles.
- Read Instructions Carefully: Before using any tool, read the manufacturer's instructions. Understand how to operate it properly to avoid accidents.
- Keep Your Workspace Clean: A tidy workspace is a safe workspace. Keep tools and materials organized and floors clear to prevent tripping hazards.
- Handle Tools with Care: Use tools for their intended purpose and handle them with care. Ensure that power tools are switched off and unplugged when not in use.
- Secure Materials: When cutting or drilling, secure the materials with clamps to prevent slipping, which could lead to injury.
- Be Mindful of Cords: Keep cords from power tools out of the way to avoid tripping or cutting them accidentally.
- Check for Splinters and Sharp Edges: After cutting or sanding, check your frame for splinters or sharp edges and smooth them out.
- Stay Focused: Distractions can lead to mistakes. Stay focused on the task at hand, especially when using power tools.
- Know Your Limits: If a part of the project requires skills beyond your comfort level, consider asking for help or hiring a professional.
By following these safety precautions, you can enjoy the process of making your DIY large frame while keeping yourself and others around you safe.
FAQs About DIY Large Frame
Discover FAQs about DIY large frame: get expert tips, step-by-step guides, and answers to common questions for your next creative framing project!
First, measure the top and one side of the print or photo you want to frame. Add these measurements together and include an extra 24 inches to account for miter cuts. Mark the moulding with a pencil for each side, adding 3 inches to each piece for the 45-degree angle cuts. Then, use a saw and miter box to carefully cut the moulding at the marked locations.
Absolutely! Since you’re crafting the frame yourself, you have the freedom to paint or stain it in any color that complements your artwork or decor. You could opt for a vintage look with chalk paint or stick to classic hues like black, white, or brown. Ensure the moulding is completely dry before proceeding to the next step.
After cutting and finishing the moulding, lay out the pieces to form your frame. Apply wood glue to the ends of the moulding where they will join. Use clamps to hold the pieces together while the glue dries. Once dry, reinforce the corners with a staple gun for added stability.
Once the frame is assembled and dry, place your artwork on the backing material, which can be cardboard or foam board cut to size. Secure the artwork with tape or another adhesive. Attach the backing to the frame, then fix the picture hanger hardware to the frame. Your DIY large picture frame is now ready to hang.
To ensure your frame is square, measure diagonally from corner to corner in both directions. The measurements should be equal. If they're not, adjust the frame until they are. For tight corners, after applying wood glue, use a corner clamp or a strap clamp to hold the mitered corners in place while the glue dries. This will help maintain a perfect angle and prevent gaps.
Final Thoughts
Making a DIY picture frame adds a personal touch to your home. Give it a try, and enjoy the art of making something unique!


