Making a DIY planner is a great way to organize your life on your terms. With a custom planner, you can tailor every section to fit your specific needs. It can include schedules, to-do lists, or personal goals. People can find making a planner both relaxing and practical. Simple steps and materials can turn a blank notebook into a highly effective, personalized tool.
Learning how to make a planner doesn’t require special skills. Basic supplies like paper, pens, and a binder are all you need. This allows for creativity and flexibility, enabling you to design layouts that suit your lifestyle.
The process can be an enjoyable activity, resulting in a tool that keeps you organized and motivated. Dive into the next section to discover the step-by-step guide on making your DIY planner.
Step by Step Instructions
Here are step-by-step instructions for flawless project execution: research, design, content, printing, and binding. Each phase is perfected for optimal results.
1. Conceptualization and Research
The inception of my teacher planner began with the desire to craft something uniquely valuable for South African teachers. I selected this niche because I could easily approach local teachers for insights, making the research phase personal and effective.
Why Research is Key:
Understanding your audience’s needs is crucial. It ensures the final product is not just aesthetically pleasing but also practical and tailored to its users' daily requirements.
2. Designing Phase
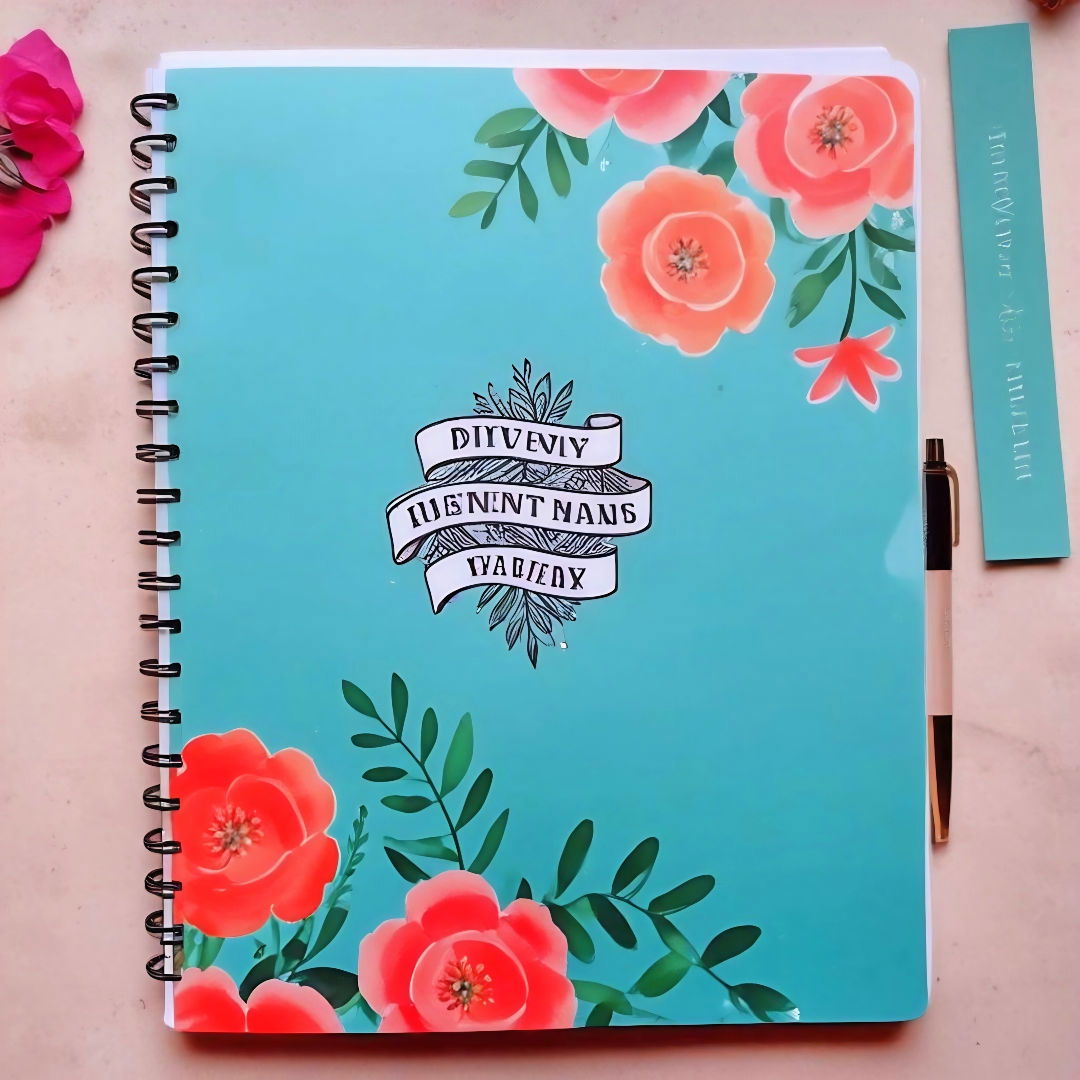
The thrill of seeing my vision come to life began with the design phase. Using Canva, a user-friendly design platform, I initiated my project by making the cover.
Materials Needed:
- Canva for Design: A versatile tool promising ease and a plethora of design elements.
- Inspiration: Gathering various designs for different personalities ensured the planner appealed to a wider audience.
Why Each Material is Essential:
Canva simplified the design process, especially for someone without professional design training. Starting with the cover served as a source of inspiration, guiding the aesthetics for the interior pages.
3. Content Development
After settling on the cover designs, I dove into structuring the planner's content. This included:
- Monthly overviews
- Weekly spreads
- Sections for notes and reminders
- Inspirational quotes to motivate teachers throughout their year
The Purpose Behind the Content:
A well-structured planner transcends the purpose of mere date tracking; it becomes a companion for the user. Incorporating feedback from my teacher friends helped tailor the content to be genuinely useful.
4. Printing Choices
Choosing the right printer and paper quality was a pivotal decision. My choice, the Canon Pixma ts9540, allowed me to print on A3 paper, which is essential for making an A4-sized planner.
Materials and Their Importance:
- Canon Pixma Printer: Capable of handling A3 paper, it was crucial for producing the necessary book size.
- Quality Paper: Using 90 GSM A3 for interiors and a higher GSM for cover ensured durability and a premium feel.
5. Binding: Bringing It All Together
The binding process was where patience and precision took center stage. Using a bone folder for folding, an awl for punching sewing holes, wax linen thread for sewing, and PVA glue for assembly, each element played a crucial role in crafting a sturdy, well-bound planner.
Key Materials and Methods:
- Sewing the Signatures: My planner’s pages were grouped into signatures, sewn together for strength.
- Gluing the Spine: Using PVA glue, I secured the spine, reinforcing the planner’s backbone.
Why Each Step Matters:
Quality binding ensures longevity. This attention to detail transformed loose pages into a durable, professional-looking planner.
Personalization Tips
Making a DIY planner that truly reflects your personal style and meets your specific needs can be both fun and rewarding. Here are some tips to help you personalize your planner in a way that’s both unique and practical:
- Choose a Theme: Start by selecting a theme that resonates with you. It could be as simple as a color scheme or as elaborate as a literary genre. Your theme will guide the aesthetic of your planner.
- Select a Layout: Decide on a layout that suits your daily routine. Some people prefer a daily layout, while others might opt for a weekly or monthly overview. Think about what you’ll be tracking and choose accordingly.
- Custom Sections: Tailor your planner with sections that match your interests and responsibilities. For example, if you’re a student, you might include a class schedule and assignment tracker. If you’re into fitness, a workout log might be useful.
- Decorate: Use stickers, washi tape, and drawings to decorate your planner. This not only makes it visually appealing but also encourages you to use it regularly.
- Handwriting: Embrace your handwriting as part of the planner’s charm. Whether it’s neat or not, it adds a personal touch that no font can replicate.
- DIY Inserts: Make your own inserts like pockets for receipts or inspirational quotes. These can be both functional and motivational.
- Regular Updates: Keep your planner fresh by updating the decorations and themes seasonally or according to your mood. This keeps the process creative and engaging.
- Reflect and Revise: As you use your planner, take note of what works and what doesn’t. Don’t be afraid to revise your layout or sections to suit your evolving needs better.
By following these tips, you’ll make a planner that’s not just a tool but a reflection of who you are and a companion in your daily life. The most important aspect of a DIY planner is that it works for you and makes your life easier and more organized.
Tech Integration
In today’s fast-paced world, integrating technology with your physical planner can streamline your organization and enhance productivity. Here’s how you can blend the digital with the analog to make a seamless planning experience:
- Sync with Digital Calendars: Connect your planner with digital calendars like Google Calendar or Outlook. This allows you to see your schedule at a glance on any device and get reminders for important dates.
- Use Scannable Pages: Some planners come with scannable pages that you can digitize using a smartphone app. This makes it easy to back up your notes and access them from anywhere.
- Incorporate QR Codes: Add QR codes to your planner pages that link to online resources, videos, or documents related to your tasks. It’s a quick way to bridge the gap between paper and pixels.
- Digital Stickers and Templates: Use digital stickers and templates to customize your planner pages before printing them out. This adds a personal touch while maintaining the convenience of digital tools.
- Voice-to-Text Entries: Utilize voice-to-text technology to quickly add entries to your planner without having to write them down, saving time and effort.
- Augmented Reality (AR): AR technology can bring your planner to life by overlaying digital information onto the physical pages. Imagine pointing your phone at your planner and seeing your tasks pop up in 3D space.
- AI Assistance: Some digital planners now offer AI assistance, which can suggest schedule adjustments based on your habits and upcoming events, making planning more efficient.
Integrate these technologies to enjoy both the tactile feel of a physical planner and the efficiency of digital tools, making your planner a powerful daily ally.
Maintenance Tips
Keeping your DIY planner in top shape is essential for ensuring it remains a useful tool throughout the year. Here are some straightforward maintenance tips to help you stay organized and make the most of your planner:
- Regular Clean-Up: Set aside time each week to declutter your planner. Remove old papers, update lists, and cross off completed tasks. This keeps your planner tidy and your mind clear.
- Monthly Reviews: At the end of each month, review your planner. Reflect on what you’ve achieved and what didn’t work out. Use this insight to adjust your planning strategy for the next month.
- Seasonal Updates: Change your planner’s theme with the seasons. This refreshes your motivation and makes planning a more enjoyable experience.
- Protective Measures: Use a sturdy cover or case to protect your planner from wear and tear. Consider laminating frequently used pages, like monthly tabs, to extend their life.
- Backup Important Pages: Make digital copies of important pages. You can scan them or take photos with your phone. This way, you won’t lose crucial information if your planner is damaged or lost.
- Supplies Check: Keep an eye on your planning supplies. Restock items like pens, stickers, or washi tape before they run out. Having everything you need on hand makes maintaining your planner easier.
- Mind the Margins: Leave space in the margins for additional notes or last-minute changes. This prevents your planner from becoming too cramped and chaotic.
- Embrace Imperfections: Don’t worry about making your planner look perfect. It’s a working document, not a piece of art. Embrace the scribbles and changes as part of the process.
By following these tips, you’ll ensure that your planner remains a reliable resource for managing your daily tasks and long-term goals. The key to a well-maintained planner is regular attention and a bit of care.
FAQs About DIY Planner
Discover all you need to know about DIY planners with our faqs. Get tips, tricks, and expert advice to make your perfect personal planner.
To make your DIY planner last, consider using a sturdy cover, such as leather or thick cardboard, and high-quality paper that won’t tear easily. Laminating your most-used pages, like the cover and dividers, can also add extra protection.
Avoid overcomplicating your planner with too many sections or accessories, which can make it bulky and less portable. Also, be careful not to use paper or materials that are too thin, as they may tear or wear out quickly.
The binding you choose should match your needs for flexibility and durability. Ring binders allow for easy page removal and rearrangement, while disc-bound systems offer a sleeker look and the ability to fold pages back on themselves.
Yes, you can incorporate digital tools by leaving spaces in your planner for QR codes or printed digital calendar pages. This way, you can link to digital notes, events, or reminders.
Review and update your planner as your schedule and needs change. This could be at the start of a new year, academic term, or whenever you feel your current setup isn’t working as well as it could.
Conclusion:
Wrapping up, making your own DIY planner can be a rewarding and efficient way to organize your life. By following these simple steps on how to make a planner, you can customize it to fit your unique needs and preferences. Enjoy the process, and make your planning a reflection of your personal style. Start crafting your DIY planner today and see the difference in your daily routine!


