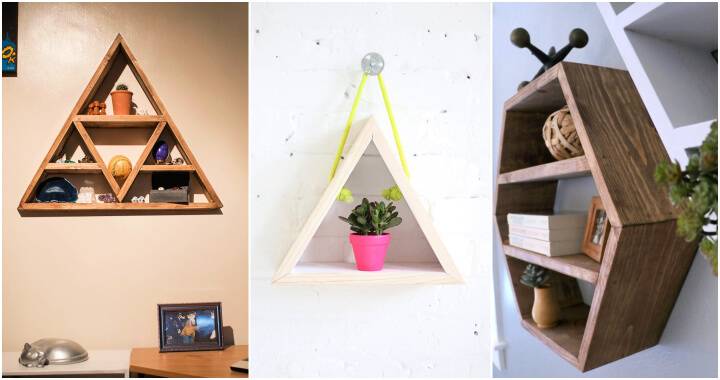
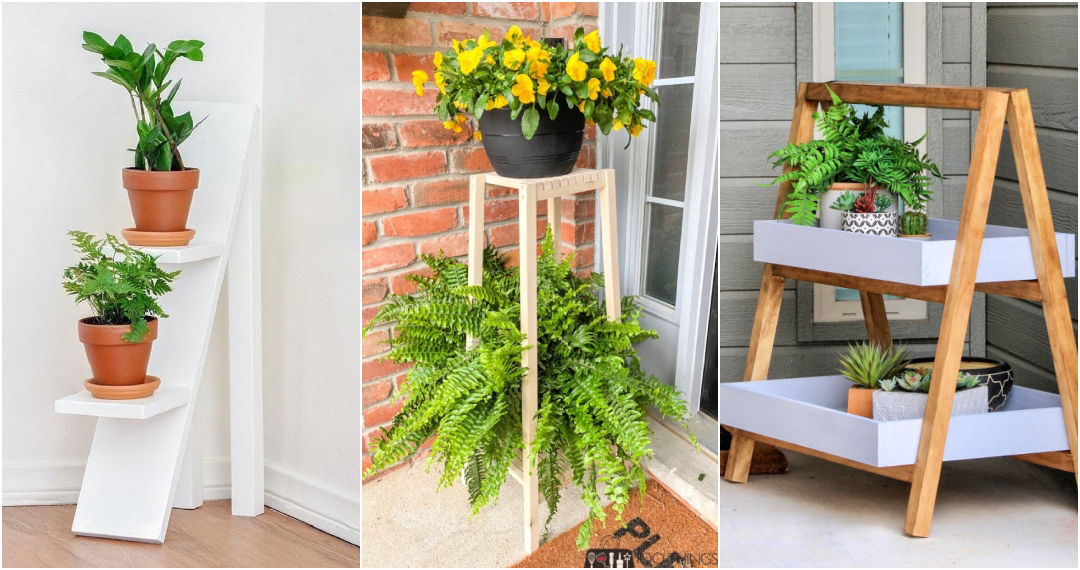
Making a DIY plant shelf was an exciting project for me. I started with a simple plan to give my plants a cozy home. Searching for materials, I found reclaimed wood and brackets at the local store. After gathering everything, I measured my space carefully to fit the shelf perfectly. The process helped me see how small steps can lead to lovely results.
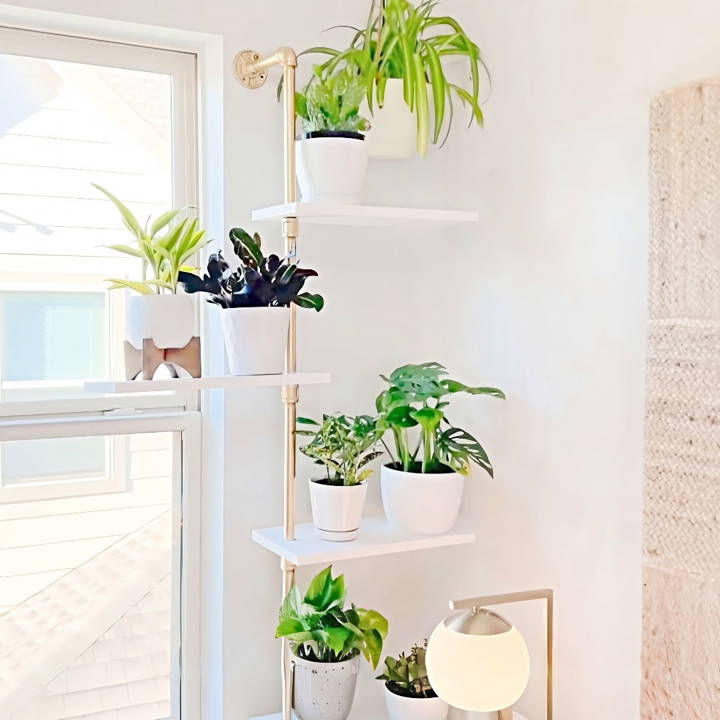
If making your own DIY plant shelf sounds good, go ahead and try it. It's a fun and rewarding project you can complete in just a few hours. With easy steps and basic tools, you can make a stylish addition to your room. Trust me, the end result is worth the effort!
Materials Needed and Their Purpose
- 1x8 Board: serves as the shelves. I chose a primed board for easy painting.
- Four 12-inch Pipes & Two 5-inch Pipes: these make the frame of the shelf.
- Two Floor Flanges: help attach the shelf to the wall securely.
- Three Couplings and Two Elbows: essential for joining the pipes together correctly.
- Spray Paint: for personalizing your shelf frame. I picked gold for a chic look.
- Favorite Plants: the reason behind this whole project!
Step by Step Instructions
Make a stunning DIY plant shelf with our step-by-step instructions. Easy, fun, and perfect for showcasing your indoor plants.
Step 1: Preparing the Pipe Pieces
I started by connecting a floor flange to a 5-inch pipe, then attaching a 90-degree elbow to the other end of the pipe. It was crucial to screw these pieces together tightly, even though some thread remained visible. After assembling these initial pieces, I gave them a thorough wash to remove any oil-based lubricants, ensuring the paint would adhere properly later on.
Step 2: Measuring for the Shelves
Before cutting the shelves, I measured the space beside my window. Since my window was snug against a corner, a length of 16 inches for each shelf was ideal. This step is crucial to customize the shelf size for your specific space.
Step 3: Cutlling Holes in the Shelves
For the shelves to fit onto the pipe frame, I drilled a 7/8 inch hole in one end of each board, about one and a half inches from the edge. A small trick I discovered: tilting the drill slightly toward the center of the board made the shelves hang more level.
Step 5: Assembling the Shelf
This was where it all started coming together. I began with the elbow flange piece, adding a 12-inch pipe, sliding a shelf on, and then attaching a coupling. This process was repeated for each shelf. It was a bit of a puzzle, ensuring everything was tight and secure.
Step 6: Painting the Pipes
After assembling, I decided to give the pipes a coat of gold spray paint for a modern touch. I carefully taped off the shelves to avoid getting paint on them and started with a metal primer before applying the gold top coat. The choice of color here is entirely up to personal preference.
Step 7: Hanging the Shelf
Hanging the shelf required some care. I marked the flange holes' positions on the wall, then used hammer-in drywall anchors to secure the shelf. Having an extra pair of hands here was incredibly helpful. Once secured, I gave the shelves a fresh coat of white paint for a clean look.
Step 8: Adding the Plants
The final—and most exciting—step was arranging the plants on the new shelf. The beauty of this shelf is its adjustability; I can change the shelf heights or swap plants in and out based on their light needs or my decorative whims.
Customization Tips for Your DIY Plant Shelf
Making a DIY plant shelf is not just about adding extra storage or displaying your plants; it's also an opportunity to inject your personality into your space. Here are some tips to help you customize your plant shelf in a way that's both functional and reflective of your style.
- Choose Your Materials Wisely Start by selecting materials that resonate with your aesthetic preferences and the decor of your room. Whether you opt for natural wood, industrial metal, or sleek acrylic, ensure that the materials are durable and suitable for the weight of the plants you intend to display.
- Paint and Finish: A fresh coat of paint can transform your plant shelf into a statement piece. Consider colors that complement your plants or contrast with your wall color for a pop of vibrancy. If you prefer a more natural look, a clear varnish or wood stain can enhance the grain and warmth of wooden shelves.
- Add Personal Touches Personalize your shelf with decorative elements that tell a story. This could be anything from vintage gardening tools, small figurines, or even a string of fairy lights for a whimsical touch. The key is to select items that bring you joy and don't overcrowd the shelf.
- Functionality Meets Style If you're short on space, consider adding hooks underneath the shelves for hanging smaller planters or gardening tools. For those who love rearranging, attach wheels to the bottom of your shelf for easy mobility or use brackets that allow you to adjust the shelf height.
- Think Outside the Pot Plants don't always have to be in pots. Get creative with containers – use mugs, jars, or even repurposed items like old boots for a quirky twist. Just make sure they have proper drainage to keep your plants healthy.
- Labeling For the organized gardener, labels can be both practical and decorative. Use chalkboard paint or hang tags to label each plant with its name, watering schedule, or care instructions. It's a helpful reminder and adds a professional touch to your DIY project.
Follow these tips to design a plant shelf reflecting your style and creativity. Enjoy every step, from planning to planting, in your DIY projects.
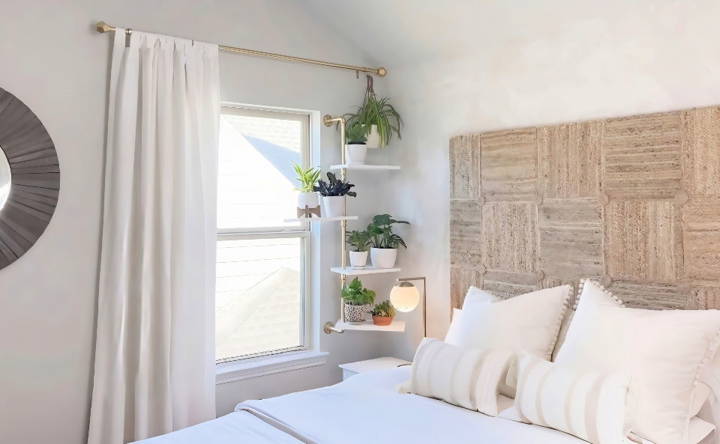
Maintenance and Care for Your DIY Plant Shelf
Keeping your DIY plant shelf in top condition is essential for both the longevity of the shelf and the health of your plants. Here's a straightforward guide to maintaining and caring for your plant shelf:
- Regular Cleaning Dust and dirt can accumulate on your shelf over time, which isn't just unsightly—it can also hinder your plants' growth. Wipe down your shelves with a damp cloth every week to keep them clean. If you've used untreated wood, consider sealing it with a non-toxic sealant to make cleaning easier and protect against moisture.
- Check for Wear and Tear Inspect your shelf monthly for any signs of wear, such as loose screws or chipped paint. Tighten any loose parts and touch up paint as needed. This not only keeps your shelf looking good but also ensures it remains safe and stable.
- Rotate Your Plants Plants can grow unevenly if they're always facing the same direction, leaning towards the light. Rotate your plants every time you water them to ensure even growth and prevent them from becoming lopsided.
- Seasonal Adjustments If your shelf is near a window, the amount of sunlight it receives can change with the seasons. Adjust the position of your plants to make sure they're getting the right amount of light all year round. Some plants may need to be moved to a brighter spot in winter or a shadier one in summer.
- Mind the Water When watering your plants, be careful not to spill water on the shelf. Water can damage the shelf material and lead to mold or rot. If you do spill, wipe it up immediately. Consider using a waterproof tray under your pots to catch any excess water.
- Refresh the Soil Over time, the soil in your plant pots can become compacted or depleted of nutrients. Every year or so, refresh the soil by replacing a portion of it with new, nutrient-rich soil. This will keep your plants healthy and help them grow.
Regular care keeps your DIY plant shelf beautiful and functional for years. Just a little maintenance preserves the shelf and plants.
FAQs About DIY Plant Shelf
Discover everything you need to know with our faqs about DIY plant shelves. Get tips, tools, and step-by-step guidance for your perfect plant shelf.
Plant shelves are not just stylish; they offer practical benefits for your green friends. Elevated plants enjoy better air circulation and more consistent lighting, which are vital for their health. Plus, shelves can keep plants safe from foot traffic and curious pets, while also maximizing space in smaller living areas.
Select a spot that receives ample sunlight and has enough space to accommodate the shelf. If you’re limited on floor space, consider wall-mounted shelves. The right location will ensure your plants thrive and complement your home’s decor.
Absolutely! There are plant shelf projects suitable for all skill levels. Simple designs might only require assembling pre-cut wood and securing it with screws. More complex projects may involve measuring, cutting, and drilling, but there are plenty of tutorials that can guide you step-by-step.
Maintaining your plant shelf involves regular dusting and ensuring the plants receive the right amount of water and light. If your shelf is made of wood, you might need to reapply a protective finish periodically to prevent water damage. Always check the weight limit of your shelf to avoid overloading it with too many plants.
Safety is paramount when installing a plant shelf. Make sure to anchor the shelf securely to the wall, especially if it's a hanging or floating design. Use appropriate wall anchors for your wall type—drywall, plaster, or masonry. Regularly check the shelf for stability and tighten any loose screws or brackets. If you're unsure about the installation process, it's best to consult with a professional or refer to detailed DIY guides.
Conclusion
Wrapping up, building a DIY plant shelf is a fantastic way to enhance any room. This guide on how to build a plant shelf offers step-by-step instructions to make a stylish and functional addition to your home. You'll enjoy the process and appreciate the beautiful outcome!


