As someone who loves gardening and DIY projects, discovering a simple yet elegant way to enhance my garden was incredibly rewarding. I recently embarked on a journey to build clean and modern planter boxes, a perfect weekend project that not only revitalized my garden's aesthetics but also connected me more intimately with my love for planting. Let me guide you through the steps I took, ensuring you can replicate this rewarding project in your own space.
Gathering Materials
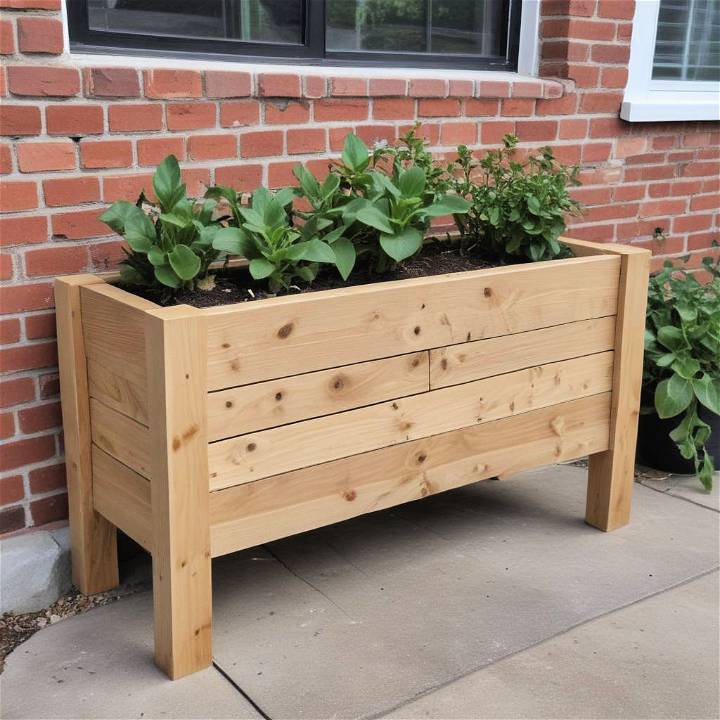
Before diving into the construction, it's essential to highlight the materials needed for this project because they play a significant role in the durability and look of the finished product.
Cedar Wood: The Core Material
Cedar was my wood of choice for these planter boxes, not only because of its stunning color and aroma which makes the whole process a sensory pleasure but also due to its natural resistance to rot and insects, making it perfect for outdoor projects.
Tools: Keeping it Simple
The beautiful aspect of this project is its simplicity in terms of the tools required. A miter saw or even a handsaw, some screws, a drill, and optionally a router for those who want to add a decorative edge, and you're set.
Cutting and Assembling the Boxes
After planning my sizes and purchasing the necessary amount of cedar, I cut them down to size. Consistency is key here, so I carefully measured and cut multiple boards to ensure they matched perfectly.
Simple Assembly Technique
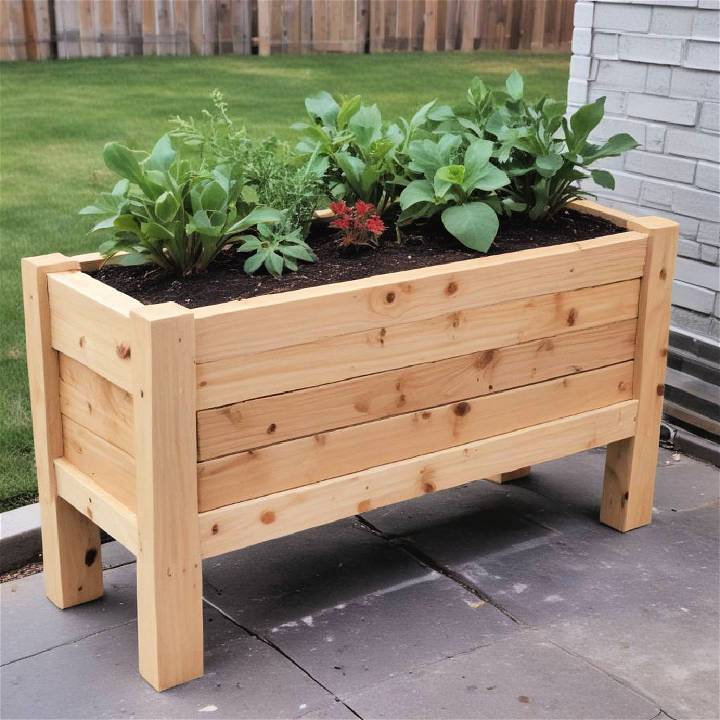
The assembly was straightforward. Each side of the planter consists of four cedar boards. I paid attention to the arrangement, ensuring the naturally varied colors of cedar were displayed appealingly. To hold the boards together, I buildd strips from the cedar itself. This not only ensured a cohesive look but also minimized waste.
Adding a Touch of Aesthetic Detail
While the simplicity of the design is appealing on its own, I decided to add a chamfer to the edges of the boards. This step is optional but it contributed a subtle detail that elevated the final look, giving the illusion of a gap between the boards for a sleek modern aesthetic.
The Bottom Comes Next
Unlike the sides, the bottom required support cleats and slats, allowing for essential drainage while maintaining the clean look of the planter. The process was as straightforward as the sides, with the added step of ensuring proper spacing for drainage.
Sanding and Finishing: The Final Touches
Sanding brought everything together, smoothing out the rough edges and preparing the planters for finishing. I opted for an outdoor timber oil, which was incredibly easy to apply and offered a natural, protective finish that enhanced the cedar's natural beauty.
The Lesson in Legs
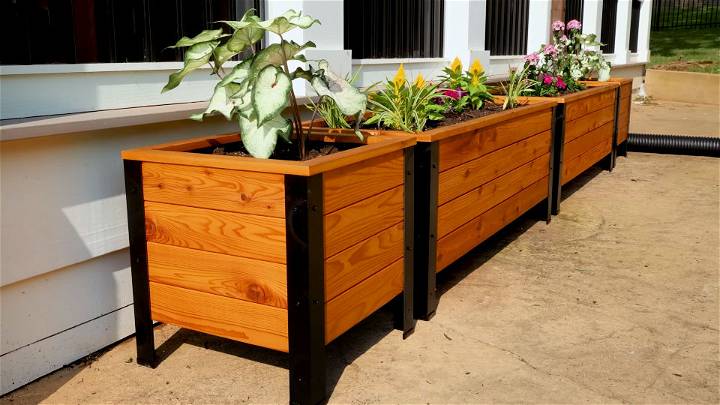
Wanting a modern look, I chose steel-angled legs for their sharp contrast against the cedar. This was a new adventure for me, but I found it was nothing to shy away from. A simple metal-cutting saw was all I needed. For those apprehensive about working with steel, aluminum is a great alternative.
Embracing Mistakes and Creative Solutions
A critical part of DIY is learning from mistakes. In my case, a slight miscalculation in assembly required me to creatively cover up misplaced screw holes. Using a plug cutter, I made cedar plugs from scrap wood, ensuring the grain direction matched for a seamless look. This not only fixed the issue but also added a hint of character to the boxes.
Internal Liner: Double Protection
To ensure longevity, I lined the interior with heavy-duty plastic from cut-up laundry bags, poked drainage holes aligned with the bottom slats, and added a layer of landscape fabric for extra durability. This dual-layer approach guaranteed efficient drainage while preventing soil from escaping, ensuring my plants would thrive.
Customization Ideas for Your DIY Planter Box
Building a DIY planter box is not just about functionality; it's also an opportunity to add a personal touch to your garden or home. Here are some unique and practical ideas to customize your planter box that are sure to inspire gardeners of all levels.
Choose Your Style
- Modern Minimalist: For a sleek look, consider a simple rectangular design with clean lines. Use a monochromatic color scheme like black, white, or grey, and materials such as polished concrete or metal.
- Rustic Charm: To achieve a country or rustic vibe, use reclaimed wood and leave it unfinished for a natural look. Add vintage handles or cast iron wheels for a touch of antiquity.
- Bohemian Rhapsody: Embrace the boho style with bright colors and patterns. Mosaic tiles, painted designs, or even a collage of colorful fabric can make your planter box stand out.
Functionality Meets Design
- Self-Watering System: Incorporate a self-watering feature to keep your plants hydrated with minimal effort. This can be as simple as adding a reservoir at the bottom of the box.
- Built-In Bench: If space allows, add a bench to one side of your planter box. It's a great way to build a cozy spot to enjoy your garden.
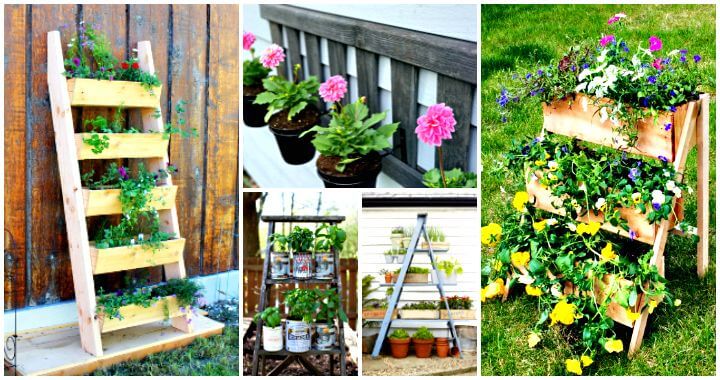
- Stackable Layers: For those with limited space, design your planter boxes to be stackable. This vertical approach can add depth and dimension to your garden.
Personalize with Accessories
- Plant Labels: Make your own plant labels from popsicle sticks, stones, or even repurposed wine corks. It's a fun way to keep track of what you've planted.
- LED Lights: Add some LED string lights around the edges of your planter box for a magical nighttime glow.
- Tool Storage: Attach hooks or a small shelf under the planter box to keep your gardening tools handy.
These ideas are just a starting point; feel free to mix and match or come up with entirely new features that reflect your personal style and meet your gardening needs.
Troubleshooting Common Issues with DIY Planter Boxes
When it comes to maintaining your DIY planter boxes, being proactive can save you a lot of trouble. Here's a guide to help you identify and fix common issues that might arise.
Addressing Wood Warping and Gaps
Wood warping is a natural occurrence due to moisture changes. To prevent gaps:
- Choose quality, kiln-dried wood.
- Seal the wood with a waterproof coating.
- For existing gaps, use weather-resistant shims to fill them.
Ensuring Proper Drainage
Poor drainage can lead to root rot. To improve drainage:
- Elevate the box using non-rotting supports like bricks or plastic shims.
- Ensure there are enough drainage holes at the bottom.
- Use a well-draining soil mix.
Leveling Planter Boxes
An uneven planter box can cause water to pool. To level it:
- Place shims under the lower side until it's horizontal.
- Check with a spirit level for accuracy.
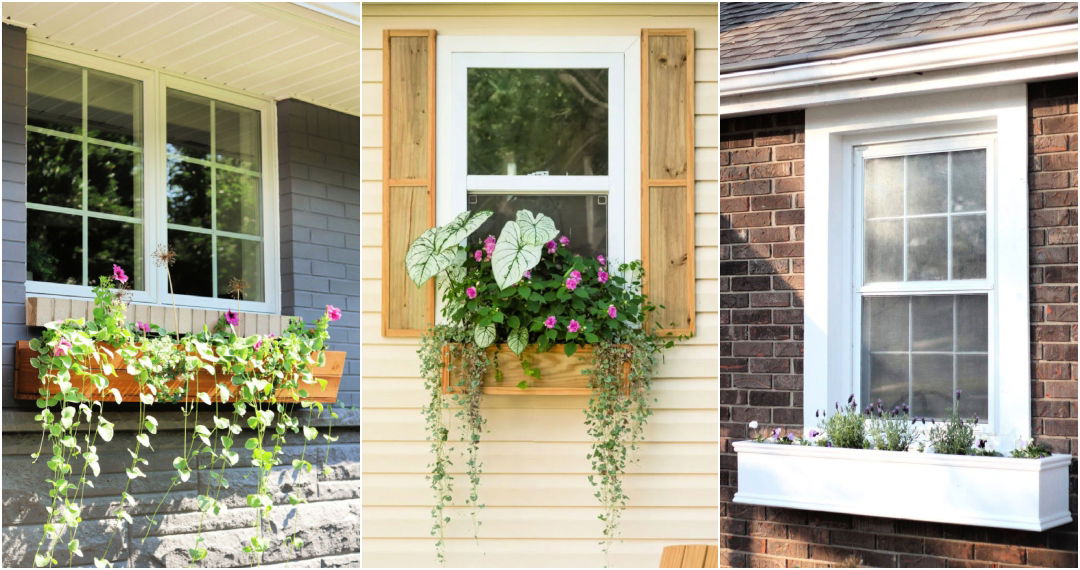
Protecting Siding with Window Boxes
To prevent damage to your siding from window boxes:
- Use soft shims as a buffer between the box and siding.
- Ensure the box is securely fastened and level.
By regularly checking for these issues and addressing them promptly, you can keep your planter boxes in great shape for years to come.
FAQs About DIY Planter Boxes
When embarking on a DIY planter box project, it's natural to have questions. Here are answers to some of the most commonly asked questions to help you get started on the right foot.
What Materials Should I Use for My Planter Box?
The best materials for a DIY planter box are those that balance durability with aesthetics. Wood is a popular choice, with cedar, redwood, and teak being top picks due to their resistance to decay and pests. For a more modern look, metal or plastic can be used, but keep in mind that metal may rust over time, and plastic may not have the same natural look and feel as wood.
How Do I Ensure Proper Drainage in My Planter Box?
Proper drainage is crucial to prevent waterlogging and root rot. Make sure your planter box has multiple drainage holes at the bottom. Elevate the box using feet or risers to allow excess water to escape easily. Additionally, using a well-draining soil mix will help maintain the right moisture balance.
Can I Build a Planter Box If I'm Not Skilled in Carpentry?
Absolutely! DIY planter boxes can be simple to construct and don't require advanced carpentry skills. There are many plans available that provide step-by-step instructions suitable for beginners. Start with a basic design and as you gain confidence, you can try more complex projects.
What Size Should My Planter Box Be?
The size of your planter box will depend on the space available and the types of plants you want to grow. For small spaces like balconies, consider compact boxes or vertical planters. If you're planning to grow vegetables or larger plants, make sure the box is deep enough to accommodate the roots and wide enough to give each plant enough space to grow.
How Can I Protect My Planter Box from Weather Damage?
To protect your planter box from weather damage, apply a sealant or wood preservative to the exterior. This will help repel water and protect the wood from UV rays. If you're using metal, choose a rust-resistant variety or apply a protective coating to prevent corrosion.
The End Result: Satisfaction and Beauty
Filling the boxes with potting soil and my favorite plants was the final step in this rewarding project. The clean and simple planter boxes added a modern touch to my garden and porch, offering a new home for my plants and vegetables.
This project was more than just making a beautiful garden addition; it was about learning, adapting, and enjoying the process. Whether you're experienced or a beginner, these planter boxes make a great weekend project to update your outdoor space. I'm already planning my next project, inspired by the success and joy of this one.


