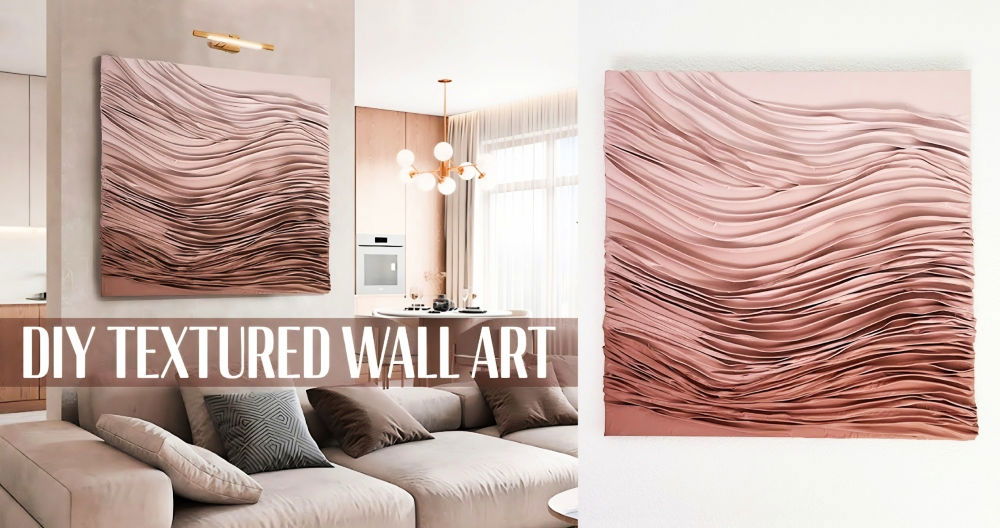
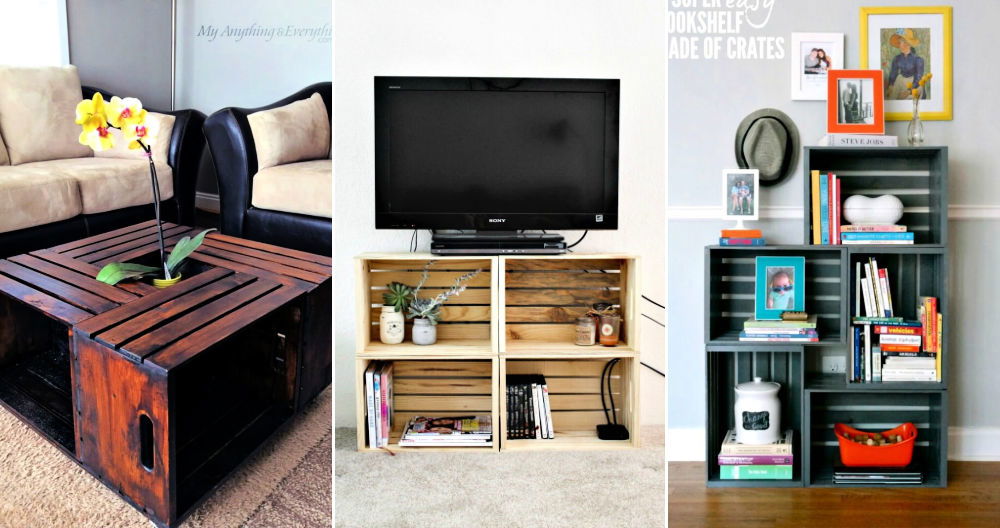
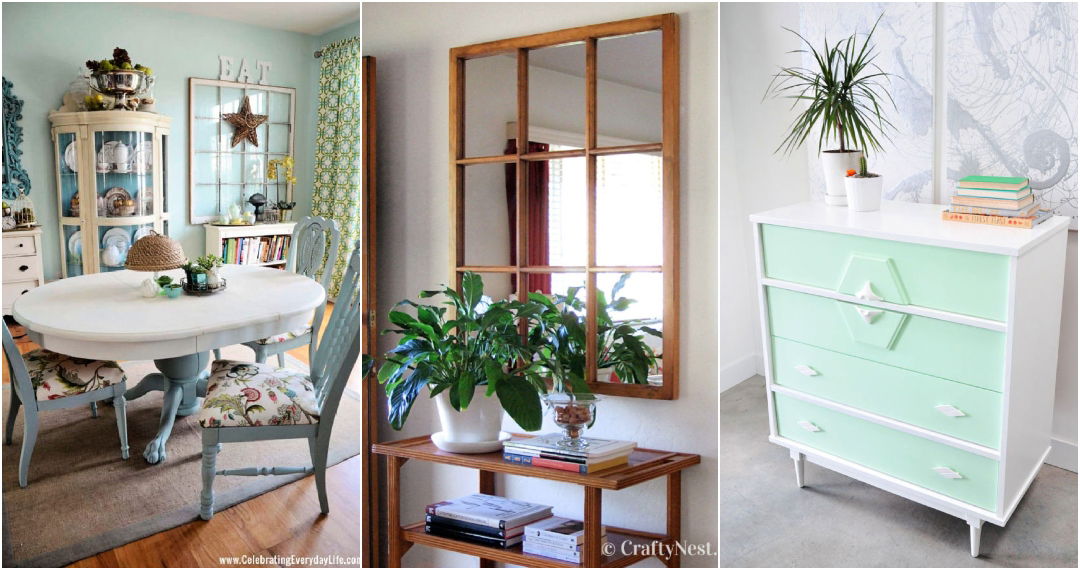
Making DIY plaster art was an exciting journey for me. One day, I came across a video about plaster art on canvas. Inspired, I decided to try it myself. The texture and creative freedom plaster offers drew me in. I gathered my materials and found it to be an enjoyable and satisfying craft. You don't need special skills—anyone can make beautiful home decor with plaster.
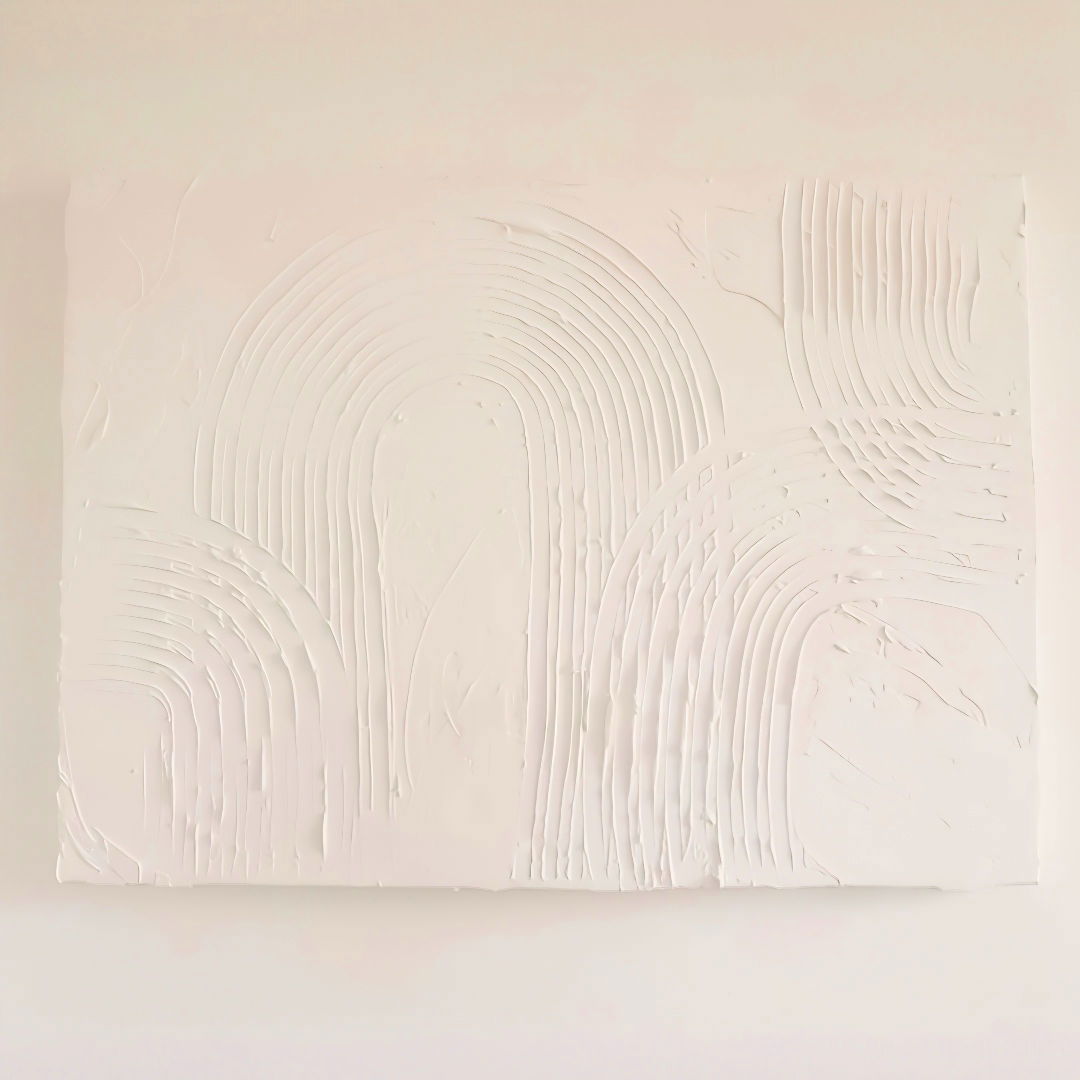
The joy of making DIY plaster art is unmatched. I spent hours experimenting with different designs, and each canvas turned out unique. The process is therapeutic, and the results are impressive. Your home can have a personal touch with each piece, reflecting your creativity. This experience has been rewarding, and I encourage you to start your own plaster art projects. I'm helping you with these tips to get started!
Why Choose This DIY Plaster Art?
The allure of minimalist textured canvas lies in its simplicity and elegance. It's a versatile piece that fits seamlessly into various decor styles, adding a touch of sophistication. Furthermore, engaging in a hands-on project like this serves as a therapeutic exercise, allowing one to focus on creativity rather than dwelling on stressors.
Materials You'll Need:
- Deep Edge Canvas (22 x 30 inches): The depth contributes to the richness of the artwork, giving it a striking presence on any wall.
- Multi-Purpose Filler (Plaster Component): This serves as the main ingredient, providing the texture and desired effect on the canvas.
- Artist Painting Knife: While a basic scraper could suffice, an artist knife offers precision in sculpting the plaster.
- Adhesive Spreader (10 mil notch): Essential for carving those stunning arches that radiate a contemporary vibe.
- A Cup of Tea (Optional): For me, a warm cup is a comforting ritual that complements any creative session.
Step by Step Instructions
Make pretty DIY plaster art with our step-by-step guide. From setting up to the final touch, master each stage effortlessly.
Setting Up Your Space
Begin by designating a workspace where you can freely make a mess. Lay down newspapers or a drop cloth to catch any drips or spills. Make sure your chosen spot is well-ventilated; plaster can get a bit dusty.
Prepping the Canvas
Position your deep edge canvas on a flat surface. The larger the canvas, the more statement-making your piece will be. Ensure it's secure and won't shift as you work.
Mixing the Plaster
Following the instructions on your multi-purpose filler, prepare the plaster. Aim for a consistency that's easy to spread but not too runny, as you would want it to hold the textures you make.
Applying the Plaster
Using the artist painting knife, apply the plaster to the canvas. There's something deeply satisfying about spreading it across the surface, feeling it shift and mould under the tool. Remember, there's no right or wrong way to do this; let your intuition guide your hand.
Making Textures
Now, the fun part begins. With the adhesive spreader, start carving out arches or any design that resonates with your aesthetic. This process is trial and error, so don't be afraid to experiment. The first few tries might not be perfect, but they contribute to the piece's character. The 10 mil notch on the spreader was perfect for the job, cheap yet effective.
Drying and Reflecting
After completing your design, allow the piece to dry fully. This might take a few hours, but it's essential for the plaster to set correctly. Use this time to clean up your workspace and reflect on the process. It's surprising how much creative work mirrors life - requiring patience, resilience, and a dash of courage to try something new.
The Final Touch
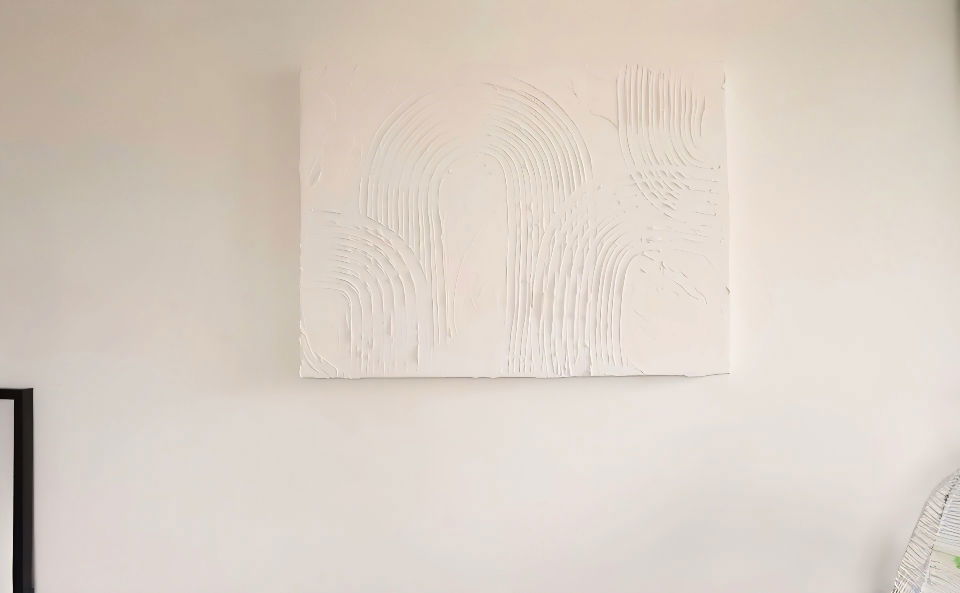
Once dry, you may choose to add a hanging kit to your masterpiece. Then, find the perfect spot in your home where this piece can truly shine. For me, replacing a glossy, reflective print with this matte, textured piece transformed the room's ambiance, making it feel more grounded and serene.
Maintenance and Care of Plaster Art
Maintaining and caring for your plaster art is crucial to ensure its longevity and beauty. Here's a straightforward guide to help you keep your plaster creations in top condition:
Regular Dusting
Dust your plaster art regularly using a soft, dry cloth or a gentle brush. This prevents dust particles from accumulating, which can dull the surface over time.
Avoiding Moisture
Keep your plaster art away from high humidity areas. Moisture can weaken the plaster, leading to cracks or mold. If your piece gets wet, dry it immediately with a soft cloth.
Handling Cracks and Chips
If you notice small cracks or chips, you can fill them with a plaster repair mix. Apply it carefully, following the product's instructions, and sand it down once dry for a smooth finish.
Cleaning Stains
For stains, use a damp cloth with a bit of mild detergent. Gently dab the stained area without rubbing to avoid damaging the surface. Always test on a small, inconspicuous area first.
Painting and Sealing
If you're painting your plaster art, use acrylic paints as they adhere well to plaster. After painting, apply a clear sealant to protect the paint and plaster from scratches and moisture.
Displaying Your Art
When displaying your art, choose a stable and secure location where it won't be easily knocked over. Avoid direct sunlight, which can fade colors over time.
Professional Restoration
For significant damage, consider consulting a professional restorer. They have the expertise to repair and restore your plaster art without compromising its integrity.
Follow these simple care instructions to enjoy your plaster art for years. Regular maintenance preserves beauty and structure.
Safety Precautions for DIY Plaster Art
When making DIY plaster art, safety is paramount. Here's a clear and straightforward guide to keep you safe while you craft:
Wear Protective Gear
Always wear protective gear. This includes safety goggles to shield your eyes from dust, gloves to protect your hands, and a dust mask to prevent inhalation of fine particles.
Work in a Well-Ventilated Area
Plaster can generate a lot of dust, which isn't good to breathe in. Make sure you're working in an area with good airflow or use a fan to help circulate the air.
Keep Your Workspace Clean
A clean workspace helps prevent accidents. Regularly sweep up plaster dust and keep your tools organized.
Handle Tools with Care
Use tools like scrapers and sanders with care. Always point sharp edges away from you and others, and store them safely when not in use.
Follow Instructions
Whether you're mixing plaster or applying it, follow the manufacturer's instructions carefully. This ensures both a quality finish and your safety.
Be Mindful of Allergies
If you have allergies, especially to dust, take extra precautions. Consider wearing a long-sleeved shirt and long pants to minimize skin exposure.
Dispose of Waste Properly
Don't wash excess plaster down the sink, as it can harden and block pipes. Instead, let it dry out and dispose of it with your regular trash.
Follow these safety tips to enjoy making plaster art safely. Preparing and protecting yourself is essential for any DIY project.
FAQs About DIY Plaster Art
Discover answers to common questions about DIY plaster art. Explore techniques, materials, and tips for making beautiful plaster artworks.
Choose a canvas that fits the space you have in mind. Ensure it’s made from cotton canvas fabric and stretched on plywood stretchers for strength. The canvas must be primed so that the paint and joint compound adhere properly. If you’re using a pre-primed canvas, you can skip the priming step.
Yes, you can add color to your plaster art. Once the plaster has dried, you can apply acrylic paint to the surface. Experiment with different painting techniques like sponging or stippling to create unique effects. Remember to seal the plaster with a varnish afterward to protect your artwork.
Some common mistakes include:
Not preparing the canvas properly, which can lead to poor adhesion.
Applying the plaster too thickly, which may cause cracking.
Working too slowly, as plaster dries quickly and can become difficult to spread if not worked with promptly.
To ensure longevity:
Use a high-quality primer specifically designed for stucco or plaster.
Apply a clear sealant like acrylic varnish after the plaster has dried to protect it from moisture and wear.
If your artwork is heavy, plan to use anchor bolts or screw into a stud to hang it securely.
Making texture in your plaster art is a fun and creative process. Here's how you can do it:
Prepare your joint compound by mixing it to a smooth, spreadable consistency.
Apply the compound to the canvas using a putty knife or palette knife. You can apply it thickly for a more dramatic texture or thinly for a subtle effect.
Make patterns and textures using tools like a notched trowel, combs, or even household items like sponges or crumpled paper.
Spray water lightly on the surface if the plaster starts to dry too quickly as you work.
Let it dry completely before painting or sealing.
Reflecting on the Journey
With this guide, making DIY plaster art on canvas becomes fun and accessible. You will enjoy it as much as I did, and your home will thank you for it. Enjoy the process, be creative, and make each piece your own masterpiece. This is your opportunity to add a unique touch to your living space. Embrace the simplicity, and let your creativity flow.


