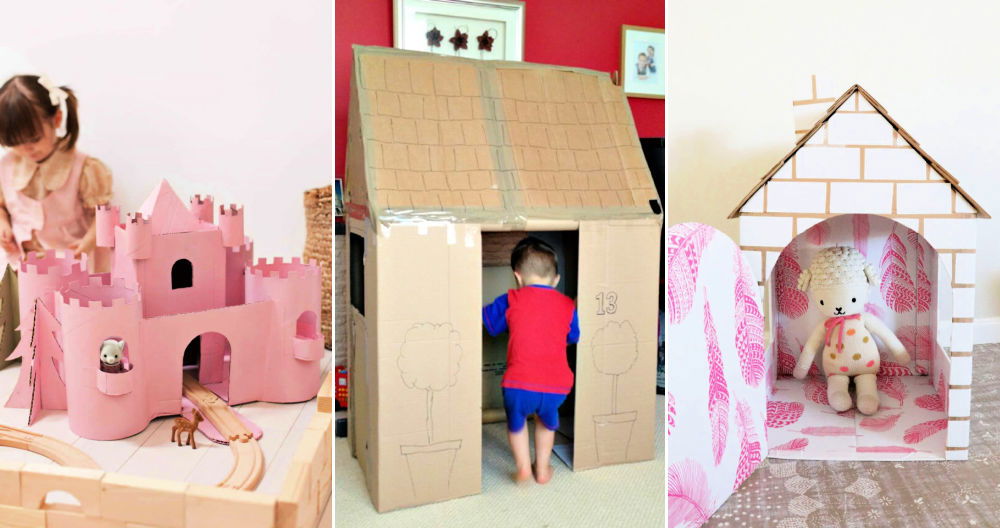
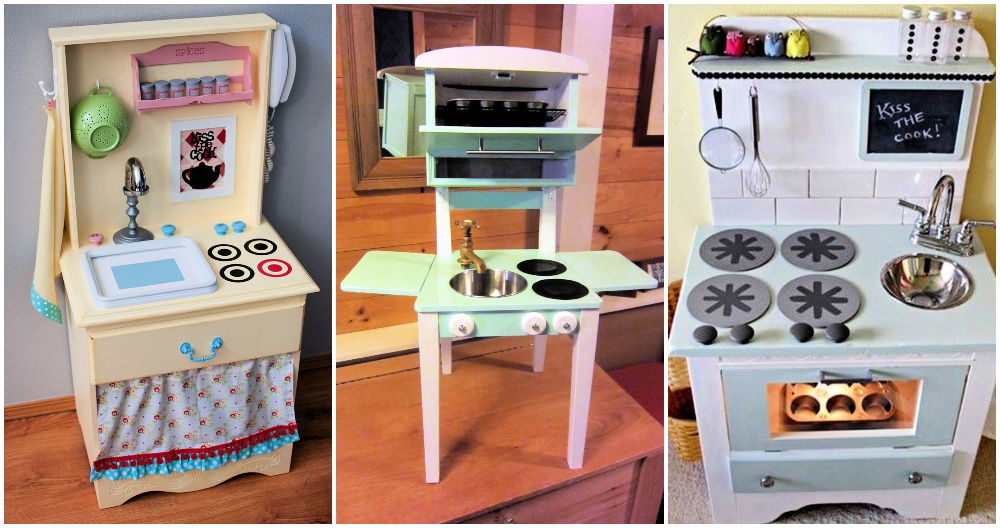
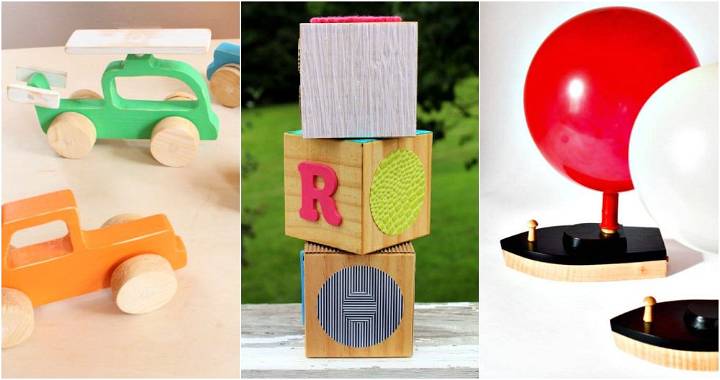
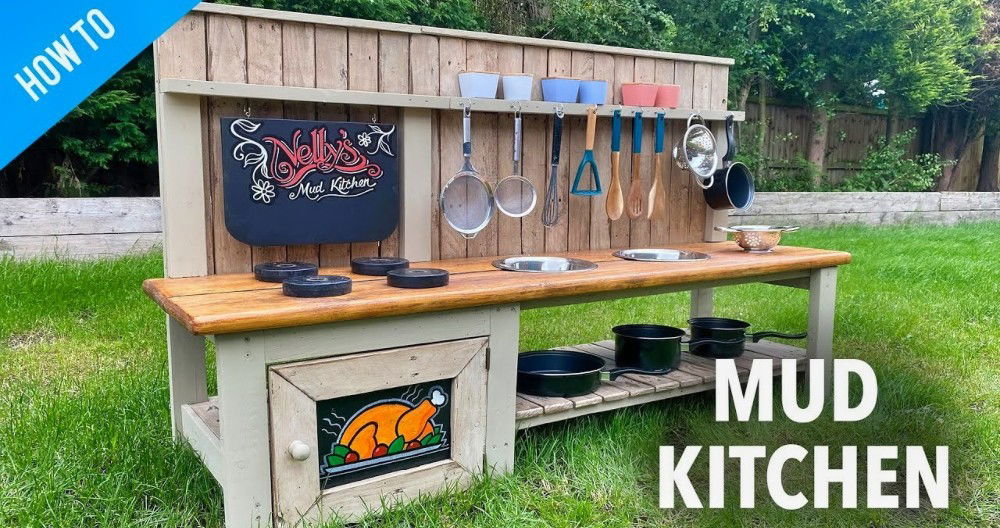
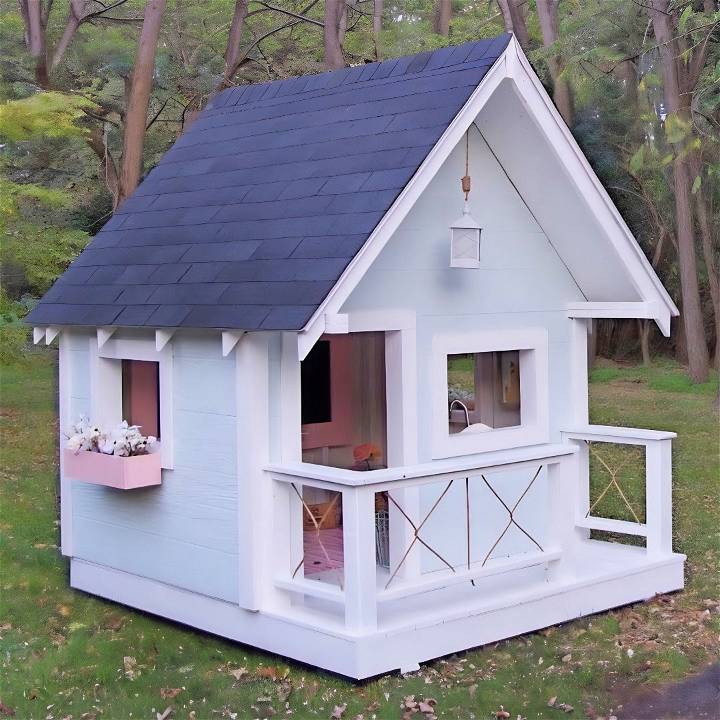
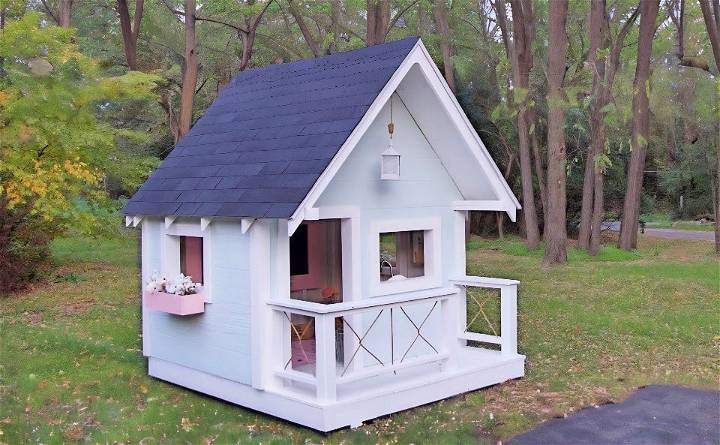
Embarking on the journey to build a DIY playhouse for my child was a mixture of excitement and apprehension. I wanted to build a space that my daughter could call her own, where her imagination could run wild. My experiences, combined with invaluable insights from an instructional video by Jameson at Rogue Engineer, paved the way for this fulfilling project. Below, I share a step-by-step guide, imbued with personal learnings and tips, to help you build your own kid's playhouse, ensuring it's a joyful and rewarding venture.
Materials You Will Need
- Pressure Treated Lumber: Vital for the base to ensure longevity and resistance against the elements.
- 2x4 and 2x6 Wood Pieces: For the framing and structure.
- 5/4 in x 6 in Decking Boards: These will be used for the flooring.
- Exterior Siding Panels: Choose an inexpensive option that mimics wood grain.
- 1932 of an Inch Plywood: For the roof sheathing.
- Exterior Paint: Opt for a high-quality option like PPG's Manor Hall Exterior Paints.
- Shingles: We chose three-tab shingles for simplicity.
Each material was chosen with both durability and aesthetics in mind. The pressure-treated lumber and high-quality paint ensure that the playhouse can withstand weather and time, while the chosen shingles and siding add a charming appearance.
Essential Tools
You'll need a saw (circular, jigsaw, and reciprocating), a drill with various bits, a speed square, a hammer, and painting supplies. Having the right tools will streamline the building process and minimize hiccups along the way.
Building The Structure
Learn how to build the perfect DIY playhouse structure with our comprehensive guide. Easy step-by-step instructions for all skill levels.
Step 1: Building the Base
The project kicked off with the foundation. Using 2x6 pressure-treated lumber, we constructed a sturdy base. We secured 4x4 skids beneath the structure for mobility, allowing us to move the playhouse if needed. This foundation guarantees that the playhouse remains elevated, away from direct contact with the ground.
Step 2: Decking
Next, we installed the flooring using 5/4 in x 6 in decking boards. Notching out sections for the posts with a jigsaw was a bit tricky but manageable. It was a valuable lesson in patience and precision. Importantly, pre-drilling holes prevented the wood from splitting—a mistake I learned the hard way.
Step 3: Walls and Supports
Constructing the walls from untreated lumber was a cost-effective choice since the exterior paint would protect them from the elements. Erecting the walls and ensuring they were square laid the groundwork for a solid structure. Additionally, installing the siding not only added to the aesthetics but also provided rigidity to the walls.
Step 4: Roof and Rafters
Cutting and installing the rafters was a pivotal step. A 48* ° cut buildd the perfect pitch. Once the ridge plate was in place, secured with temporary supports, attaching the rafters was straightforward. Marking the positions beforehand made the process smoother. The sheathing, cut from 1932 of an inch plywood, provided the base for the shingles.
Finishing Touches for DIY Playhouse
Discover the best finishing touches for your DIY playhouse with tips on painting, roof shingles, and adding personal touches for a customized look.
Painting
Choosing the right exterior paint was crucial. The visit to Chelsea Lumber for PPG's Manor Hall paints was enlightening; their expertise guided us to the perfect hues. Painting before installing the roof shingles kept the process neat.
Roof Shingles
Opting for three-tab shingles was a choice of simplicity and ease. Installing them was less daunting than anticipated and gave the playhouse a finished look.
Personal Touches
The joy in accessorizing the playhouse was in the details. From the custom-cut siding to the choice of door knobs, every element added a personal touch. Integrating a rope ladder not only enhanced the aesthetic but also promised endless fun for my daughter.
Lessons Learned and Triumphs Earned
Reflecting on the project, pre-planning played a pivotal role in its success. Allocating time for each step, ensuring all materials and tools were at hand, and embracing learning curves made the process enjoyable. Witnessing the excitement in my daughter's eyes when she first laid sight on her playhouse was the ultimate reward.
Embracing The Process
Diving into this project required patience, a willingness to learn, and a hefty dose of creativity. Each step, from the foundational base to the joyful application of paint, was imbued with anticipation and care.
The Art of Problem-Solving
Not every step went as planned. The minor mishaps, like the split wood due to skipped pre-drilling, were learning moments. They emphasized the importance of following tried-and-true woodworking practices – a nod to the value of pre-drilling and the forgiving nature of wood glue.
The Joy of Building for Loved Ones
The process was not just about constructing a structure but about building a haven of joy for my child. It transcended the physical work, embedding within it memories and moments of joy, collaboration, and pride.
Customization Ideas for Your DIY Playhouse
Building a playhouse is not just about building a structure; it's about crafting a space where children's imaginations can soar. Here are some ideas to make your DIY playhouse a unique and cherished spot:
- Choose a Theme: Start by selecting a theme that resonates with your child. Whether it's a castle for a budding knight or a spaceship for a little astronaut, the theme will guide your customization choices.
- Color It Up: Use vibrant, non-toxic paints to bring the playhouse to life. Colors can transform the playhouse into an inviting and stimulating environment. Consider using chalkboard paint for one of the walls, so kids can draw and decorate their space.
- Add Textiles: Soft furnishings can make the playhouse cozy. Think about adding curtains, cushions, or a small rug. Choose durable, washable fabrics that can withstand playtime.
- Let There Be Light: Good lighting is important. If electricity is an option, install safe, low-voltage LED lights. Otherwise, consider solar-powered or battery-operated lights for a touch of warmth.
- Interactive Elements: Install features that encourage play, like a steering wheel, periscope, or a pretend telephone. These elements can be easily attached and provide endless fun.
- Outdoor Touches: If the playhouse is outside, incorporate nature. Plant a small garden or attach a bird feeder to a window. It's a great way to teach children about nature and caring for the environment.
- Safety First: Ensure all customizations are safe. Avoid sharp edges, secure all elements firmly, and use materials that are appropriate for children.
Remember, the goal is to build a space that feels special and personal to your child. It should be a place where they can dream, learn, and play. Keep it simple, safe, and fun!
Maintenance and Upkeep for Your DIY Playhouse
Keeping your DIY playhouse in top condition ensures it remains a safe and enjoyable place for children to play. Here's how you can maintain and care for it:
- Regular Cleaning: Sweep the interior regularly to remove dirt and debris. Wipe down surfaces with a mild, child-safe cleaner to keep the playhouse hygienic.
- Inspect and Repair: Check the playhouse periodically for any damage. Look for loose screws, splintered wood, or peeling paint. Make repairs as soon as possible to keep the playhouse safe.
- Weatherproofing: If the playhouse is outdoors, apply a water-repellent finish to protect the wood from rain and sun. Reapply this coating once a year or as needed.
- Pest Control: Keep an eye out for signs of pests like insects or rodents. Use natural deterrents or contact a professional if you notice a problem.
- Update and Refresh: As children grow, their interests change. Update the playhouse with new paint or accessories to keep it exciting and relevant for them.
- Involve the Kids: Teach children to take care of their playhouse. Simple tasks like tidying up and decorating can help them learn responsibility.
By following these tips, you'll ensure the playhouse remains a delightful retreat for years to come. Remember, a little effort goes a long way in preserving this special space.
FAQs About DIY Playhouses
Discover everything you need to know about DIY playhouses with this comprehensive FAQs guide. Get tips, ideas, and step-by-step instructions today!
How do I ensure the playhouse is safe for my children?
To ensure safety, make sure the structure is stable and robust. Use screws instead of nails for a stronger hold, sand down any rough edges, and ensure there are no protruding parts that could cause injury. Regularly inspect the playhouse for any wear and tear, and make repairs as needed.
Can I build a playhouse if I have limited space?
Yes, you can build a playhouse even with limited space. Consider a smaller, modular design that can fit in a corner of your yard or garden. You can also build a foldable or wall-mounted playhouse that can be packed away when not in use.
How can I customize the playhouse for my child?
Customize the playhouse by involving your child in the design process. Let them choose colors, themes, and features they like. Add interactive elements like chalkboards, climbing walls, or a small slide. Personal touches like these make the playhouse special.
How much time does it take to build a DIY playhouse?
The time it takes to build a DIY playhouse can vary greatly depending on the complexity of the design and your skill level. A simple playhouse can take a weekend to build, while a more elaborate one could take several weeks. Plan accordingly and don't rush the process to ensure safety and quality.
Wrapping Up
This project, though challenging, was immensely gratifying. It was a testament to the power of DIY and the depth of a parent's love. As I watched my daughter's imagination take flight in her new playhouse, every moment spent in planning, building, and perfecting this gift was worth it.
If you've been inspired to embark on this journey, remember that patience, careful planning, and a sprinkle of creativity are your best allies. Here's to building dreams and making spaces for our children to explore, imagine, and grow.


