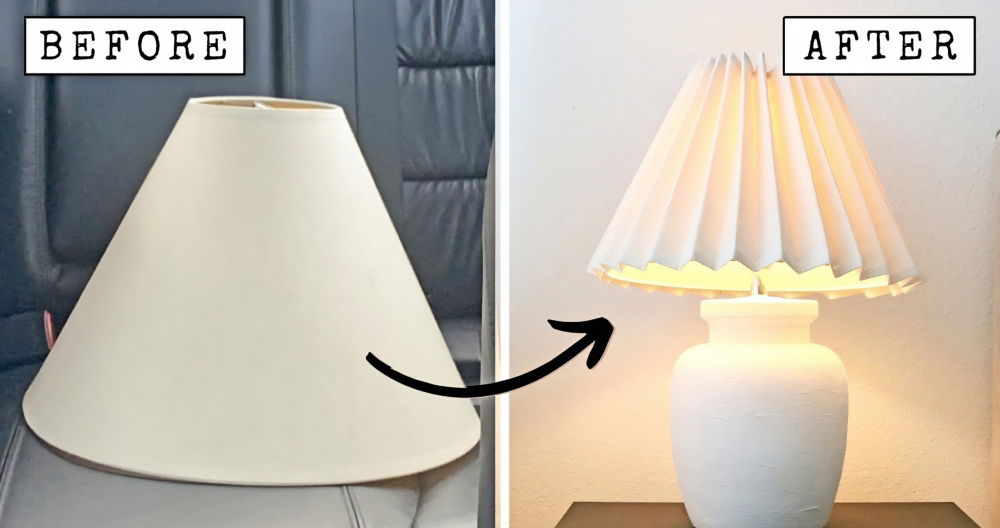
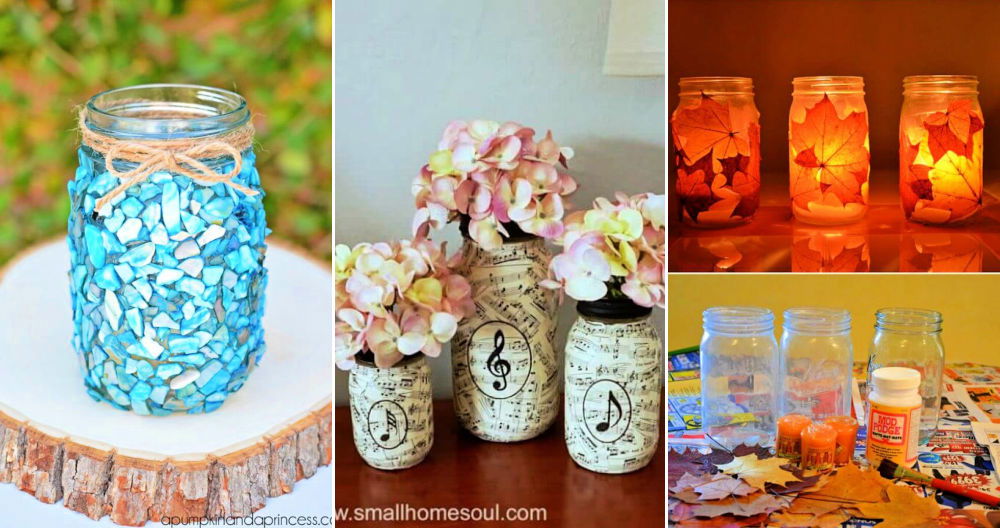
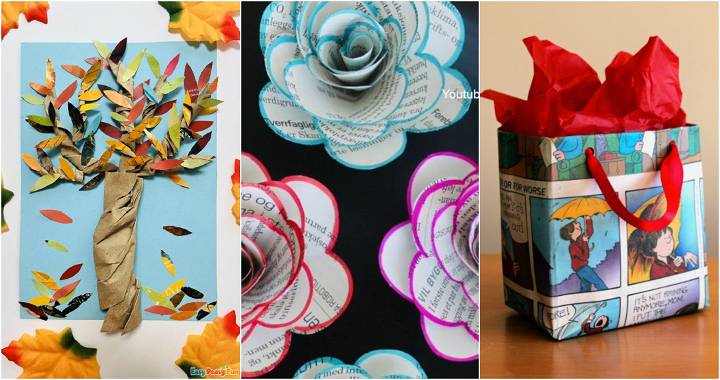
Last weekend, I felt my living room needed a fresh touch. The old lampshades looked dull and didn't match my style anymore. I wanted to update them without spending much money. That's when I thought of making a DIY pleated lampshade myself. I love doing hands-on projects, so this seemed like the perfect way to add a personal touch to my home.
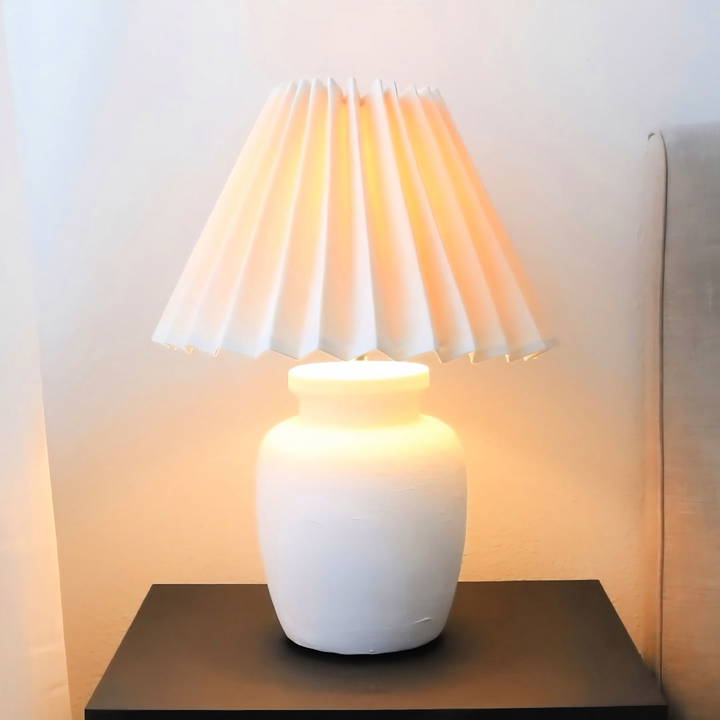
In this guide, I'll share how to make a pleated lampshade just like I did. It's a fun and easy project that can transform your space. I'm here to help you through each step, so let's get started!
Materials Needed
Before we dive into the steps, let's gather the materials you'll need. Each item plays a crucial role in ensuring your DIY project is successful.
- Lampshade: I used two empire-shaped lampshades I found in the Marketplace. Their conical shape gives that vintage look.
- Fabric: I bought two yards of thick, durable fabric from Joann's. The cross-stitching on the fabric gives it a linen-like appearance and adds a luxurious feel.
- Fabric Glue: Essential for securing the pleats and edges without sewing.
- Fabric Stiffener: Helps the pleats hold their shape.
- Fabric Scissors: For cutting the fabric to the required size.
- Hot Glue Gun: For attaching the pleated fabric to the lampshade.
Step by Step Instructions
Learn how to make a DIY pleated lampshade with our step-by-step guide! From fabric prep to attaching the shade, make stunning home decor today.
Step 1: Preparing the Fabric
First, cut your fabric to the size you'll need for your lampshade. Here's how I did it:
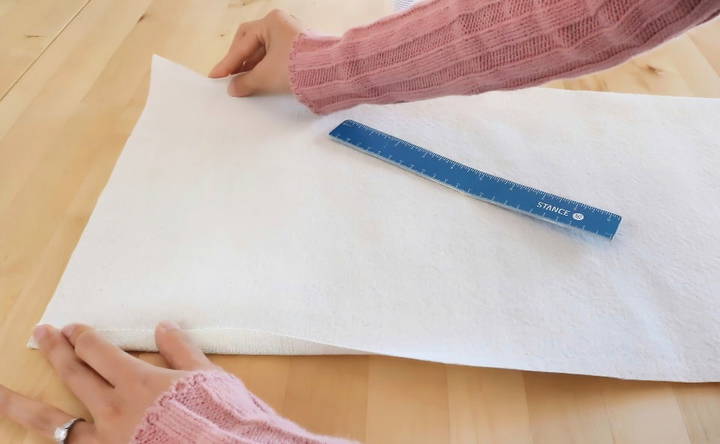
- Measure and Cut: Measure the height of your lampshade. Mine was 11 inches, so I added 2 inches to cover the edges and another inch to fold and glue. I cut a piece of fabric that was 14 inches wide.
- Prepare the Edges: Flip the fabric to the backside. Glue half an inch of fabric along both long edges to make clean, non-frayed borders.
Step 2: Stiffening the Fabric
Stiffening the fabric is crucial for making durable pleats:
- Lay Down Protection: Cover your working area with plastic or newspaper as the stiffening process can be messy.
- Apply Fabric Stiffener: Lay the fabric down with the front side up. Evenly spray or brush fabric stiffener across the entire surface.
- Hang Dry: Let the fabric dry until it's semi-dry but still pliable. This makes it easier to form pleats.
Step 3: Making the Pleats
Now that your fabric is ready, it's time to pleat:
- Begin Folding: Start from one end of the fabric and fold to make one-inch pleats, similar to an accordion.
- Secure with Books: Place heavy books along the edges of your folded fabric to keep the pleats in place.
- Sharpen the Folds: Go over the folds again to make them sharper. The fabric stiffener might still be wet, but that's okay—it helps the pleats hold their shape better.
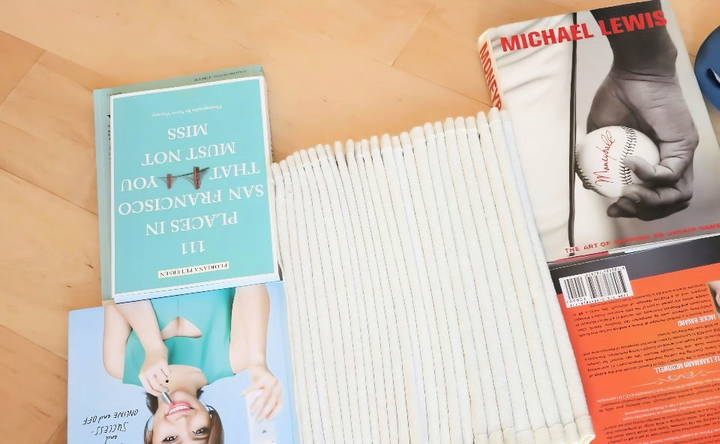
Step 4: Letting it Dry
Allow the fabric to dry completely overnight. This ensures the pleats are thoroughly set and durable.
Step 5: Attaching the Fabric to the Lampshade
Finally, it's time to bring all the elements together:
- Position the Lampshade: Attach the lampshade to its base but leave it loose enough to rotate.
- Hot Glue the Fabric: Apply hot glue to one edge of the pleated fabric and stick it to the lampshade. Repeat this on the opposite edge to anchor the fabric securely.
- Even Out the Pleats: Glue the remaining pleats evenly spaced around the lampshade by dividing and securing the halves repeatedly until all pleats are attached.
- Secure the Bottom Edge: Apply hot glue along the bottom edge of the fabric to further secure the pleats and keep the shape.
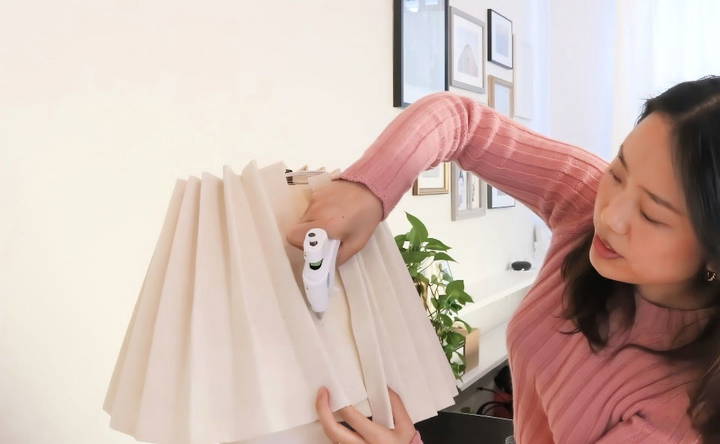
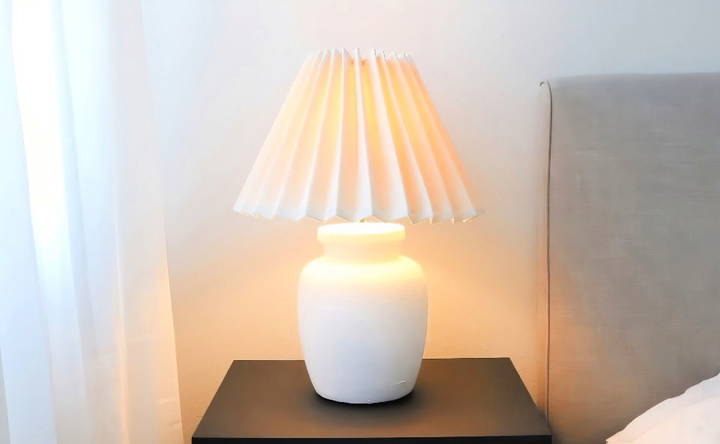
The Final Result
I am beyond thrilled with my pleated lamp shades! They turned out beautifully, and the process was straightforward and enjoyable. Plus, they were significantly cheaper than the $50 to $100 options I found online. This DIY project not only saved money but also allowed me to make something uniquely mine.
Customization Ideas
Customizing your DIY pleated lampshade can make it unique and personal. Here are some easy and creative ideas to help you get started:
- Fabric Choices: Choose a fabric that matches your room's decor. You can use cotton, linen, silk, or even recycled fabric. Patterns like florals, stripes, or geometric designs can add a special touch.
- Adding Trims: Enhance the edges of your lampshade with trims. Options include lace, ribbon, or fringe. These can be glued or sewn onto the bottom and top edges for a polished look.
- Incorporating Patterns: If you prefer a more intricate design, consider using stencils or fabric paint to add patterns. You can make polka dots, chevrons, or any design that suits your style.
- Using Different Colors: Experiment with different colors to make a vibrant lampshade. You can use fabric dye or paint to achieve the desired shade. Ombre effects or color blocking can also add a modern twist.
- Adding Embellishments: Embellishments like beads, buttons, or sequins can make your lampshade stand out. Attach them using fabric glue or by sewing them on. This adds texture and visual interest.
- Mixing Materials: Combine different materials for a unique look. For example, you can use a sheer fabric overlay on a solid base fabric. This makes depth and a layered effect.
- Personalized Touches: Add a personal touch by incorporating elements that reflect your personality. This could be a monogram, a favorite quote, or even small fabric patches from memorable items.
- Seasonal Themes: Customize your lampshade according to the season. Use light, airy fabrics for summer and warm, cozy materials for winter. You can also add seasonal decorations like autumn leaves or spring flowers.
- Eco-Friendly Options: Consider using eco-friendly materials. Recycled fabrics, natural dyes, and sustainable trims can make your project environmentally friendly. This not only looks good but also feels good.
- Lighting Effects: Think about how the fabric and design will affect the light. Sheer fabrics will make a soft, diffused light, while thicker materials will provide a more focused beam. Experiment with different fabrics to see what works best for your space.
By incorporating these customization ideas, you can make a pleated lampshade that is truly one-of-a-kind. Have fun experimenting and let your creativity shine!
Common Mistakes to Avoid
Making a DIY pleated lampshade can be a fun and rewarding project. However, there are some common mistakes that can make the process more challenging. Here are some tips to help you avoid these pitfalls:
- Incorrect Measurements: One of the most common mistakes is not measuring the fabric correctly. Always measure twice and cut once. Ensure you have enough fabric to cover the entire lampshade, including extra for pleats and seams.
- Choosing the Wrong Fabric: Not all fabrics are suitable for pleated lampshades. Avoid fabrics that are too thick or stiff, as they can be difficult to pleat. Lightweight fabrics like cotton or linen work best.
- Uneven Pleats: Making even pleats can be tricky. Use a ruler or a pleating tool to ensure each pleat is the same size. Mark the fabric with chalk or pins to guide your pleating.
- Poor Adhesion: If you are using glue to attach the fabric to the lampshade, make sure it is suitable for fabric and lampshades. Test the glue on a small piece of fabric first to ensure it adheres well and doesn't leave stains.
- Ignoring Safety Precautions: When working with electrical items like lampshades, safety is crucial. Always unplug the lamp before starting your project. Use heat-resistant materials to avoid any fire hazards.
- Skipping the Ironing Step: Ironing the fabric before pleating is essential. Wrinkled fabric can lead to uneven pleats and a messy final look. Take the time to iron out all creases for a smooth finish.
- Not Securing Pleats Properly: Ensure that the pleats are securely fastened. Use strong thread or fabric glue to keep them in place. Loose pleats can unravel and ruin the appearance of your lampshade.
- Overlooking the Lining: A lining can give your lampshade a professional finish and help diffuse the light evenly. Choose a lightweight, light-colored fabric for the lining to enhance the overall look.
- Rushing the Process: DIY projects require patience. Take your time with each step to ensure the best results. Rushing can lead to mistakes and a less polished final product.
- Neglecting to Test the Fit: Before finalizing your project, test the fit of the fabric on the lampshade frame. Make any necessary adjustments to ensure a snug and even fit.
By being aware of these common mistakes and taking steps to avoid them, you can make a beautiful and professional-looking pleated lampshade.
FAQs About DIY Pleated Lampshades
Discover everything you need to know about DIY pleated lampshades with our comprehensive FAQs. Tips, materials, and techniques included!
Yes, you can make a pleated lampshade without sewing. Using a hot glue gun is a popular method. It's quick, easy, and doesn't require any sewing skills. Just ensure you handle the glue gun carefully to avoid burns.
To keep your pleated lampshade looking fresh:
Dust Regularly: Use a soft brush or a vacuum with a brush attachment to remove dust.
Spot Clean: If there are stains, gently spot clean with a damp cloth and mild detergent. Avoid soaking the fabric.
Avoid Direct Sunlight: Prolonged exposure to sunlight can fade the fabric, so place your lamp in a shaded area if possible.
To ensure even and consistent pleats:
Measure Carefully: Use a ruler or measuring tape to mark equal intervals on the fabric.
Iron Precisely: Iron each pleat carefully to maintain sharp, even folds.
Glue Methodically: Attach the fabric to the lampshade slowly, ensuring each pleat is aligned before gluing.
Yes, you can use patterned fabric for a pleated lampshade. However, keep in mind:
Pattern Alignment: Ensure the pattern aligns well with the pleats to avoid a chaotic look.
Light Transmission: Patterns can affect how light passes through the shade, so choose designs that complement your lighting needs.
Here are a few creative variations:
Double Pleats: Make two layers of pleats for a more textured look.
Contrasting Edges: Use a different fabric or trim for the edges to add contrast.
Decorative Elements: Add embellishments like ribbons, beads, or lace to personalize your lampshade.
Conclusion
I hope you found this guide insightful and inspiring. Making your DIY pleated lamp shades is a fun, satisfying way to add a personalized touch to your decor. Whether you're decorating on a budget or seeking a specific look, this no-sew DIY project is perfect for anyone who loves to get creative with home decor.
Let me know below what you thought about this article, and don't forget to give it a thumbs up if you enjoyed it. Make sure to subscribe to my channel to see more DIY and home decor projects, and hit the little bell icon to stay updated on my latest videos. You can also follow me on Instagram to keep up with my projects and connect. Thank you so much for reading, and happy crafting!


