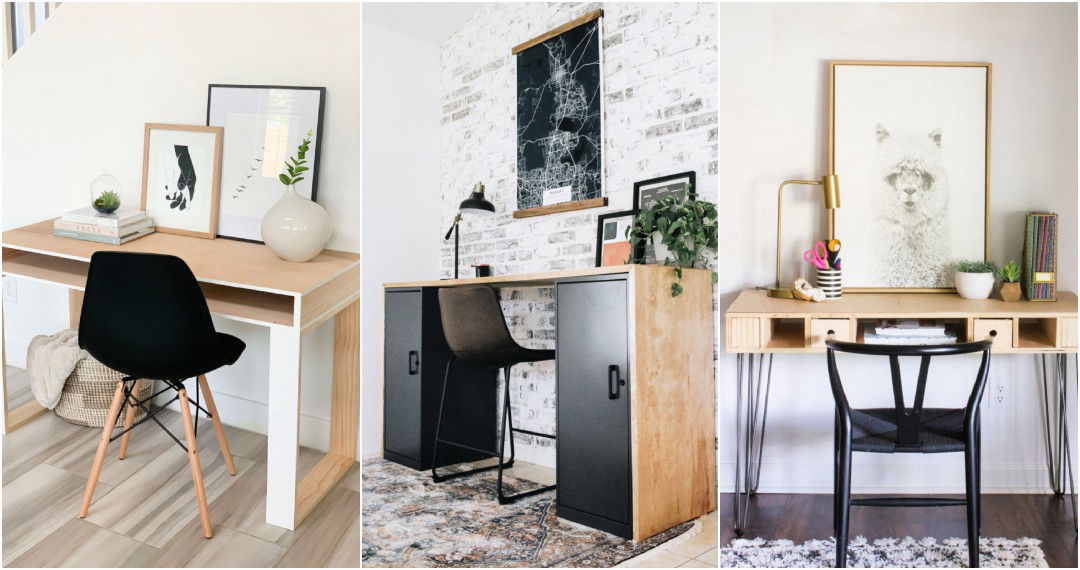
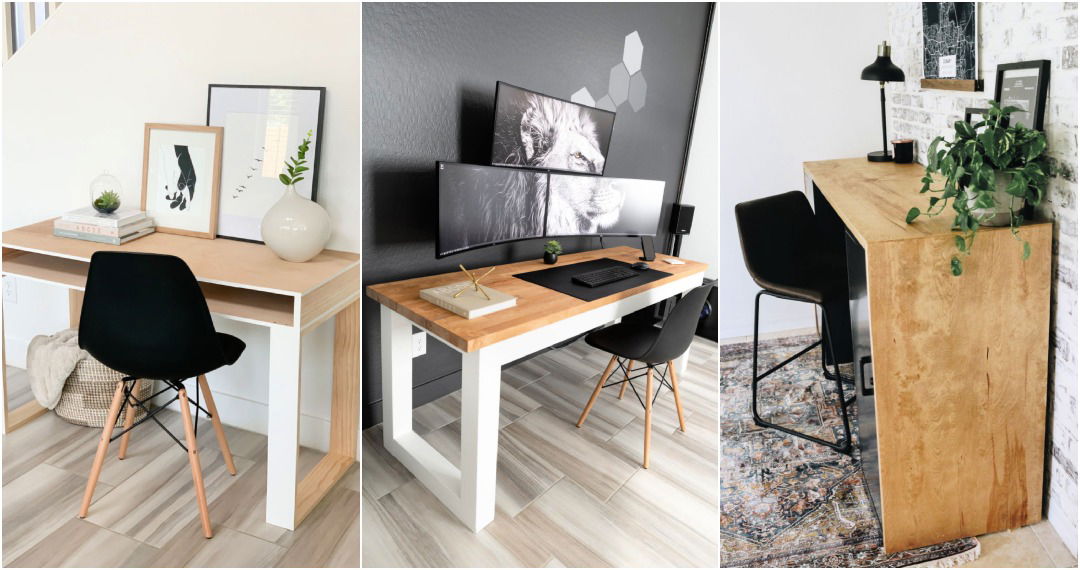
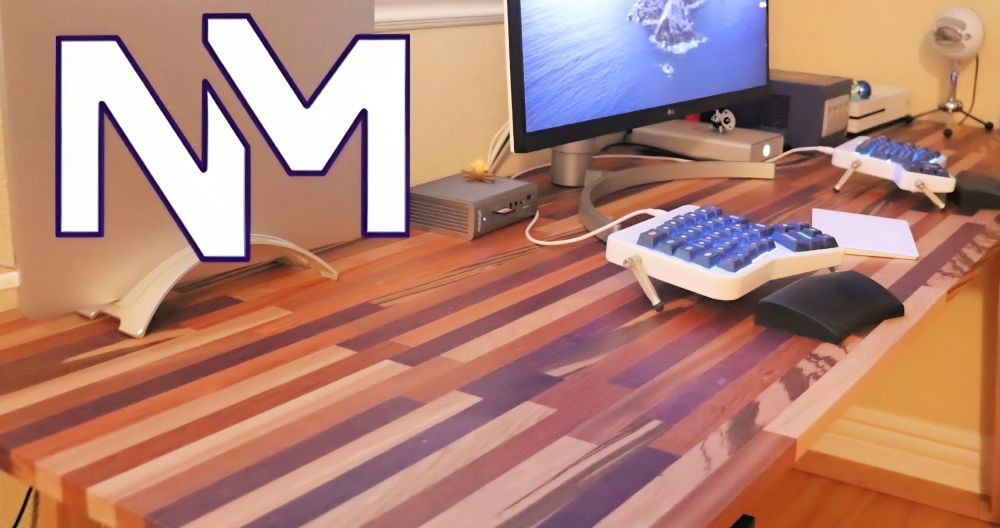
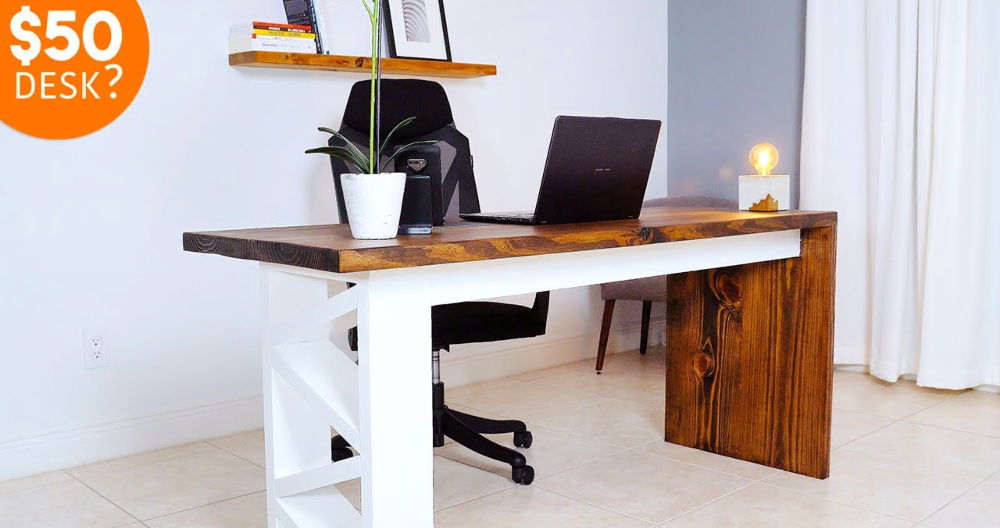
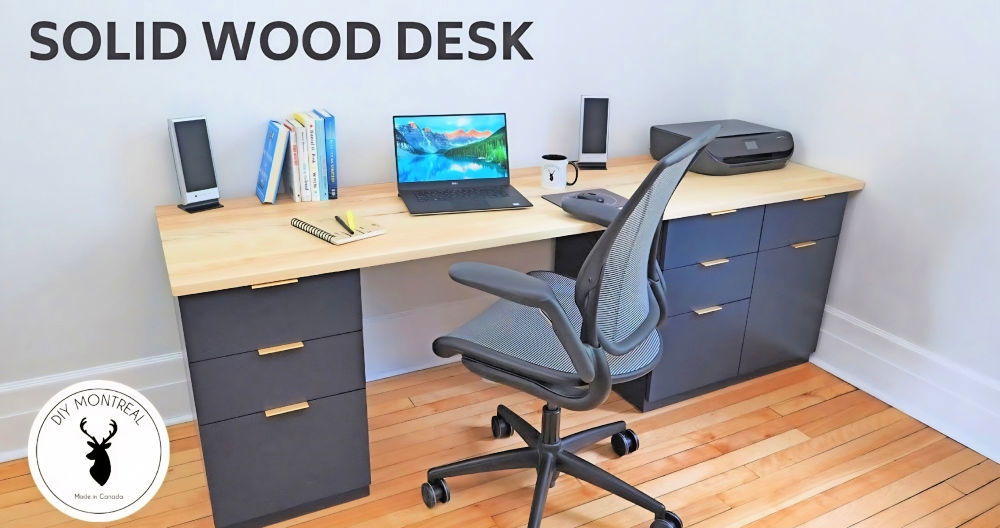
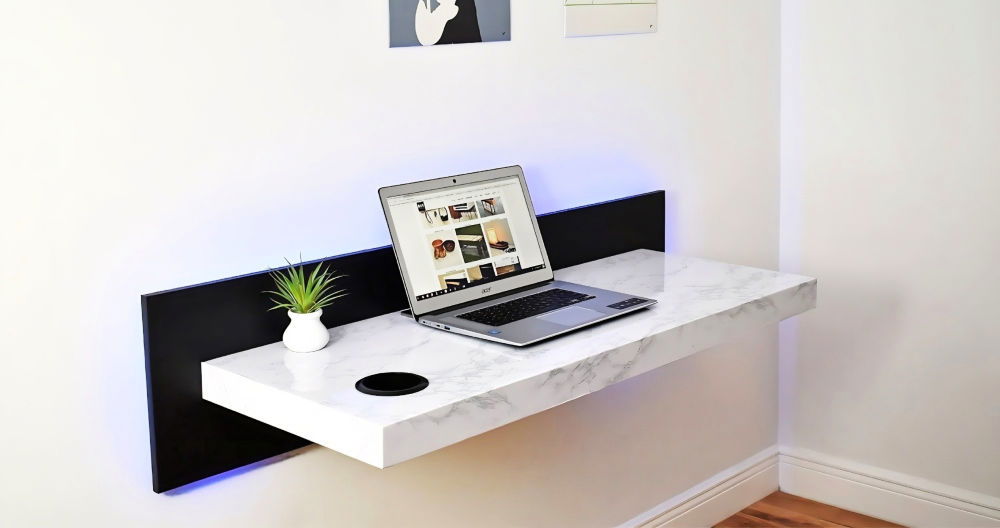
Building my first DIY plywood desk was a rewarding project. I gathered all the materials, including a sturdy piece of plywood, screws, and brackets. Following a simple guide, I measured and cut the wood. Assembling everything took patience, but seeing the desk come together was worth every effort.
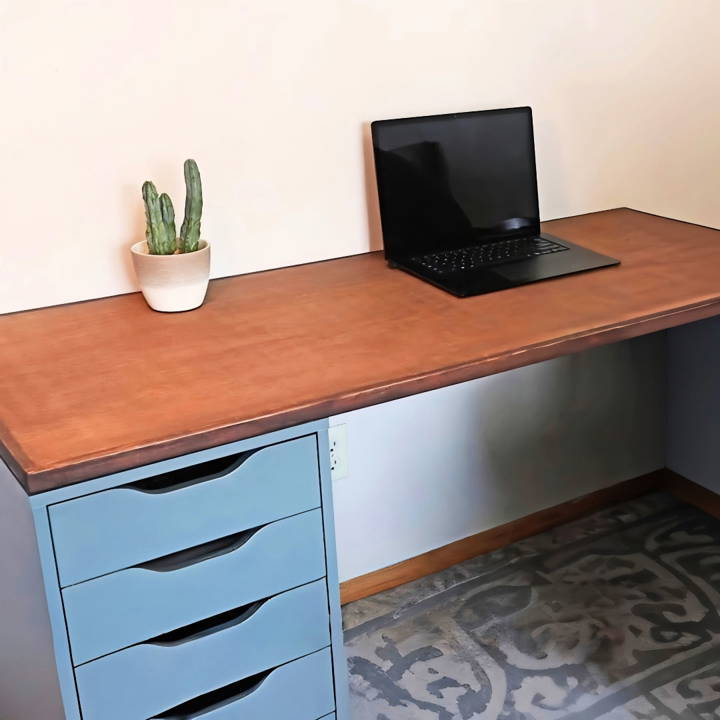
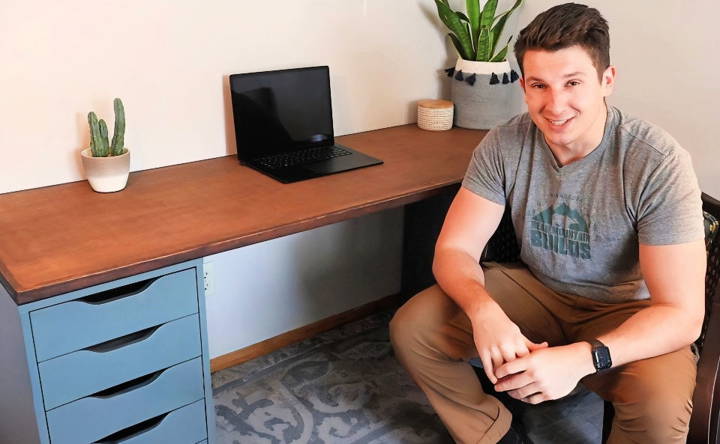
Now, my new plywood desk sits proudly in my home office. It's not only functional but also a personal achievement. I'm sharing this to help you get started on your own project. With some patience and simple tools, you can build a desk that suits your needs. Let this inspire you to start your own DIY creation today!
Materials and Tools: Why Each is Essential
- Half-inch sanded plywood: I chose half-inch sanded plywood for its affordability and smooth surface, which is perfect for a desktop. For those desiring a sturdier desktop, three-quarter-inch plywood is an alternative, though slightly more expensive.
- Titebond II wood glue: A reliable wood glue is essential for laminating the two plywood pieces together, ensuring a strong bond and a seamless top.
- Circular saw and saw guide: These tools were crucial for cutting the plywood with precision. A saw guide, in particular, helped achieve straight cuts, which is essential for a polished final product.
- Clamps and heavy objects (I used logs): Ensuring complete contact and pressure during the lamination process is vital. The clamps hold the edges securely while the heavy objects apply pressure evenly across the surface.
- Aspen board for trim: I opted for a three-quarter-inch Aspen board for my trim and later planned it down to a half-inch thickness for aesthetic reasons. However, this is optional, and one can stick with the original thickness.
- Brad nailer or hammer and finishing nails: For affixing the trim to the desktop edges. A brad nailer speeds up the process, but a hammer and nails work just as well.
- Sandpaper (220 grit): Smoothens the desktop surface and edges, preparing it for staining and finishing.
- Wood conditioner, wood stain, and crystal clear matte polyurethane: These finishes enhance the wood's natural beauty, protect the surface, and give the desktop a polished look.
Step by Step Instructions
Build a DIY plywood desk with our step-by-step guide: cutting, laminating, trimming, adding trim, and finishing.
Step 1: Cutting and Laminating the Plywood
First, I halved a sheet of half-inch sanded plywood using my circular saw and saw guide. If transporting a full sheet of plywood is an issue, most hardware stores can make this cut for you. Once cut, I spread Titebond II wood glue on one piece, ensuring an even coat with a glue roller. Placing the second piece on top, I pressed them together, using clamps around the edges and logs for added pressure in the middle. This setup stayed in place overnight to ensure the glue dried thoroughly.
Step 2: Trimming and Squaring
After the glue set, I removed the clamps and used my circular saw to trim all four sides, ensuring the edges were perfectly square. This step is crucial for a professional-looking finish.
Step 3: Adding the Trim
Using an Aspen board, I planned it down to my desired thickness and cut it into one-inch strips. These were then glued and nailed onto the desktop edges. Not only did this step enhance the desktop's appearance, but it also concealed the plywood layers. An important tip here is to ensure the trim is flush with the top surface for a seamless look.
Step 4: Sanding and Finishing
With the trim in place, I sanded the entire desktop, including the edges, with 220-grit sandpaper to prepare it for finishing. I applied a wood conditioner to ensure an even application of the stain, which I then brushed on. In hindsight, using a cloth might have provided a more consistent finish, but the brush worked sufficiently well. After the stain dried, I distressed the edges slightly for a worn look and sealed the desktop with a coat of crystal-clear matte polyurethane for protection.
Customization Ideas for Your DIY Plywood Desk
Making a DIY plywood desk is not just about building a functional workspace; it's also an opportunity to inject your personality and style into your home or office. Here are some customization ideas to make your plywood desk uniquely yours:
- Choose Your Style: Start by deciding on the overall look you want for your desk. Do you prefer a modern, sleek design or a more rustic, vintage feel? Your style choice will guide the rest of your customization decisions.
- Select Your Finish: Plywood comes in various finishes, from natural and light to dark and rich. Pick a finish that complements your room's decor and apply a protective coat to enhance the wood's natural beauty and durability.
- Add a Pop of Color: If you're feeling adventurous, consider painting part of your desk in a bold color. This could be the legs, the edges, or a drawer front. Use painter's tape to achieve clean lines and a professional-looking finish.
- Incorporate Patterns: Using stencils or freehand designs, add patterns to the desk surface or sides. Geometric shapes, stripes, or even a chevron pattern can add visual interest and make your desk stand out.
- Upgrade Your Hardware: Swap out standard knobs and handles for something more unique. Brass pulls, leather straps or even handmade ceramic knobs can add a touch of elegance and individuality.
- Organize with Accessories: Desk organizers, pen holders, and cable management systems can be both functional and decorative. Choose accessories that match your desk's style and keep your workspace clutter-free.
- Personalize with Art: Attach a favorite piece of art or a motivational quote directly onto the plywood surface. Use decoupage techniques or clear adhesive to secure the artwork in place.
- Illuminate Your Space: Good lighting is essential for any workspace. Install under-cabinet LED strips or add a stylish desk lamp to brighten up your desk and reduce eye strain.
- Ergonomic Touches: Consider adding ergonomic features like a keyboard tray or a monitor stand to improve comfort and posture while working at your desk.
- Make It Multi-Functional: Design your desk with versatility in mind. Add a built-in bookshelf, a hidden compartment, or a fold-down extension to increase its functionality.
The key to a successful DIY project is to have fun and let your creativity shine.
Advanced Techniques for Your DIY Plywood Desk
When you're ready to take your DIY skills to the next level, incorporating advanced techniques into your plywood desk project can result in a more professional and customized piece. Here's how you can elevate your craftsmanship:
- Joinery Mastery: Move beyond simple screws and nails. Try dovetail or box joints for drawers or a mortise and tenon for legs. These traditional joinery methods enhance durability and add a touch of sophistication.
- Edge Banding: Give your plywood edges a clean, finished look with edge banding. You can use iron-on veneer strips that match your plywood. This not only hides the layered edges but also provides a smooth, solid wood appearance.
- Routing for Detail: Use a router to build decorative edges, intricate patterns, or recessed areas for hardware. A chamfer or ogee bit can add an elegant profile to the edges of your desk.
- Inlays and Overlays: Add visual interest with inlays of contrasting wood or materials like metal or leather. Overlays can be cut into intricate designs and affixed to the desk surface for a 3D effect.
- Integrated Technology: Plan for tech integration. Include built-in wireless charging pads, USB ports, or cable management systems to keep your workspace modern and organized.
- Adjustable Components: Consider adding adjustable legs or a tilting desktop section. This allows for a customizable working position, whether sitting or standing.
- Varnishing and Finishing: Apply a high-quality varnish or lacquer for a durable finish—experiment with different sheens, from matte to high gloss, depending on the desired look.
- Lighting Accents: Install LED strip lights underneath shelves or around the desk perimeter. This not only adds ambiance but also improves visibility for detailed work.
- Soft-Close Mechanisms: For any drawers or cabinets, install soft-close hinges and slides. They prevent slamming and add a high-end feel to your furniture.
- Acoustic Considerations: If your desk will be used for audio-related work, think about incorporating sound-absorbing materials or designs that help manage acoustics.
Use advanced techniques to challenge your woodworking skills and craft a standout desk. Measure twice, cut once, and take your time for the best results.
Troubleshooting Common Issues
Building a DIY plywood desk can be a rewarding project, but you might encounter a few hiccups along the way. Here's how to troubleshoot some common issues with simple, clear solutions:
- Warping or Bending Plywood: If your plywood isn't lying flat, it may have warped due to moisture. To fix this, lay the plywood on a flat surface, moisten the concave side, and weigh it down evenly until it dries.
- Rough Edges After Cutting: Plywood can fray or chip at the edges when cut. To prevent this, use a sharp blade and apply masking tape along the cut line before sawing. Sand the edges gently afterward for a smooth finish.
- Difficulty in Screwing: If screws are hard to drive in, they may split the wood. Pre-drill holes are slightly smaller than the screw diameter to make insertion easier and prevent splitting.
- Stain Not Adhering: If the stain isn't taken evenly, it could be due to the plywood's surface. Sand the area lightly with fine-grit sandpaper and clean it before applying a wood conditioner and re-staining.
- Loose Joints: Over time, joints may become loose. Tighten any screws or bolts. If the joint is glued, you may need to disassemble, clean, and re-glue it using a stronger adhesive.
- Desk Surface Not Level: Check if your floor is level first. If the desk itself is uneven, adjust the leg lengths or add shims under the legs until the surface is level.
- Drawer Sticking: Drawers that don't slide smoothly can be frustrating. Apply a lubricant like wax or silicone spray to the drawer slides. If they're damaged, consider replacing them.
- Visible Screws or Bolts: For a cleaner look, fill screw holes with wood filler, let it dry, and then sand it down. Paint or stain over the filler to match your desk.
- Scratches or Dents: Fill minor scratches with a wood filler pencil that matches your desk's color. For deeper dents, use wood filler, sand it smooth, and then touch it up with stain or paint.
- Protective Finish Peeling: If the protective coating is peeling, strip the old finish, sand the surface, and apply a new layer of varnish or sealant.
Addressing these issues ensures your DIY plywood desk stays sturdy and beautiful. Patience and attention to detail are crucial.
FAQs About DIY Plywood Desk
Discover answers to common questions about DIY plywood desks, including building tips, materials needed, and customization options.
The best plywood for a DIY desk is typically a sturdy, warp-resistant variety like Baltic birch or maple. These types of plywood offer a smooth surface and are durable enough for regular use. When choosing plywood, consider the thickness to ensure it provides adequate support for your desk’s intended use.
To cut plywood accurately, you’ll need a few essential tools like a circular saw, a straight-edge guide, and clamps to secure the plywood while cutting. Measure and mark your cut lines carefully, and use the straight edge guide to ensure straight cuts. Sand the edges after cutting to smooth out any roughness.
Yes, you can build a simple and stylish desk using just one sheet of plywood. Designs like an A-frame desk or a wall-mounted desk can be made with a single sheet, optimizing space and materials. You'll need to plan your cuts strategically to make the most of the plywood sheet.
There are many design options for a DIY plywood desk, ranging from minimalist to industrial styles. You can opt for a wall-mounted desk to save space, an A-frame design for simplicity, or add a resin top for a sleek finish. The design can be tailored to fit your space and style preferences.
After constructing your desk, you can finish it with stain or paint to match your decor. For protection, apply a coat of satin polycrylic, which will provide a durable finish and protect the wood from wear and tear. Always allow the finish to dry completely before using the desk.
Conclusion:
I'm confident that if you follow these steps, you'll end up with a fantastic DIY plywood desk. Building a desk isn't just about making a piece of furniture; it's about taking pride in what you can achieve with your own two hands. Try it, and experience the joy of seeing your idea come to life!


