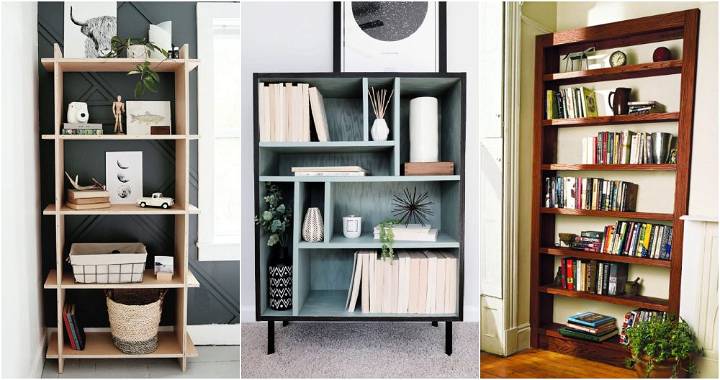
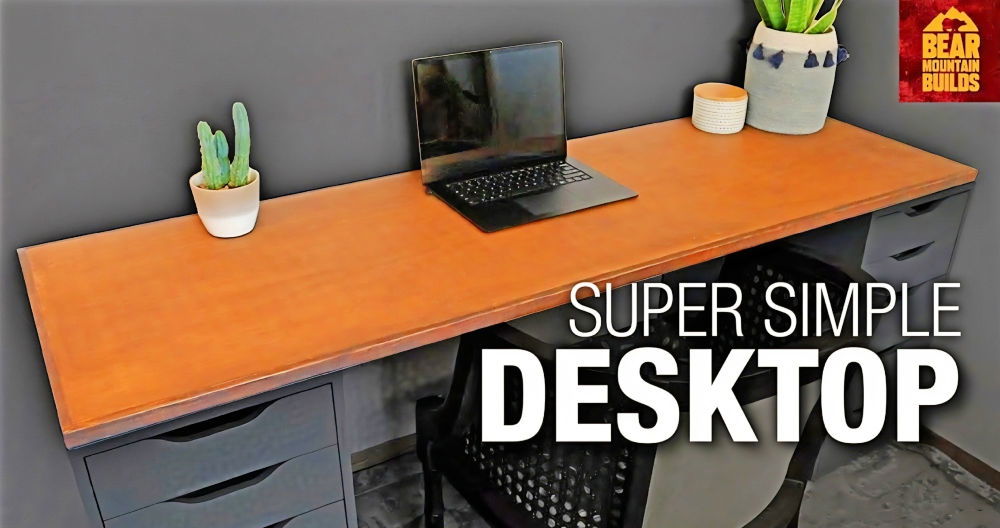
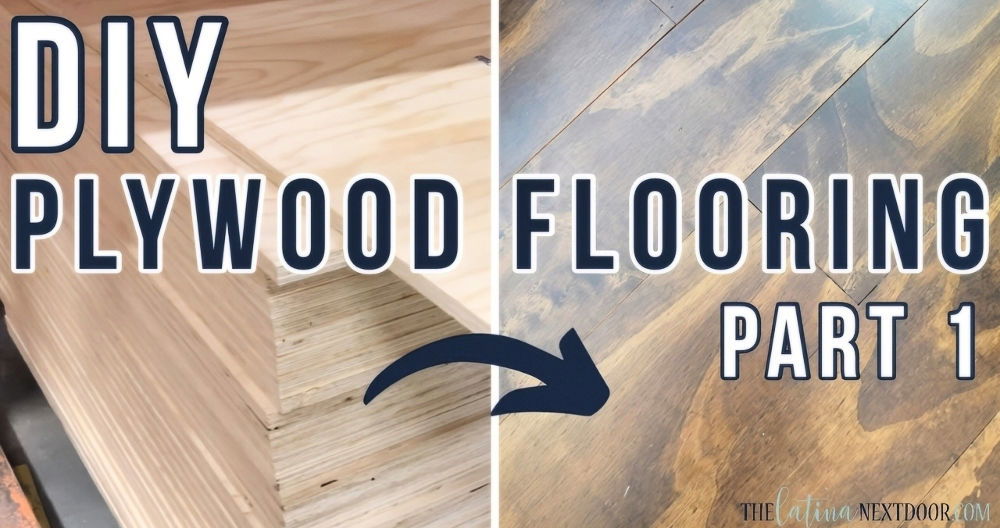
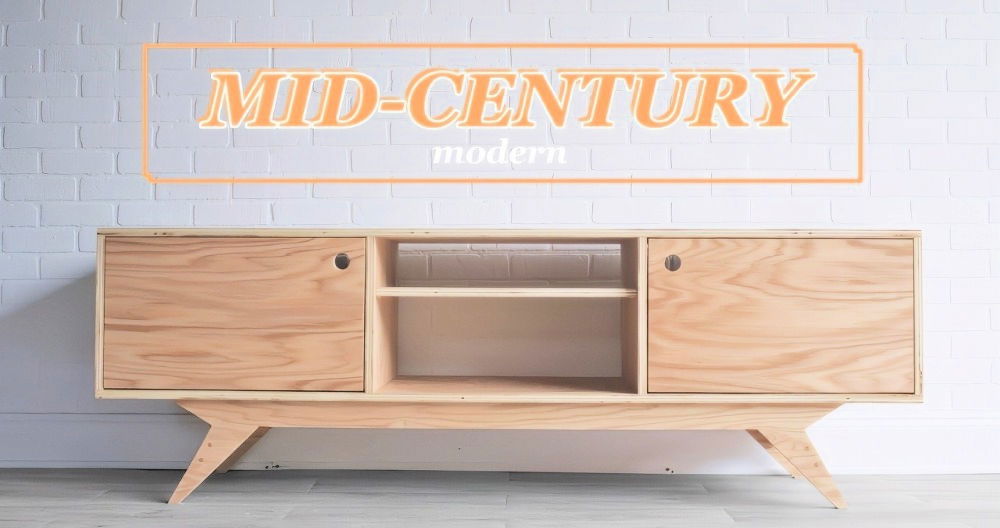
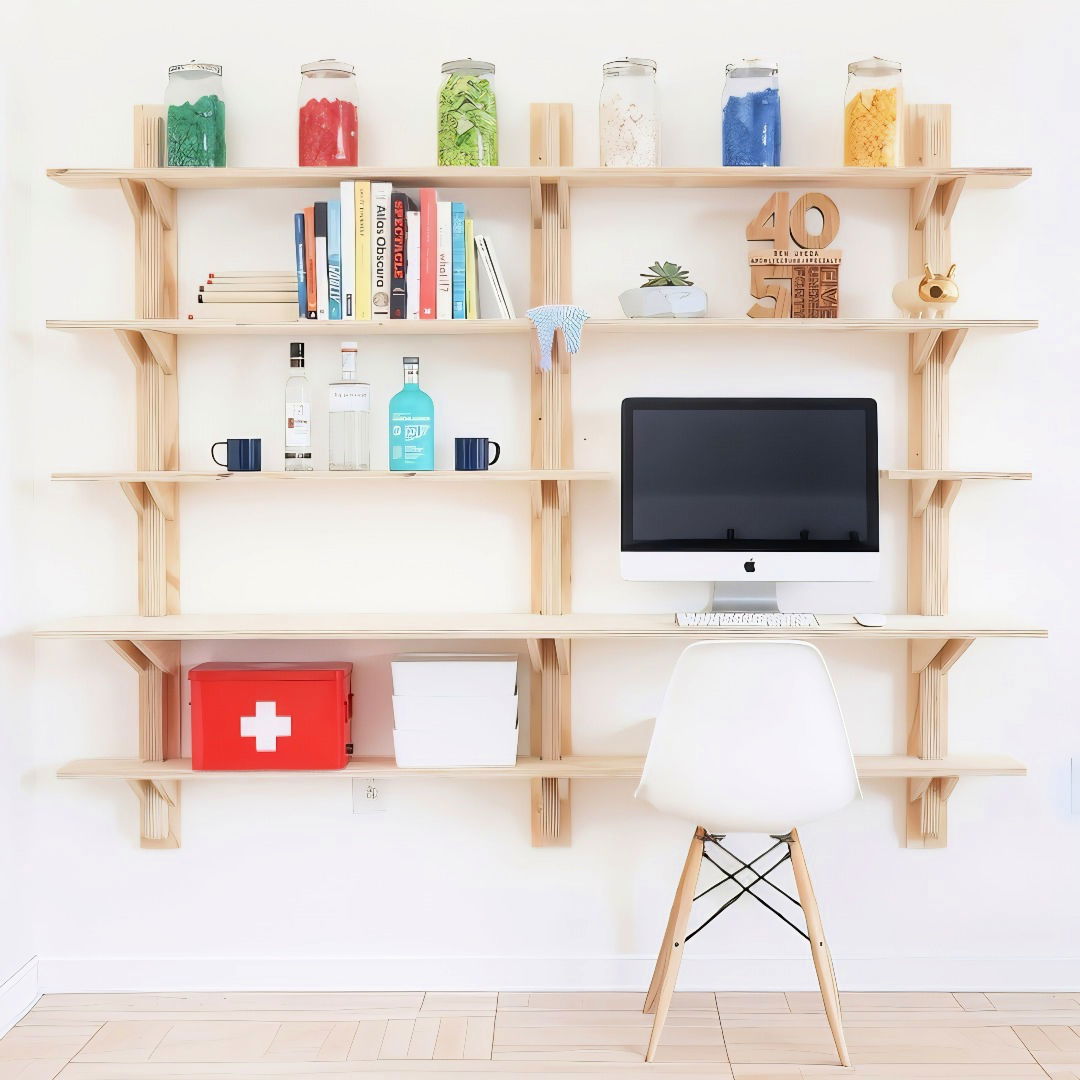
Building something with my own hands has always given me a sense of accomplishment. Recently, I decided to tackle a project that not only added functionality to my space but also allowed me to flex my DIY muscles: crafting custom DIY plywood shelves. These shelves not only serve as storage but also as a unique design element in my home. I'd like to share my experience and guide you through the process, so you too can build your own custom shelves.
Why Plywood Shelves?
Plywood is an incredibly versatile material. It's strong, relatively inexpensive, and has a clean, modern look when finished properly. I chose sanded pine plywood for its smooth surface and attractive grain. Plus, working with plywood allowed me to customize the size and shape of the shelves to fit my exact needs.
Materials and Tools I Used
Before diving into the build, gathering all the necessary materials and tools is crucial. Here's what I used:
Materials:
- Sanded Pine Plywood Sheets: I opted for ¾-inch thickness for durability.
- Wood Glue: Essential for strong joints.
- Finish Screws: These have a minimal head size, making them less noticeable.
- Sandpaper: Various grits for smoothing edges.
- Stud Finder: To locate wall studs for mounting.
- Pencil and Measuring Tape: For precise measurements.
Tools:
- Circular Saw: For cutting the plywood sheets.
- Clamps: To hold pieces together while the glue dries.
- Orbital Sander: For sanding larger surfaces efficiently.
- Drill and Drill Bits: For making holes and driving screws.
- Jigsaw: For cutting out notches.
- Speed Square: To ensure right angles.
- Straight Edge: As a guide for cutting.
Step by Step Instructions
Learn how to build durable, stylish DIY plywood shelves with our step-by-step guide. Perfect for home projects, including tips for each step!
Step 1: Cutting the Plywood Strips
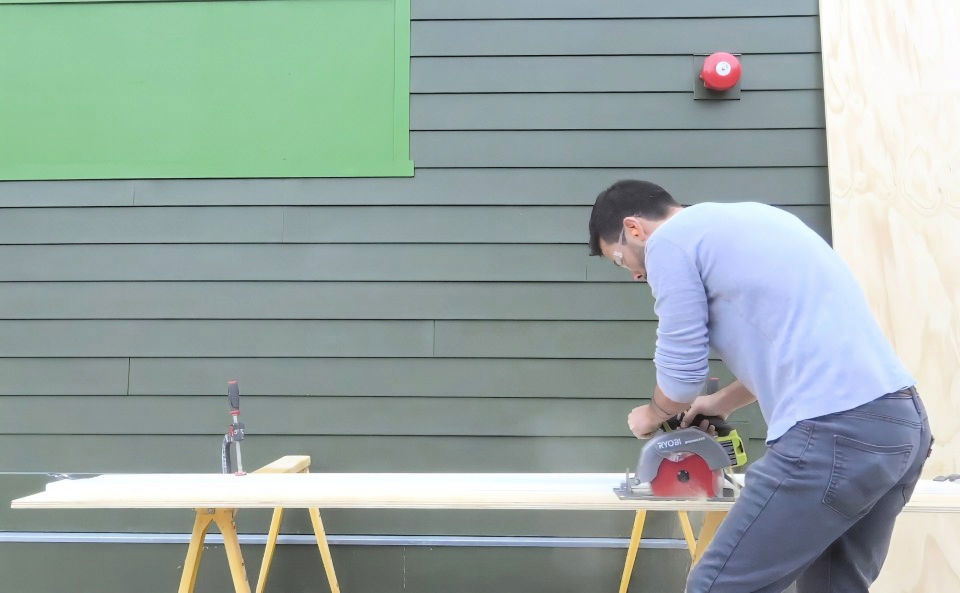
I started by cutting the plywood sheets into strips. Using a circular saw, I clamped a straight edge onto the plywood to serve as a guide. This ensured my cuts were straight and precise. For this project, I cut several strips:
- Structural Spines: 2 inches wide.
- Support Strips: 3.5 inches wide.
- Shelf Boards: Various widths to accommodate different items.
Tips:
- Safety First: Always wear safety glasses and follow proper safety procedures when using power tools.
- Measure Twice, Cut Once: Double-check your measurements before cutting to avoid mistakes.
Step 2: Making the Structural Spines
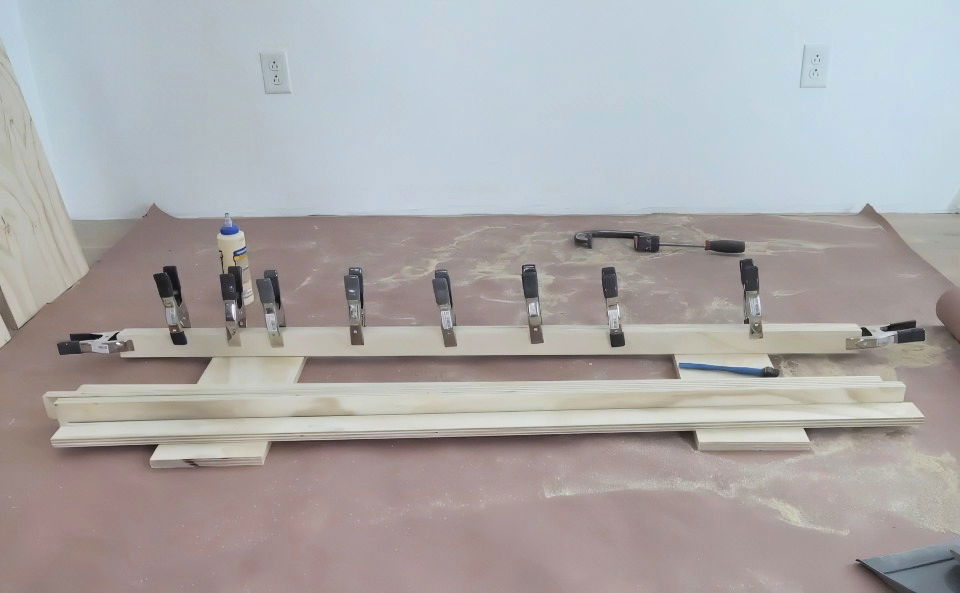
The structural spines are the backbone of the shelving system. I took the 2-inch wide plywood strips and glued them together in pairs to double their thickness. This added strength and stability.
- Gluing: I applied wood glue evenly along one side of a strip and pressed another strip onto it.
- Clamping: Using clamps, I held the pieces tightly together to ensure a strong bond.
- Curing: I let the glued pieces cure for the recommended time specified on the glue bottle.
Tips:
- Even Glue Application: Too much glue can cause a mess and weak joints. Spread it thin and even.
- Proper Clamping: Ensure the clamps are tight but not overly so, which can squeeze out too much glue.
Step 3: Making the Triangular Supports
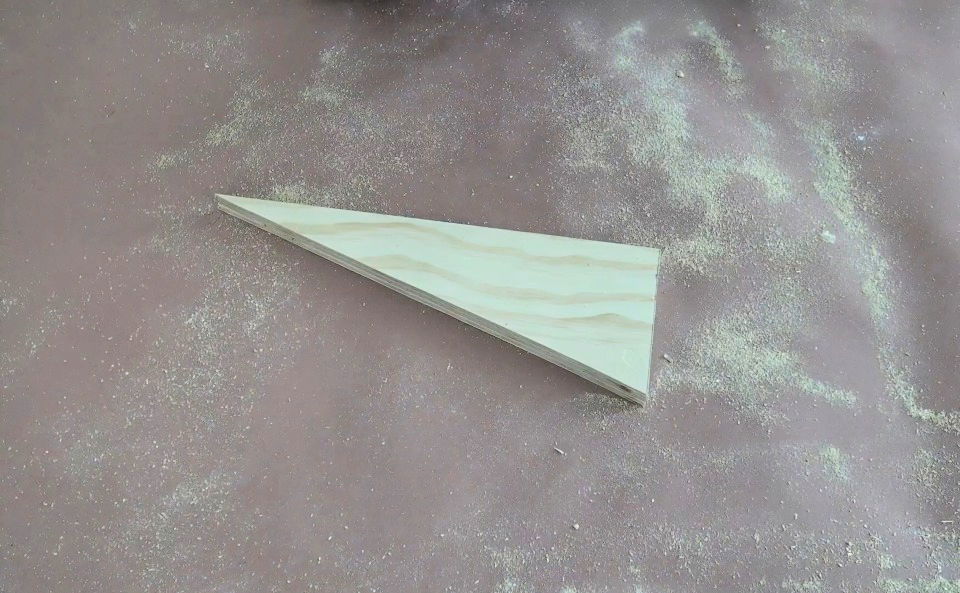
To support the shelves, I buildd triangular brackets.
- Measuring: I measured triangles that matched the width of the shelf boards.
- Cutting: Using the circular saw, I carefully cut out the triangles.
- Sanding: I sanded all the edges to remove any splinters and to round them slightly for a smoother appearance.
Tips:
- Consistent Sizes: Make sure all the triangles are the same size for uniform support.
- Use a Template: Cut one triangle and use it as a template for the others.
Step 4: Sanding and Trimming the Spines
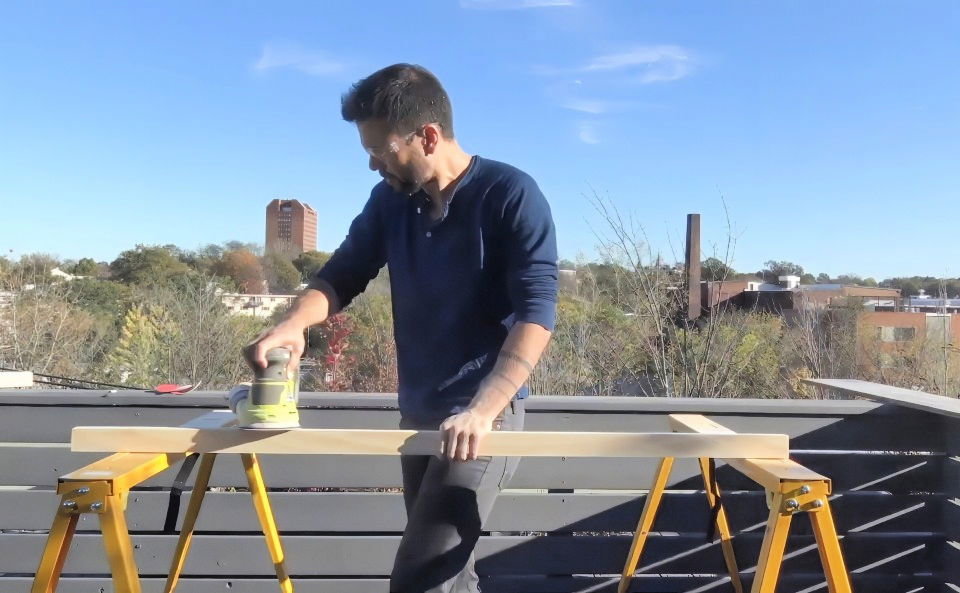
Once the glue on the structural spines had fully cured, I wanted to give them a clean, finished look.
- Sanding: Using an orbital sander, I smoothed out any unevenness along the edges.
- Trimming Edges: With the circular saw, I trimmed the ends to ensure they were flush.
- Adding 45-Degree Angles: I cut a 45-degree angle at the corners of the spines. This was purely for aesthetics, giving the shelves a more refined look.
Tips:
- Smooth Finish: Take your time sanding to achieve a professional-looking finish.
- Consistent Angles: Use a miter saw or a guide to ensure all angles are the same.
Step 5: Assembling the Spines and Support Strips
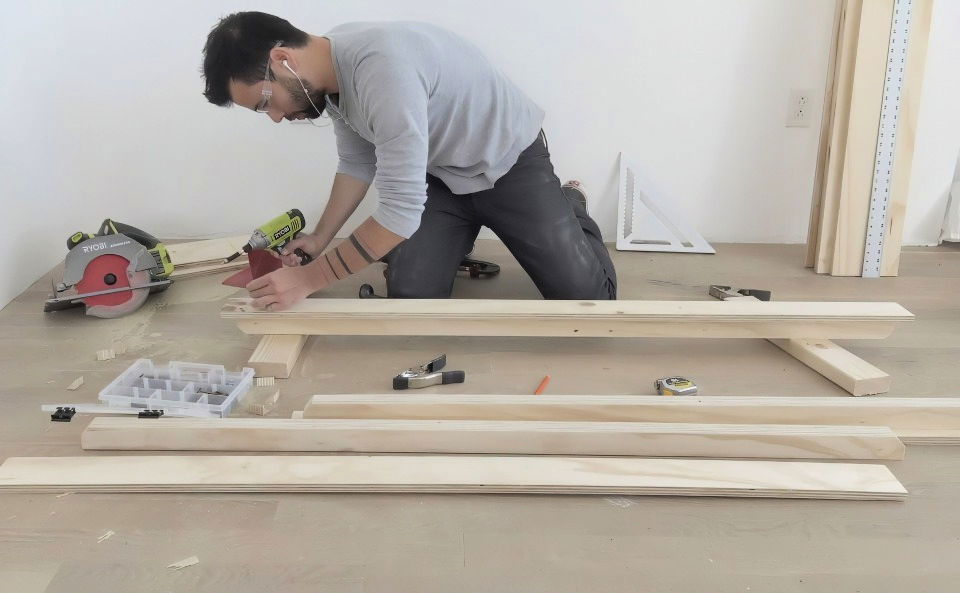
Next, I attached the structural spines to the 3.5-inch wide support strips.
- Positioning: I placed the spine centered on the support strip.
- Attaching: Using finish screws, I secured the spine to the support strip. I tried to minimize the number of screws visible from the front for a cleaner look, focusing on securing from the back whenever possible.
Tips:
- Pre-Drill Holes: This helps prevent the wood from splitting.
- Countersink Screws: So the screw heads sit flush or just below the surface.
Step 6: Mounting the Supports to the Wall
Mounting the supports securely is crucial for safety and functionality.
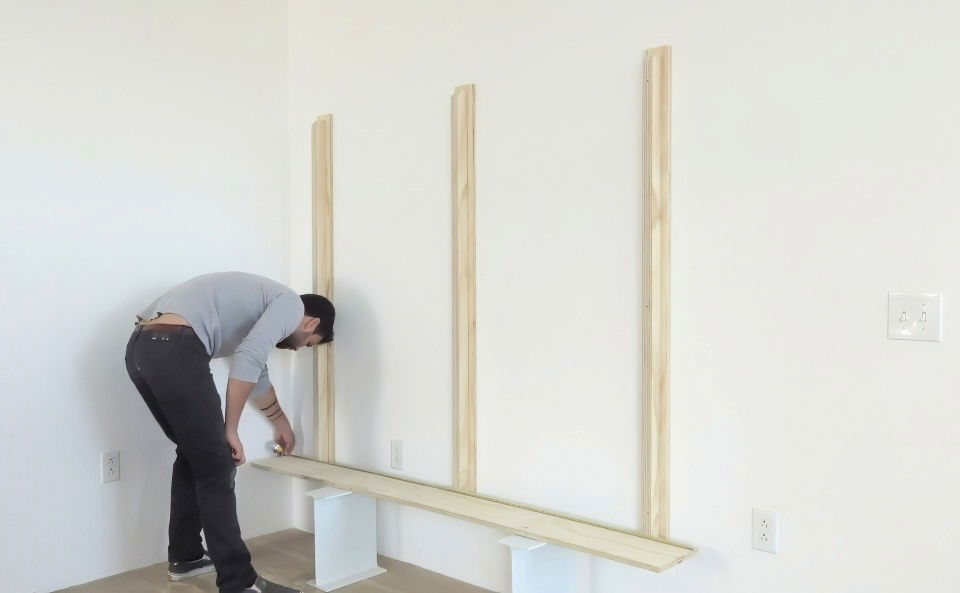
- Locating Studs: Using a stud finder, I marked the locations of the wall studs behind the drywall. In most homes, studs are spaced 16 inches on center.
- Positioning Supports: I decided to place my supports every 32 inches, hitting every other stud.
- Attaching to Wall: I screwed the support strips into the wall studs using finish screws.
Tips:
- Leveling: Use a level to ensure the supports are perfectly vertical.
- Secure Attachment: Ensure screws go into studs for maximum support.
Step 7: Preparing the Shelf Boards
To allow the shelf boards to fit snugly against the wall and around the support strips, I needed to cut out notches.
- Marking Notches: I measured and marked where the support strips would intersect with the shelf boards.
- Cutting Notches: Using a drill to start the hole and a jigsaw to cut out the notches, I removed the marked sections.
Tips:
- Accurate Measurements: Precise notches ensure a tight fit.
- Smooth Edges: Sand the notches to remove any roughness.
Step 8: Attaching the Triangular Supports
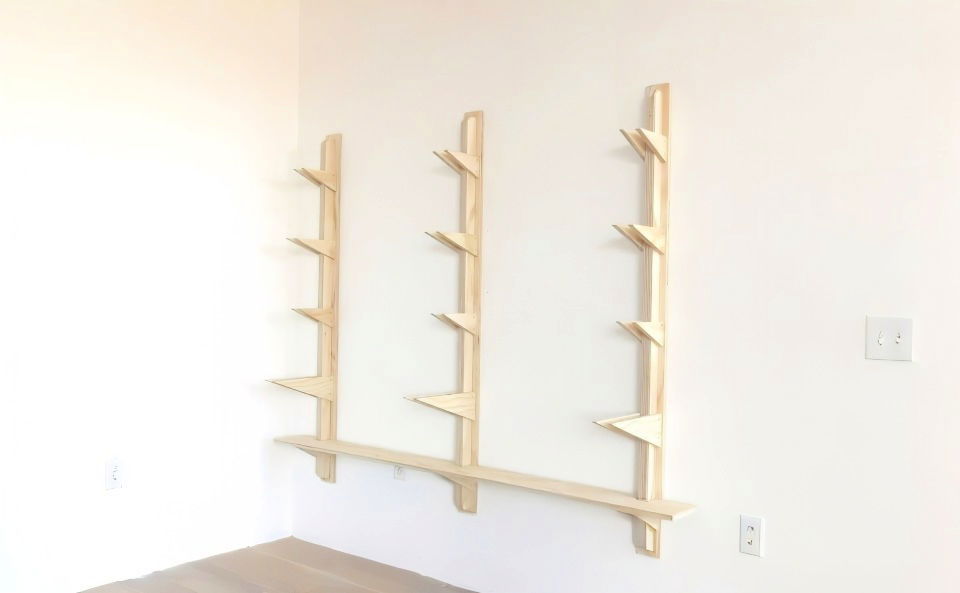
With the shelf boards prepared, I moved on to attaching the triangular supports to the spines.
- Positioning: I placed the triangles at the desired shelf heights on either side of the spine.
- Ensuring Right Angles: Using a speed square, I made sure the supports were at perfect right angles.
- Attaching: I screwed the triangles into the spines using finish screws.
Tips:
- Consistent Shelf Heights: Measure and mark all spines to ensure shelves are level across the supports.
- Reinforcement: Consider adding glue in addition to screws for extra strength.
Step 9: Installing the Shelves
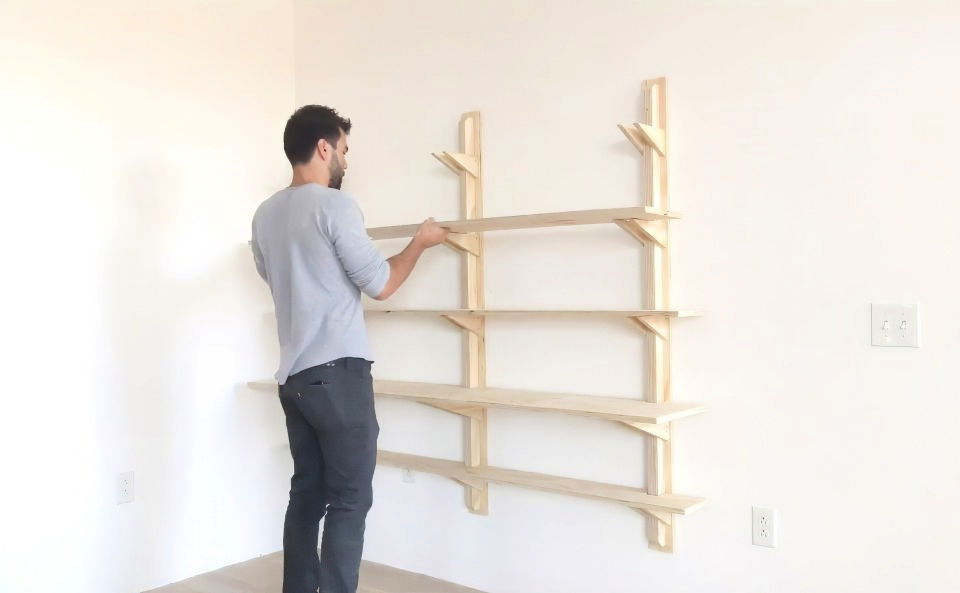
Finally, it was time to place the shelves onto the supports.
- Placing Shelves: I set the shelf boards onto the triangular supports, fitting the notches around the support strips.
- Securing Shelves: I used a few finish screws to secure the shelves from underneath, preventing any movement.
Tips:
- Check Level: After placing each shelf, use a level to ensure it's even.
- Adjust as Needed: If a shelf isn't level, adjust the supports or add shims as necessary.
Step 10: Customizing and Adding Features
One of the benefits of building my own shelves was the ability to customize them.
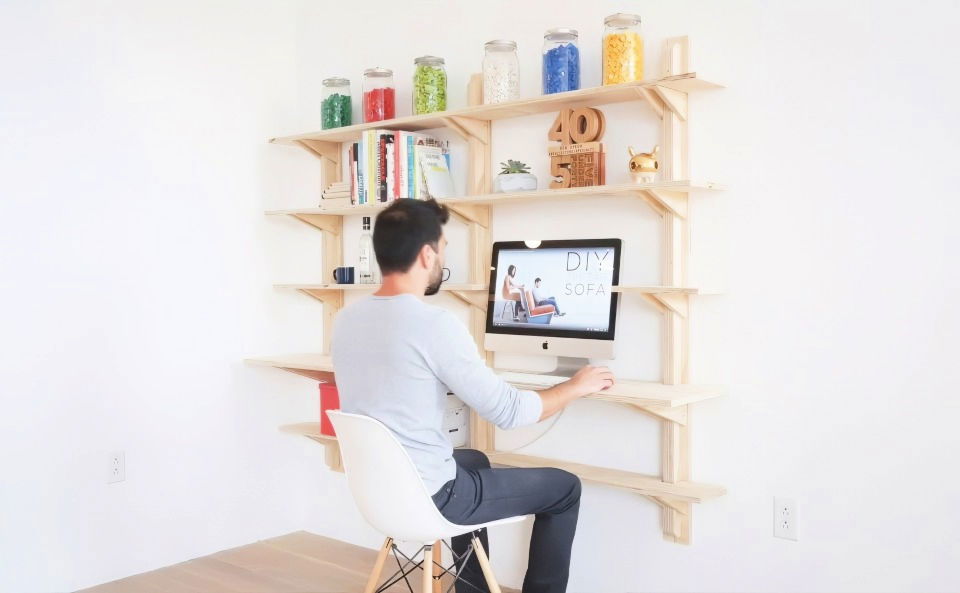
- Building a Desk Space: I wanted one of the shelves to function as a desk. To accommodate this, I cut out a section of the shelf above to allow more headroom.
- Setting Up a Mini Home Office: I installed shorter shelves above the desk area for storage, making a compact and efficient workspace.
Tips:
- Personalize: Think about how you'll use the space and customize accordingly.
- Cable Management: If you plan to use electronics, consider drilling holes for cables.
Personal Insights and Tips
Throughout this project, I learned several valuable lessons:
- Patience is Key: Rushing can lead to mistakes. Taking my time ensured a better result.
- Adaptability: Being open to adjusting plans made the project more successful.
- Tool Familiarity: Understanding how to use each tool properly made the work smoother and safer.
Favorite Aspects:
- Versatility: The shelving system can be easily modified or expanded in the future.
- Aesthetic Appeal: The combination of natural wood and clean lines added a modern touch to my space.
Challenges:
- Precision Cutting: Ensuring all cuts were precise required careful attention.
- Wall Mounting: Finding studs and securely attaching the supports was physically demanding but essential.
Advanced Techniques and Tips
Taking your plywood shelves to the next level involves mastering a few advanced techniques and following some key tips.
Joinery:
- Rabbet Joints: These are excellent for creating strong, hidden connections. Cut a groove along the edge of one piece of plywood, and fit the edge of another piece into this groove. Glue and secure with nails or screws.
- Dado Joints: These are similar to rabbet joints, but the groove is cut in the middle of a piece of plywood, not along the edge. This makes them perfect for creating shelves that fit snugly into vertical supports.
- Pocket Holes: These are created using a special jig and drill bit, and allow you to join pieces of plywood at an angle without any visible screws.
Finishing Touches:
- Sanding: Always sand your plywood thoroughly before applying any finish. Start with a coarse grit sandpaper and gradually work your way up to a fine grit for a smooth surface.
- Edge Banding: This covers the exposed edges of the plywood, giving your shelves a more finished look. You can use iron-on edge banding or pre-glued edge banding.
- Staining and Painting: Choose a stain or paint that complements your décor. Apply multiple thin coats for a more even finish, and always allow each coat to dry completely before applying the next.
Pro Tips:
- Measure Twice, Cut Once: Accurate measurements are crucial for successful DIY projects. Double-check all your measurements before making any cuts.
- Use a Sharp Blade: A dull blade can cause splintering and tear-outs. Make sure your saw blade is sharp and in good condition.
- Clamp Your Work: Clamps are essential for holding pieces of plywood in place while you're working on them. This helps ensure accurate cuts and strong joints.
- Pre-drill Pilot Holes: Pre-drilling pilot holes help prevent the wood from splitting when you're driving in screws.
- Take Your Time: Don't rush the process. Take your time, and enjoy the satisfaction of creating something beautiful and functional with your own hands.
Elevate your DIY plywood shelves with these tips, creating stylish and sturdy storage for any room. Practice and experiment to perfect your skills.
Troubleshooting and Common Mistakes
Even seasoned DIYers can encounter hiccups when building plywood shelves. Let's tackle some common mistakes and their solutions.
Uneven Cuts:
- Problem: Your shelf edges aren't straight, making them look unprofessional and potentially unstable.
- Solution: Use a straight edge or guide when cutting plywood. A circular saw with a guide rail or a table saw can ensure cleaner cuts. If you've already made uneven cuts, sanding or using a plane can help even things out.
Warped Plywood:
- Problem: Your plywood sheet is bowed or twisted, making it difficult to work with and creating an unstable shelf.
- Solution: Choose plywood carefully at the store, checking for warping. If you're already working with warped wood, try clamping it flat while the glue dries or strategically placing screws to pull it into shape. Sometimes, it's best to start over with a new piece.
Weak Joints:
- Problem: Your shelves are wobbly or feel like they might come apart.
- Solution: Ensure you're using appropriate joinery techniques and enough fasteners. Consider adding wood glue for extra strength. If your joints are already weak, you might need to disassemble and reassemble them, using stronger techniques or additional support.
Other Common Issues:
- Splintering: Sanding plywood thoroughly before finishing can help prevent splinters.
- Over-tightening screws: This can strip the wood or cause it to crack. Stop tightening when the screw head is flush with the surface.
- Skipping pilot holes: Pre-drilling pilot holes is essential, especially when working near the edges of plywood, to prevent splitting.
- Ignoring safety: Always wear safety glasses and gloves when cutting and sanding plywood.
Mistakes are part of learning. Don't be discouraged by imperfections. With patience and troubleshooting, you can make sturdy plywood shelves.
FAQs About DIY Plywood Shelves
Explore our FAQs about DIY plywood shelves to find answers, tips, and step-by-step guidance for your shelving projects!
While various plywood types are available, some are better suited for shelving than others. Opt for hardwood plywood like birch or maple for strength and a smooth finish. Sanded plywood saves time and ensures a nicer look. Avoid pressure-treated plywood for indoor projects due to its chemical treatment.
Sagging usually happens with long shelves or when using thin plywood. Choose a thicker plywood or reduce the span between supports to prevent sagging. Adding a center support or using stronger joinery techniques like dado or rabbet joints can also help.
Several options exist to create a floating shelf look. You can use hidden shelf brackets, build a cleat system into the wall, or create a "blind dado" joint where the shelf slides into a hidden groove in the wall.
Get creative with edge treatments! Rounding the edges or adding a decorative edge banding can give your shelves a unique touch. You can also play with different stain colors, paint techniques, or even add stencils or decals for a personalized touch.
Absolutely! You can install adjustable shelf standards or use shelf pins and pre-drilled holes in your supports to create flexible shelving. This is particularly useful for bookcases or storage units where you might need to change shelf heights in the future.
Closing Thoughts
Building these DIY plywood shelves was a rewarding project that not only provided functional storage but also enhanced the look of my home. By taking the time to plan carefully and execute each step methodically, I ended up with a shelving system that meets my needs perfectly. If you're considering a DIY shelving project, I encourage you to give it a try. With some basic tools and materials, you can build something both practical and beautiful.
The key to any successful DIY project is planning patience, and a willingness to learn along the way.


