When I first decided to build a DIY pole barn, I knew almost nothing about the process. It seemed like a huge task, but I was determined to learn everything I could to make it happen. I spent hours researching the best materials, techniques, and tips to ensure I did it right. It was a challenge, but I was ready to tackle it head-on.
Along the way, I made some mistakes, but I also learned a lot. I discovered how to choose the right location, the importance of sturdy foundation poles, and how crucial it is to plan the layout carefully. I also found out that patience and attention to detail are key to making a strong and durable pole barn.
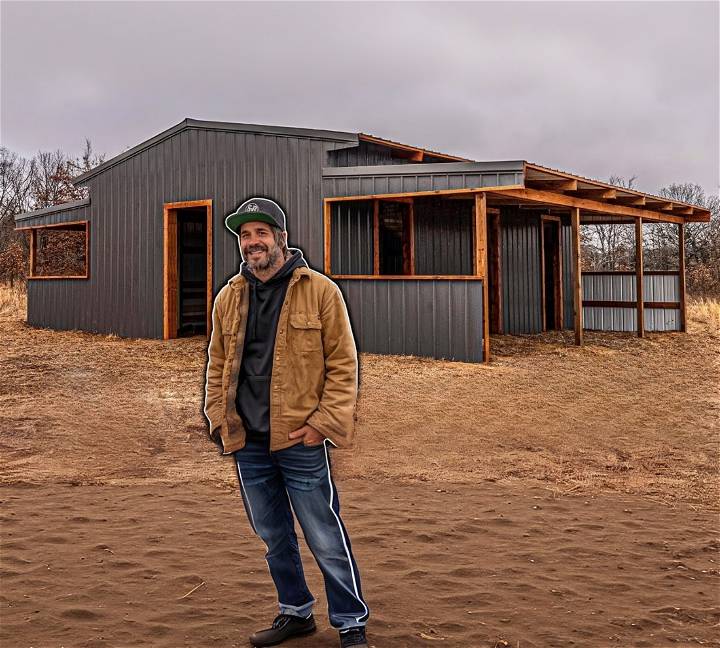
My journey was full of ups and downs, but seeing the completed barn made it all worth it. I'm here to share my experience so you can start building your own DIY pole barn with a bit more know-how than I had.
Functionality of a DIY Pole Barn
A DIY pole barn is a versatile structure that can serve various purposes depending on your needs. Here are some potential uses for your pole barn:
Storage Space
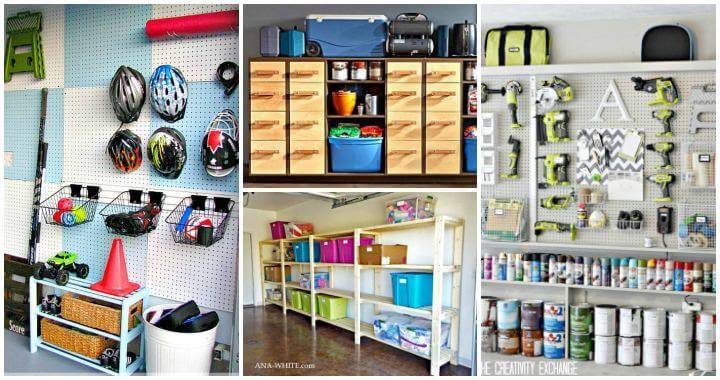
One of the most common uses of a pole barn is for storage. It can house everything from garden tools to large machinery. The open floor plan allows for easy access and organization of your items.
Workshop or Garage
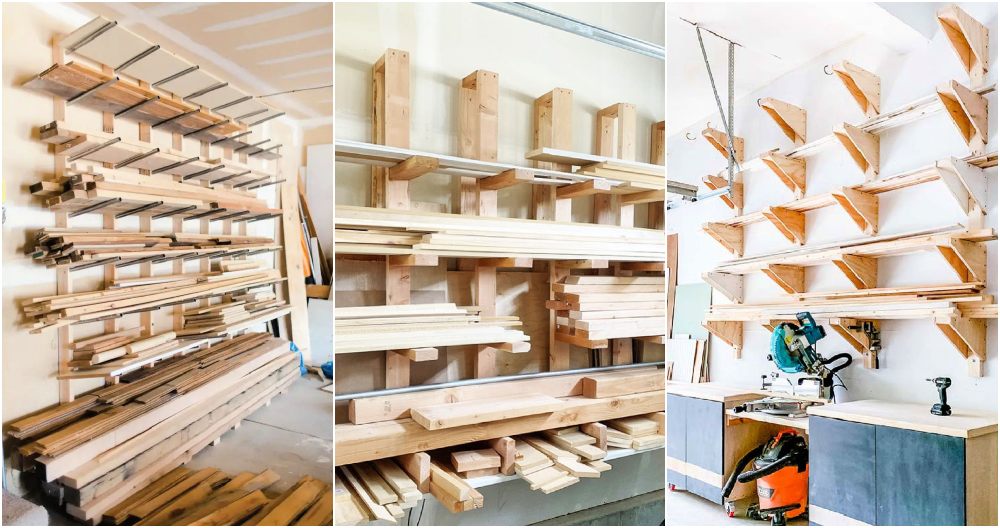
A pole barn can be an ideal space for a workshop or garage. The large, open space can accommodate workbenches, tools, and even vehicles. Plus, you can customize the interior to fit your specific needs.
Livestock Housing
If you're a farmer or have large animals, a pole barn can provide shelter for your livestock. The structure can be adapted to include stalls, feed storage, and more.
Recreational Space
A pole barn can also be transformed into a recreational space. Whether you want a home gym, a man cave, or a kids' play area, a pole barn offers the flexibility to make a space that suits your lifestyle.
The functionality of your pole barn largely depends on your individual needs and creativity. With careful planning and design, your pole barn can serve multiple purposes and provide significant value.
How to Build a Pole Barn - Step by Step Guide
Constructing a pole barn solo may appear overwhelming, but with proper planning, you can build one quickly. Here's a step-by-step guide to help.
Step by Step Instructions
Learn how to build a pole barn step by step with our comprehensive guide below:
Step 1: Planning and Preparation
- Research and design: Have a clear plan for your pole barn's design. Consider the size, location, and purpose of your barn.
- Gather materials: You'll need poles (4x4 posts), 10-foot boards, metal sheets for roofing, brackets, two-by-fours for framing, screws, and nails.
- Prepare the site: Choose a flat, accessible area. Clear it of any debris, rocks, or vegetation.
Step 2: Setting Up the Foundation
- Mark your layout: Use stakes and string to outline your barn's footprint.
- Dig post holes: The holes should be deep enough to support the structure and avoid frost heave in colder climates.
- Install the poles: Place the 4x4 posts in the holes and secure them with concrete. Let the concrete cure overnight.
Step 3: Framing the Structure
- Attach horizontal boards: Start with the base, securing 10-foot boards to connect the posts at the bottom.
- Add vertical support: Use additional two-by-fours to reinforce the structure. Ensure everything is level and square.
- Make openings: For doors and windows, measure and frame the necessary spaces.
Step 4: Roofing and Finishing Touches
- Install roof trusses: These can be pre-built or constructed on-site. Ensure they are securely fastened to the posts.
- Apply metal sheets: Start from the bottom and work your way up, overlapping each sheet for waterproofing.
- Add exterior rails: Place these around the barn. They serve as additional support and protect against impacts.
- Finalize the structure: Install doors, windows, and any other fixtures. Paint or treat the wood as necessary.
Step 5: Inspections and Adjustments
- Double-check the structure for any weak points or unfinished areas.
- Make adjustments as needed, focusing on stability and durability.
Step 6: Additional Features
- If you're planning on using the barn for livestock, consider installing feeding troughs, water systems, and rain catchment systems.
Maintenance
- Regularly inspect the barn for damage or wear and tear.
- Keep the area clear of debris and ensure roofing is intact to prevent leaks.
Video Tutorial
For a more detailed visual guide, watch the "One Man Builds Pole Barn In UNDER 20 MINUTES / Start To Finish / Barndominium" video on YouTube.
This step-by-step video tutorial is a perfect companion to this written guide. It visually demonstrates each technique, making complex steps easier to understand and follow for builders of all skill levels.
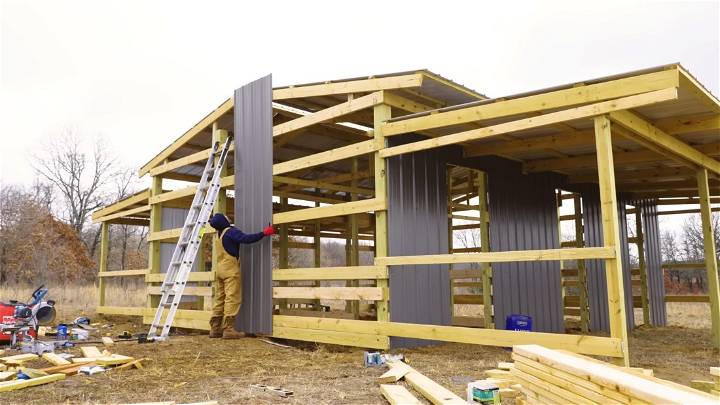
Building a pole barn by yourself might sound challenging, but it's definitely achievable with careful planning, the right tools, and patience. This project not only saves money but also provides a deep sense of satisfaction once completed.
Aesthetics of a DIY Pole Barn
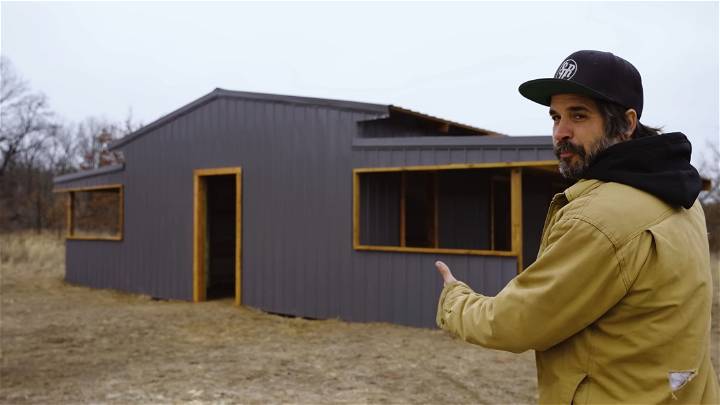
The aesthetics of your DIY pole barn are just as important as its functionality. A well-designed barn can enhance the overall look of your property. Here are some tips to help you achieve a neat and clean appearance:
Choosing the Right Materials
The materials you choose for your barn can greatly affect its appearance. Opt for materials that are not only durable but also visually appealing. For instance, wood can give your barn a classic, rustic look, while metal can provide a sleek, modern feel.
Color and Design
The color and design of your barn should complement the existing structures on your property. Consider using a color scheme that matches your house or other buildings. Additionally, adding design elements like cupolas, weathervanes, or decorative doors can enhance the aesthetic appeal of your barn.
Landscaping
Don't forget about the area around your barn. Landscaping can greatly enhance the appearance of your barn. Consider planting flowers or shrubs, or adding a gravel or paved path leading up to the barn.
Maintenance
Regular maintenance is key to keeping your barn looking neat and clean. This includes regular cleaning, repainting as needed, and promptly repairing any damage.
By paying attention to these details, you can ensure that your DIY pole barn is not only functional, but also adds aesthetic value to your property.
FAQs About DIY Pole Barns
Here are some frequently asked questions about DIY pole barns:
What is a DIY Pole Barn?
A DIY pole barn is a structure that you can build yourself using readily available materials and simple construction techniques. It's a cost-effective way to make a versatile, functional space on your property.
How Much Does It Cost to Build a DIY Pole Barn?
The cost of building a DIY pole barn can vary greatly depending on the size, materials used, and your location. On average, you can expect to spend between $10,000 and $30,000.
What Materials Do I Need to Build a DIY Pole Barn?
The main materials you'll need are poles (usually made of wood or metal), siding, roofing, and concrete for the foundation. You may also need additional materials depending on your specific design and needs.
Can I Build a DIY Pole Barn Myself?
Yes, with the right tools, materials, and a good set of instructions, you can build a DIY pole barn yourself. However, some tasks may require professional help, especially if you're not comfortable with certain aspects of construction.
How Long Does It Take to Build a DIY Pole Barn?
The time it takes to build a DIY pole barn can vary depending on the size of the barn and your level of experience. On average, it can take anywhere from a few weeks to a few months.
What Can I Use a DIY Pole Barn For?
A DIY pole barn can be used for a variety of purposes, including storage, a workshop, a garage, or even a living space. The possibilities are endless!
How Do I Maintain My DIY Pole Barn?
Regular maintenance of your DIY pole barn can include cleaning, repainting, and repairing any damage. This will help to keep your barn looking great and functioning well for years to come.
Do I Need a Permit to Build a DIY Pole Barn?
In many areas, you will need a permit to build a DIY pole barn. It's important to check with your local building department to find out what permits are required before you start your project.
What Are the Advantages of Building a DIY Pole Barn?
Building a DIY pole barn has many advantages, including cost savings, the ability to customize the design to fit your needs, and the satisfaction of building something with your own two hands.
What Are Some Common Mistakes to Avoid When Building a DIY Pole Barn?
Some common mistakes to avoid include not planning properly, using low-quality materials, not following building codes and regulations, and not preparing the site properly. Avoiding these mistakes can help ensure the success of your project.
Conclusion:
In conclusion, building a DIY pole barn was one of the most rewarding projects I've ever undertaken. It taught me not only about construction but also about perseverance and problem-solving. If I can do it, so can you. My experience could be the help you need to get started on your own project. Remember, it's all about taking that first step and learning as you go.


