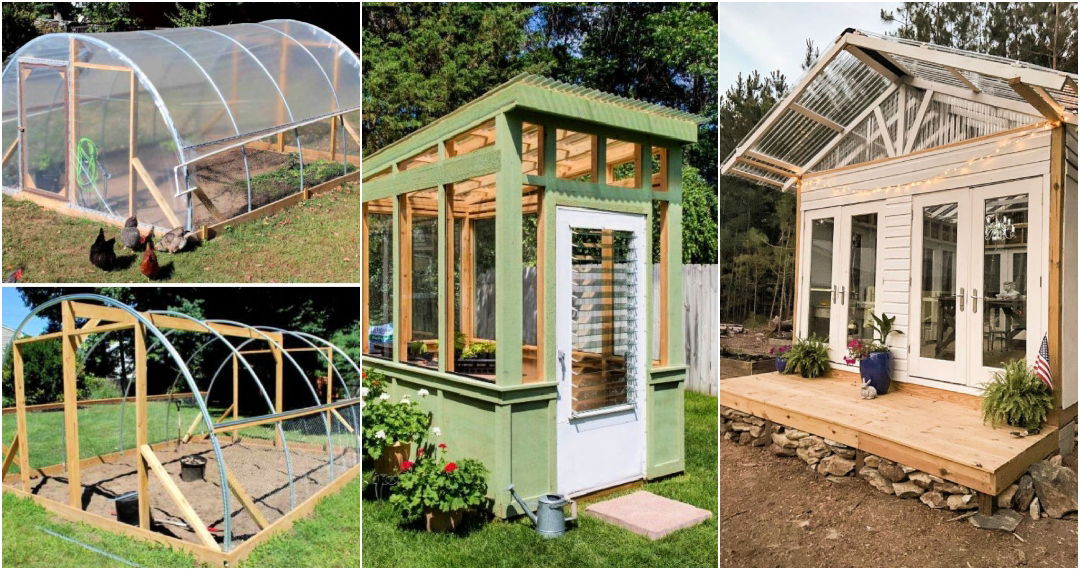
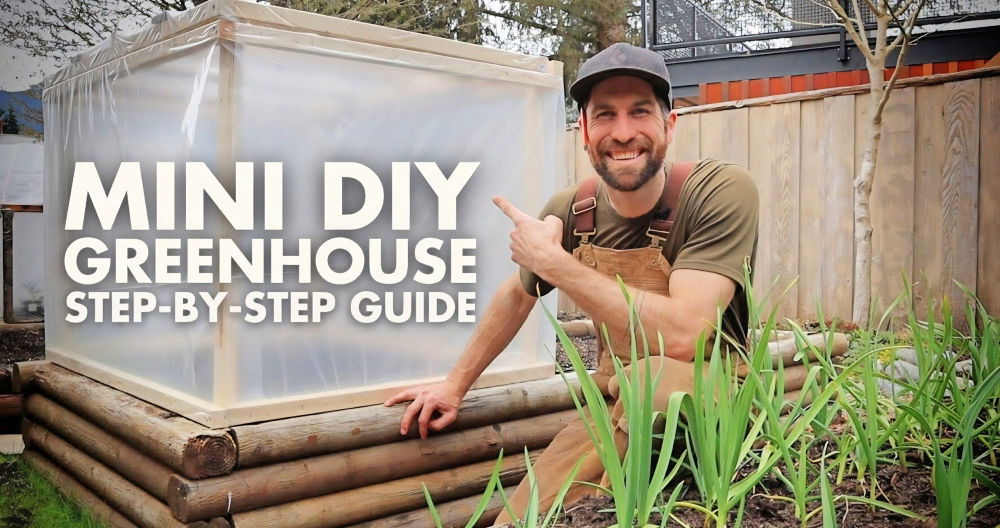
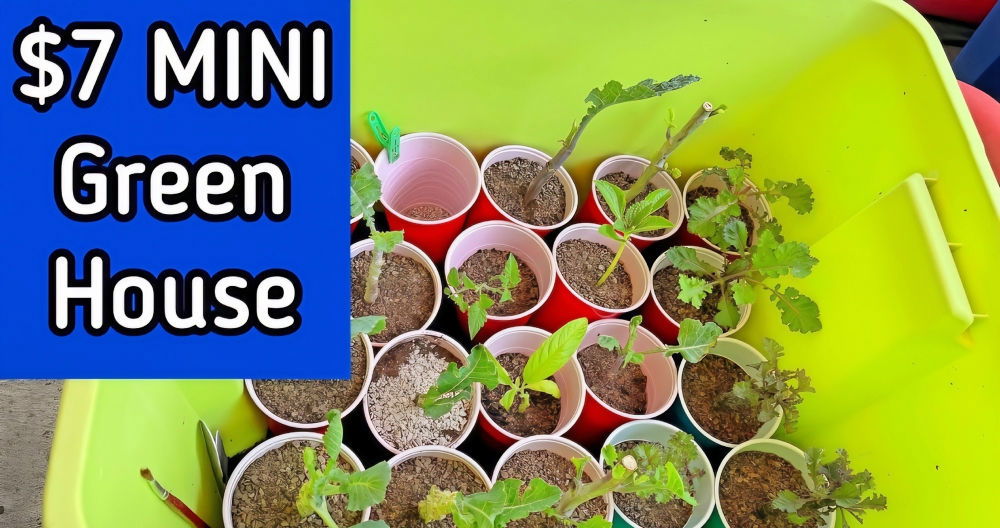
Building your own DIY polycarbonate greenhouse can be a rewarding project that not only saves money but also provides a customized space for your plants. This step-by-step guide will walk you through everything you need to know, from gathering materials to setting up the final structure. Polycarbonate is an excellent material for greenhouses due to its durability and light-filtering properties, ensuring your plants thrive in the best conditions.
In this guide, you'll find clear instructions and helpful tips to make your DIY polycarbonate greenhouse project a success. With easy-to-follow steps, even first-time builders can make a functional and aesthetically pleasing greenhouse.
Keep reading to explore each phase of the construction process, and you'll soon have a beautiful space for your gardening needs.
Choosing the Right Greenhouse
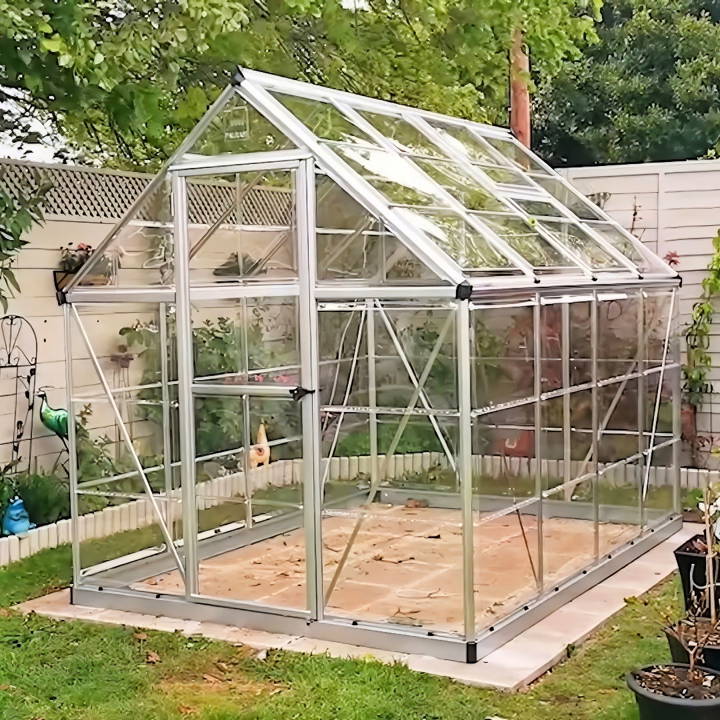
Before diving into the construction details, it's essential to touch on why I chose the Palram Harmony 6' x 8' model. My garden is nestled under several large trees, a picturesque scene but not without its problems. The area is prone to windy conditions, leading to frequent falls of branches. The potential damage from these falling limbs made the durability of polycarbonate panels a more appealing option over glass. Polycarbonate is tough, less likely to break, and provides a safe haven for plants without sacrificing sunlight exposure.
Materials You'll Need
- Palram Harmony 6' x 8' Greenhouse Kit: This includes the aluminum frame and polycarbonate panels.
- Tools: A drill, screwdriver, tape measure, and gloves.
- Anchoring Materials: I used 7.5 by 60 mm screws for securing the base.
- A Helping Hand: While it's possible to tackle this solo, having an extra set of hands can simplify the process.
Why Each Material Is Needed
- Greenhouse Kit: The core of the project, selected for its size and material suited to my garden's conditions.
- Tools: Essential for assembly, making sure the structure is secure and stable.
- Anchoring Materials: Crucial for grounding the greenhouse, ensuring it withstands the elements.
- A Helping Hand: Some steps require holding pieces in place while securing them, making the process more manageable and enjoyable with a friend or family member.
Step by Step Instructions
Learn how to build a DIY polycarbonate greenhouse with our step-by-step guide, from foundation prep to final checks. Perfect for home gardeners!
1. Preparing the Foundation
The foundation is critical for a stable greenhouse. Before the assembly, I ensured the chosen site was level. I constructed a base frame (refer to my previous video for details) where the greenhouse would sit. This step is essential for both stability and to prevent any water ingress.
2. Assembling the Frame
Following the greenhouse kit's manual closely, I started with the frame. The aluminum structure is lightweight but sturdy once assembled. The key here is to not rush; make sure each part is correctly identified and positioned before securing it. It helps to sort all pieces and hardware before starting.
3. Measuring for Squareness
After laying out the base, I checked the diagonals to ensure the frame was square. This step is crucial for the correct fitting of polycarbonate panels later. Adjustments at this stage can save a lot of headaches down the road.
4. Securing the Base
Once satisfied with the squareness, I marked the position of the corners. Drilling two holes at each corner, I then secured the base frame with the 7.5 by 60 mm screws. This anchoring process gives the structure its initial stability and is a moment of real progress in the build.
5. Adding the Polycarbonate Panels
The polycarbonate panels are what make this greenhouse particularly special. Lightweight and translucent, they were straightforward to install but required careful handling to avoid scratches or damage. Starting from one side and working systematically ensured each panel securely slotted into its frame, following the manual's guidance on which panel went where.
6. Doors and Ventilation
The Palram Harmony greenhouse comes with a sliding door and roof ventilation, both elemental in controlling temperature and airflow. Installing these features marked the near completion of the project. It was rewarding to see the greenhouse nearly finished, a testament to careful planning and execution.
7. Final Checks and Cleanup
With the structure assembled, I walked around the greenhouse, checking every panel, door, and vent for proper installation. Ensuring everything was tight and secure was a final step that brought peace of mind. Cleaning up the workspace helped me admire the completed project without distraction.
Customization Ideas for Your Greenhouse
Making your greenhouse truly yours doesn't just mean building it from scratch; it's about adding those personal touches that make it work best for you. Here are some ideas to customize your greenhouse in simple, understandable terms:
- Automatic Vent Openers: These are little helpers that manage the temperature and airflow in your greenhouse. They open when it gets too hot and close when it cools down, without you having to lift a finger.
- Rainwater Collection System: This is a way to save water and money. You can collect rainwater from the roof of your greenhouse and use it to water your plants. It's good for the environment and your wallet.
- Interior Shelving: Shelves are great for organizing your plants and tools. You can use different levels to make sure each plant gets the right amount of light and space to grow.
- Grow Lights: If you want to keep your plants happy during the shorter days of the year, grow lights can give them the extra light they need. They're like a mini sun for your greenhouse.
- Thermal Mass: This is a fancy term for materials that store heat. You can use water barrels or stone to absorb heat during the day and release it at night, keeping your greenhouse warm.
- Insulation: Keeping your greenhouse insulated means your plants stay warm, even when it's cold outside. Bubble wrap or foam can be used to keep the heat in.
- Decor: Don't forget to make it feel like your space. Add some comfortable chairs, decorative pots, or art to make your greenhouse a place you enjoy spending time in.
Choose what suits your needs, climate, and plants. These tips are a start; feel free to get creative and make your greenhouse ideal for your green thumb.
Maintenance and Care Best Practices
Keeping your polycarbonate greenhouse in top shape is crucial for the well-being of your plants and the longevity of the structure. Here's how you can maintain your greenhouse effectively:
- Regular Cleaning: Dust and dirt can block sunlight. Clean the panels with mild soap and lukewarm water. Use a soft cloth or sponge to avoid scratches.
- Inspect for Damage: Look for cracks or discoloration in the panels. Small issues can turn into big problems if left unchecked.
- Check the Frame: Ensure the frame is secure and hasn't shifted. Tighten any loose bolts and replace any that are rusted or damaged.
- Ventilation: Good air flow prevents mold and mildew. Make sure vents and doors can open and close smoothly.
- Gutter Maintenance: Keep gutters clear to prevent water buildup. This helps in proper drainage and avoids water seeping into the greenhouse.
- Pest Control: Regularly check for signs of pests and deal with them promptly. Natural remedies like neem oil can be effective and safe for your plants.
- Seasonal Adjustments: Adapt your greenhouse for the changing seasons. In winter, check for snow or ice accumulation that can damage the structure.
- Safety First: When working on the greenhouse, use proper safety equipment. Ladders should be stable and tools in good condition.
By following these simple steps, you can ensure your greenhouse remains a thriving environment for your plants year after year.
Legal and Safety Regulations
When you're ready to build your DIY polycarbonate greenhouse, it's not just about the materials and the plants. You also need to think about the rules and regulations that come with construction. Here's a straightforward guide to help you understand what you need to consider:
- Building Permits: Depending on where you live, you might need a permit to build your greenhouse. It's like asking for permission from your local government to make sure your structure is safe and follows the rules.
- Zoning Laws: These are the local rules about where you can build on your property. You'll want to check these to make sure you're placing your greenhouse in the right spot.
- Safety Standards: Your greenhouse should be a safe place for you and your plants. This means making sure it can stand up to things like strong winds and heavy snow.
- Material Requirements: Some places have specific rules about the types of materials you can use. This is to ensure everything is fire-safe and sturdy.
- Accessibility: If you're planning to have visitors or use your greenhouse for business, you might need to follow additional rules to make sure everyone can get in and out safely.
- Environmental Regulations: If you're taking water from a well or a stream, or if you're using pesticides, there might be rules to protect the environment that you need to follow.
Check your local government's website or office for accurate, current info before building.
FAQs About DIY Polycarbonate Greenhouse
Discover answers to common questions about DIY polycarbonate greenhouses. Learn tips, benefits, and essential information for your greenhouse project.
Polycarbonate is a robust material that can withstand impacts and harsh weather, making it ideal for greenhouses. It offers excellent insulation, keeping a stable temperature for plants, and diffuses light evenly, reducing shadows and ensuring all plants receive sunlight.
Consider the size based on your space and the number of plants you plan to grow. Polycarbonate comes in single, double, and triple-wall varieties, with more walls providing better insulation but at a higher cost. Frame materials vary from rust-resistant aluminum to charming wood.
With proper maintenance, a polycarbonate greenhouse can last up to 15 years or more. Its durability is one of its key advantages, providing a long-term solution for gardeners.
While not always necessary, a base can provide additional stability and help protect against strong winds. It's important to choose a location that receives ample sunlight and is somewhat sheltered from the wind.
Regular cleaning and checking for damages are essential. Use mild soap and water for cleaning and avoid abrasive materials that can scratch the surface. Ensure that the panels are securely fastened and replace any that are damaged to maintain insulation efficiency.
Conclusion
Wrapping up, building a DIY polycarbonate greenhouse offers an excellent way to extend your growing season and protect plants. Following this step-by-step guide ensures a successful and fulfilling project. Happy gardening!


