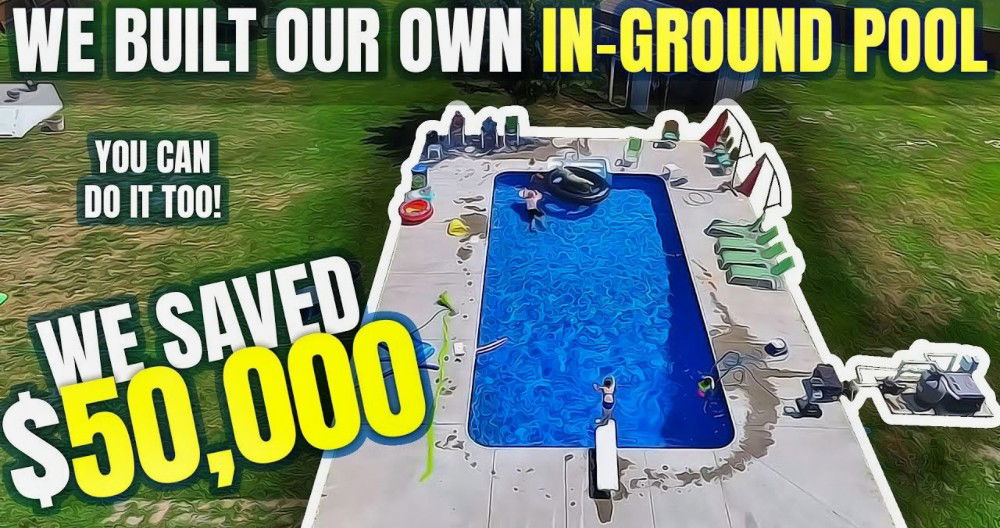
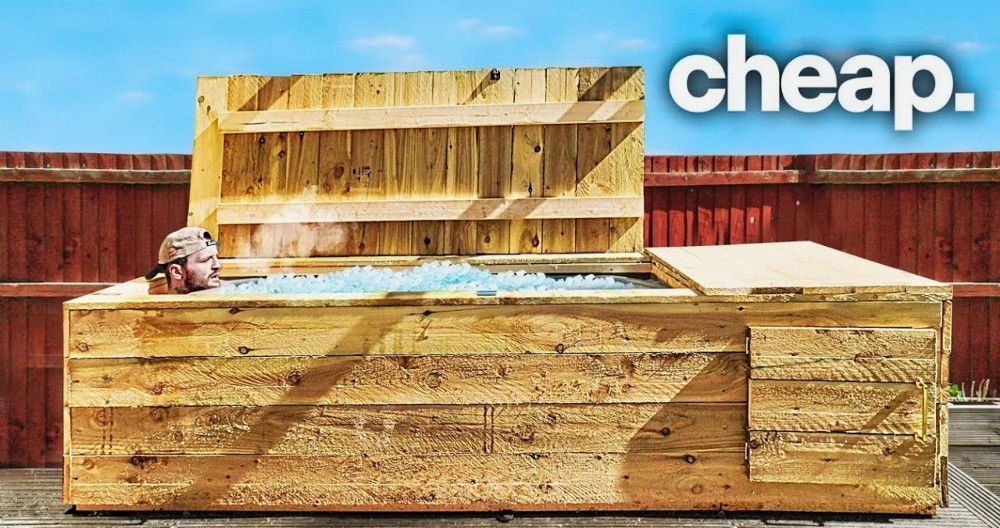
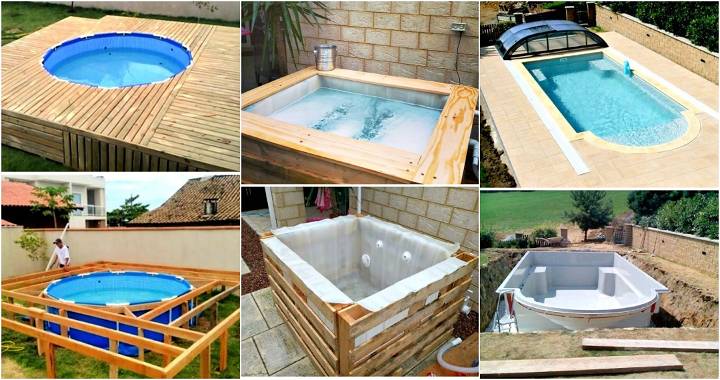
Last summer, I embarked on a project that turned our backyard into the ultimate summer hotspot—a DIY swimming pool! This wasn't just a whim. With three daughters and one enthusiastic son itching for endless summer fun, building a pool seemed like the perfect family project. And guess what? It turned out to be a gratifying adventure. Let me take you through this journey, one step at a time.
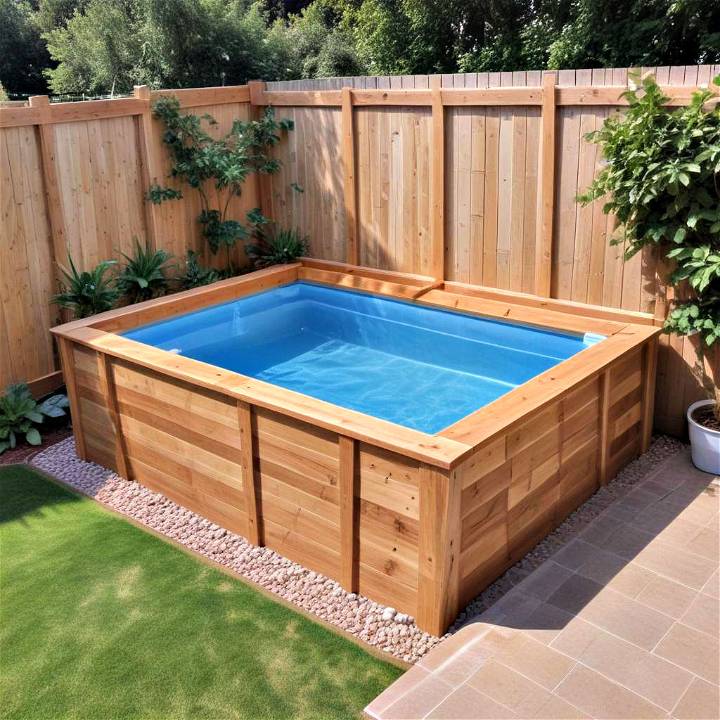
How to Build Your Own Swimming Pool
Learn how to build your own pool with our step-by-step instructions for DIY enthusiasts. From planning to final touches, we've got you covered!
Planning and Materials
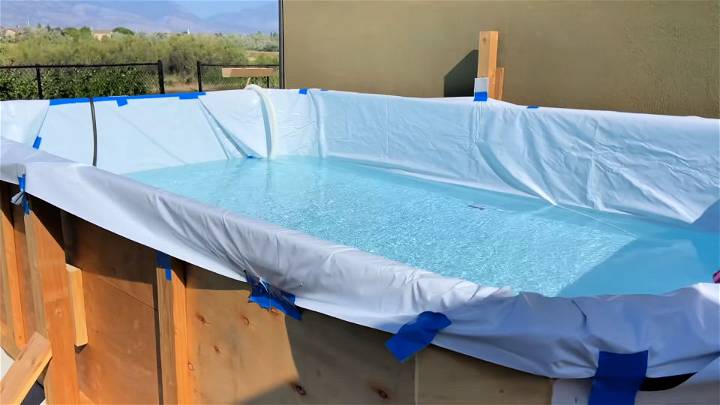
Before diving into construction, I modeled our planned pool using 3D design software. This step is crucial as it helps visualize the dimensions and ensures all parts fit together seamlessly. Our pool dimensions were set to 9x14 feet to match the lengths of available lumber, minimizing waste and cutting costs.
Choosing the Right Materials
Materials played a big role in this project, both for financial and practical reasons. I aimed for a low-cost, high-impact build, resulting in a $250 budget mostly spent on the tarp and foam padding for the pool's interior. The structure's bones—two-by-fours for the frame and two-by-sixes for additional support—were sourced from construction site scraps, free of charge. Remember, never hesitate to ask for leftover materials; it's eco-friendly and wallet-friendly!
Construction Steps
Cutting and Assembling the Frame
- Corner Pieces: The pool's sturdy frame began with cutting the corner pieces from two-by-sixes. These were essential for ensuring a solid, squared foundation. Measurements are key here; precision in cutting the 45-degree angles ensures that all pieces fit snugly together.
- Assembly: Starting with the base, we buildd a box shape, positioning the corner pieces at each turn. Then, we added vertical two-by-fours (studs) for height. This step required drilling and screwing the pieces together, a process made easier by pre-drilling to prevent wood splitting.
- Reinforcing the Structure: Additional cross beams provided the necessary support to handle the weight of the water. This reinforcement process is crucial; water is heavy, and without proper support, the pool's structure could fail.
- Adding Wall Panels: We covered the frame with plywood panels, building the pool walls. This part required fewer screws since the water pressure would ultimately keep the panels in place. However, ensuring the panels were securely attached at the top and bottom was essential for overall stability.
Interior Lining and Final Touches
Preparing the Base
To prevent potential punctures to the pool liner, we laid an 8-inch foam padding on the base, a more resilient choice than carpet padding. Pool noodles cut in quarters then lined the bottom edges, softening the transition from wall to base and eliminating sharp angles.
Installing the Liner
Choosing a durable tarp as the pool liner was a pivotal decision. After laying down and smoothing out the tarp, we secured it with staples on the outer frame, ensuring no loose areas. Extra care was taken to fold the tarp neatly around corners to avoid wrinkles that could trap debris or weaken a spot prone to tearing.
Water and Enjoyment
Filling the pool was a moment of truth. Watching as the structure held firm against the weight of the water was incredibly satisfying. The kids couldn't wait; they jumped in when it was half full, their laughter and splashes a clear sign of success.
Additional Enhancements
Post-construction, I added a makeshift sitting area on one end for easier access and a bit of flair. The use of a solar cover to keep debris out and warm the water slightly was a necessary final touch for maintenance and comfort.
Reflections and Advice
Looking back, there are a few tweaks I'd recommend for anyone considering this project:
- Use two-by-sixes for the bottom frame for added strength.
- Ensure all screws are tightly installed to prevent any part of the frame from loosening.
- Consider investing in a pool filter to keep the water clean throughout the summer.
This project saved us money and brought us closer as a family. It was a summer filled with learning, teamwork, and fun. Detailed planning, patience, and hard work can lead to a rewarding outcome. Dive in with enthusiasm and build memories.
Customization Ideas for Your DIY Swimming Pool
Building a swimming pool that reflects your personal style and meets your leisure needs is a rewarding aspect of the DIY process. Below, you'll find a detailed guide on how to infuse character and functionality into your swimming pool.
Design Features
- Water Features: Adding water features such as fountains, waterfalls, or jets can build a serene ambiance and enhance the visual appeal of your pool. Consider incorporating a rock waterfall for a natural look or a sheer descent waterfall for a modern touch.
- Lighting: Strategic lighting can transform your pool area into a nighttime oasis. LED lights offer a spectrum of colors and are energy-efficient. You can install lights inside the pool for a glowing effect or around the pool to highlight landscaping features.
- Tanning Ledges: Also known as sun shelves or baja shelves, tanning ledges are shallow, flat areas in the pool where you can lounge in the water. They're perfect for sunbathing or for young children to play safely.
- Pool Tiles: Tiles can add color and artistry to your pool. Mosaic tiles allow for intricate designs, while glass tiles reflect light beautifully. Choose slip-resistant tiles for safety and durability.
Landscaping Integration
- Plants: Select plants that can thrive in your climate and provide the right amount of privacy and shade. Consider low-maintenance plants that won't drop leaves into the pool, such as ornamental grasses or evergreen shrubs.
- Decking: The right decking material can complement your pool and provide a safe, non-slip surface. Options include natural wood, composite materials, or cool-to-the-touch pavers.
- Outdoor Seating: Incorporate comfortable seating areas around your pool. Options range from lounge chairs for sunbathing to outdoor sofas for socializing. Choose weather-resistant materials and fabrics.
- Privacy Features: For added privacy, consider installing fences, privacy screens, or tall hedges. Ensure they blend with the overall design and meet any local regulations.
By customizing your pool, you'll make a unique space that suits your style. Remember safety and function, and look for the best results. Keep it simple, short, and engaging for all.
Maintenance and Upkeep for Your DIY Swimming Pool
Maintaining your DIY swimming pool is crucial for ensuring clean, safe, and enjoyable water throughout the swimming season. Here's a detailed guide to help you keep your pool in pristine condition.
Regular Maintenance
- Water Testing: Regularly test your pool water for pH, chlorine, and alkalinity levels. Aim for a pH level between 7.2 and 7.8 and a chlorine level between 1 and 3 ppm for optimal conditions.
- Cleaning: Skim the pool's surface daily to remove leaves and debris. Brush the walls and floor weekly to prevent algae buildup, and vacuum the pool to remove settled dirt and debris.
- Filter Maintenance: Clean or replace your pool filter regularly to ensure efficient water filtration. The frequency will depend on the pool's usage and the type of filter you have.
- Chemical Balance: Maintain the chemical balance of your pool by adding necessary chemicals based on your water test results. Use stabilizers to protect chlorine from sunlight degradation.
Seasonal Care
Opening Your Pool:
- Spring Start-Up: Begin by removing any cover and cleaning it. Refill the pool to the appropriate level, restart the pump, and test the water.
- Initial Shock Treatment: Perform a shock treatment to eliminate bacteria and algae that may have developed during the off-season.
Closing Your Pool:
- Winterizing: Lower the water level and add winterizing chemicals to protect the pool from algae and bacteria.
- Covering: Secure a quality pool cover to keep out debris and reduce maintenance efforts during the off-season.
By following maintenance routines, keep pool clean and prevent issues. Use clear instructions, simple language, highlight key points for easy understanding.
FAQs About DIY Swimming Pools
Discover answers to all your FAQs About DIY swimming pools. From costs to maintenance, get all the info you need to build your own pool.
What is the best location for a DIY swimming pool?
The ideal location is a level area with good exposure to sunlight and away from trees. Ensure it's visible from the house for safety and consider privacy from neighbors.
How deep should my pool be?
This depends on your intended use. For general swimming, 3 to 4 feet is sufficient. If you want to dive, the deep end should be at least 8 feet.
What materials are needed for a DIY swimming pool?
Common materials include concrete, fiberglass, or vinyl for the pool shell, along with PVC piping, a filtration system, and pool chemicals for maintenance.
Can I heat my DIY pool?
Yes, you can use solar covers, gas heaters, or heat pumps. Solar heaters are cost-effective and environmentally friendly.
How do I ensure my pool is safe?
Install safety barriers like fencing with self-closing gates, pool covers, and alarms. Always supervise children and ensure swimmers know the pool's depth.
How long does it take to build a DIY swimming pool?
The time frame varies based on the pool size and complexity, but it typically takes several weeks to a few months to complete.
What maintenance is required for a DIY swimming pool?
Regular maintenance includes testing and balancing water chemistry, cleaning, and servicing equipment. Seasonal care involves winterizing or preparing the pool for summer use.
Conclusion:
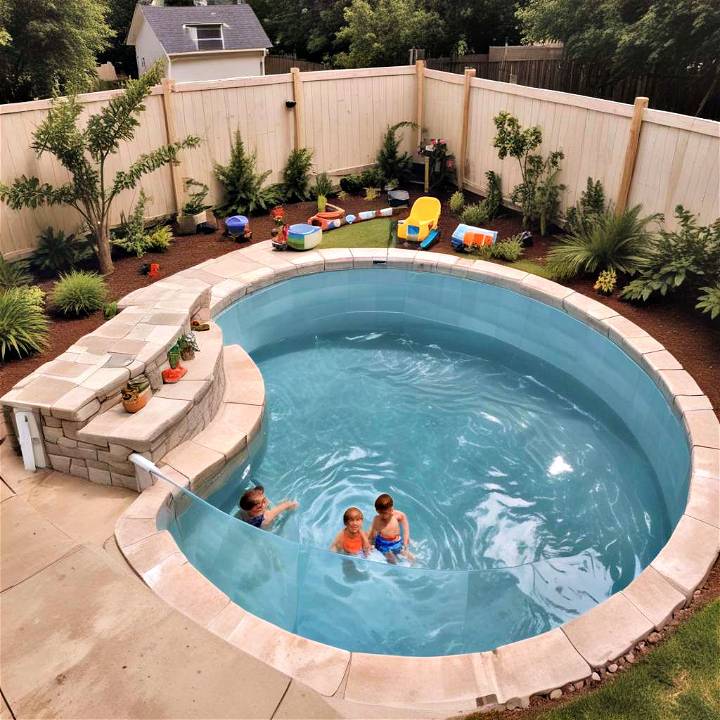
In conclusion, making a DIY pool in your backyard is a cost-effective and enjoyable project for summer. Follow the simple steps outlined in this guide to build your own oasis and make the most of the sunny season.


