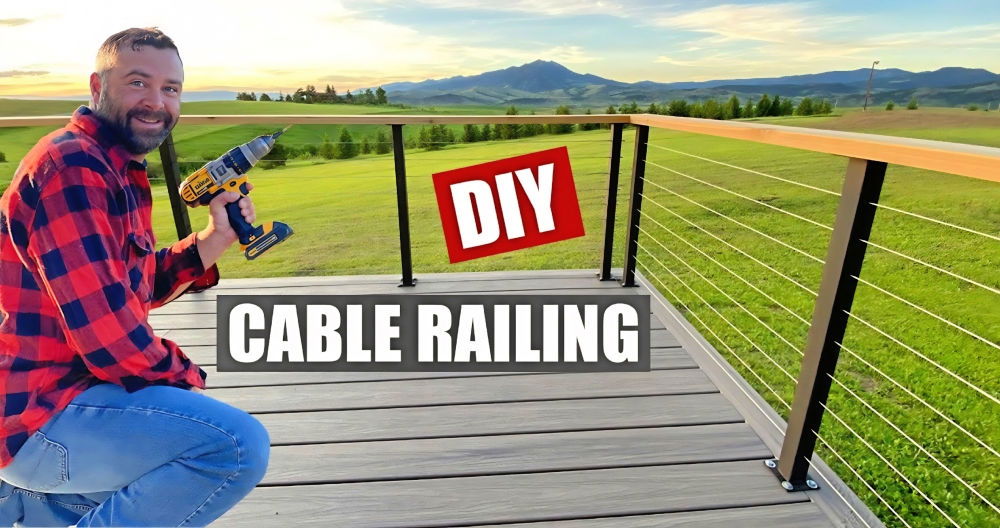
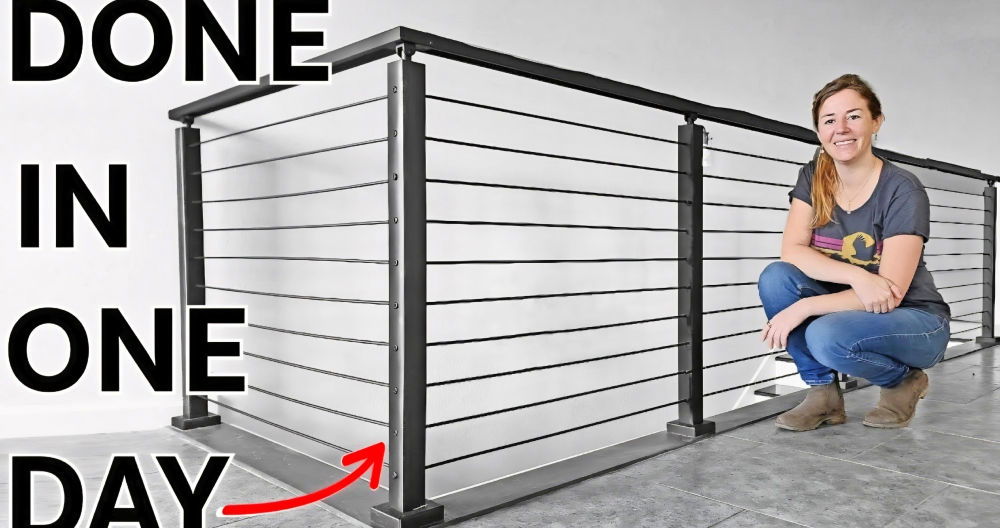
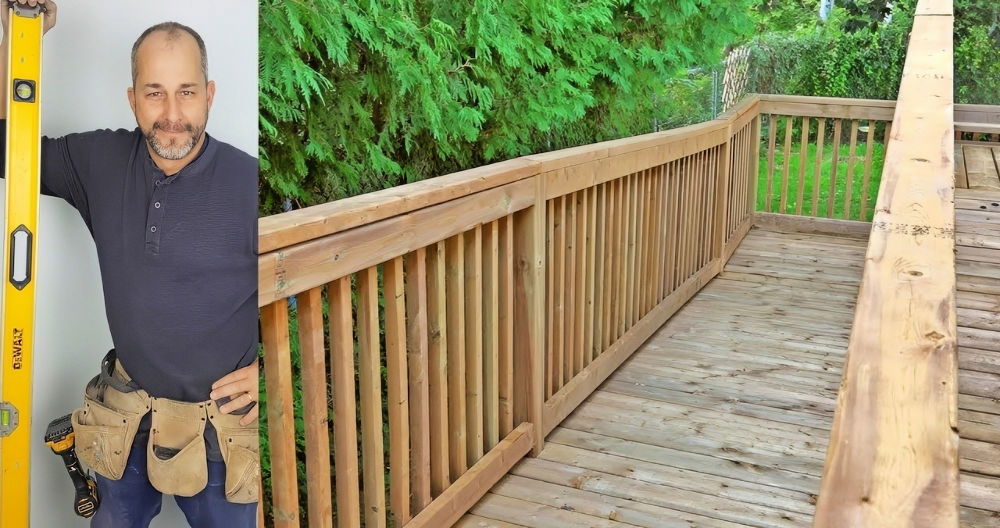
Building a DIY porch railing can enhance the safety and appeal of your home. It's a rewarding project that you can complete with the right materials and tools. First, you will need to gather essential items like wood, nails, and paint. Measure the area where the porch railing will go, ensuring accuracy for a well-fitted railing.
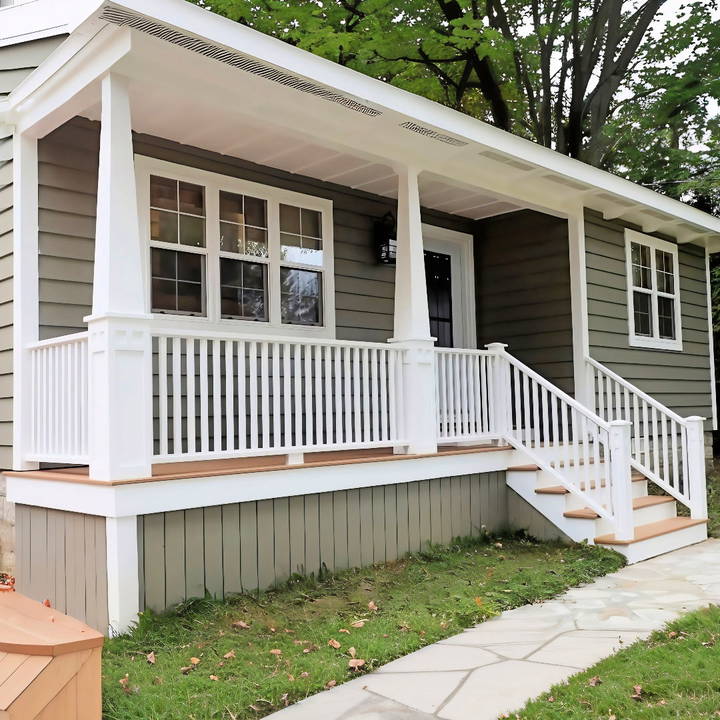
Once you have the materials, start with the DIY porch railing construction by following a step-by-step guide. Begin by cutting the wood to match your measurements, then assemble the pieces securely. Finally, paint the railing to match your house's exterior.
Let's now dive into the detailed steps and tips to ensure your porch railing project is a success. Keep reading to explore the next section!
Materials Needed and Why
- Old Wooden Boards: Ideal for repurposing into balusters, ensuring a sustainable approach by reusing materials.
- Framing Lumber (2x4s): Provides the structural integrity for the top and bottom rails of the railing.
- Galvanized Nails: Resistant to rust, they ensure the longevity of the structure.
- Primer and Paint: Protective coating to safeguard the wood against weather elements.
- Caulking: Seals seams and nail holes, preventing water ingress which could lead to rot.
- Sanding Tools and Planer: Essential for smoothing and preparing the wood for paint.
- Hammer and Nail Set: For driving and setting nails properly without damaging the wood.
Step by Step Instructions
Follow our comprehensive DIY porch railing guide with step-by-step instructions, from preparing balusters to installation, ensuring a perfect finish.
Preparing the Balusters
Initially, the boards, with their bullnose edges, needed resizing. I cut them into balusters of equal width. Opting for a straightforward approach, I skipped tapering them. Given their previous outdoor life, some boards were damp, necessitating a drying period before further work could proceed.
Why Sanding Over Planing?
The potential for hidden nails and the unevenness of used boards made sanding a safer choice for preparing the surface without damaging my tools.
Priming and Painting: A Two-Stage Protection
Every baluster received an all-around prime coat, followed by sanding to smooth the raised grain, then a final paint coat. This layering is critical for weather resistance.
Crafting the Rails
Choosing straight lumber was pivotal. Despite my selectiveness, some boards were slightly twisted. Correcting this involved planning and ensuring a smooth, twist-free base for the rails. Interestingly, the planer came into play here, offering a quicker way to flatten these larger pieces without the risk attached to the used boards.
Assembly Insights
I constructed the railings by attaching the balusters to thin strips, which then connected to the top and bottom rails. This method simplified installation and provided a cohesive look.
Installation: A Lesson in Precision
Precise cuts and measurements were key. For durability, I leaned on galvanized nails angled for grip, driving them in with care to avoid wood splitting. Caulking played a dual role: adhering components and sealing against moisture. Every step was punctuated with painting and filling gaps for a seamless finish.
Personal Reflections
The most cumbersome yet rewarding part was ensuring consistency in baluster spacing and alignment. A custom-cut block served as a template, ensuring uniformity, which underscores the need for meticulous planning in DIY projects.
The Stair Railings: A Complex Undertaking
Adjusting for the angle of the stairs introduced an added layer of complexity. I tackled this by securing the top rail first, ensuring a stable starting point for accurately measuring and cutting the remaining components. This inverse approach highlighted adaptability as key in DIY tasks.
Why the Detailed Approach?
While there are quicker, more straightforward methods for building railings, dedicating time to handcraft each part allowed for customization and cost savings. The sense of accomplishment in addressing challenges head-on was immeasurable.
The Big Picture: DIY Beyond Savings
Beyond the financial benefits, this project was a testament to the value of patience, planning, and perseverance. Each choice, from material selection to the methodical preparation and assembly, was driven by a commitment to quality and sustainability.
Troubleshooting Common Porch Railing Issues
When it comes to DIY porch railing projects, it's not uncommon to encounter a few hiccups along the way. Here's a helpful guide to troubleshooting some of the most common issues you might face, ensuring your porch railings are both safe and beautiful.
Loose Railings
- Problem: Over time, railings can become loose, which is a safety hazard.
- Solution: Tighten all bolts and screws. If the wood has rotted, replace the affected section. Ensure that the railing posts are securely attached to the deck or stairs.
Peeling Paint or Stain
- Problem: Paint or stain that is peeling can make your railings look worn and neglected.
- Solution: Sand the area to remove the peeling layers, then apply a primer and repaint or restain. Use products designed for outdoor use to prevent future peeling.
Cracks in Wood
- Problem: Small cracks can develop in wooden railings due to weather changes.
- Solution: Fill the cracks with wood filler, let it dry, and then sand it down for a smooth finish. Seal the wood to protect it from moisture.
Rust on Metal Railings
- Problem: Metal railings can rust over time, especially if they're not properly treated.
- Solution: Remove rust with a wire brush or sandpaper. Apply a rust-inhibiting primer and repaint the railing with a rust-resistant paint.
Wobbly Handrails
- Problem: Handrails that move when gripped can cause falls.
- Solution: Check the handrail brackets and tighten any loose ones. If the wall anchors are failing, replace them with more robust ones.
Discoloration
- Problem: Railings can become discolored due to exposure to the elements.
- Solution: Clean the railings with a solution suitable for the material. For wood, use a deck cleaner; for metal, a mild soap and water solution should suffice.
Insect Damage
- Problem: Insects like termites and carpenter bees can damage wooden railings.
- Solution: Treat the wood with an insect repellent or pesticide. Consider replacing damaged sections with insect-resistant materials.
Regular maintenance can prevent issues. Inspect your porch railings regularly and fix any problems immediately.
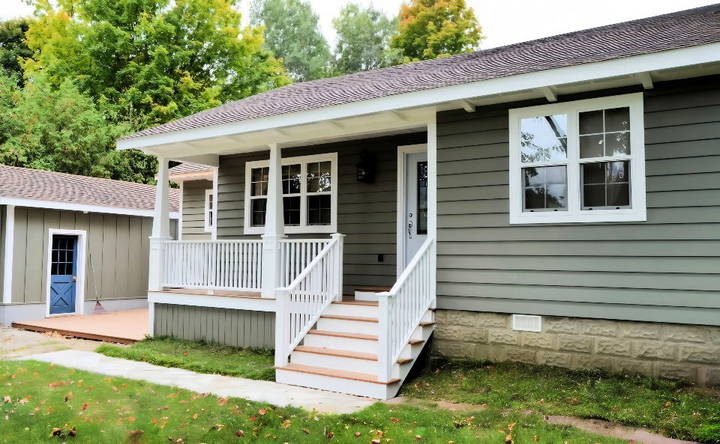
Maintenance and Care Tips for Your Porch Railing
Keeping your porch railing in top condition not only enhances the curb appeal of your home but also ensures the safety and longevity of the structure. Here are some straightforward maintenance and care tips to help you preserve your porch railing:
Regular Cleaning
Routine cleaning is essential. For wooden railings, use a soft brush and a mixture of water and mild detergent. For metal railings, wipe down with a damp cloth to prevent dust accumulation and potential rust.
Periodic Inspections
Inspect your railings regularly for signs of wear and tear. Look for loose screws, peeling paint, or any signs of damage. Early detection can save you from costly repairs down the line.
Immediate Repairs
If you notice any damage, address it promptly. Tighten any loose parts, and fill cracks or holes with appropriate fillers before they worsen.
Protective Coatings
Apply a sealant or rust protector annually to wooden and metal railings, respectively. This will help guard against weather damage and extend the life of your railings.
Gentle Methods
Avoid using harsh chemicals or abrasive tools that can damage the railing material. Gentle cleaning methods will preserve the finish and integrity of the railings.
Professional Help
For significant issues or if you're unsure about a particular aspect of maintenance, don't hesitate to seek professional assistance. It's better to invest in expert care than to risk further damage.
Maintain porch railing beauty and function with these simple tips. Regular upkeep prevents major repairs and keeps your porch safe and inviting.
Safety and Building Codes for Porch Railings
Ensuring the safety of your porch railing is not just about peace of mind but also about compliance with local building codes. These regulations are designed to protect you and your loved ones by setting standards for construction and maintenance. Here's what you need to know:
Height Requirements
The International Residential Code (IRC) mandates that any deck or porch more than 30 inches above the ground must have railings at least 36 inches high. This is to prevent accidental falls and provide a secure barrier.
Strength and Durability
Railings must withstand certain forces to be code compliant. They should resist a uniform load of 50 pounds per linear foot and a point load of 200 pounds applied in any direction along the top rail. This ensures that the railings can support the weight of a person leaning against them.
Spacing and Openings
To prevent small children from slipping through, the gaps in the railing should not allow a 4-inch diameter sphere to pass through. This is a critical safety measure, especially for families with young children.
Materials and Fasteners
Use materials and fasteners that are suitable for the weight and stress the railings will endure. For example, heavy hot-dipped-galvanized or polymer coatings are recommended for use with pressure-treated lumber.
Local Variations
Be aware that local codes may vary. Some areas may have different requirements for railing height or load resistance. Always check with your local building authority to ensure compliance with the specific codes in your area.
Professional Assessment
If you're unsure about the codes or the stability of your railing, consult a professional. A licensed contractor or building inspector can provide valuable advice and ensure that your porch railing meets all safety standards.
By adhering to these safety and building codes, you can enjoy your outdoor space with confidence, knowing that your porch railing is not only beautiful but also built to last and protect.
FAQs About DIY Porch Railing
Discover the essential FAQs about DIY porch railing, covering installation tips, material choices, maintenance, and safety advice for your ideal outdoor space.
The spacing for porch railing posts depends on the material you use:
For wooden railings, posts can be spaced up to 8 feet apart.
For PVC or composite railings, posts should be no more than 6 feet apart to ensure stability.
Yes, with basic carpentry skills, you can install porch railings on your own. It involves:
Measuring and cutting the wood.
Assembling the balusters and rails.
Attaching the railing to the porch with hardware.
Always check local building codes for specific requirements.
To ensure safety:
Use sturdy materials and secure fastenings.
Make sure the railing height meets local building codes, typically between 36 and 42 inches high.
Perform a deflection test by applying pressure to ensure there is minimal give.
Maintenance depends on the materials:
Wooden railings need regular staining or painting and inspection for rot or damage.
Composite and PVC railings require less maintenance, usually just cleaning with soap and water.
Inspect all railings annually for loose parts or damage.
To maintain the color and finish of your DIY porch railing:
Clean regularly with mild soap and water to remove dirt and debris.
For wood railings, reapply paint or stain every 2-3 years to protect against weathering.
Inspect for chips or cracks in the finish and touch up as needed to prevent moisture damage.
Consider applying a UV-resistant sealant for added protection against sun exposure.
If you notice any loose parts or damage, address them promptly to maintain the integrity of the railing.
Final Thoughts
Wrapping up, building a DIY porch railing for your home can truly transform your outdoor space and add a personal touch. By following these steps, you can achieve an impressive blend of functionality and style. Remember, building a DIY porch railing doesn't just enhance your home's aesthetic; it also increases safety and value. Enjoy your project and all the benefits it brings!


