Making DIY potion bottles is a magical experience. One evening, I found myself gathered with friends, each of us eager to transform simple glass bottles into enchanting potions. We spilled out our array of glittery powders, colorful beads, and tiny fairy lights. The anticipation was electric as we planned our mystical creations, each bottle holding the potential to cast spells and charm our imaginations.
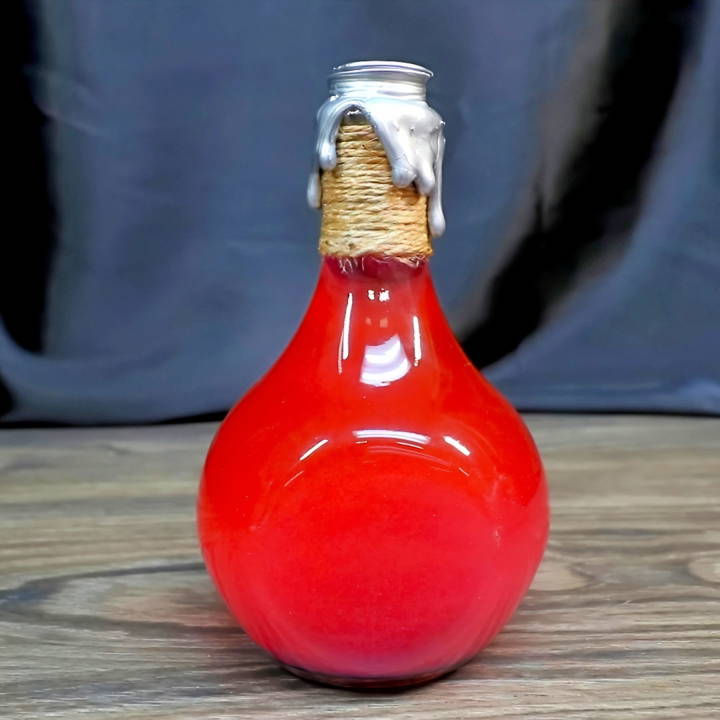
There's something truly satisfying about customizing every detail. We carefully poured glitter, added drops of food coloring to water, and inserted delicate charms. The best part was seeing how each potion bottle reflected our unique personalities. By the end of the night, we had a collection of vibrant, magical concoctions. This activity-filled us with joy, and I'm thrilled to share this step-by-step guide so you can make your own enchanting bottles.
I'm helping with this guide so you can experience this magic, too. Let's get started with the steps on how to make potion bottles that will amaze everyone.
What is Potion-Making?
At its core, potion-making involves combining various ingredients to make mixtures that have desired effects. In folklore and fiction, these potions could do anything from healing the sick to making someone fall in love. In our world, while we can't brew a potion for eternal youth, we can make beautiful and intriguing potion bottles that capture the imagination.
Why Make Potion Bottles?
Making potion bottles is not just about the end product; it's about the experience. It's a chance to express your creativity, learn new crafting techniques, and perhaps even delve into a bit of history or chemistry as you explore the properties of different materials. Plus, these bottles make fantastic decorations, gifts, and conversation starters.
Gathering Your Materials: Why Each Is Important
Before embarking on this magical journey, ensure you have the following essentials:
- Glass Bottles: The cornerstone of our project. Choose various shapes and sizes to add diversity.
- Paint and Brushes: Acrylic paint works wonder for aging bottles. Metallic colors (gold, silver, bronze) offer that magical sheen.
- Mod Podge and Brushes: A sealer to protect your artwork and give the bottles an aged look.
- Hot Glue Gun: For adding embellishments and texture to your bottles.
- Decorations: Think of labels, beads, leather strips, and anything that whispers "magic."
- Rubbing Alcohol: Cleans the bottles, ensuring the paint adheres well.
Why each?
The diversity in bottles and paint colors allows creativity to flourish. Mod Podge seals your effort, while a hot glue gun champions the 3D effects that make the bottles feel ancient. Every decoration you choose tells a part of your bottle's story, engraving personality into each.
Step by Step Instructions
Learn how to make potion bottles with our step-by-step guide. Perfect for crafts, decorations, and gifts. Easy instructions for magical creations!
Cleaning the Bottles: The Foundation
Start by cleaning your bottles with rubbing alcohol. This not only removes dirt and grime but also ensures that the paint and decorations adhere better, setting a flawless stage for our magical endeavor.
Aging the Bottle: Crafting Time's Mark
- Base Coat: Apply a base coat of paint. Black or dark brown makes an excellent aged effect.
- Dry Brushing: Once dry, lightly brush on metallic paint. This technique highlights edges and textures, giving that antiqued look.
- Mod Podge: After the paint dries, a thin coat of Mod Podge seals the deal, protecting your artwork.
Adding Embellishments: Crafting the Character
Now comes the fun part. Use your hot glue gun to make designs on the bottle. Spirals, symbols, or even faux cracks make each bottle tell a unique story. After the glue dries, lightly brush over these raised textures with metallic paint to highlight the details.
Labeling Your Potion Bottle: A Name Brings Power
No potion bottle is complete without a label. Whether it's "Polyjuice Potion" or "Draught of Peace," the name you choose breathes life into your creation. Design your labels to look aged - tea-staining paper is a simple yet effective technique. Once labeled, your potion bottles truly come into their own.
The Finishing Touches: Sealing the Magic
With your bottles painted, aged, embellished, and named, it's time for the final touch. Fill some of your bottles with colored water or glitter for a liquid potion effect. Ensure each cap or cork is sealed tightly to avoid spills.
Customization Ideas
When it comes to potion bottles, customization is where your creativity truly shines. Each bottle is a canvas for your imagination, and there are countless ways to personalize them. Here are some ideas to inspire your own unique creations:
Themes to Explore
- Fantasy: Think of dragons, unicorns, and fairies. Use glitter, metallic paints, and jewel-toned liquids.
- Halloween: Spooky and fun, use fake spiders, cobwebs, and eerie green or red colors.
- Harry Potter: House colors, crests, and magical creature motifs will delight fans.
- Steampunk: Gears, bronze paint, and mechanical accents offer a retro-futuristic look.
- Nature: Use herbs, flowers, and natural dyes for a rustic, earthy feel.
Colors and Effects
- Glow-in-the-Dark: Chargeable by light, these paints will make your potions come alive at night.
- Chalkboard Paint: Allows you to write and rewrite labels directly on the glass.
- Metallic Sheen: Gold, silver, and copper paints can give a luxurious finish.
- Translucent Tints: Colored but see-through, perfect for showing off the contents.
Decorative Accents
- Ribbons and Twine: Wrap around the neck of the bottle for a simple yet effective decoration.
- Beads and Charms: Hang from the cork or the bottle's neck for added personality.
- Wax Seals: Use sealing wax to stamp the cork, adding an old-world charm.
- Labels: Design your own or use printable ones; aged paper adds authenticity.
Practical Tips
- Reuse and Recycle: Old jars and bottles can be repurposed into beautiful potion bottles.
- Sealing: To prevent spills, use a strong adhesive or wax to seal the cork or lid.
- Layering: For a more complex look, layer different colored sands or liquids.
The key to great customization is to let your interests and style guide you.
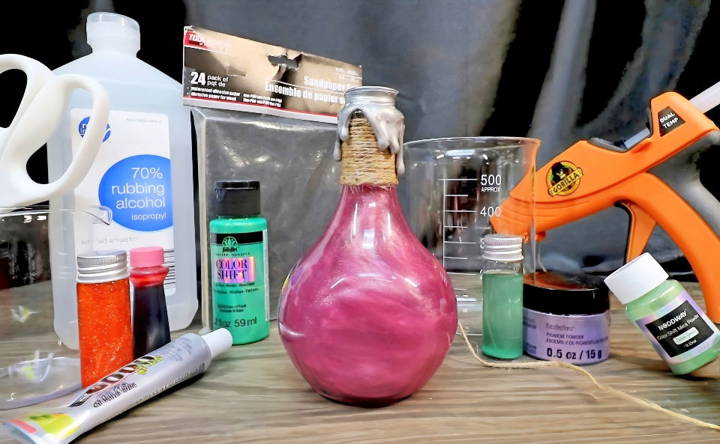
Crafting Enchanting Potion Bottles: A Guide to Magical Fillings
Making your own potion bottles can be a fun and creative project, whether for Halloween decorations, cosplay props, or just to add a touch of whimsy to your space. Here are some ideas for what to fill your potion bottles with, ranging from simple to elaborate:
Liquid Potions
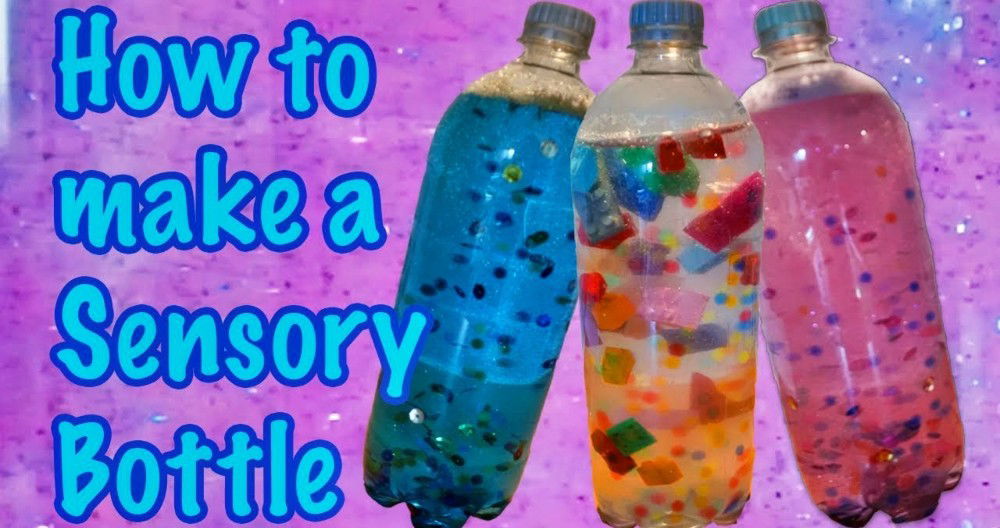
- Colored Water: The simplest option is to fill your bottles with water and add a few drops of food coloring. You can experiment with different colors and combinations to make a variety of potions.
- Oil and Water: For a more interesting effect, try layering different colored water and oil. The oil will float on top of the water, making a mesmerizing swirl.
- Glitter and Sequins: Add some sparkle to your potions by mixing in glitter or sequins.
- Glowing Liquid: For a truly magical touch, use a glow-in-the-dark paint or liquid. This will make your potions glow in the dark, making a spooky atmosphere.
Solid Potions
- Herbs and Spices: Dried herbs and spices can add a touch of realism to your potions. Choose herbs and spices that are associated with magic and witchcraft, such as lavender, rosemary, cinnamon, and cloves.
- Crystals and Stones: Small crystals and stones can also be used to fill potion bottles. Choose crystals that are associated with healing, protection, or other magical properties.
- Beads and Trinkets: Small beads, charms, and other trinkets can also be added to potion bottles. This is a great way to personalize your potions and make them unique.
Other Ideas
- Smoke: For a truly dramatic effect, try filling your potion bottles with smoke. This can be done using a smoke machine or by burning incense or sage.
- Food Coloring and Oil: To make a bubbling potion, add a few drops of food coloring and oil to a bottle of water. The oil will make bubbles that rise to the surface.
No matter what you choose to fill your potion bottles with, the most important thing is to have fun and be creative!
Tips for Making Potion Bottles
- Choose the right bottles: Potion bottles come in all shapes and sizes. Choose bottles that are the right size for the ingredients you plan to use.
- Label your potions: Labeling your potions is a great way to add a touch of realism and make them more interesting. You can use pre-made labels or make your own.
- Store your potions carefully: If you are using liquids or other perishable ingredients, be sure to store your potions in a cool, dry place.
With a little creativity, you can make enchanting potion bottles that will add a touch of magic to your life.
FAQs About How to Make Potion Bottles
Learn everything about how to make potion bottles with our comprehensive faqs. Find tips and tricks for crafting the perfect potion containers.
For a mystical, cloudy effect inside your potion bottle:
Fill the bottle with water mixed with a few drops of food coloring to achieve your desired potion color.
Tear apart some cotton balls and use a skewer or stick to push them into the bottle, making layers of cloudiness.
Optionally, add glitter or mica powder to give your potion a sparkling effect.
Yes, you can make glowing or color-changing potion bottles by:
Using a base liquid like tonic water that glows under black light for a glowing effect.
Adding colorants such as liquid food coloring, gel food coloring, or alcohol ink for vibrant colors.
Mixing in mica powder or metallic paint to make a swirling or color-shifting effect.
To seal your potion bottles:
Choose a cork or lid that fits snugly on your bottle.
Ensure the neck of the bottle is dry before sealing.
Use glue, hot glue, or wax to secure the cork and prevent any leakage or evaporation.
For an extra touch, wrap the neck with jute twine or ribbon.
Get creative with your potion bottles by:
Printing out themed labels and sticking them onto the bottles.
Aging the bottles with brown paint for an antique look.
Wrapping the bottles with twine, leather, or ribbon and adding charms or beads.
Sealing the labels with wax for a magical touch.
Ensuring the safety of your potion bottles is crucial, especially if they're going to be within reach of children or used at parties. Here are some tips:
Use non-toxic materials whenever possible, especially for any substances inside the bottles.
If you're using glass bottles, make sure there are no sharp edges or cracks.
Securely attach any small embellishments to prevent them from being a choking hazard.
Keep the potion bottles out of direct sunlight to prevent any color fading or potential reactions from the contents.
Always label your bottles clearly, especially if they contain anything that shouldn't be ingested.
Conclusion:
Wrapping up, making DIY potion bottles can add a touch of enchantment to your home decor. With just a few simple supplies and a bit of creativity, anyone can learn how to make potion bottles that are both fun and functional. Start your magical crafting adventure and transform everyday items into extraordinary potions today!


