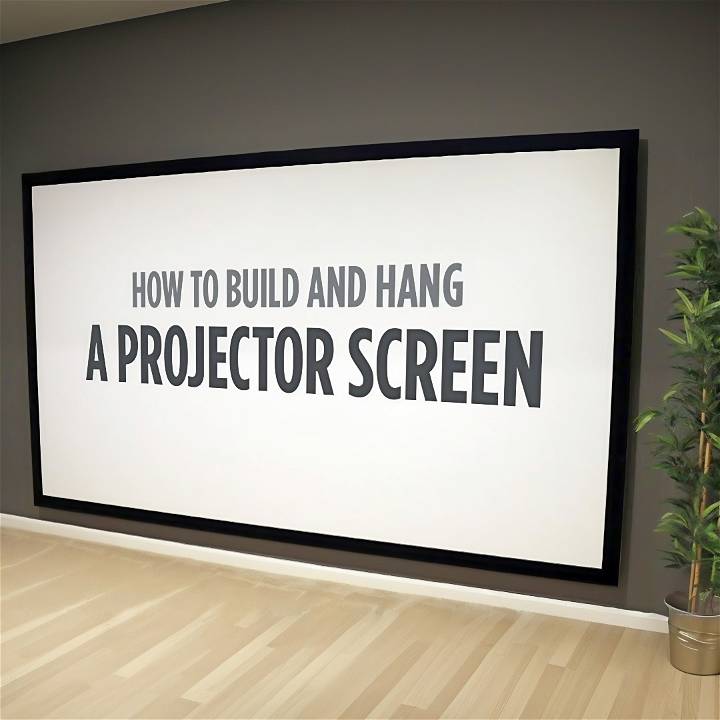
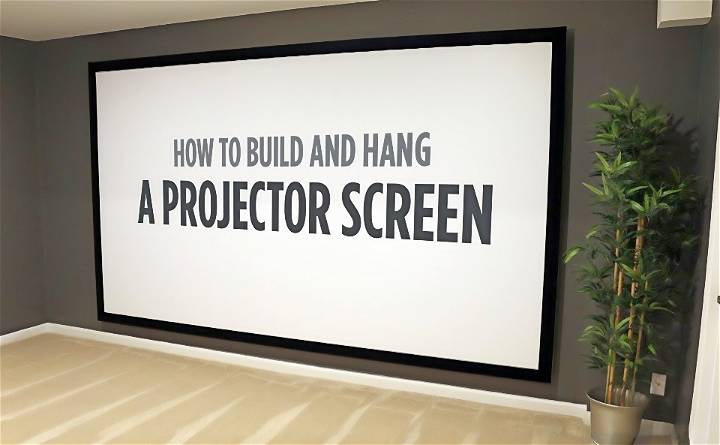
For as long as I can remember, a home theater has been a dream of mine. The thought of watching movies on a humongous screen from the comfort of my living room was exciting. However, the high costs of commercial screens were off-putting. That was until I decided to take matters into my own hands and build a DIY 144-inch projector screen myself. If you're looking to embark on this rewarding DIY project, I'm here to guide you through my experience step by step, ensuring you can replicate this project with ease.
Materials and Why They're Needed
- Wooden Frame: Constructed from 1x4 lumber, it's the backbone of your screen, providing essential support.
- Kreg Jig: This tool is invaluable for building strong, angle joints between frame pieces.
- Pocket Hole Screws: For securing the frame joints tightly together.
- Center Supports: Adding stability to the frame and preventing any sagging.
- Wall Cleat: A clever mounting solution that allows for easy hanging and adjustment of the screen.
- Projector Screen Material: I used Carl's FlexiWhite; it's the actual screen where your images will be projected. The material affects image quality significantly.
- Wood Glue & Screws: For additional frame stability.
- Black Felt Tape: This enhances the viewing experience by absorbing projector spill-over and increasing perceived picture contrast.
Step-by-Step Process
Learn how to make a DIY projector screen step-by-step, from building the frame to attaching the screen material, for a perfect viewing experience.
Building the Frame
I began by cutting my 1x4 lumber to size, building a frame that was 124.5 inches by 76.625 inches. Using the Kreg Jig, I drilled pocket holes at each joint. I can't recommend the Kreg Jig enough; it made joining the frame corners straightforward and gave them a professional finish.
Adding Stability
After assembling the frame, I installed center supports 39 inches from each internal edge, using more pocket screws. This step is crucial for maintaining the frame's rigidity and preventing any warping under the screen material's tension.
Preparing for Mounting
Mounting the frame securely and levelly can be daunting, but a French cleat system simplified the whole process. I cut a 1x4 lengthwise at a 45-degree angle: half attached to the wall, and the other half to the back of the frame. Remember to locate your wall studs for this step; the stability of the entire setup depends on this connection.
Attaching the Projector Screen Material
This was arguably the most nerve-wracking part. The FlexiWhite material needs to be stretched just right - not too loose to make wrinkles, and not too tight to warp the frame. Starting from the center of each side, I worked my way around, pulling tight and stapling the material into place, gradually eliminating any creases.
Making the Viewing Border
To give the screen that final, polished look, I applied black felt tape around the edges. Precision is key here; a straight edge and patience will ensure a clean border that enhances your viewing experience by absorbing any stray light.
The Final Mount
With everything assembled and the wall cleat in place, hanging the screen was surprisingly straightforward. The cleat system allowed for minor adjustments, ensuring it was perfectly level. I added L-brackets at the corners for good measure, securing the frame against any movement.
Lessons Learned and Tips
- Take Your Time: Especially when stretching the screen material and applying the black felt tape. Rushing can lead to mistakes that are difficult to correct.
- Measure Twice, Cut Once: This age-old adage applies here more than ever. Precision in your initial cuts and measurements makes everything that follows easier.
- Test Your Setup Before Finalizing: Before committing your projector screen to its final position, test the projection. This is a good time to adjust the distance of the projector and ensure the image properly fits on your screen.
Projection Calculator and Throw Distance
When setting up a projector, understanding the throw distance is crucial for achieving optimal image quality. Let's break it down into simple steps:
1. What Is Throw Distance?
The throw distance refers to the space between your projector and the screen. It directly impacts the size of the projected image. If the projector is too close, the image may be too small; if it's too far, the image could become distorted.
2. Calculating Throw Distance
Here's how to calculate the ideal throw distance for your projector:
- Check Projector Specifications: Refer to your projector's user manual or specifications sheet. Look for details like “throw ratio” or “lens-to-screen distance”. The throw ratio is expressed as a range (e.g., 1.5:1 to 2.0:1).
- Determine Screen Size: Decide on the desired screen size (diagonal measurement in inches). Keep in mind the aspect ratio (usually 16:9 or 4:3).
- Use the Formula:
- Divide the screen width (in inches) by the throw ratio. This gives you the ideal distance from the screen.
- For example, if your screen width is 100 inches and the projector's throw ratio is 1.5:1, the ideal distance would be 100 / 1.5 = 66.67 inches (approximately 5.6 feet).
- Adjust for Zoom: Most projectors have zoom capabilities. If your projector allows zooming, adjust it to fit the screen size while maintaining the correct throw distance.
3. Practical Tips
- Avoid Obstructions: Ensure there are no obstacles (furniture, plants, etc.) between the projector and the screen.
- Ceiling Mounts: If ceiling-mounted, consider the distance from the ceiling to the screen.
- Keystone Correction: Use keystone correction (if available) to correct image distortion caused by an angled projection.
4. Online Projection Calculators
For convenience, use online projection calculators. These tools take into account your projector's specifications and screen size to provide accurate throw distance recommendations. Simply input the relevant details, and the calculator will do the math for you.
Remember, a well-calibrated throw distance ensures a clear, vibrant image for your home theater or presentation.
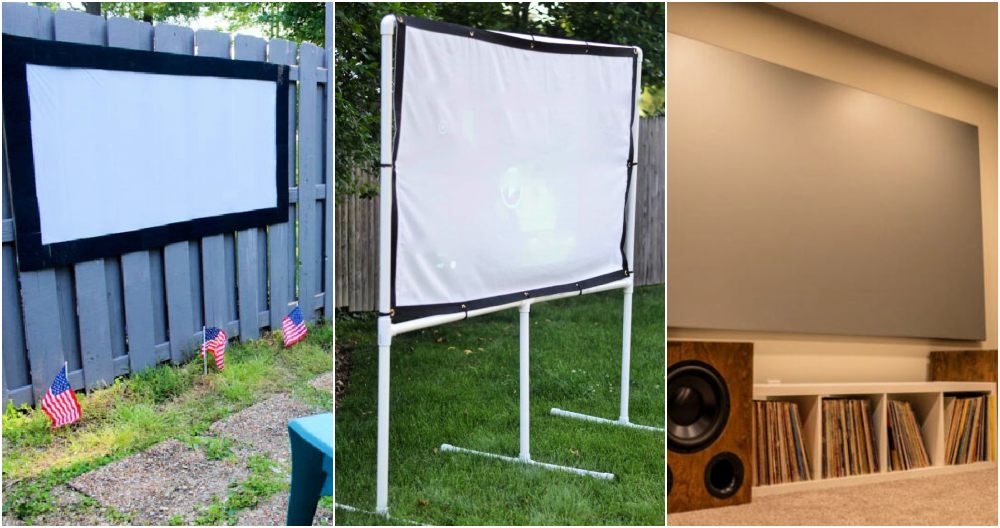
Types of DIY Projector Screens
When it comes to building your own projector screen, you have several options. Let's explore the three main types of DIY projector screens and their unique features:
1. Painted Projector Screen
Budget-Friendly: If you're on a tight budget, this method is the simplest. Find a smooth wall large enough to serve as your screen.
- Pros:
- Cost-Effective: No additional materials needed; just paint the wall.
- Easy Setup: Minimal effort required.
- Cons:
- Surface Imperfections: Uneven surfaces can affect image quality.
Tips
- Ensure your wall is free from imperfections before painting.
- Use a high-quality matte white paint for better reflection.
- Mark the screen boundaries clearly.
2. Fixed Frame Projector Screen
Sturdy and Permanent: A fixed frame screen provides a dedicated home theater experience.
- Construction:
- Frame: Build a rigid frame using wood or aluminum.
- Screen Material: Stretch a screen fabric (such as blackout cloth) over the frame.
- Pros:
- Professional Look: Neat and seamless appearance.
- Consistent Image: No wrinkles or distortions.
- Cons:
- Space Requirement: Requires a dedicated wall space.
- Installation Effort: More involved than other methods.
- Tips:
- Measure accurately to fit the frame dimensions.
- Tension the fabric evenly for a flat surface.
3. Portable Projector Screen
Versatile and Convenient: Ideal for outdoor movie nights or flexible setups.
- Materials:
- Curtain Backing: Thick and sturdy fabric available at most fabric stores.
- Blackout Cloth: Smooth side for projection.
- Construction:
- Frame: Use lightweight materials like PVC pipes or wooden dowels.
- Screen Material: Attach the fabric to the frame.
- Pros:
- Portability: Set up anywhere—backyard, park, or living room.
- Affordable: Cost-effective and customizable.
- Cons:
- Storage: Consider storage space when not in use.
- Transport: Ensure it's easy to carry.
- Tips:
- Opt for blackout cloth with a smooth side for better image quality.
- Secure the frame to prevent wobbling during use.
Whether you're a DIY enthusiast or a casual movie lover, these projector screen options allow you to make an enjoyable viewing experience without breaking the bank.
FAQs About DIY Projector Screen
Discover all you need to know about DIY projector screens in this comprehensive FAQ guide. Get tips, tricks, and answers to your burning questions!
1. How Do I Calculate the Ideal Throw Distance for My Projector?
- Answer: Follow these steps:
- Check Specifications: Refer to your projector's user manual for the throw ratio or lens-to-screen distance.
- Determine Screen Size: Decide on the desired screen size (diagonal measurement).
- Use the Formula: Divide the screen width by the throw ratio to find the ideal distance.
- Adjust for Zoom: If your projector has zoom capabilities, adjust it accordingly.
2. Can I Make a Portable DIY Projector Screen?
- Answer: Absolutely! A portable screen is versatile and great for outdoor movie nights. Use lightweight materials like PVC pipes or wooden dowels for the frame, and attach blackout cloth or other sturdy fabric.
3. What's the Difference Between Fixed Frame and Curtain Screens?
- Answer:
- Fixed Frame: Permanent and sturdy, ideal for dedicated home theaters. Requires accurate measurements and tensioned screen fabric.
- Curtain Screen: Portable and versatile. Use blackout cloth or similar fabric. Easy to set up and take down.
4. How Do I Optimize Image Quality?
- Answer:
- Screen Surface: Choose the right color (white, gray, or silver) based on your room and projector.
- Ambient Light Control: Minimize room lighting for better image clarity.
- Screen Tension: Keep the screen fabric taut to avoid wrinkles.
5. Any Tips for Maintenance?
- Answer:
- Dust Removal: Gently clean the screen to remove dust and smudges.
- Storage: Store your DIY screen properly when not in use.
- Transport: If it's a portable screen, ensure it's easy to carry.
Remember, DIY projector screens offer flexibility and cost-effectiveness. Choose the type that suits your space and enjoy your cinematic experience!
Conclusion
Building my DIY projector screen was not just about saving money; it was a deeply satisfying project that enhanced my DIY skills and gave me a customized addition to my home theater. Seeing the fruits of your labor in the form of a cinema-quality movie experience in your own home is incredibly rewarding. I encourage anyone sitting on the fence about this project to take the leap – with some patience, the right tools, and a bit of elbow grease, and you'll be enjoying your favorite films on a giant screen in no time.


