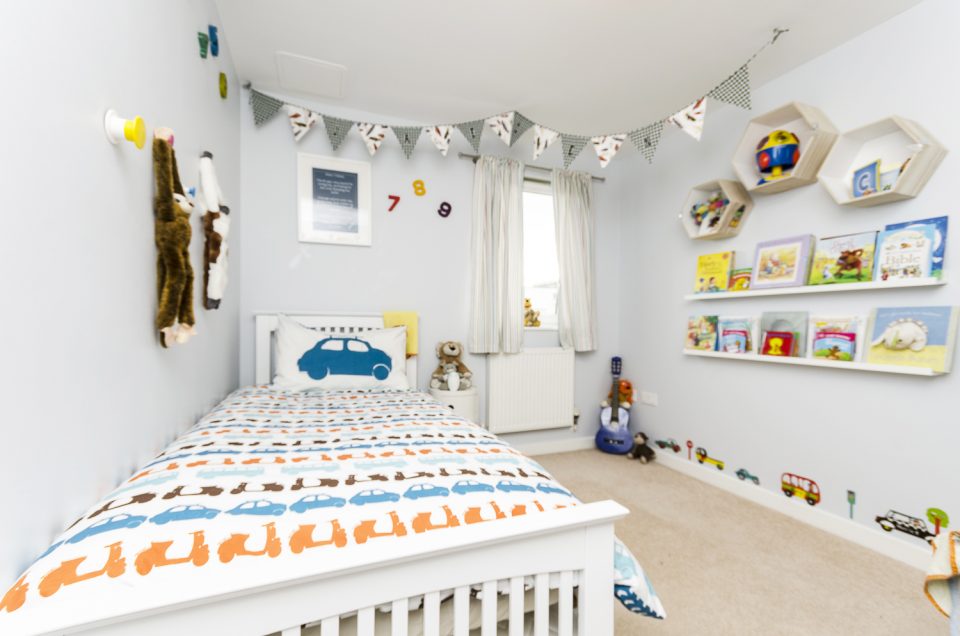
So you want to test out your DIY skills? What better place to try to practice your handy work than your child’s bedroom? It’s the perfect place to try your skills as your child will appreciate any additions to their room and if there are any imperfections or mistakes they’re not likely to notice it as they’re just children.
So today we’ll be going through some easy DIY projects that you can do in your child’s room to test your do it yourself skillset, going from easiest to hardest. All these projects will be appreciated by your child and be useful somehow to your life as a parent.

Install Some Blackout Blinds
The first project to try is installing a set of blackout roller blinds from DotcomBlinds, they’re really simple to install and as an added bonus they’ll help your child sleep better by blocking out light pollution from the outside, this means they’ll stay asleep for longer.
Installing blackout roller blinds is really simple and can be done in 3 easy steps and all you’ll need to do this is a drill or screwdriver as well as a blackout blind.
- Attach your blind’s brackets to the wall or window frame in line with the top of the window, by drilling or screwing them to the wall with a screwdriver.
- Once brackets are attached, simply slide the bracket covers onto the brackets.
- Slide the roller blind into the brackets, starting with the end that does not house the controls, then doing the control side secondly.
Congratulations, you’ve successfully installed your child’s blackout blinds!
Add A New Shelf To The Room
Building a shelf is another relatively easy DIY task for you to undertake, your child will appreciate this as you’ll have granted them some extra storage space for toys and books without taking away floor space.
Putting up a shelf is another easy 3 step job for you to undertake and all you’ll need to install a shelf is 1 pencil, 1 shelf, 2 shelf brackets, screws, 1 drill, and 1 screwdriver.
- Put your shelf against the wall where you want it to hang, then using a pencil draw a mark on the wall under the shelf where you want the shelf brackets to go.
- Hold your first bracket up to the marks on the wall, then using your drill and screws, drill the bracket to the wall until it’s well secured, Repeat step 2 for the other bracket.
- Once the brackets are installed, lay the shelf across the brackets, and using your screwdriver and screws, secure the shelf to the bracket by screwing the underside of the shelf to the bracket.
Another lot of celebration is in order, you’ve successfully put up a shelf for your child!
Make A Toy Chest for Your Child
Now you’ve got the basics locked down it’s time to shoot for the stars and build a toy chest for your child, again your child will love this addition to their room and you can paint it with them to fit into a theme they enjoy. For this specific toy chest, we’ll be making it to be 40cm long, 80cm wide and 44cm high. For reference, the measurements of wood will be Length x Width X Thickness.
All you’ll need to create a toy box is 4x 40cm x 80cm x 2cm sheet of wood, 2x 36cm x 40cm x 2cm sheets of wood, wood glue, 2x hinges, screws, 1x screwdriver and some paint with paintbrushes for decoration.
- Lay one of your 40cm x 80cm sheets of wood on the floor.
- Apply glue along the edge of the sheet on the floor down the 80cm long side.
- Place another 40cm x 80cm sheet of wood on the edge covered in glue, hold until stable, then wipe off excess glue.
- Repeat steps 2 and 3 for the other long side of the sheet on the floor. You should now have a long U shaped skeleton for your chest.
- Apply glue to the inside edges of the wooden U shape at one side of the chest.
- Slide one of the 36cm x 40cm sheets of wood into the chest at the edge and hold in place until stable.
- Repeat steps 5 and 6 for the other side of the chest. You should now have a box with no lid.
- For extra safety, using your screwdriver and screws, screw in a screw-on all 4 of the bottom corners of the box, this will help the chest maintain it’s structural integrity.
- Place your hinges on one of the vertical 40cm x 80cm sheets of wood and screw them into the sheet with your screw and screwdriver.
- Now your hinges are attached, place the final 40cm x 80cm sheets of wood on top of the box, this will be the lid.
- Place the hinges on the back of the top sheet of wood, then screw them on with your screws and screwdriver.
- Paint your child’s new toy chest in colors/patterns which they like.
Time to sit back and have a cup of tea, you’ve successfully made a toy chest for your child!

