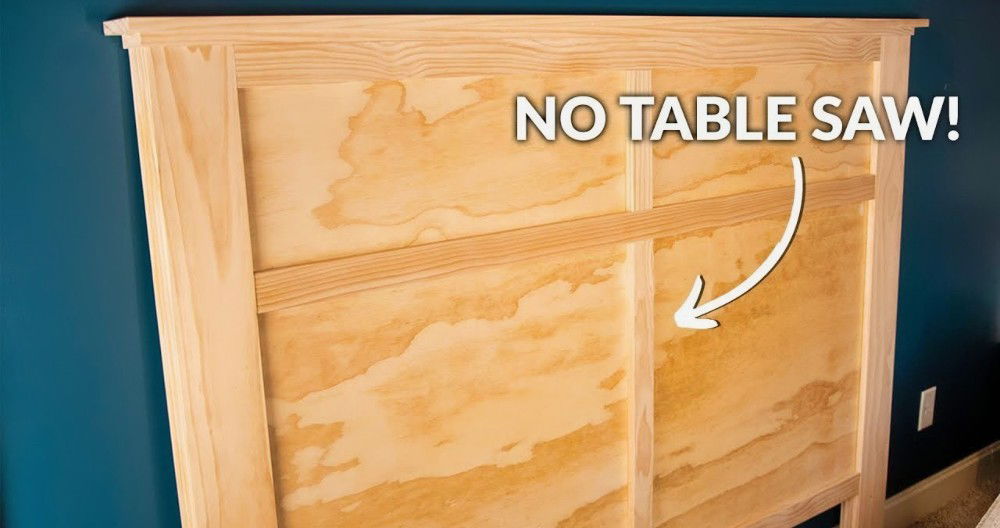
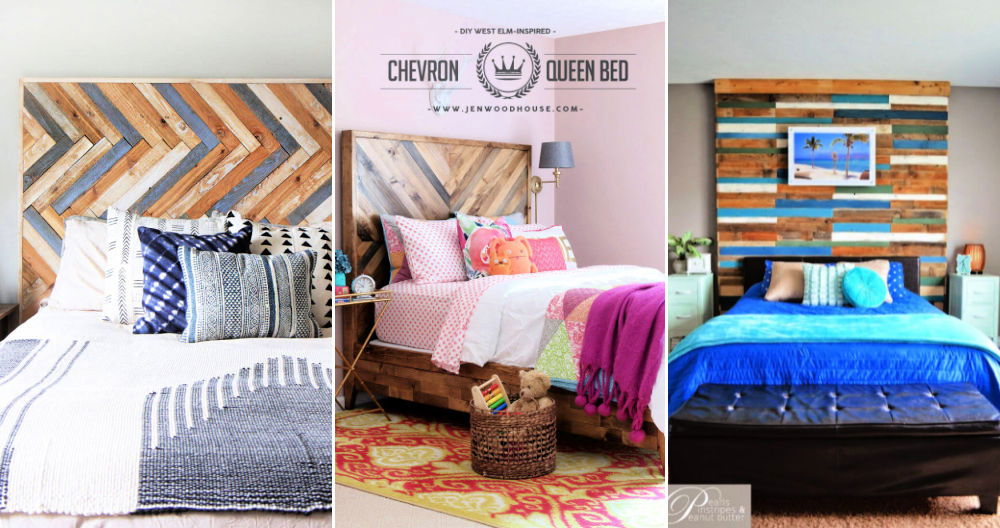
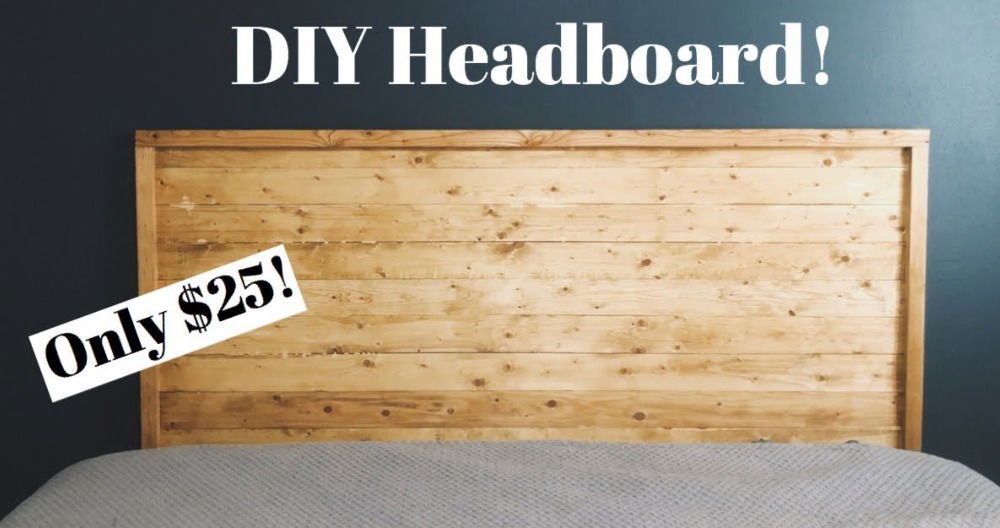
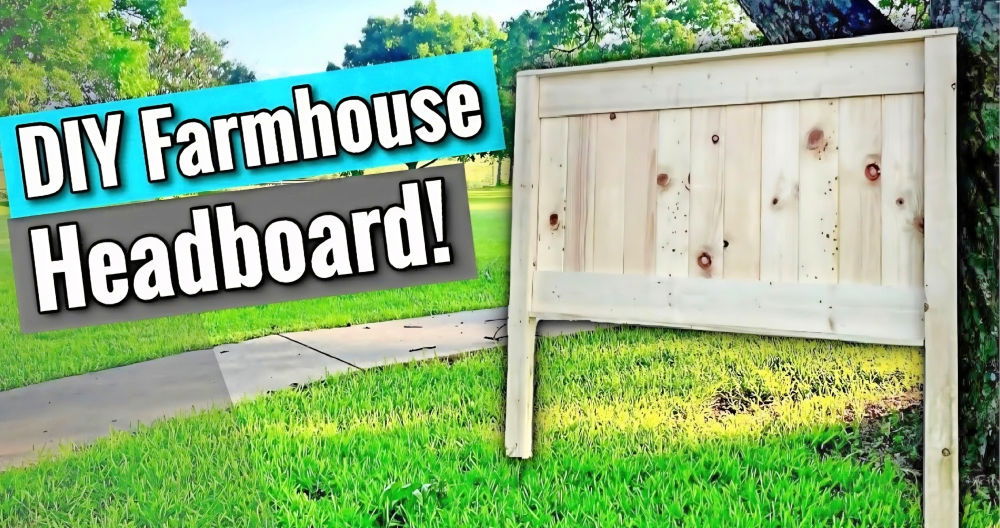
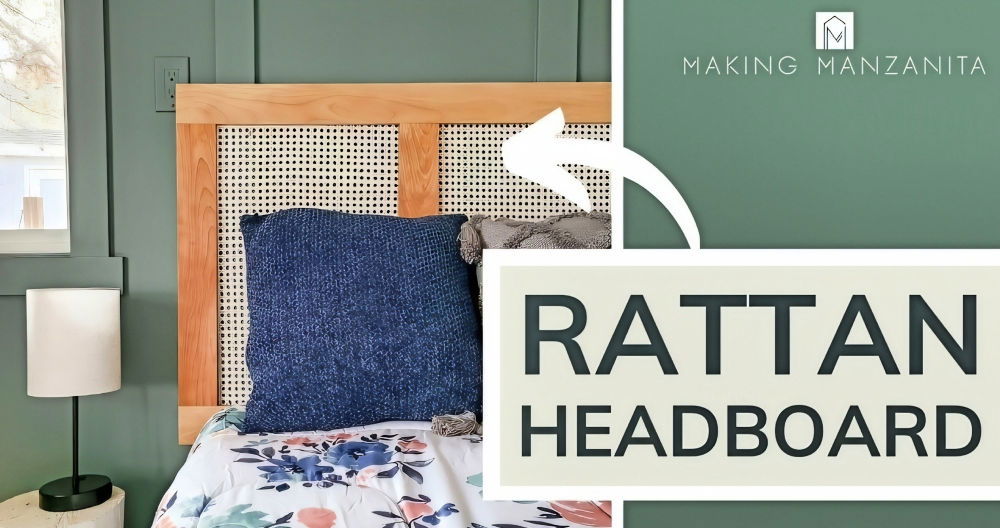
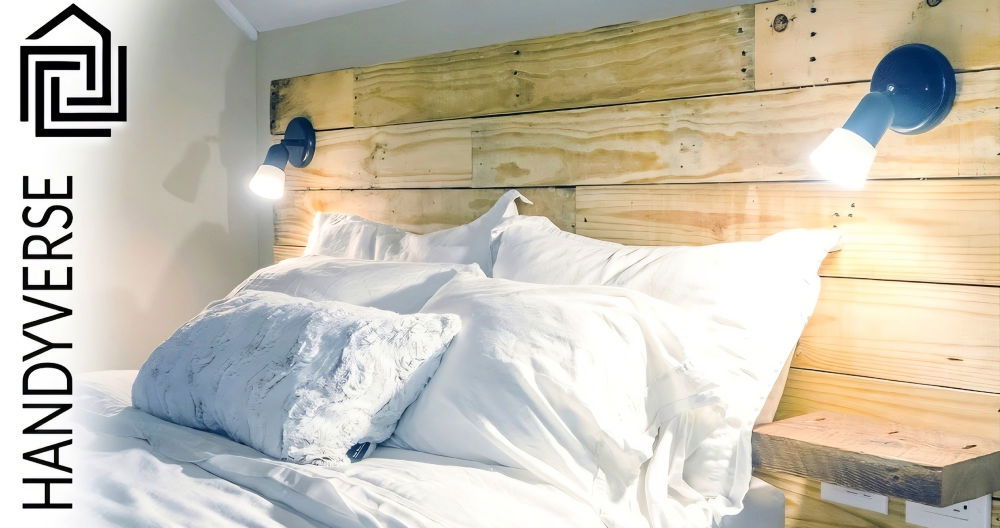
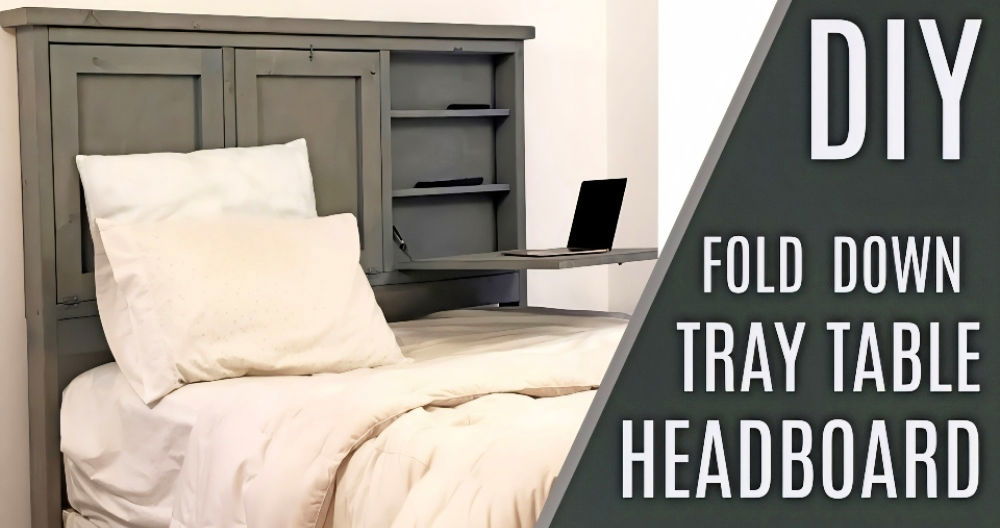
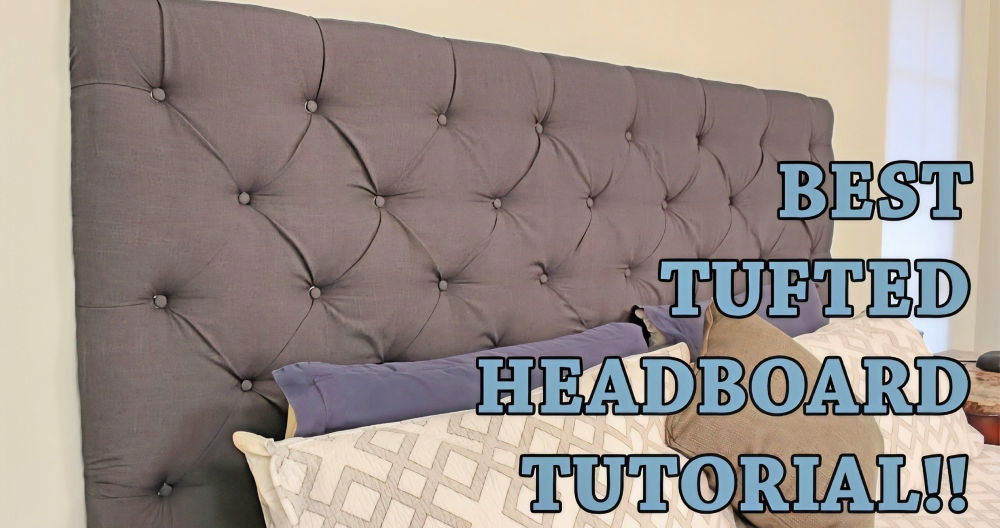
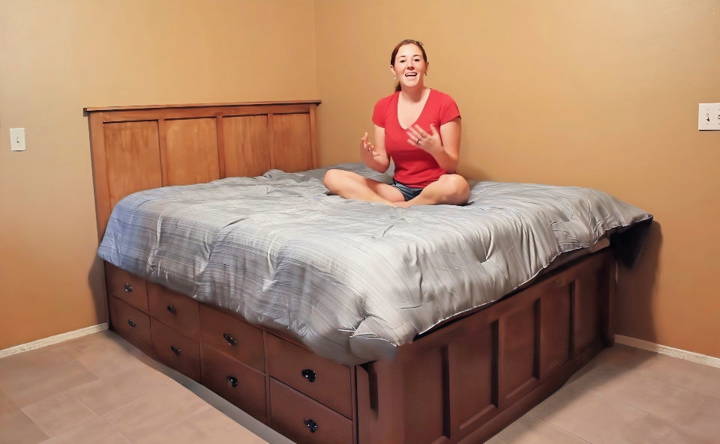
Building something with my own hands is always satisfying. One weekend, I decided to make a DIY queen headboard. It felt amazing to see the plain wood transform into a beautiful headboard. I bought all materials from a nearby store, keeping everything within a budget. By using a simple design and some creativity, I managed to keep costs low and still build a lovely piece.
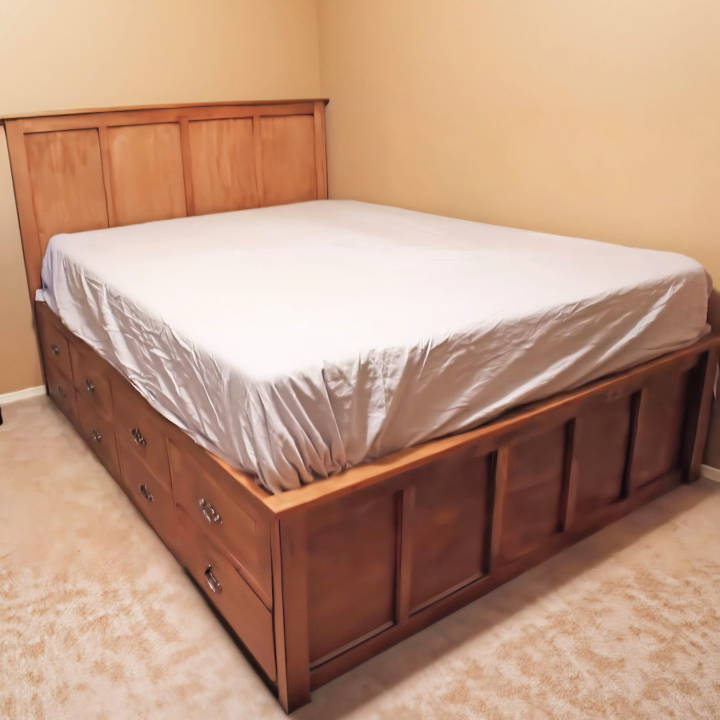
I'm sharing this experience to help you build a cheap DIY headboard. This guide will walk you through each step, making sure you don't miss anything important. I found joy in every part of this project, and I'm sure you will too.
Follow the steps, and you'll have a beautiful headboard without spending a lot of money. Get started and see what you can achieve!
Materials Needed and Their Purpose
- One sheet of plywood: The backbone of the headboard, providing structural integrity and a surface to work with.
- Wood glue: To bond pieces of plywood together for the legs and to attach the biscuits for joining.
- Biscuits: Used in conjunction with a biscuit joiner, these help to join pieces of wood securely.
- Edge banding: This is applied to the edges of cut plywood to give a more finished look that will take to staining nicely.
- Clamps and weights: Essential for holding pieces together tightly while the glue dries.
- Finish (stain or paint): To give your headboard a completed look that matches or complements your bedroom decor.
Step by Step Instructions
Learn how to make a pretty DIY queen headboard with these easy step-by-step instructions, from cutting plywood to finishing touches.
Step 1: Cutting the Plywood
The project begins with a single sheet of plywood. Using a track saw and then a table saw, I cut the plywood down into the necessary pieces. Precision here is key to ensure all pieces fit together seamlessly later in the process.
Step 2: Building the Legs
I wanted the legs of the headboard to be sturdy and thick. Instead of opting for ready-made solutions, I used the plywood, gluing two pieces together to achieve the desired thickness. Make sure to apply an even layer of glue and use weights or clamps to keep the pieces pressed together while drying.
Step 3: Joining the Pieces
For the flat portion of the headboard, I used a biscuit joiner for the first time. After marking where the biscuits needed to go, I cut the pockets and applied glue both in the pockets and along the edge of the wood, inserting the biscuits. This method provided a strong, seamless join when clamped and dried.
Step 4: Trimming and Edge Banding
Once the main structure was dry, I moved on to cutting trim pieces for decorative purposes and to hide any plywood edges. Edge banding was applied to all exposed edges; it's a simple iron-on process that significantly improves the final look. Ensure to trim away excess banding for a neat finish.
Step 5: Attaching the Trim
The trim pieces were then glued and nailed in place. I paid close attention to keep everything aligned, using a speed square to guarantee the vertical pieces were perfectly straight. This step requires patience and an eye for detail, as the trim pieces greatly impact the headboard's overall aesthetic.
Step 6: Securing the Legs
With the headboard's face complete, I flipped it over to attach the legs using the biscuit joiner again. After cutting the pockets, I applied glue, inserted the biscuits, and positioned the legs. Due to the size of the headboard, traditional clamps weren't an option, so I used weights and smaller clamps to secure the legs while drying.
Step 7: Finishing Touches
When everything was assembled and dried, I applied a finish to match my room's d* écor. This step is highly personalizable; whether you choose stain, paint, or a natural finish, make sure to apply it evenly and allow for adequate drying time.
Tips for a Successful Project
- Measure twice, cut once: This adage holds especially true in woodworking. Accuracy in cutting and assembly is crucial.
- Be patient: Gluing and drying can't be rushed. Make sure to give your headboard ample time to set before moving on to the next step.
- Personalize: From the design to the finish, this is your headboard. Don't be afraid to tweak the design to fit your space and style.
- Safety first: Always follow safety protocols, especially when operating saws and other power tools.
Customization Tips for Your DIY Queen Headboard
Building a DIY queen headboard gives you the freedom to tailor it to your personal style and bedroom decor. Here are some tips to help you customize your headboard:
- Choose Your Style: Think about the overall vibe you want for your bedroom. Do you prefer a modern look, a bohemian flair, or a classic design? Your headboard can be a statement piece that reflects your style.
- Select the Right Materials: Depending on the style, you might choose different materials. For a rustic look, reclaimed wood can add character. For a modern touch, consider using metal or upholstered panels.
- Pick a Color Scheme: Color can dramatically change the look of your headboard. Neutral colors offer versatility, while bold hues can make a striking impact. Consider the color of your walls and bedding when choosing.
- Add Texture with Fabric: If you're going for an upholstered headboard, fabric choice is key. Velvet can add luxury, while linen can provide a casual, airy feel. Don't forget to consider durability if you like to read or have breakfast in bed.
- Personalize with Patterns: Patterns can add depth and interest. Stripes can build a sense of height, while floral patterns can introduce a soft, romantic feel. Use stencils or fabric with your favorite pattern.
- Incorporate Functional Elements: Think about adding shelves for books, built-in lights for reading, or even hidden storage compartments for extra pillows and blankets.
- Consider the Finish: The finish on wood or metal can completely change the aesthetic. A glossy finish can feel modern, while a distressed look can give a vintage charm.
- Embellish with Details: Details like tufting, nailhead trim, or decorative molding can add sophistication and elegance to your headboard.
- Safety First: Ensure all materials are securely attached and that the headboard is properly anchored to the wall or bed frame to prevent any accidents.
Follow these tips to build a stylish, personalized headboard. DIY lets you make something you love that fits your needs.
Common Mistakes to Avoid
When embarking on a DIY queen headboard project, it's easy to get caught up in the excitement and overlook some crucial aspects. To ensure your project is successful and stress-free, here are some common mistakes to avoid:
- Skipping the Planning Phase: Don't rush into cutting and assembling without a clear plan. Measure your space, choose a design, and list all materials and tools you'll need.
- Ignoring the Bed Frame: Make sure your headboard design fits your existing bed frame. If it doesn't align, you may need to adjust the design or modify the frame.
- Choosing the Wrong Materials: Not all materials are suitable for a headboard. Avoid materials that are too heavy, too flimsy, or not durable enough for long-term use.
- Overlooking Comfort: If you like to sit up in bed, ensure your headboard has padding or a soft surface. Hard materials can be uncomfortable to lean against.
- Forgetting About Proportions: A headboard that's too large can overwhelm the room, while one that's too small can look out of place. Keep proportions in mind.
- Neglecting the Finish: A poor finish can ruin the look of your headboard. Sand rough edges, apply the paint evenly, and check for drips or brush marks.
- Inadequate Fixing: A headboard that isn't securely attached can wobble or fall. Use appropriate fixtures for your wall type and check the stability.
- Not Testing Colors and Fabrics: Colors and fabrics can look different in various lights. Test samples in your bedroom to see how they look throughout the day.
- Disregarding the Overall Decor: Your headboard should complement the bedroom's decor. Avoid choosing styles or colors that clash with the existing theme.
- Underestimating the Project: DIY projects can be more challenging than they appear. Be realistic about your skills and the time commitment required.
By avoiding these mistakes, you'll be on your way to making a beautiful and functional headboard that enhances your bedroom and reflects your personal style.
FAQs About DIY Queen Headboard
Discover answers to common questions about making a DIY queen headboard, including materials, tools, and step-by-step guidance.
The cost of making a DIY queen headboard can vary, but it's generally around $100. This is less expensive than most store-bought options and gives you the freedom to customize it to your liking.
Yes, building a queen headboard is a manageable project even for beginners. There are many step-by-step guides available that can help you through the process, ensuring you can complete the project with basic tools and materials.
The time it takes to build a queen headboard can range from a few hours to a weekend, depending on your skill level and the complexity of the design. Simple designs can be completed quickly, while more intricate ones will take more time.
Design ideas for a DIY queen headboard include a classic wooden look, a tufted upholstered design, or a modern minimalist style. You can add personal touches like paint, stain, or decorative hardware to make it unique to your bedroom decor.
To ensure your DIY queen headboard is sturdy and safe, make sure to use quality materials and follow proper construction techniques. Use strong wood glue and screws for joints, and secure the headboard to both the bed frame and the wall if possible. Additionally, sand down any rough edges to prevent splinters. Always double-check your work for stability before attaching it to your bed.
Conclusion
You can build something beautiful and functional without breaking the bank. Start your DIY queen headboard project today, and enjoy the satisfaction of building something with your own hands. This guide will help you with that.


