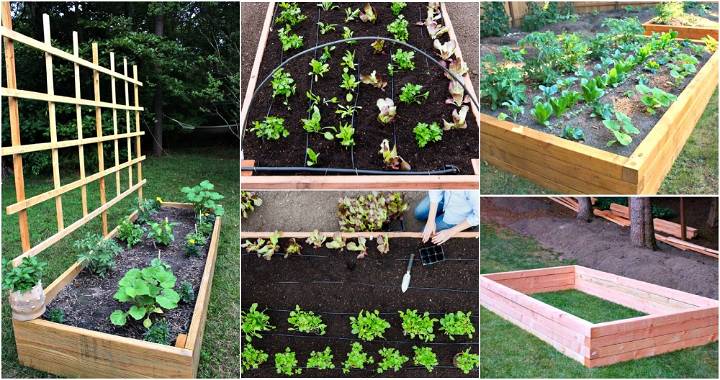
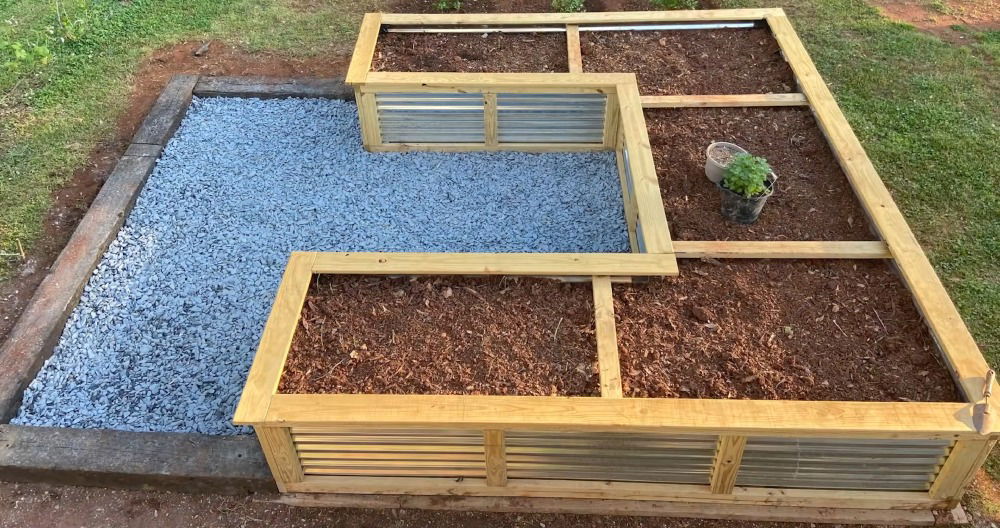
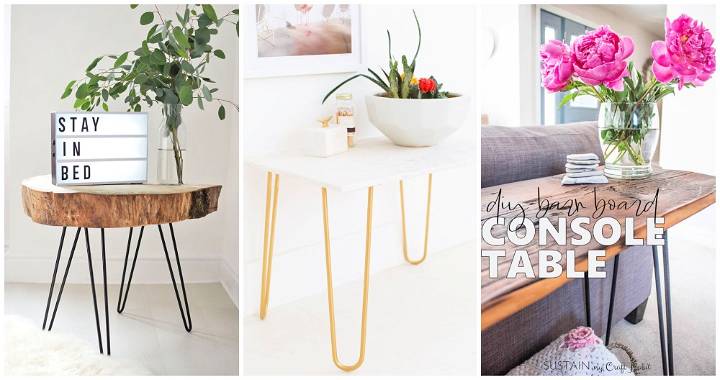
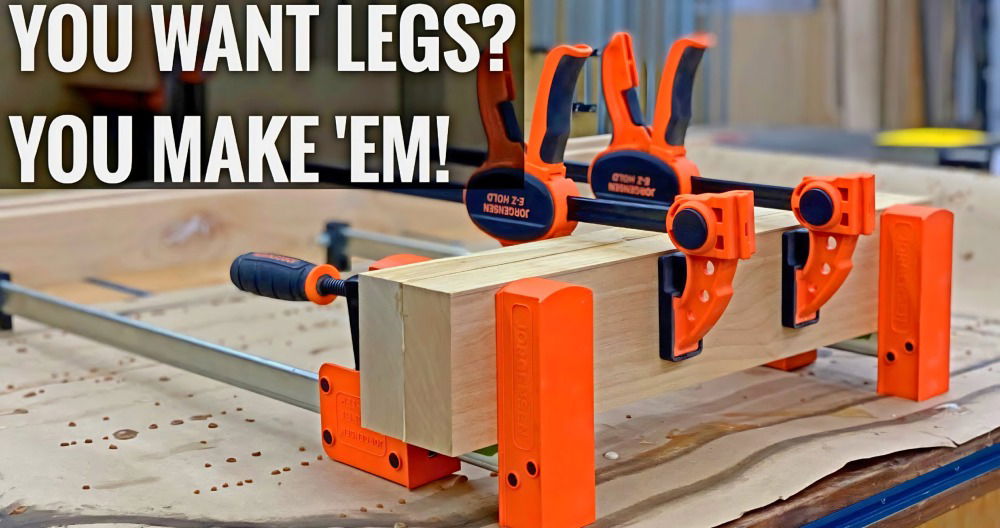
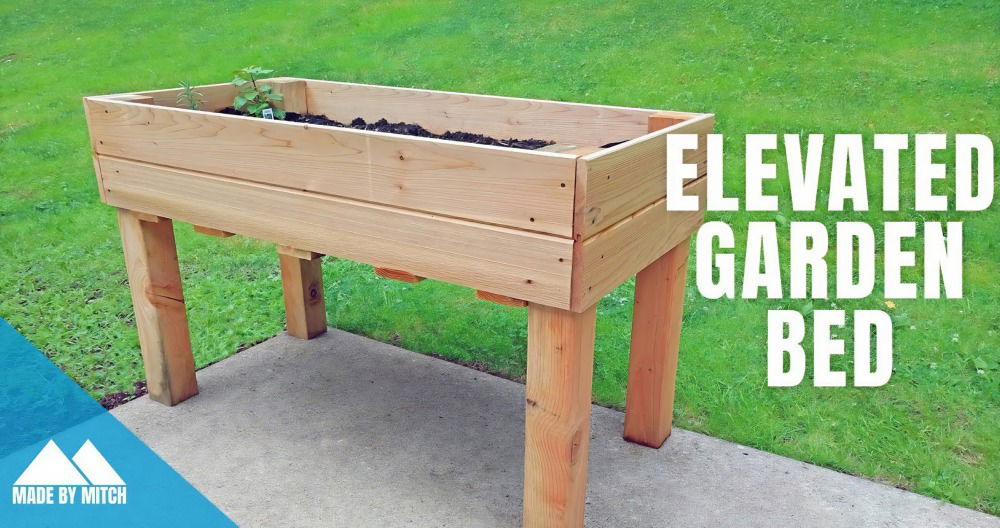
Making my own DIY raised garden bed with legs has been a rewarding and fun project. I was tired of bending over and struggling with weeds in my traditional garden. So, I decided to build a raised garden bed with legs. This project was easier than I expected, and the result was fantastic. It has made gardening more enjoyable and less strenuous.
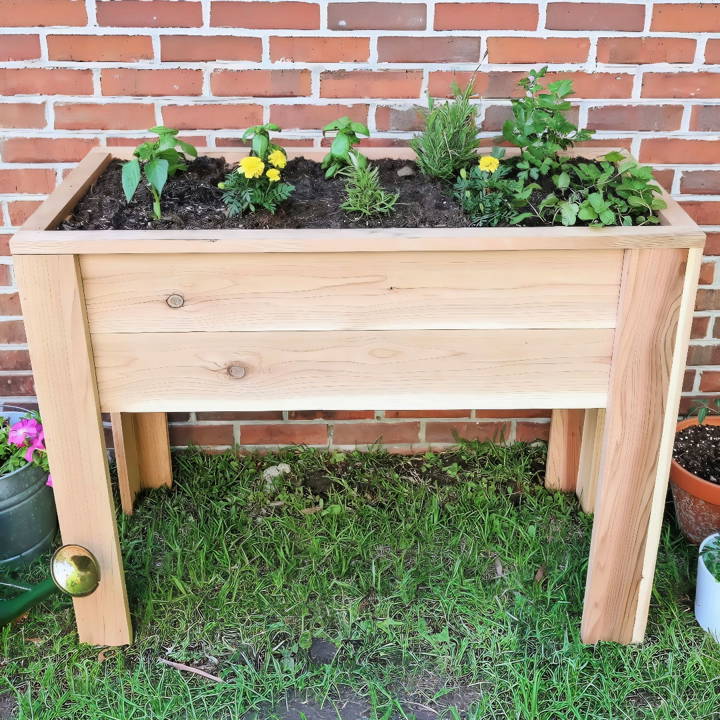
Starting this project does not require special skills or expensive materials. A few basic tools and some wood were all I needed. The main steps include cutting the wood, assembling the frame, and attaching the legs. I found that following clear instructions helped me a lot. I'm here to share these steps with you, and I hope you find it as helpful as I did.
With only a few supplies and simple steps, you too can have a raised garden bed with legs. This guide will save you time and effort. I'm sharing these steps to make your gardening easier and more fun.
Materials Needed and Their Purpose
- Cedar Wood: I chose cedar for its natural weather resistance and durability. It's a bit pricier but worth it for its longevity.
- 1x2 and 1x6 Boards: For the frame and the ledge. The dimensions ensure the bed is deep enough for various plants and provides structural support.
- Self-tapping Deck Screws (1 1/4 inch): These make assembling easier, eliminating the need for pre-drilling.
- Wood Glue and Brad Nails: For additional reinforcement, especially when constructing the legs.
- Weed Barrier: This prevents soil from leaking out and weeds from creeping in.
- Raised Garden Bed Soil: Specially formulated for this type of gardening, ensuring your plants thrive.
Step by Step Instructions
Learn how to build a raised garden bed with legs in 5 easy steps. Follow our detailed instructions for cutting lumber, assembling boxes, and more.
Step 1: Cutting the Lumber
The adventure began with cutting the lumber to the required lengths. I carefully followed Angela's cut list, ensuring accuracy to avoid any misfit pieces later on.
Step 2: Making a Ledge
I attached 1x2 boards to the bottom of the longer 1x6 boards to build a ledge. This step required precision to ensure the ledges were perfectly centered. Initially, I used four screws per board but added two more for extra support based on Angela's advice.
Step 3: Assembling the Planter Boxes
Marking and pre-drilling the shorter 1x6 boards was next. This was crucial for precise drilling and avoiding wood splits. Cedar is soft, so I went slow. Attaching these to the longer boards with the ledges already attached buildd the sides of my planter box. Repeating the process without the ledges prepared the top part of the planter box.
Step 4: Constructing and Attaching the Legs
With wood glue and Brad nails, I buildd four sturdy legs. Attaching the top planter frame (without the 1x2 ledges) to two legs, I made sure to place the screws inside for a cleaner external appearance. Then, I attached the bottom box, ensuring the ledges faced downwards.
Step 5: Adding the Bottom Slats and Top Trim
Cutting the 1x6 slats to fit inside the planter was a bit tricky; I had to measure precisely for a snug fit. These slats, spaced out for drainage, were secured onto the 1x2 ledges. The final touch was adding a 1x2 trim on top for a finished look, nailed firmly in place.
The Final Touch: Planting
Placing the weed barrier was straightforward. Filling the bed with the specific raised garden bed soil, on the other hand, required some muscle. But soon, it was planting time! I chose a mix similar to Angela's—lavender, basil, red peppers, and mint.
What to Put at the Bottom of a Raised Garden Bed with Legs
A raised garden bed with legs offers many benefits, from better drainage to easier access. But what should you put at the bottom to ensure your plants thrive? Here are a few options:
1. Hardware Cloth
Hardware cloth is a metal mesh that prevents burrowing pests, like gophers and moles, from entering your garden bed. It's a good option if you have these pests in your area.
- How to Use: Cut the hardware cloth to fit the bottom of your bed, then secure it with staples or nails.
2. Landscape Fabric
Landscape fabric allows water to drain while preventing soil from washing away. It also helps suppress weeds from growing up through the bottom of your bed.
- How to Use: Lay the fabric over the entire bottom of the bed, overlapping the edges. Secure it with staples or landscape pins.
3. Cardboard or Newspaper
Cardboard and newspaper are eco-friendly options that can also suppress weeds. However, they decompose over time, so they're not a permanent solution.
- How to Use: Layer several sheets of cardboard or newspaper on the bottom of the bed. Be sure to remove any tape or plastic from the cardboard.
4. Nothing
In some cases, you might not need to put anything at the bottom of your raised bed. If you have good drainage and aren't worried about pests or weeds, you can simply fill it with soil.
Important Note: If you're using wood for the bottom of your raised bed, it's a good idea to line it with plastic to prevent it from rotting.
Ultimately, the best choice for your raised bed will depend on your specific needs and concerns. Consider your local climate, soil type, and pest pressure when making your decision.
Customization Options for Different Spaces
Making a raised garden bed with legs is a fantastic way to grow your own plants, even if you have limited space. Here's how you can tailor your garden bed to fit various areas:
- For Small Balconies: If you're working with a small balcony, choose a compact design. A garden bed that's about 2 feet wide can fit snugly against the railing. Use vertical space by adding a trellis for climbing plants like peas or beans.
- For Patios: Patios offer more room, so you can opt for a larger bed. Consider a bed that's 4 feet wide, which still allows you to reach the center without stepping into the bed. Add wheels to the legs so you can move it around to catch the sun.
- For Yards: In a yard, you have the freedom to go even bigger. Try a 6-foot-wide bed for a variety of vegetables. If you have multiple beds, leave enough space between them for a wheelbarrow or garden cart.
- Adjusting Height for Comfort: The height of your garden bed can vary. For those who prefer not to bend over, a height of 2 to 3 feet is ideal. This makes gardening more comfortable and accessible for everyone.
- Design for Specific Plants: Some plants need more root space. For root vegetables like carrots and potatoes, make your bed deeper. For shallow-rooted herbs and lettuce, a shallower bed works fine.
- Incorporating Storage: Utilize the space beneath the bed for storage. You can add shelves or drawers to keep your gardening tools handy.
- Adding Aesthetics: Paint the exterior of your garden bed to match your outdoor decor. Use non-toxic paint to keep it safe for plants and pets.
By customizing your raised garden bed with these tips, you'll build a functional and beautiful space that fits your needs and maximizes your gardening potential.
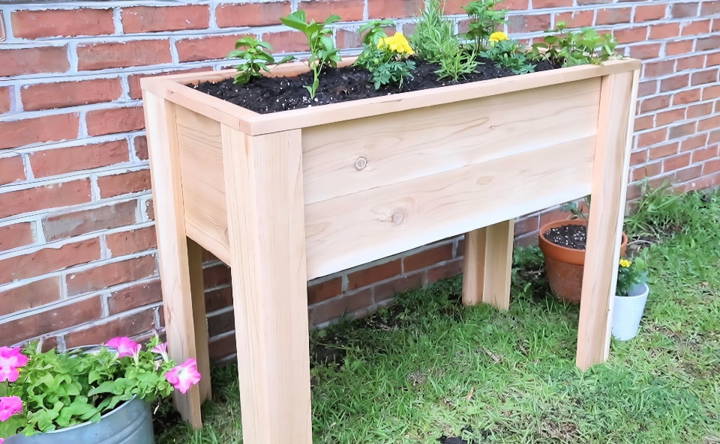
Pest Management and Organic Solutions
When it comes to keeping your garden healthy, managing pests in an organic way is both effective and environmentally friendly. Here's how you can protect your raised garden bed with legs from unwanted visitors:
- Know Your Pests: Start by identifying the pests that are common in your area. This knowledge will help you choose the right organic solutions.
- Physical Barriers: Use physical barriers such as netting or row covers to keep insects away from your plants. These can be easily lifted for harvesting.
- Beneficial Insects: Welcome beneficial insects like ladybugs and lacewings into your garden. They feed on common pests such as aphids and can help maintain a natural balance.
- Companion Planting: Grow plants that naturally repel pests alongside your vegetables. For example, marigolds can deter nematodes, and basil can keep thrips at bay.
- Neem Oil: Neem oil is a natural pesticide that's safe for plants, humans, and beneficial insects. It disrupts the life cycle of pests without harming the ecosystem.
- Diatomaceous Earth: Sprinkle diatomaceous earth around your plants. It's a non-toxic powder made from crushed fossils that can deter crawling insects.
- Regular Inspection: Check your plants regularly for signs of pests. Early detection means you can tackle the problem before it gets out of hand.
- Homemade Sprays: Make your own pest sprays using ingredients like garlic, chili pepper, or soap. These can be effective against a variety of insects.
- Maintain Cleanliness: Keep the area around your garden bed clean. Remove any debris or fallen leaves where pests might hide.
- Healthy Soil: Healthy soil leads to strong plants that are better able to resist pests. Use compost to enrich your soil naturally.
Use organic methods to foster a healthy garden ecosystem. You'll deter pests and support beneficial organisms.
Watering System Integration
Integrating a watering system into your raised garden bed with legs can save time and ensure your plants receive the right amount of water. Here's how to set up a simple yet effective system:
- Choose the Right System: Drip irrigation is a great choice for raised beds. It delivers water directly to the plant roots, reducing waste and preventing leaf diseases that can occur with overhead watering.
- Measure Your Garden Bed: Before buying supplies, measure the length and width of your garden bed. This will help you purchase the correct amount of tubing.
- Gather Supplies: You'll need a drip irrigation kit, which typically includes tubing, emitters, and connectors. Also, grab a timer to automate the watering process.
- Lay Out the Tubing: Arrange the tubing along the length of your garden bed. Use connectors to build a grid that ensures even coverage for all your plants.
- Install Emitters: Attach emitters at spots where plants will be located. These devices control the flow of water, so each plant gets just what it needs.
- Connect to Water Source: Hook up your system to an outdoor faucet or rain barrel. If using a faucet, a backflow preventer will keep your water supply safe from contamination.
- Set the Timer: Program the timer to water early in the morning or late in the evening to reduce evaporation. Adjust the frequency according to the season and weather conditions.
- Test Your System: Turn on the water to check for leaks and make sure each plant is getting watered. Make adjustments as needed.
- Mulch Over Tubing: Cover the tubing with mulch to protect it from the sun and keep your garden looking tidy.
- Maintenance: Check the system regularly for clogs or leaks. Clean or replace emitters as needed to keep the system running smoothly.
Follow these steps to save time, conserve water, and keep your plants thriving. A bit of effort upfront can yield a lush, productive garden with less work all season.
Troubleshooting Common Issues with Raised Garden Beds
Even the most well-planned garden beds can encounter issues. Here's a guide to troubleshooting common problems, ensuring your raised garden bed with legs remains a thriving part of your garden.
Poor Drainage
- Symptoms: Water pools on the surface, and plants have yellowing leaves or appear wilted despite wet soil.
- Solution: Ensure adequate drainage by adding more holes at the bottom of the bed. Mix in sand or gravel with the soil to improve water flow.
Wood Rot or Decay
- Symptoms: The wood is soft to the touch, discolored, or crumbling.
- Solution: Replace the affected wood with rot-resistant varieties like cedar or use a liner to protect the wood. Regularly inspect and maintain the bed to catch issues early.
Soil Compaction
- Symptoms: Hard soil, poor plant growth, and difficulty in inserting a finger into the soil.
- Solution: Gently loosen the soil with a fork, being careful not to damage plant roots. Add compost to improve soil structure and aeration.
Inadequate Sunlight
- Symptoms: Leggy plants, weak stems, and fewer blooms or fruits.
- Solution: Relocate your garden bed to a sunnier spot if possible. If not, choose shade-tolerant plants that can thrive with less light.
Pests and Diseases
- Symptoms: Visible insects, chewed leaves, or unusual spots on plants.
- Solution: Identify the pest or disease and apply organic remedies. Encourage beneficial insects and practice crop rotation to prevent future issues.
Nutrient Deficiencies
- Symptoms: Discolored leaves, stunted growth, or poor yields.
- Solution: Test the soil to identify missing nutrients. Amend the soil with organic fertilizers or compost to replenish these nutrients.
Over or Under Watering
- Symptoms: Wilting, brown leaf edges, or cracked soil.
- Solution: Adjust your watering schedule according to the weather and plant needs. Consider a self-watering system to regulate moisture levels.
Weeds
- Symptoms: Unwanted plants compete with your crops for nutrients and space.
- Solution: Mulch your garden bed to suppress weeds. Hand-pull any that break through, and avoid using weedkillers that can harm your plants.
Monitor these common issues and address them to keep your raised garden bed healthy. Regular maintenance prevents many problems.
Soil Preparation and Maintenance Tips
Preparing and maintaining the soil in your raised garden bed with legs is crucial for the health and productivity of your plants. Here's how to ensure your soil is in top condition:
- Start with Quality Soil: Use a mix of topsoil, compost, and well-rotted manure to fill your garden bed. This combination provides a rich, nutrient-dense environment for your plants to grow.
- Test Your Soil: It's a good idea to test your soil's pH and nutrient levels. Most plants prefer a pH between 6.0 and 7.0. If your soil is too acidic or alkaline, you can adjust it with lime or sulfur.
- Regular Composting: Add compost to your soil at least once a year. Compost improves soil structure, adds essential nutrients, and encourages beneficial microbial activity.
- Mulching: Apply a layer of organic mulch, such as straw or wood chips, to conserve moisture, regulate soil temperature, and reduce weed growth.
- Avoid Compaction: Don't walk on the soil in your raised bed. Compaction can make it difficult for roots to grow and for air and water to circulate.
- Rotate Crops: Practice crop rotation by planting different types of crops in different sections of your bed each year. This helps prevent soil-borne diseases and nutrient depletion.
- Cover Crops: In the off-season, plant cover crops like clover or rye. They protect the soil from erosion and add nutrients when you turn them under in the spring.
- Water Wisely: Over-watering can lead to root rot and nutrient leaching. Water deeply but infrequently to encourage strong root growth and conserve water.
- Weed Control: Keep weeds under control as they compete with your plants for nutrients and water. Pull them by hand or use a hoe, being careful not to disturb plant roots.
Follow these tips to build fertile soil that will support your plants all season. Healthy soil means healthy plants, so prepare and maintain it properly for the best results.
FAQs About DIY Raised Garden Bed With Legs
Discover faqs about how to build a raised garden bed with legs. Learn tips, materials, and step-by-step guidance for elevated gardening success!
Start by cutting your cedar planks into the desired lengths for the sides and ends of the bed. Attach these to four legs, making a rectangular frame. Ensure all corners are square for stability.
Good drainage is crucial. Drill holes in the bottom of the bed and cover them with a weed barrier to prevent soil from washing out. Then, add a layer of gravel before filling with soil.
The legs should be securely fastened to the inside corners of the frame using screws. For extra stability, you can add diagonal braces between the legs and the frame.
Regularly check for loose screws and tighten them. Apply a natural wood sealant annually to protect the cedar from the elements. Keep the soil healthy by adding compost and removing weeds.
To shield your raised garden bed from adverse weather, consider applying a coat of raw linseed oil to the wood for extra protection. If you live in an area with heavy rainfall, ensure your bed has sufficient drainage holes to prevent waterlogging. During winter, you might want to cover the bed with a tarp to protect it from snow and ice.
Conclusion
Making your own DIY raised garden bed with legs is an achievable and enjoyable project. Follow these steps, and you'll have a great garden bed in no time. This will help you enjoy gardening more and take care of your plants better. Start today and see the difference it makes!


