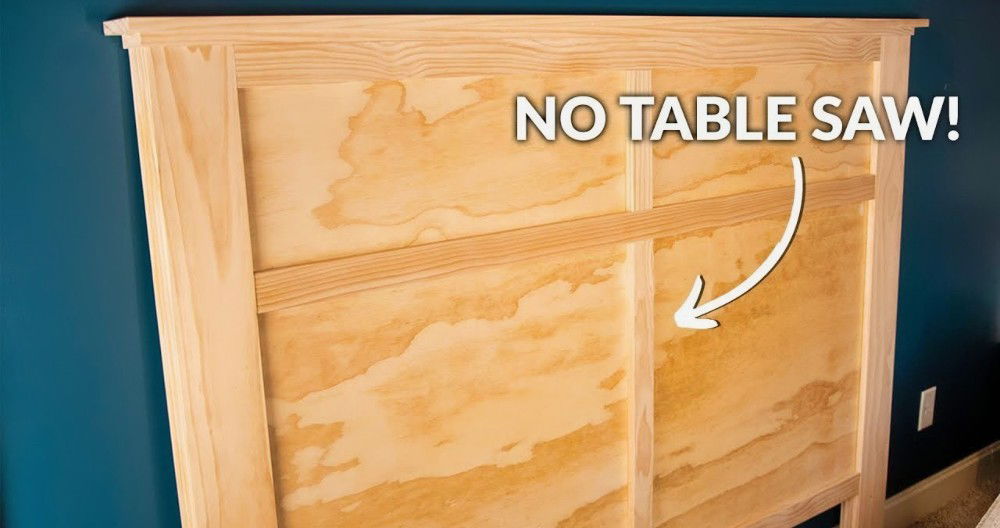
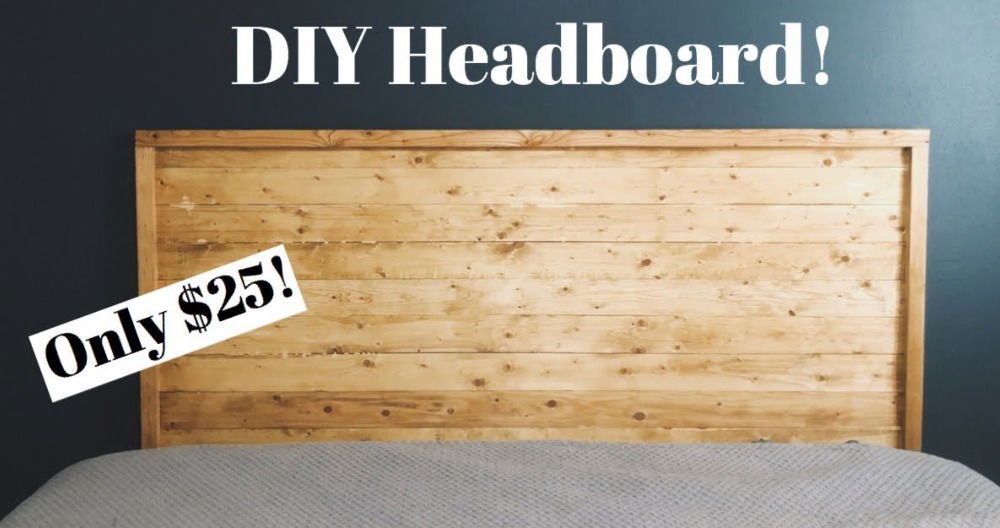
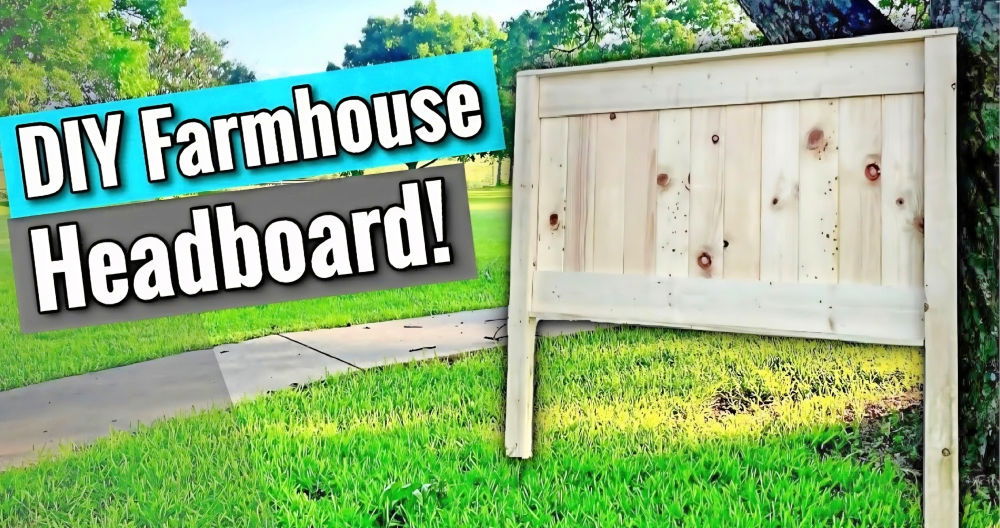
Building my first DIY rattan headboard was a fun and rewarding experience. I remember visiting a local craft store to gather all the materials. The friendly staff helped me choose the right rattan and tools. The process was simpler than I had imagined. Step-by-step instructions made the progress smooth, and within a few hours, I had a beautiful headboard ready to attach to my bed.
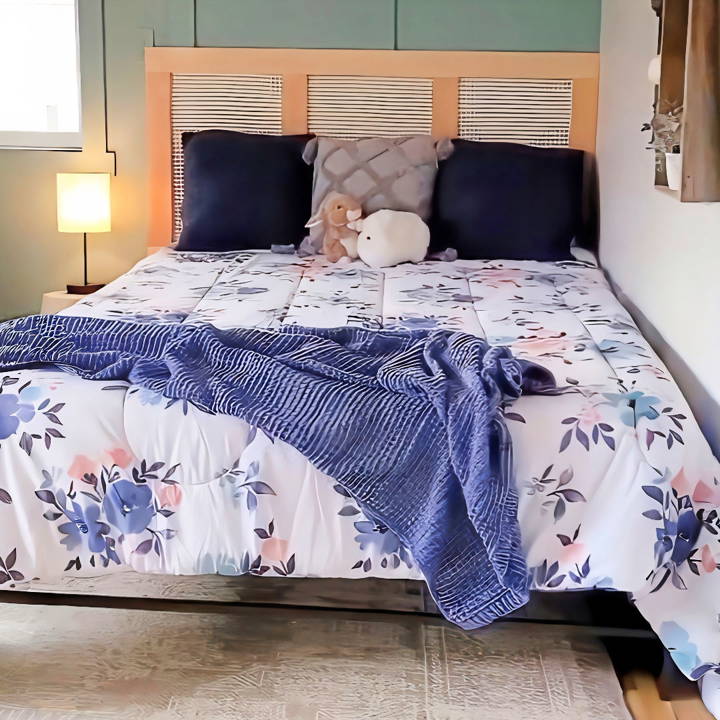
If you've been wanting to add a touch of elegance to your bedroom, making your own DIY cane headboard might be the perfect project. You don't need a lot of skills; just patience and willingness to follow instructions.
With the detailed guidance I am providing, you can start right away. I'm confident this simple guide will help you build something you'll be proud to showcase.
Materials Needed and Why
- Birch 1x4s: Durable and sturdy, these form the frame of the headboard.
- Cane Webbing: The rattan material brings a light, airy feel to the room.
- Pocket Hole Jig (Kreg 720 Pro): Essential for making strong joints without complicated techniques.
- Miter Saw: For precise cuts on our wood according to our measurements.
- Sandpaper (150 grit): To ensure a smooth finish.
- Clear Lacquer Spray: Protects the wood, ensuring durability.
- Wood Glue, Staples, and Screws: These materials helped in assembling and securing parts together.
- French Cleat System: For a stable and secure hanging solution.
Step by Step Instructions
Learn how to build your own stylish DIY rattan headboard with our step-by-step instructions. Perfect for adding a unique touch to your bedroom decor.
Step 1: Planning and Cutting
After settling on the design and measurements (thanks to the free plans from Craigtool.com), the first real step was cutting the birch wood to the correct lengths with a miter saw. This process required a steady hand and an eye for precision. Once cut, I went over each piece with sandpaper to smooth any rough edges. This prep work is crucial for a quality finish and ensures everything fits perfectly during assembly.
Step 2: Drilling Pocket Holes
Using the Kreg 720 Pro Pocket Hole Jig simplified what could have been a complex joinery process. Admittedly, adjusting the clamp to the wood thickness automatically felt like magic to a beginner like me. The added vacuum port was a lifesaver for managing wood dust, keeping the workspace clean.
Step 3: Assembling the Frame
With pocket holes drilled, assembling the frame came next. It took patience and a bit of elbow grease to securely fasten everything with screws. This stage solidified the foundation of the headboard, marking a significant milestone in the project.
Step 4: Finishing Touches
Smooth again with sandpaper before moving to the finishing touches. A coat of clear lacquer spray was applied for protection and a bit of shine. Then, the cane webbing, which had been soaking in water for a few hours, was ready for application. The soaking process is crucial as it allows the cane to expand then contract as it dries, ensuring a tight fit. This step was a bit tricky and definitely benefitted from an extra set of hands.
Step 5: Installation
For hanging, we decided on a DIY French cleat system for its simplicity and strength. Cutting the wood at an angle to build the cleat was straightforward, and securing one part to the wall and the other to the headboard ensured a reliable mount. The headboard hung beautifully, transforming Quinn's room instantly.
Design Customization Options
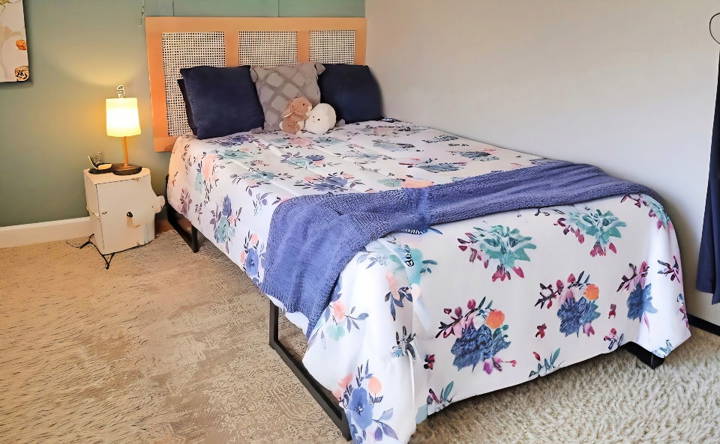
When it comes to making a DIY rattan headboard, the beauty lies in the ability to tailor it to your personal taste and bedroom's aesthetic. Here are some design customization options that can help you make a headboard that's uniquely yours:
- Choose Your Rattan Style: Rattan comes in various forms, from poles to woven sheets. Decide whether you want a structured look with straight poles or a bohemian vibe with a wicker weave.
- Select the Shape: Go beyond the traditional rectangle. Consider an arched top for elegance or an asymmetrical design for a modern twist.
- Pick a Color Palette: Natural rattan has a warm, earthy tone, but don't shy away from color. You can stain or paint your headboard to match your room's color scheme.
- Add Textural Contrast: Mix materials by incorporating elements like fabric or metal into your headboard design. This adds depth and interest.
- Incorporate Patterns: If you're using woven rattan, play with different weaving patterns to build a standout piece. Simple changes in the weave can make a big impact.
- Personalize with Decor: Attach decorative items such as mirrors, shells, or artwork to your headboard. This is a great way to reflect your hobbies and interests.
- Light It Up: Integrate lighting into your headboard. Fairy lights or LED strips can add a cozy ambiance to your bedroom.
- Functional Add-Ons: Think about adding shelves or hooks to your headboard for practicality. This can be a perfect spot for bedtime books or hanging light items.
Enjoy your DIY rattan headboard project, and let your creativity shine. These options will help you craft a functional and stylish headboard. Keep it simple and add your own touch!
Advanced Techniques for Experienced Crafters
For those who have a knack for DIY and are looking to push their crafting boundaries, here are some advanced techniques to elevate your rattan headboard project:
- Intricate Weaving Patterns: Challenge yourself with complex weaving patterns such as herringbone or chevron. These patterns require precision and patience but result in a stunning visual effect.
- Incorporate Multiple Materials: Combine rattan with other materials like leather straps or brass fittings for a luxurious touch. This blend of textures can build a sophisticated look.
- Experiment with Dyes: Natural dyes can give your rattan a unique hue while being eco-friendly. Experiment with different plants and herbs to achieve the color you desire.
- Build a Multi-Functional Headboard: Design your headboard to serve more than one purpose. Add foldable extensions to turn it into a temporary desk or integrate a small bookshelf for convenience.
- Use Advanced Joinery Techniques: If you're skilled with tools, try using joinery techniques like doweling or mortise-and-tenon joints to assemble your headboard. These methods provide strength and durability.
- Sculptural Elements: Add sculptural elements to your headboard by shaping the rattan into curves or abstract forms. This requires a good understanding of the material's flexibility and limits.
- Innovative Mounting Solutions: Develop a mounting system that allows for easy adjustment or rotation of the headboard. This can let you change the look and feel of your bedroom with ease.
- Integrate Smart Technology: For a modern twist, incorporate smart lighting or speakers that can be controlled via smartphone. This adds functionality and a bit of high-tech flair.
Use these techniques to craft a standout headboard and enjoy expanding your creativity.
Troubleshooting Common Issues
Building a DIY rattan headboard can be a rewarding project, but like any DIY endeavor, you might run into a few hiccups along the way. Here's a helpful guide to troubleshoot common issues you may encounter:
Rattan Splitting or Cracking
- Solution: Rattan can split when it's too dry. To prevent this, soak the rattan in water for 30 minutes before you start working with it. If it's already cracked, you can use wood glue to repair it.
Uneven Stain or Paint
- Solution: Apply a pre-stain conditioner to ensure even absorption of the stain. For paint, use a primer first. Always apply thin, even coats and sand lightly between layers for the best finish.
Loose Weave
- Solution: If your weave becomes loose over time, tighten it by gently heating the rattan with a hairdryer and then re-weaving the affected strands while they're pliable.
Difficulty Shaping Rattan
- Solution: Rattan is more flexible when warm. Use a heat gun or soak the rattan in warm water to make it easier to bend and shape to your desired form.
Headboard Doesn't Fit Bed Frame
- Solution: Measure your bed frame before starting the project. If you've already made the headboard, add extension legs or mounting brackets to adjust the fit.
Mold or Mildew Growth
- Solution: Clean the affected area with a mixture of water and white vinegar. To prevent mold, keep the headboard in a well-ventilated area and avoid excessive moisture.
Tools Damaging the Rattan
- Solution: Use sharp, clean tools to prevent fraying and splitting. When cutting, use a fine-tooth saw and go slowly to avoid damage.
The Headboard Feels Unstable
- Solution: Strengthen the frame by adding cross braces or corner brackets. Ensure all joints are securely fastened with screws or nails.
Anticipating common issues and knowing how to address them will help you build a beautiful, durable rattan headboard.
FAQs About DIY Rattan Headboard
Discover everything you need to know about DIY rattan headboards with our easy-to-follow faqs. Transform your bedroom with this stylish project!
Before attaching the rattan cane webbing to the frame, it’s important to soak it in water for about 30 to 45 minutes. This makes the material more pliable and easier to work with, reducing the risk of breakage when you’re stretching and attaching it to the frame.
Absolutely! Measure the width of your bed and decide how tall you want the headboard to be. Cut your wood to match these dimensions. Remember to leave a small gap inside the frame for the cane webbing if you're making a floating or inset design.
For lightweight headboards, Command strips can be sufficient. However, for a more secure attachment, consider using a French cleat system or mounting brackets. Ensure that the mounting method you choose can support the weight of your headboard.
Rattan headboards are relatively low maintenance. Dust regularly with a soft cloth or a vacuum with a brush attachment. If the rattan looks dry, you can lightly mist it with water to prevent cracking. Avoid direct sunlight and extreme temperatures to maintain the longevity of the rattan.
To give your rattan headboard a professional look, focus on the following steps:
Sand the wood frame thoroughly to remove any rough spots.
Apply wood stain evenly and allow it to dry completely.
After attaching the rattan webbing, trim any excess material with a sharp utility knife for clean edges.
If you used staples, consider covering them with rattan binding strips or decorative trim for a polished appearance.
Finally, apply a sealer like clear lacquer or varnish to protect the wood and rattan from damage and wear.
Conclusion:
Wrapping up, making a simple DIY rattan headboard can transform your bedroom with a touch of natural elegance. This tutorial provides easy steps to craft a beautiful and personalized DIY cane headboard. With minimal supplies and effort, you can achieve a stunning piece that adds charm and warmth to your space. Happy crafting!


