The process of making DIY rock sliders for your vehicle can be a rewarding experience. These custom rock sliders not only add a personal touch to your vehicle but also provide essential protection against off-road obstacles. They are crucial for preventing damage while traversing challenging terrains. Building your own rock sliders can also save money and give a sense of accomplishment once they are installed.
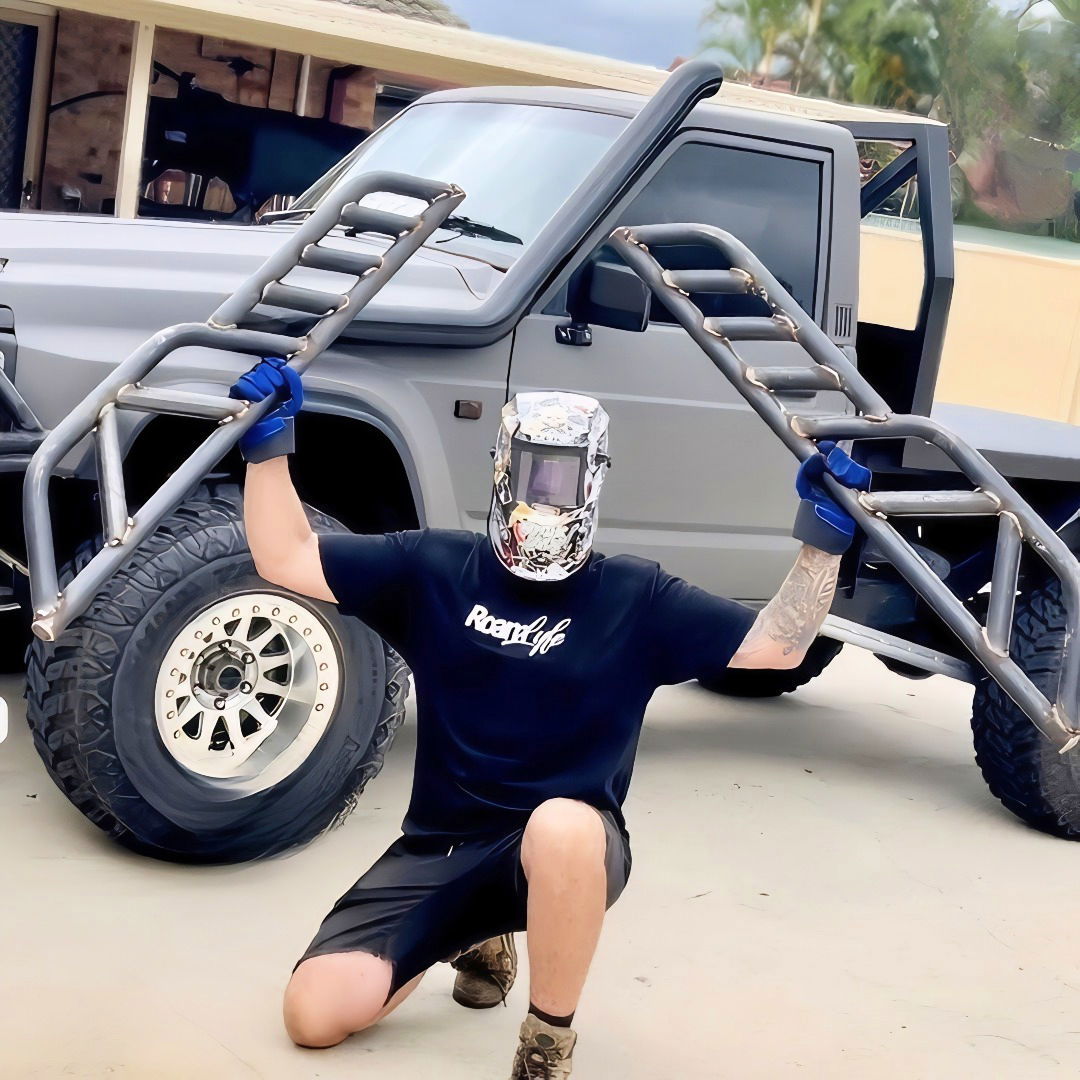
Before starting, gather all necessary materials and tools, including steel tubing, welding equipment, and protective gear. Make sure to measure accurately to ensure your custom rock sliders fit perfectly. Following a detailed plan can make the process smoother and more efficient. Understanding the basics of welding and having precise measurements are key to constructing effective DIY rock sliders.
Ready to dive deeper into the detailed steps and tips for building DIY rock sliders? Continue to the next section for a comprehensive guide.
Step by Step Instructions
Learn how to build DIY rock sliders for your vehicle with these step-by-step instructions. From materials to final welding, ensure durability and alignment.
Step 1: Gathering the Materials
Before you start, you'll need:
- Metal Tubing: This serves as the primary material for the sliders. You can have it pre-bent and pre-notched to your car's specifications.
- Brackets: Essential for attaching the sliders to your vehicle's chassis.
- Flat Bar: For extra support and custom adjustments.
- Welder: While you don't need an industrial-grade welder, a basic one will do.
- Grinder: For tweaking and finishing touches.
- Jack Stands: To support your vehicle during installation.
- Tape Measure and Marker: For accurate measuring and marking.
Why These Materials Are Important
Each of these materials ensures the structural integrity and perfect fit of your rock sliders. For instance, the metal tubing forms the main frame, while the brackets and flat bar offer mounting versatility and extra strength.
Step 2: Preparing the Metal Tubing
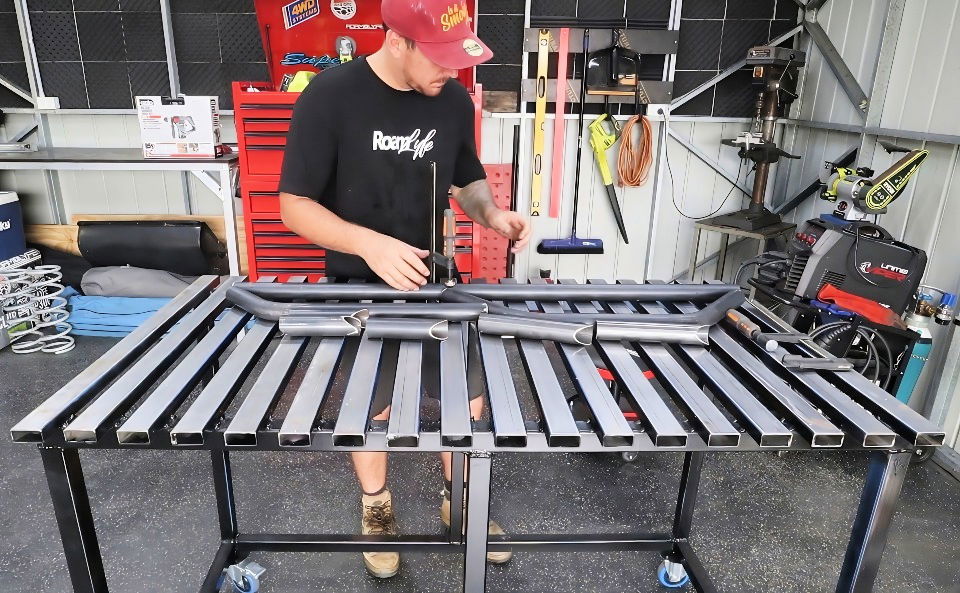
The metal tubing is pre-bent and notched for convenience. When you see it all laid out, it's clear how much work has been saved by having these pieces pre-prepared. It reduces the need for a pipe bender and tube notcher, making the process more manageable.
- Inspect the Tubing: Ensure each piece is correct.
- Arrange the Tubes: Lay them out in the style you prefer. Whether it's the kicker or straight style, arrange and decide before welding.
Step 3: Setting Up the Welder
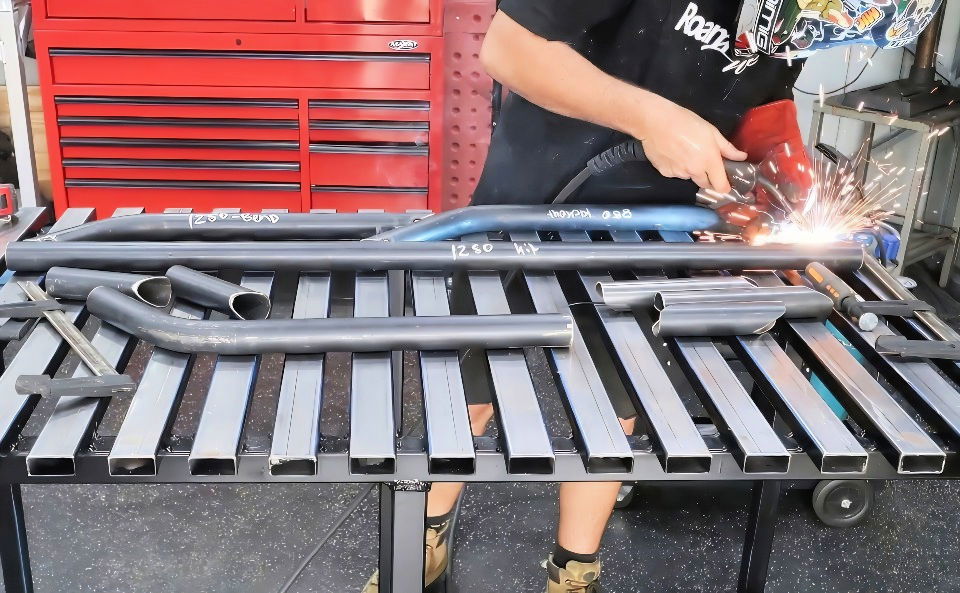
A good weld is crucial for rock sliders. Here's what I did:
- Set Up the Welder: Use some scrap metal to practice and find the optimal settings.
- Tack Each Joint: This initial tack holds the main frame so it doesn't come apart while maneuvering.
Tip: If you're unfamiliar with welding, consider practicing on some scrap pieces first.
Step 4: Assembling the Sliders
Here comes the interesting part—assembling the main sections.
- Tack All Major Connections: Tack the front and back main bars.
- Measure and Divide: Measure the distance between the main bars, then divide by the number of support bars you need.
- Align the Bars: Mark and align the support bars in place.
- Tack Weld the Support Bars: Ensure they hold firm.
Why Careful Alignment Matters
Ensuring the bars are correctly aligned prevents structural weaknesses and uneven stresses, which could compromise the sliders' durability.
Step 5: Installing the Sliders on the Vehicle
It's time to get those sliders onto your vehicle:
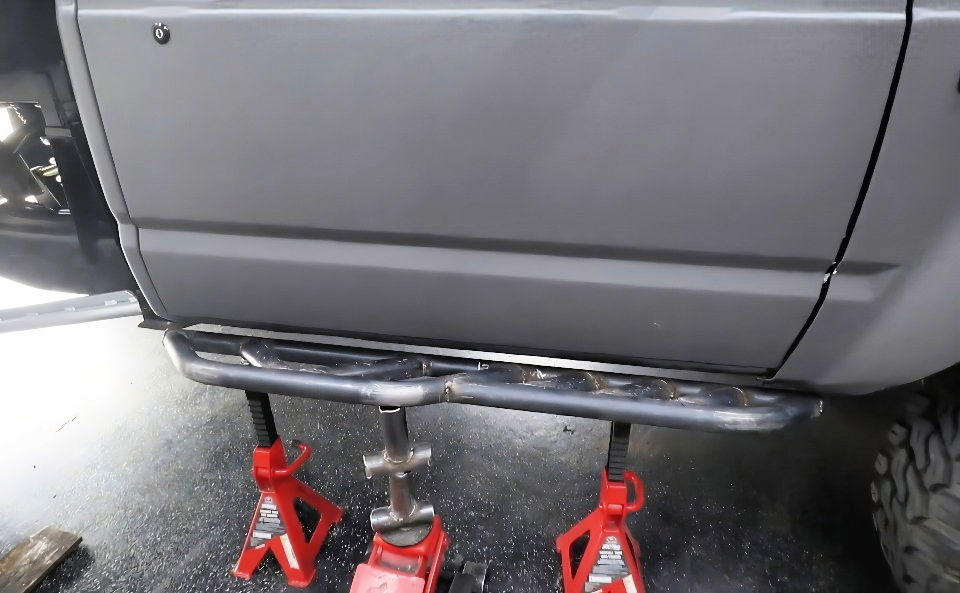
- Setup Jack Stands: Support your vehicle at a comfortable working height.
- Install Brackets: Attach the brackets to your chassis where the slider will mount.
- Identify Contact Points: Determine where each bar will connect with the bracket or chassis.
- Fit the Sliders: Adjust the sliders on the brackets and tweak as needed for a snug fit.
Safety First: Always disconnect the battery before welding to avoid any electrical issues.
Step 6: Final Welding and Strengthening
Once everything fits perfectly, it's time for the final welds:
- Full Weld Each Joint: Go around each previously tacked joint and weld completely.
- Add Gussets: These are small pieces of metal added to joints to add strength and durability to the structure.
- Check All Angles: Make sure nothing has shifted during the welding.
Added Strength with Gussets
These gussets help distribute stress and are essential for making sure the sliders can handle off-road impacts.
Step 7: Finishing Touches
- Remove and Finish: Once everything is welded and in place, remove the sliders and finish weld any remaining joints.
- Clean Up: Use a grinder to smooth out any rough spots and prepare for painting.
- Paint the Sliders: Apply a few coats of a durable paint to prevent rust and match your vehicle's aesthetics.
Customization Ideas for DIY Rock Sliders
When it comes to customizing your DIY rock sliders, the possibilities are as vast as your imagination. Here are some ideas to personalize your sliders and add functionality:
Add Steps for Accessibility
- Retractable Steps: Incorporate retractable steps that deploy when the doors open, making it easier to get in and out of lifted vehicles.
- Fixed Steps: Attach fixed, non-slip steps to the sliders for a permanent solution that provides steady footing.
Enhance with Lighting
- LED Strip Lights: Install waterproof LED strip lights along the sliders for better visibility and a modern look.
- Rock Lights: Mount rock lights underneath to illuminate the ground, helping with night-time off-roading.
Improve Protection
- Extra Tubing: Weld additional tubing to the sliders at strategic points for increased strength and protection.
- Skid Plates: Add skid plates beneath the sliders to protect the undercarriage from rocks and debris.
Personalize with Paint
- Color Matching: Paint the sliders to match your vehicle's color for a seamless look.
- Protective Coating: Apply a bedliner or other protective coatings for extra durability and a unique texture.
Incorporate Storage
- Toolbox Integration: Design a compartment within the slider to store tools or recovery gear.
- Jack Mount: Include a mount for a high-lift jack, ensuring you're always prepared for a tire change.
Optimize for Recovery
- D-Ring Mounts: Weld D-ring mounts to your sliders so they can be used as recovery points in a pinch.
- Winch Integration: If space allows, integrate a winch into the slider design for self-recovery options.
Prioritize the strength and primary function of your rock sliders. Ensure mods are practical and do not weaken them or affect your vehicle's safety.
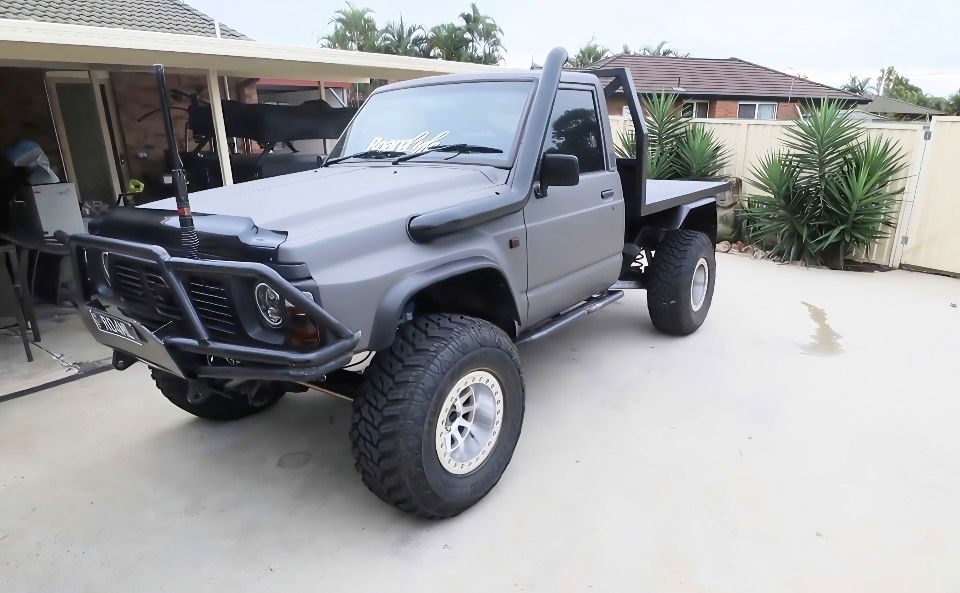
Safety Precautions for DIY Rock Sliders
When embarking on a DIY project to build rock sliders, safety is paramount. Here's a comprehensive guide to ensure you stay safe while working on your vehicle:
Understand the Process
- Research: Before starting, thoroughly research the process. Understand each step and why it's necessary.
- Instructions: Follow detailed instructions or guides. If you're unsure, seek advice from experienced individuals.
Prepare Your Workspace
- Clean Area: Ensure your workspace is clean and free of any obstacles that could cause trips or falls.
- Lighting: Good lighting is crucial. It helps you see clearly and avoid mistakes that could lead to accidents.
Use the Right Tools
- Quality Tools: Use high-quality tools that are in good condition to reduce the risk of them breaking during use.
- Correct Tools: Make sure you're using the right tool for each job. The wrong tool can cause injury or damage.
Wear Protective Gear
- Eye Protection: Always wear safety glasses to protect your eyes from sparks, debris, and dust.
- Gloves: Durable gloves can protect your hands from cuts and burns.
- Hearing Protection: Use earplugs or earmuffs when working with loud power tools to prevent hearing damage.
Lifting and Handling
- Proper Technique: Use proper lifting techniques to avoid back injuries. Bend at the knees, not the waist.
- Assistance: If a piece is too heavy or awkward, get help. Don't try to lift it alone.
Welding Safety
- Welding Helmet: Use a welding helmet with the correct shade of lens to protect your eyes from the arc.
- Ventilation: Ensure proper ventilation to avoid inhaling harmful fumes from welding or paint.
Fire Safety
- Fire Extinguisher: Keep a fire extinguisher nearby in case of sparks causing a fire.
- Flammable Materials: Store flammable materials away from your working area.
Vehicle Safety
- Stable Jacks: Use high-quality jacks and stands to keep the vehicle stable while working underneath it.
- Emergency Brake: Engage the emergency brake to prevent the vehicle from moving unexpectedly.
First Aid
- First Aid Kit: Keep a well-stocked first aid kit close by in case of minor injuries.
- Emergency Plan: Have a plan for emergencies. Know the location of your phone and the number for local emergency services.
Following these safety tips reduces accidents and injuries while making DIY rock sliders. Preparing and staying safe is crucial.
FAQs About DIY Rock Sliders
Discover everything you need to know about DIY rock sliders. Our faqs cover materials, installation tips, and benefits to protect your vehicle.
Rock sliders are sturdy bars or rails attached to the side of an off-road vehicle to protect the lower door area and side panels from damage when driving over rough terrain. They are particularly useful for preventing dents and scratches when navigating through rocky areas. Additionally, they can serve as a step to help you get in and out of your vehicle.
To measure for rock sliders, you should measure the length from one wheel to another across the base of your vehicle’s doors. This will determine the length of your sliders. For installation, you’ll need to weld mounting plates to the vehicle’s frame and then attach the sliders to these plates. It’s important to ensure they are securely fastened and parallel to the ground.
When designing rock sliders, consider the angle and clearance they will provide. A good design will offer maximum protection without compromising ground clearance. Additionally, think about whether you want them to protrude from the side of the vehicle to serve as a step, and ensure they complement the overall look of your vehicle.
To maintain your rock sliders, regularly check the bolts and welds for any signs of wear or damage. It’s also a good idea to touch up the paint if it gets scratched to prevent rust. After off-roading, clean them to remove any debris that could cause scratches or corrosion.
The choice of metal for your DIY rock sliders depends on the balance between strength and weight. You'll want to use a metal that is strong enough to withstand the impact and abrasion from rocks, but not so heavy that it significantly affects your vehicle's performance. Common choices include HREW (Hot Rolled Electric Welded) steel or DOM (Drawn Over Mandrel) steel, with DOM being the stronger option. The thickness of the metal is also important; a common choice is a 1.75-inch tube for the main slider body. Remember to ensure that the metal is of a decent manufacturing grade to handle the abuse without adding too much weight.
Conclusion: My Experience and Final Tips
Making your own DIY rock sliders might sound intimidating, but it's much more manageable than you think. With the right materials and some patience, you can achieve professional-grade protection for your 4x4 without the need for expensive equipment.
Additional Tips:
- Research and Measure Twice: Always double-check your measurements before cutting or welding.
- Ask for Help: If you're unsure about any step, don't hesitate to look up tutorials or ask someone with more experience.
- Take Your Time: Rushing through any part of the process is a surefire way to make mistakes.
By taking control and building something custom for your vehicle, not only do you save money, but you also get the satisfaction of knowing it's done exactly how you want it. Plus, it's an incredible way to learn and improve your skill set.


